How to Propagate Succulents From Leaf Cuttings Inside a Terrarium Fast
I started propagating succulents on a sunny windowsill tray, and they shriveled faster than they rooted. Moving the process into a terrarium finally gave me consistent humidity without daily misting — but it also amplified rot and fungus when I set it up wrong. In this guide, I’ll show you exactly how to use a terrarium to root leaf cuttings quickly while keeping mold and mush at bay. You’ll learn the materials, setup, light, watering, and timing that make propagation predictable in a small home space.
Why a Terrarium Helps Succulent Leaf Cuttings Root Faster
Succulent leaves root best with steady moisture in the air and barely damp substrate at the base. A terrarium traps humidity so the leaf doesn’t desiccate before roots form, while the open top (or venting) lets you control excess moisture that causes rot.
Think of the glass as a humidity shield, not a greenhouse sauna. The goal is high ambient humidity around the leaf and a dry-ish contact point where roots emerge.
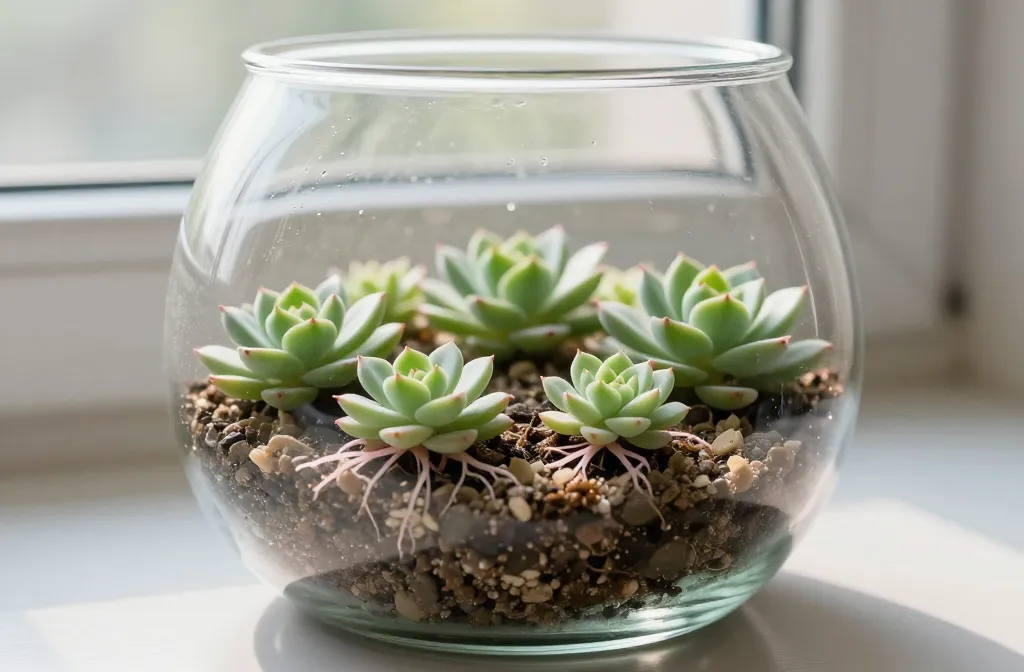
Action today: Pick a clear glass container with a wide opening — a cookie jar, large vase, or fishbowl — so you can vent easily and reach in without disturbing leaves.
Choose the Right Leaves and Prepare Them Correctly
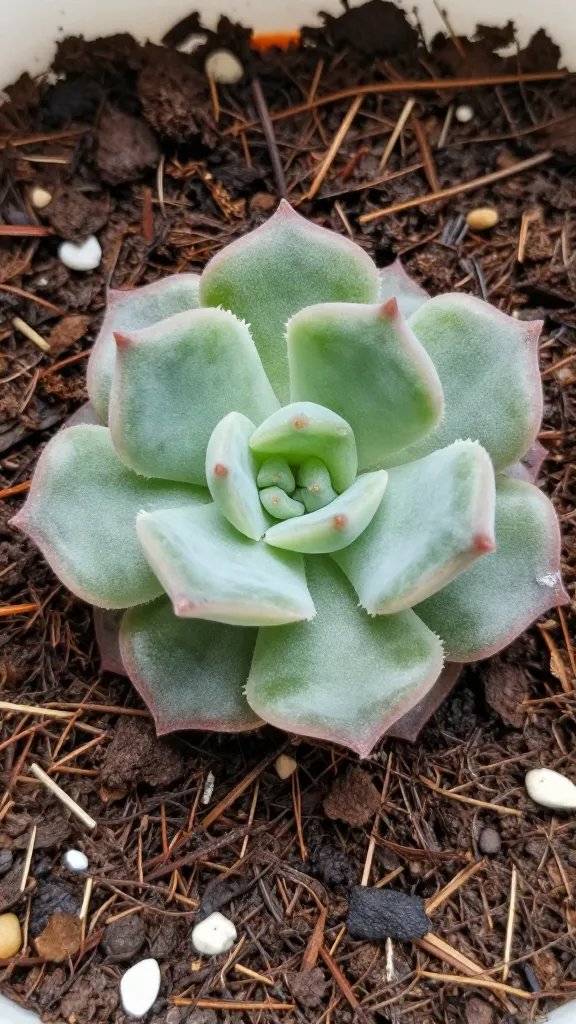
Healthy propagation starts with the right leaves. Select firm, plump leaves from mature rosettes of Echeveria, Graptopetalum, Graptoveria, Sedeveria, or Sedum. Avoid wrinkled, thin, or damaged leaves.
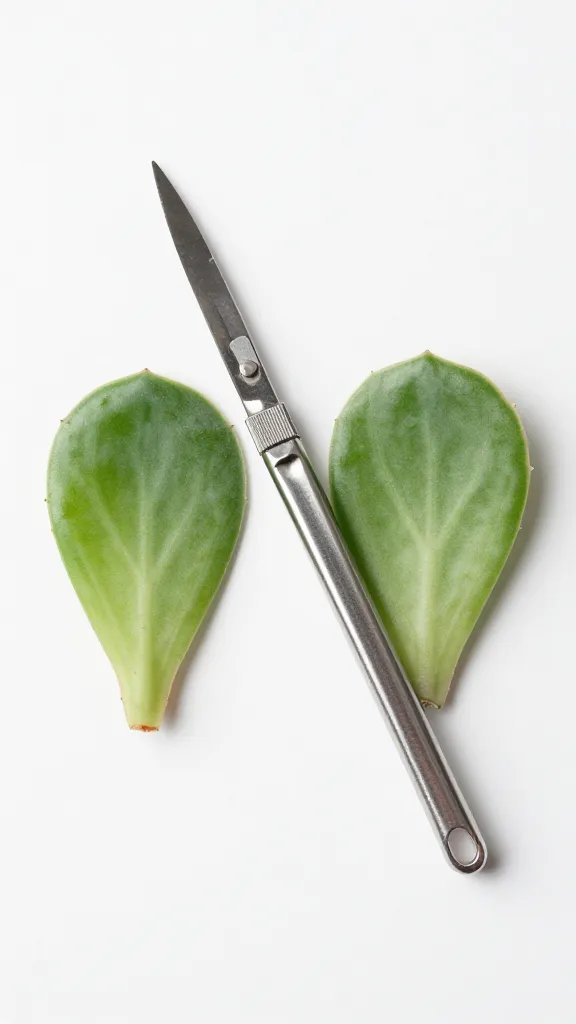
Twist the leaf off cleanly so the entire base (the little heel) comes away intact. A torn base rarely roots.
Warning Signs You Picked a Bad Leaf
- Translucent tips: Waterlogging or rot — discard.
- Creased midrib: Past dehydration — low success rate.
- Partial base attached to stem: Incomplete node — poor rooting.
Action today: Harvest 8–12 perfect leaves from a single plant to offset natural losses — expect 60–80% to take if prepared well.
Mix a Rooting Substrate That Drains but Doesn’t Dust
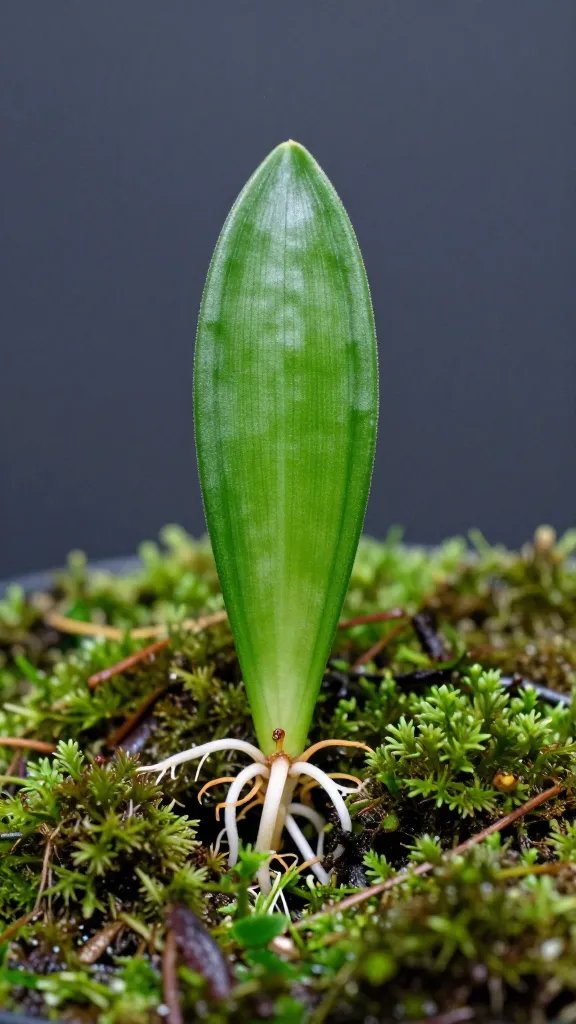
Use a fast-draining blend that holds brief surface moisture without staying soggy. I use 2 parts cactus/succulent potting mix to 1 part coarse perlite or horticultural pumice. If your shop has only regular potting soil, cut it 1:1 with perlite and add a thin top dressing of aquarium gravel or chicken grit.
Do not use pure sand or peat-heavy mixes. Sand compacts and chokes roots; peat stays wet too long in a terrarium.
Material Recommendations
- Cactus/succulent mix: Any reputable garden-centre brand.
- Perlite or pumice: Coarse grade, not fine dust.
- Top dressing: 3–5 mm gravel/grit to keep leaf bases dry.
Action today: Pre-moisten the substrate so it feels barely damp when squeezed, with no water dripping — like a wrung-out sponge.
Set Up the Terrarium for Humidity Without Stagnation
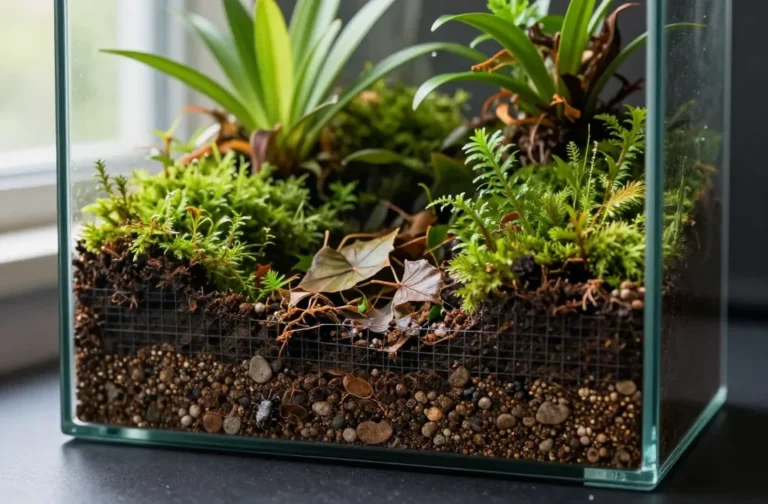
Lay 5–7 cm of your mix in the container and level it gently. Add a 0.5–1 cm layer of clean gravel on top. This top dressing is your anti-rot barrier.
Place each leaf on the gravel with the base barely touching the substrate. Do not bury the base. Space leaves 3–4 cm apart for airflow.
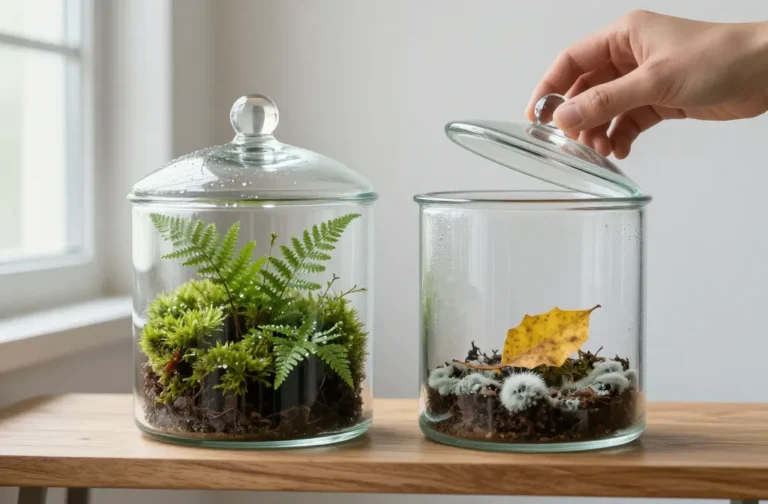
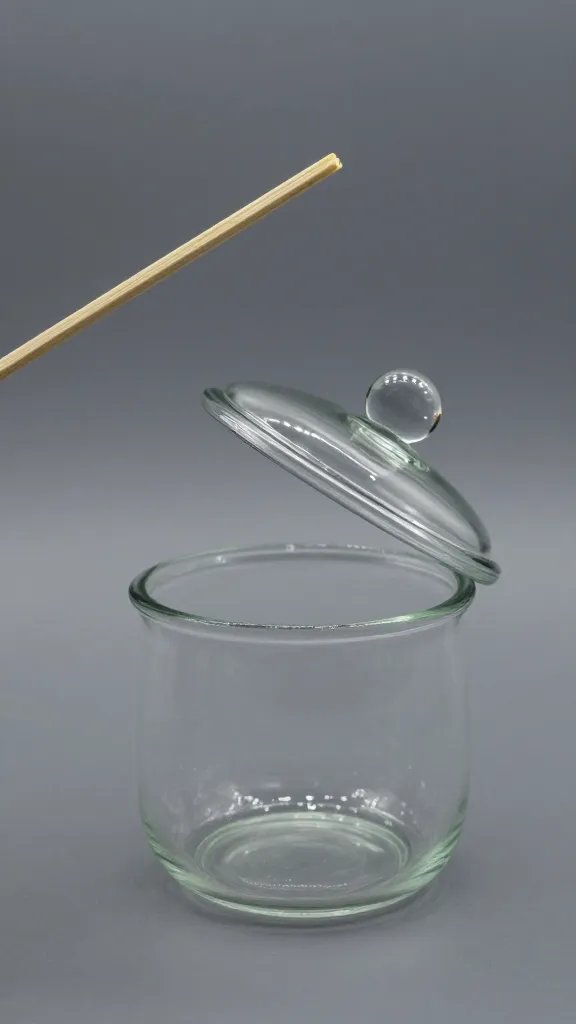
Leave the terrarium open or cover it loosely with plastic wrap or the jar lid propped open by a pencil. You want visible humidity on the glass in the morning, but not heavy droplets raining back on the leaves.
Step-by-Step Setup
- Wash the glass to remove residues that feed mold.
- Fill with substrate and top dress with gravel.
- Pre-moisten to barely damp; never wet.
- Set leaves on the surface, base touching gravel.
- Position near bright indirect light, lid propped for airflow.
Action today: Prop the lid to create a 1–2 cm gap — that simple vent prevents 80% of condensation-driven rot.
Light and Temperature That Drive Rooting, Not Stretching
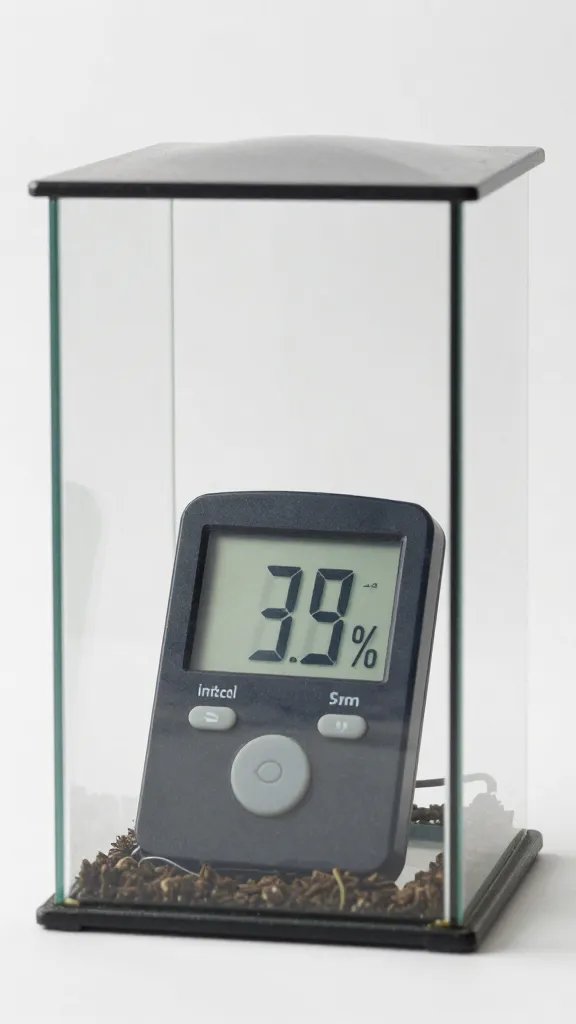
Give bright, indirect light near a window — 0.5–1.5 m from an east or bright north window, or off to the side of a south/west window. Avoid hot midday sun on glass; it cooks the leaves.
Keep temperatures between 18–24°C during the day and 15–18°C at night. Consistent warmth speeds rooting; big swings stall it.
Warning Signs of Light Problems
- Leaves bleaching: Too much direct sun — move 30–60 cm farther from window.
- Long, pale baby growth: Not enough light — move closer or add a small LED grow bulb 20–30 cm above for 12–14 hours.
Action today: At midday, touch the glass. If it feels hot, shift the terrarium out of direct rays by one windowpane’s width.
Watering and Venting: The Fine Line Between Rooting and Rot
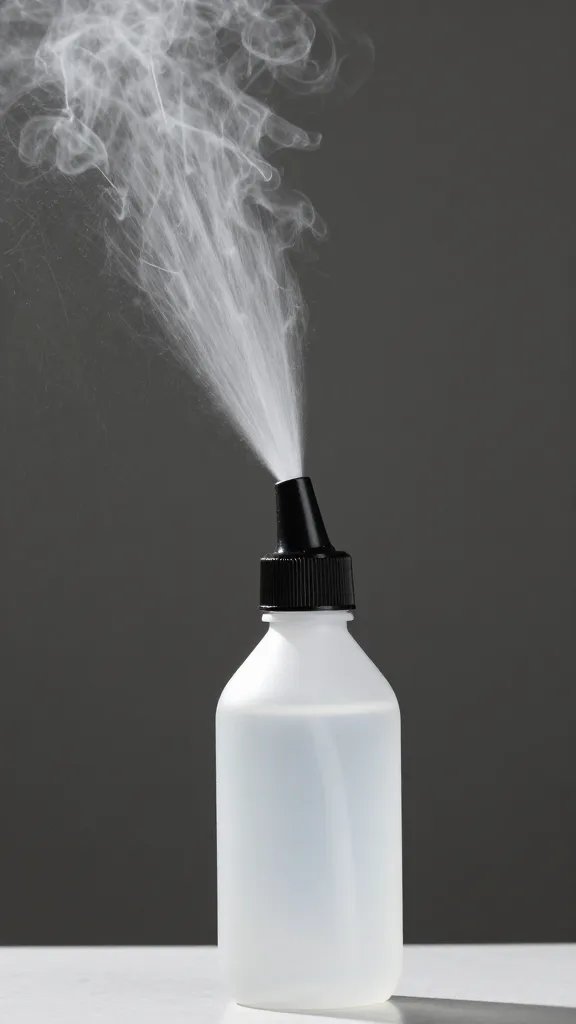
Do not water for the first 5–7 days after placing leaves. The leaf’s stored moisture sustains it while a callus forms. After a week, mist the substrate lightly — not the leaves — if the top dressing feels bone dry.
Watch the glass for feedback. Light morning fog that clears by noon is perfect. Persistent droplets or wet gravel means reduce moisture and increase venting.
Step-by-Step Moisture Control
- Days 0–7: No water. Vent gap 1–2 cm.
- Days 7–21: Mist substrate every 4–7 days if dry to the touch. Keep leaves dry.
- After roots appear: Bottom-water sparingly by trickling 1–2 tablespoons along the glass edge every 7–10 days, then vent wide for two hours.
Action today: If you see beads on the leaf tips, remove the cover for 2–3 hours to reset humidity.
Timeline: From Leaf to Baby Plant Without Guesswork
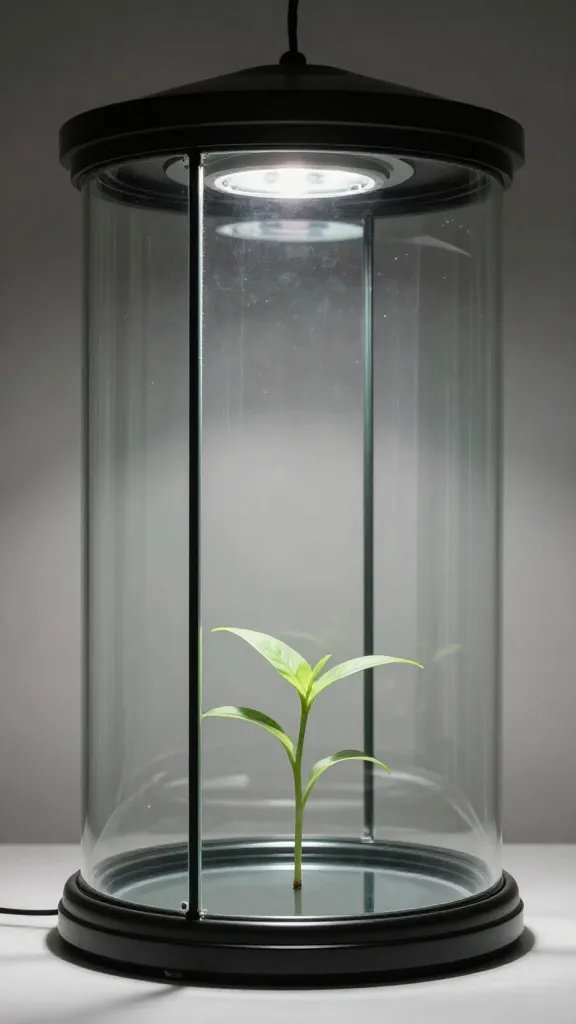
By week 2–3, you’ll see tiny pink-white roots at the leaf base. By week 3–6, a small rosette appears. Once the rosette is the size of a 10-cent coin and roots reach into the substrate, gradually harden off.
To harden off, open the terrarium fully for 2 hours per day for a week, then leave it open. When the mother leaf shrivels completely, snip it away and pot the baby in a small, well-draining pot.
What to Expect, Week by Week
- Week 1: Callusing — no water.
- Weeks 2–3: Roots visible — minimal substrate misting.
- Weeks 3–6: Rosette forms — slightly increase watering frequency.
- Weeks 6–10: Pot up — switch to normal succulent care.
Action today: Set a calendar reminder for a weekly 60-second check: vent, inspect bases, and feel the gravel.
Preventing Mold and Rot Inside Glass
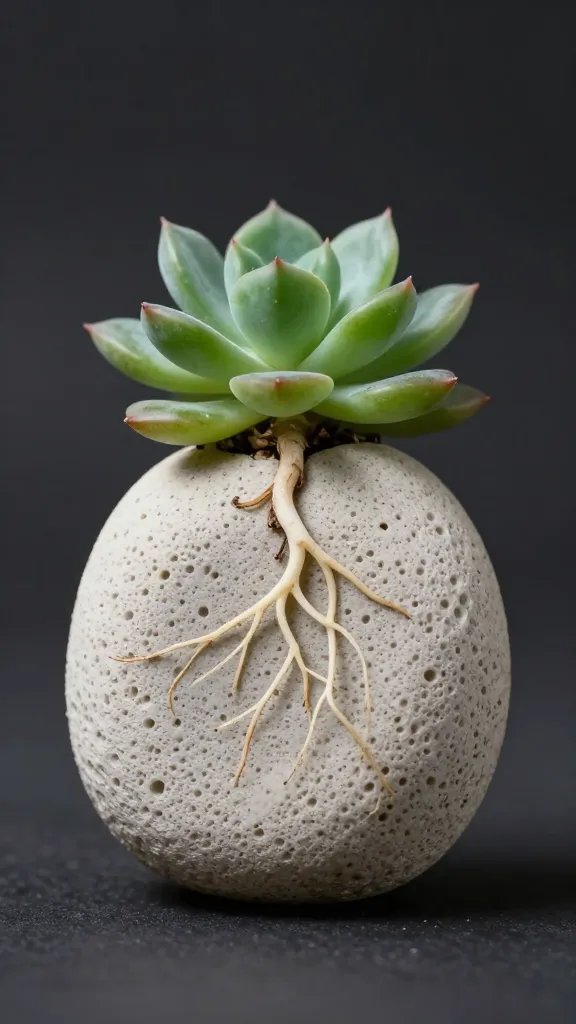
Mold thrives on stagnant air, decaying leaves, and over-wet surfaces. Remove any leaf that turns mushy or smells sour immediately. Improve airflow and dryness before adding fungicides.
If you need a treatment, dust the leaf bases and gravel lightly with ground cinnamon or a garden-centre sulfur powder. Both suppress fungus without soaking the substrate.
Fast Fixes for Common Problems
- White fuzz (mildew): Vent wide for a day, wipe glass dry, dust cinnamon.
- Condensation drips: Reduce moisture; wedge lid further open.
- Multiple leaves failing: Start over with drier substrate and thicker top dressing.
Action today: Wipe the inside glass dry with a paper towel and reinsert with the lid propped — you reset humidity without disturbing the leaves.
Frequently Asked Questions
Which succulents root best from leaves in a terrarium?
Echeveria, Graptopetalum, Graptoveria, Sedeveria, and many small-leaf Sedum root reliably. Aeonium and most Haworthia do poorly from single leaves. If you’re unsure, try three varieties side-by-side to see what takes in your conditions.
Do I need rooting hormone?
You don’t. Healthy leaves root on their own when the base stays intact and the environment stays gently humid. If you want a boost, use a light dusting of garden-centre rooting powder on the leaf base after it calluses for 24 hours.
How often should I water inside the terrarium?
For the first week, don’t water at all. After that, mist the substrate lightly every 4–7 days only if the gravel feels dry and the glass shows little to no morning fog. If you see condensation beads or damp gravel, skip watering and increase venting.
Why are my leaves shriveling before roots appear?
They’re losing moisture faster than the terrarium replaces it. Move slightly farther from direct sun, reduce vent gap to hold humidity, and confirm the substrate is barely damp at the surface. Use a top dressing so the base touches firmness without sitting in wet soil.
When do I move babies out of the terrarium?
Transplant when the new rosette reaches about a 10-cent coin in diameter and has visible roots anchoring in the mix, typically 6–10 weeks. Harden off by opening the terrarium for 2 hours daily for a week, then pot into a 6–8 cm pot with succulent mix and resume normal bright light watering.
Can I fully close the terrarium?
Not for succulents. A sealed environment keeps the air too wet and encourages rot and algae. Keep it open or lightly covered with a 1–2 cm gap so humidity rises without creating drips.
Conclusion
You don’t need fancy gear to root succulents consistently — just a glass container, a fast-draining mix with a gravel top, bright indirect light, and disciplined venting. Set up one terrarium today with a dozen leaves, log your weekly checks, and you’ll have transplant-ready rosettes in a couple of months. When you’re ready, apply the same method to stem cuttings and build a steady pipeline of new plants for every windowsill in your home.