Sand Vs Gravel As the Drainage Base Layer — Weight, Porosity and Compaction Compared Unpacked
I used to stack whatever was handy at the bottom of planters — a scoop of sand here, a handful of gravel there — and then wonder why the plants still sat in soggy soil or the pot weighed a ton. If you’ve stared at a bag of sand and a bag of gravel in the garden aisle and felt stuck, I’ve been in your shoes. In this guide, I’ll show you exactly how sand and gravel behave under a pot or raised bed, and when to use each. You’ll make faster, cleaner drainage decisions and avoid waterlogged roots and cracked balconies.
What “Drainage Layer” Actually Does (And What It Doesn’t)
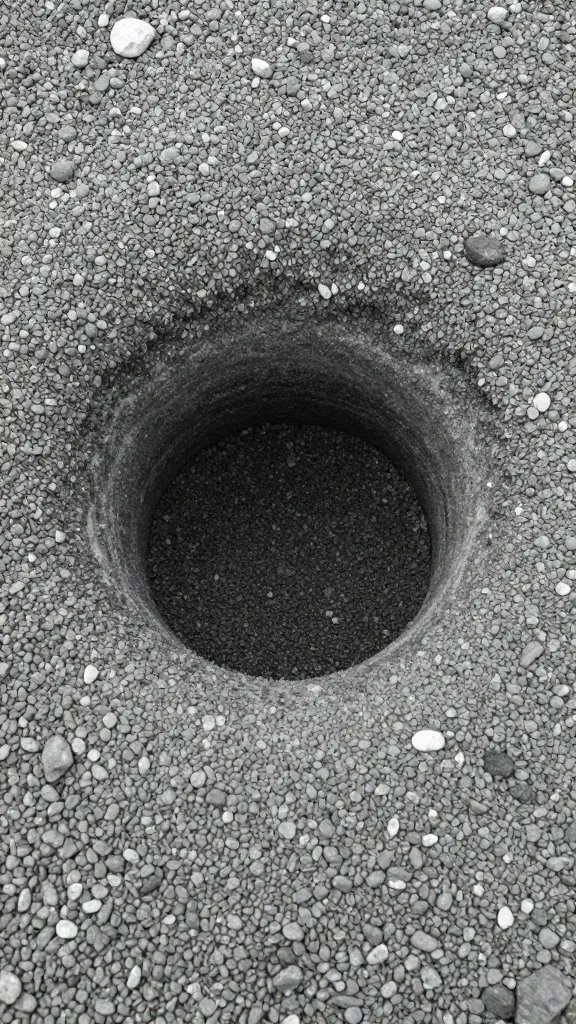
A drainage layer does not suck water away from soil like a sponge. Water moves downward until it hits a change in material — that boundary often holds water in the soil above it. This is the perched water table effect.
Good drainage comes from a well-structured potting mix first. The base layer helps create an air gap and a space where excess water can sit below roots, provided the pot has a clear exit hole. Without a hole, neither sand nor gravel will save you.
Action today: Flip your pots and confirm every container has at least one unobstructed drainage hole the width of a pencil.
Weight Compared: How Much Mass You’re Adding
Gravel is heavy. A standard 10-liter bucket of pea gravel weighs roughly 15–18 kg. Great for stability outdoors, not great for balconies or window boxes.
Sand packs even denser by volume. A 10-liter bucket of coarse sand can hit 16–20 kg and settles tight, adding more base mass than people expect.
If weight matters, neither is ideal in deep layers. A thinner layer or a lighter alternative (like broken terracotta or large perlite chunks) keeps pots movable and shelves safe.
Action today: Before filling, weigh your empty pot, then add 2 liters of your chosen base and weigh again. If the increase surprises you, switch to a lighter base or use less.
Porosity and Flow: Why Particle Size Rules
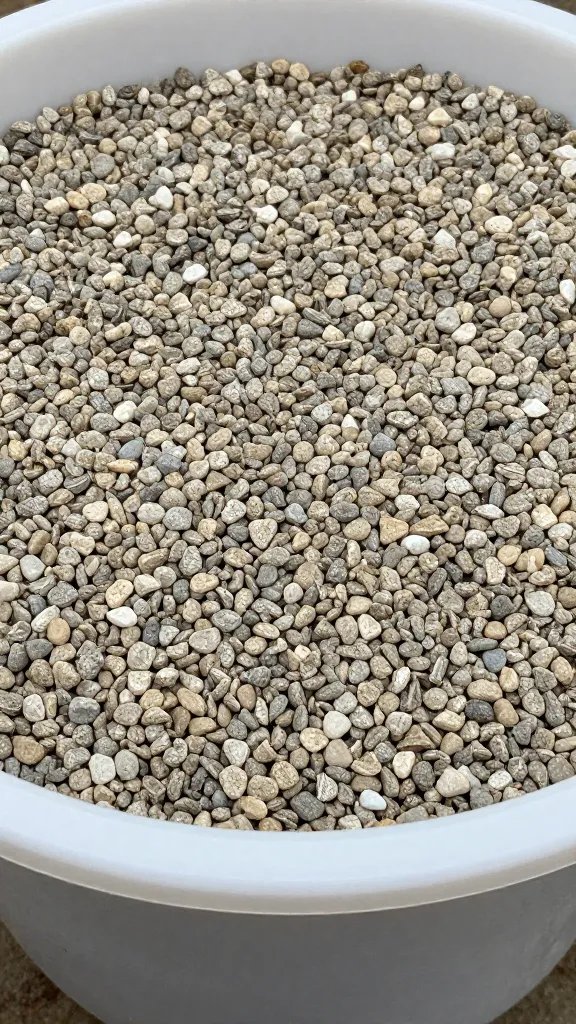
Gravel (pea gravel or 10–20 mm stones) creates large, continuous air gaps. Water falls through quickly and doesn’t hang around between stones. Roots above that layer get better oxygen as long as the potting mix itself drains well.
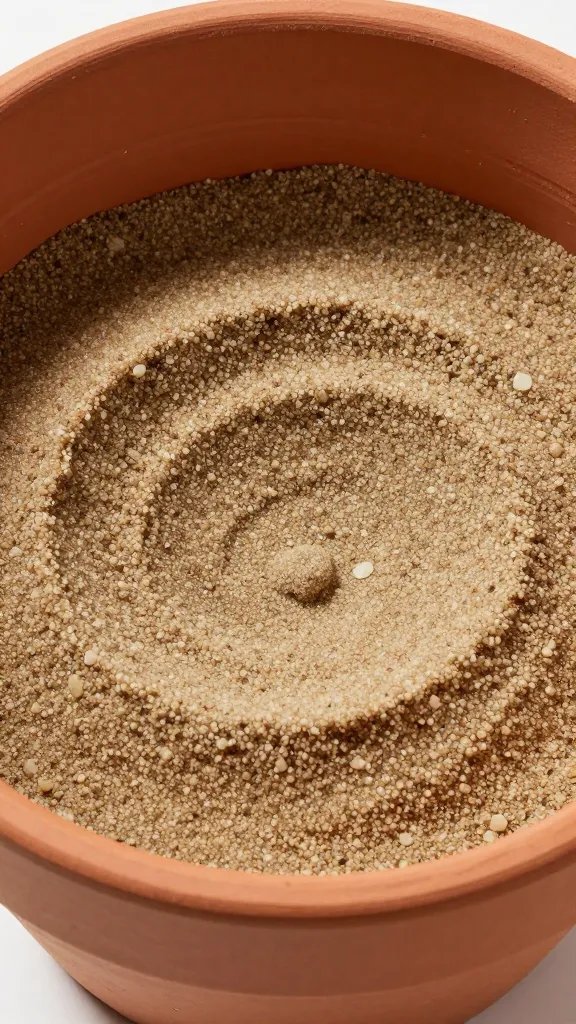
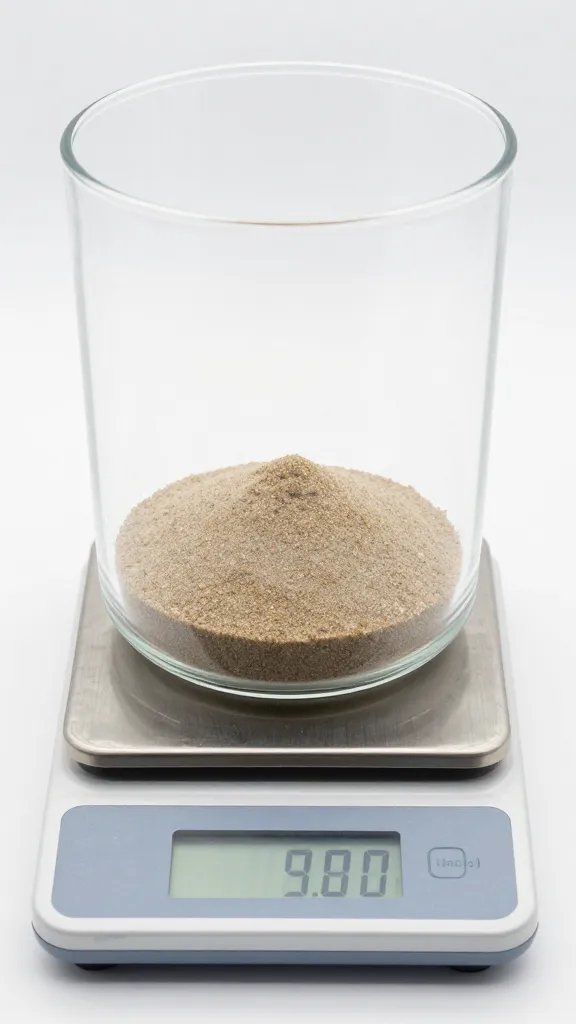
Sand varies wildly. Fine play sand acts nearly like silt — it compacts and slows drainage. Coarse, sharp sand (often sold as “builder’s” or “horticultural grit”) improves porosity when mixed into soil, but as a separate layer it still risks a perched water table at the boundary.
Action today: Pinch your sand. If it feels powdery and smooth like beach sand, don’t use it as a base. If grains feel gritty and angular, it’s acceptable in thin layers — better yet, use it to amend dense soil, not as a base.
Compaction and Stability Over Time
Gravel does not compact much under normal pot loads. It holds shape, keeps channels open, and resists clogging if you prevent soil from washing into it. It’s reliable for long-term planters and outdoor pots.
Sand settles and compacts, especially with repeated watering. Fine sand migrates into potting mix and can seal the drainage layer like cement. That turns a good pot into a swampy one after a few months.
Action today: If you must use sand, line the layer with a thin piece of mesh or a coffee filter to stop soil migration — and keep the sand layer under 2 cm.
Where Each Shines: Use-Cases That Actually Work
Choose gravel under pots with chunky, well-draining mix (like mixes for herbs, succulents, citrus). It creates an air gap and keeps the drainage hole clear. A 2–4 cm layer is enough in medium pots (20–30 cm wide).
Choose coarse sand or grit when mixing into heavy potting soil for outdoor containers that hold too much water. Blend up to one-third by volume of coarse grit into the potting mix for roses, lavender, or Mediterranean herbs. Don’t use sand as a thick separate layer.
Skip both for indoor houseplants if you already use a chunky mix (quality potting mix with added perlite or bark). A base layer won’t fix overwatering or a soil that holds too much moisture.
Action today: For a 30 cm patio pot, add 3 cm of pea gravel only if your mix is already free-draining; otherwise, amend the mix with perlite or bark first and keep the base layer minimal.
Simple Material Picks From Any Garden Centre
I keep three affordable options on hand and choose by goal:
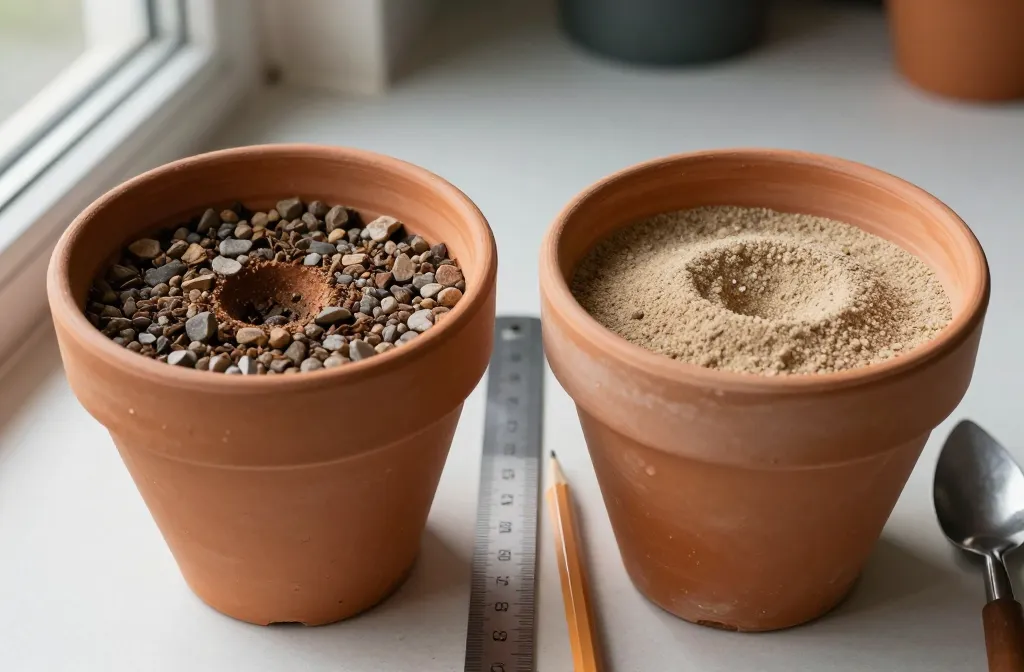
- Pea Gravel (10–20 mm): Best for base layers outdoors. Rinse once to remove dust.
- Horticultural Grit / Sharp Sand: Best for mixing into soil, not as a base. Look for angular, not rounded grains.
- Perlite or Bark Chips: Best for lightening indoor mixes. Perlite keeps weight low; bark adds structure and air.
Warning Signs You Picked Wrong
- Constant wet soil even two days after watering: The soil needs more perlite/bark, not a thicker base layer.
- Soil sinking fast after a month: Sand or fine materials are compacting — repot and remove the fine layer.
- Algae or fungus gnats: Soil staying too damp at the surface — add airflow, reduce watering, and improve soil structure.
Action today: If water pools on the surface for more than 10 seconds after a normal pour, repot with 25–40% perlite or bark mixed in; keep any gravel base to 2–3 cm only.
Step-by-Step: Setting a Reliable Drainage Base in a Pot
- Check the hole: Enlarge a tiny hole with a masonry bit or choose a pot with a pencil-width opening.
- Add a mesh square: Place a piece of plastic mesh or a coffee filter over the hole to stop soil loss but allow flow.
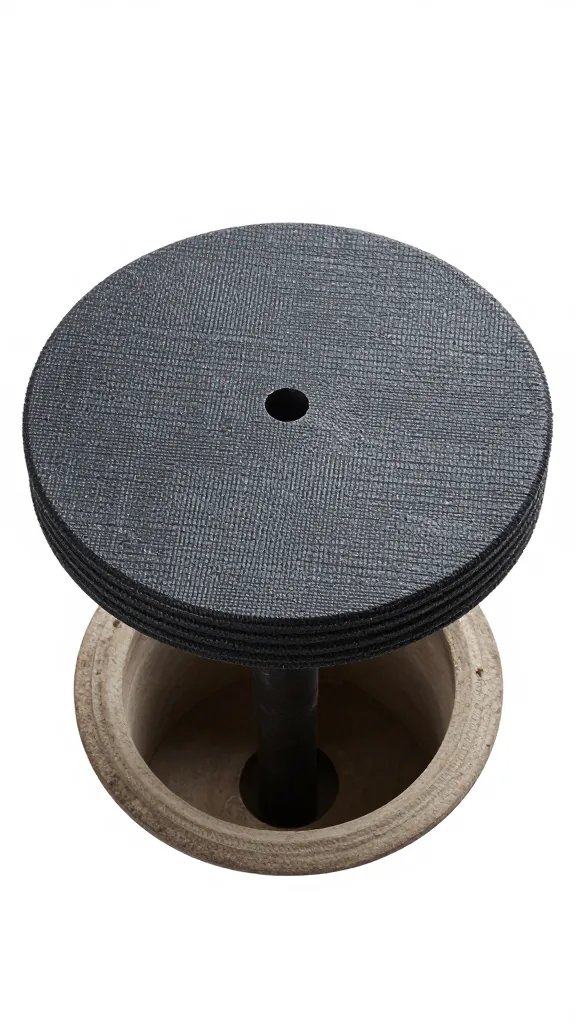
- Layer thinly: Add 2–3 cm of pea gravel only. Do not exceed 10% of the pot’s height.
- Use the right mix: Fill with quality potting mix blended with 25–40% perlite or bark for indoor plants; add coarse grit for outdoor herbs if needed.
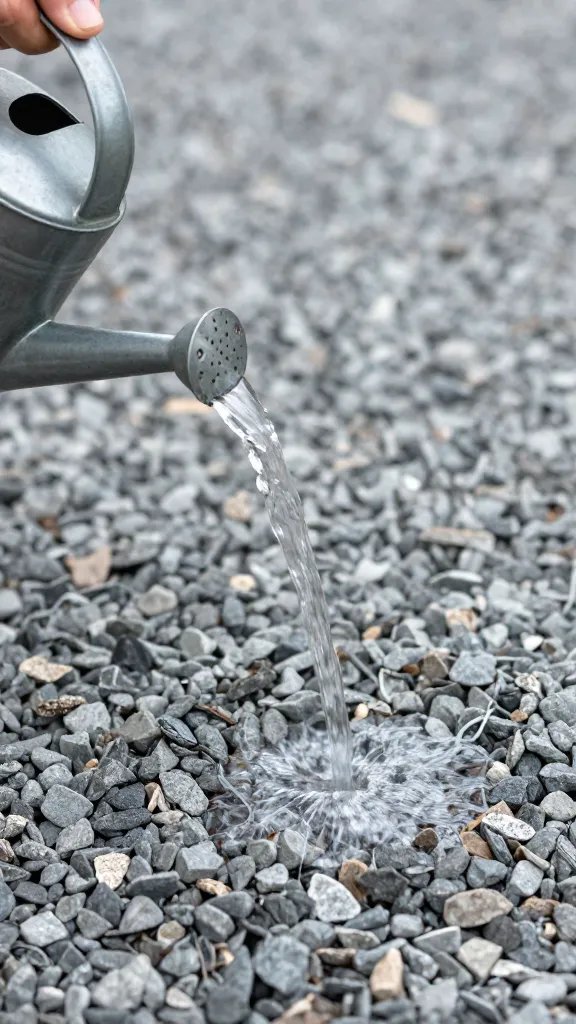
- Water test: After planting, water once until it runs from the bottom. Time how long the surface stays glossy — aim for under 10 seconds.
Action today: Rebuild one problem pot using the steps above and note drainage time in a notebook for future reference.
Raised Beds and Outdoor Planters: Do You Need a Base Layer?
In raised beds, skip sand and gravel layers. They create hard pans and slow drainage. Instead, use a deep, loose soil blend with compost and some coarse material like bark fines for structure.
In oversized outdoor planters with huge volume, a shallow gravel layer (2–5 cm) protects the hole and reduces clogging from compost fines. Don’t try to “fill space” with thick gravel or sand — it wastes depth and adds weight without benefit.
Action today: For any outdoor planter over 40 cm tall, keep the base layer under 5 cm and focus on a structured soil mix to the top.
Frequently Asked Questions

Will a gravel layer stop overwatering?
No. Overwatering starts in the soil, not the base. A gravel layer can keep the hole clear, but if your soil holds too much water, the roots still sit in it. Fix the mix first by adding 25–40% perlite or bark and watering only when the top 2–3 cm feels dry.
Is play sand okay for pots?
Play sand is usually very fine and rounds off, so it compacts and slows drainage. I avoid it in layers and only use coarse, sharp sand or horticultural grit to amend heavy soil. If play sand is your only option, use no more than 10% of the total mix and blend thoroughly — never as a base layer.
How thick should a gravel layer be?
2–3 cm for small to medium pots and up to 5 cm for large outdoor planters. More than 10% of the pot’s height wastes root space and adds weight without improving drainage. Keep it thin and consistent, and always cover the drainage hole with mesh first.
Can I use broken pottery instead of gravel?
Yes, broken terracotta or ceramic shards work well to keep the hole open and reduce weight. Rinse off dust and place a flat piece over the hole like a roof tile, then add a very thin scatter of small pieces. Avoid glazed shards with sharp edges that can cut through soft plastic pots.
Do succulents need a gravel base?
They need fast-draining soil first, built with lots of perlite, pumice, or grit. A thin gravel base helps keep the hole clear, but it won’t rescue a dense mix. Water succulents only when the soil is dry to the bottom — check by lifting the pot and learning its “dry weight.”
Is gravel safe for balconies with weight limits?
Use caution. Gravel adds significant mass fast, and wet soil is heavier than dry. Choose plastic or fiber pots, skip thick base layers, and lighten the mix with perlite. If in doubt, keep planters smaller and distribute them along structural edges rather than mid-span.
Conclusion
You don’t need to guess anymore. Use gravel sparingly to protect the drainage hole, use coarse grit to improve a heavy mix, and skip fine sand layers that compact. Your next step: pick one waterlogged pot, rebuild the soil with added perlite or bark, keep any gravel layer to 2–3 cm, and time the drainage — you’ll see the difference on the very first watering.