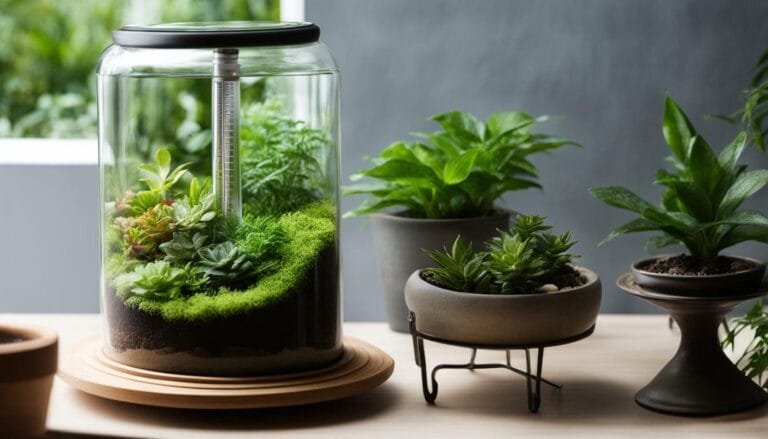
Genius – 5 Ways to Add Height Variation to a Terrarium Without Overcrowding the Root Zone
I used to cram tall plants into tiny glass bowls, then wonder why everything stalled or rotted. After a few mushy ferns and a fogged-up jar, I learned that height comes from clever structure, not deeper planting. In this guide, you’ll learn five reliable ways to create layers and drama while keeping roots comfortable and breathable. You’ll finish with a terrarium that looks lush from every angle and stays healthy for the long haul.
1. Build A False Bottom: Lift The Landscape Without Burying Roots
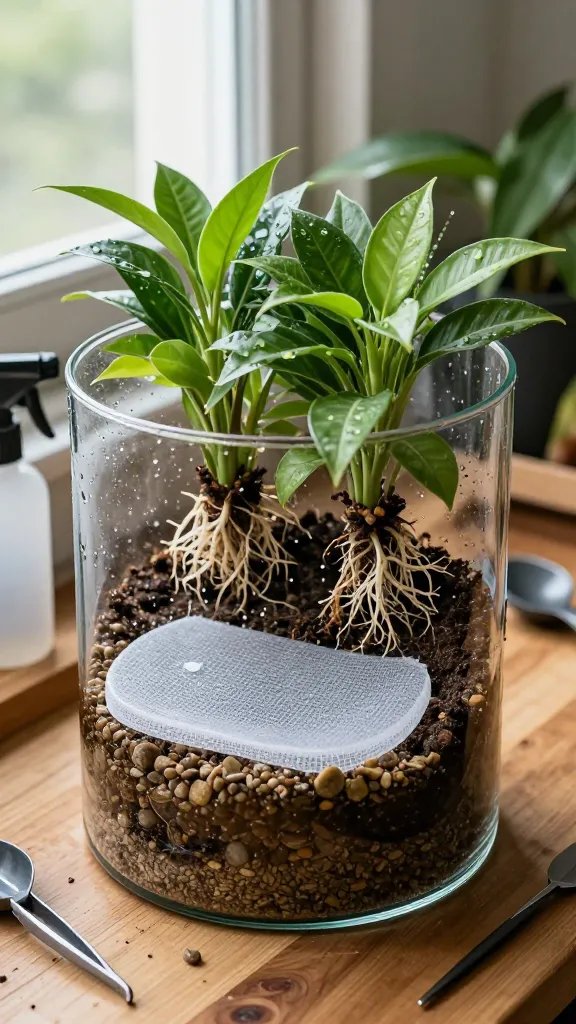
Stacking soil to gain height suffocates roots and invites rot. When you pile substrate too deep, the lower layers stay wet for weeks, and plants decline from the bottom up. A proper false bottom raises the planting surface while keeping drainage and airflow below, so roots live in a stable, shallow, healthy zone.
How To Set Up A Simple False Bottom
- Pour a 2–5 cm layer of aquarium stones or LECA (light expanded clay aggregate) into the base. Rinse first to remove dust.
- Lay a barrier on top: a piece of fiberglass window screen or a cut circle from a plastic mesh produce bag. This stops soil from sifting down.
- Add 5–8 cm of good quality terrarium substrate from the garden centre. For most setups, use bagged potting mix blended with a handful of orchid bark and some horticultural charcoal for freshness.
Why This Works
- The stone/LECA layer stores excess water out of reach, trimming waterlogging risk.
- The screen keeps roots in the airy top layer where oxygen stays available.
- You gain visual height because your “ground level” sits higher in the glass, without a heavy, soggy root zone.
Action today: If your terrarium has more than 8–10 cm of continuous soil, remove the top, scoop out half, add a 3–4 cm stone layer and screen, then return the soil. You’ll instantly gain healthier depth with the same visual height.
2. Shape The Substrate: Create Hills And Ridges Instead Of Deep Flats
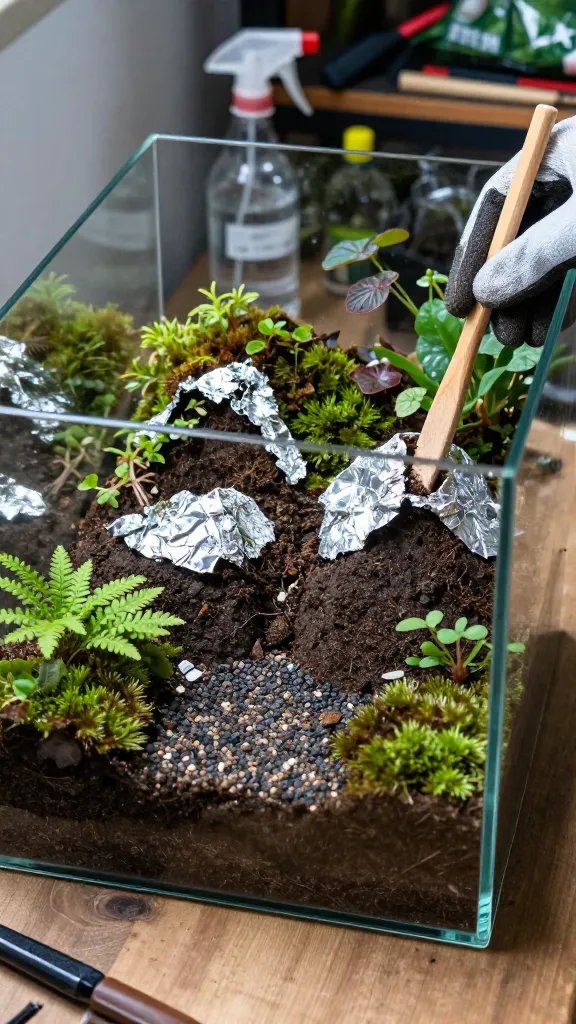
Flat soil turns the terrarium into a single horizon where every plant competes at the same level. Worse, if you raise everything evenly, you end up with a deep, waterlogged slab of soil. Strategic mounding creates eye-catching elevation while keeping most of the root zone shallow and breathable.
How To Sculpt Clean, Stable Mounds
- Start with a shallow baseline of soil (about 4–5 cm) across the whole tank.
- Build one or two mounds to 8–10 cm using a core of inert material like crumpled aluminum foil, smooth aquarium stones, or LECA, then cover with 2–3 cm of soil. This uses less soil and keeps the mound lighter.
- Pat the top to firm it, then “terrace” the front face with small stones or bark strips to stop slumping.
Smart Plant Placement
- Put short-rooted carpeting moss on the mound crest where soil is thinnest.
- Place small ferns and fittonia on the slopes where roots get air and moisture without sitting in a sump.
- Leave the low, flat area for plants that like steadier moisture, like Pilea depressa.
Takeaway: Build height with hidden cores of stone or foil under just 2–3 cm of soil; you’ll get peaks and valleys without turning the entire root zone into a soggy cake.
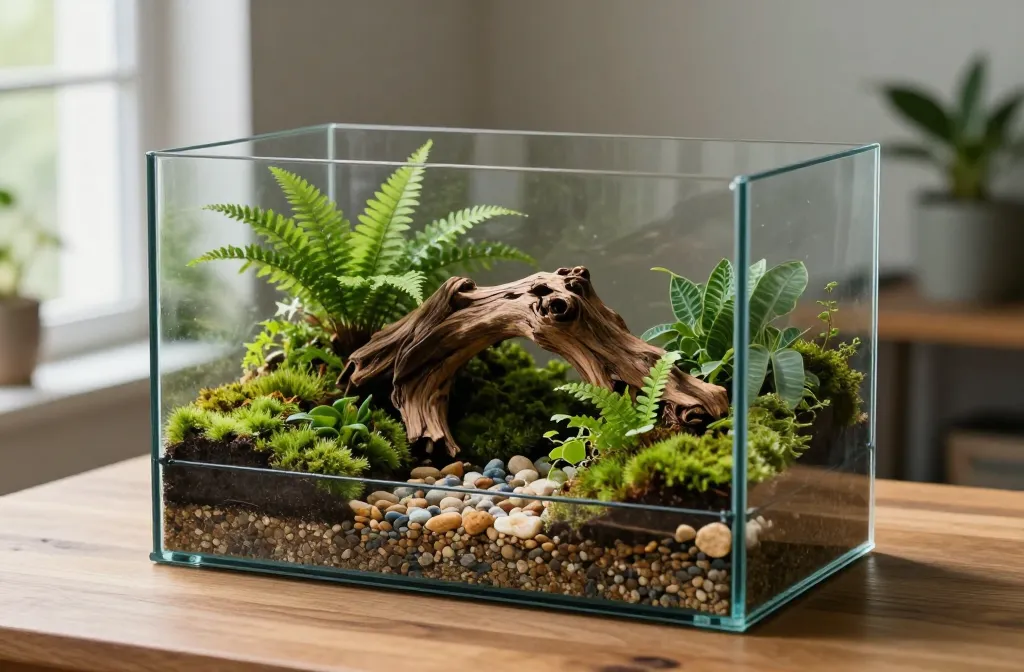
3. Use Hardscape As Vertical Anchors: Wood And Rock Do The Lifting
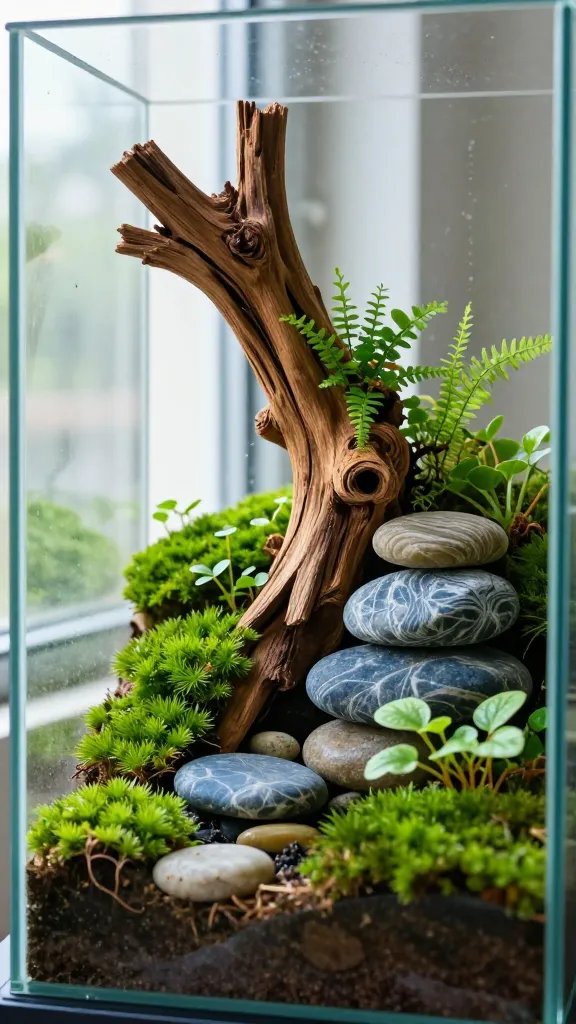
Trying to grow height with plants alone pushes you to overplant and crowd roots. Tall stems shaded at the base shed leaves and weaken. Hardscape—like driftwood and rock—adds instant vertical drama without any roots at all, and it gives plants places to cling and cascade.
Choosing Materials That Are Terrarium-Safe
- Driftwood or spider wood from an aquarium aisle: light, branchy, and clean.
- Seiryu stone, lava rock, or rounded river stones from an aquarium or garden centre.
- Scrub with a stiff brush and rinse. If wood floats, soak it in a bucket for 24–48 hours, then air dry to reduce tannins.
Placement For Stability And Depth
- Seat rocks first, partly buried for a natural look. Angle one large rock to point upward, creating a visual “peak.”
- Wedge a slim piece of wood behind it to draw the eye up without blocking light.
- Use two or three pieces max in a small jar—fewer, bigger pieces read clean and tall.
Planting Around Hardscape
- Press moss onto wood and rock ledges; mist so it sticks.
- Tuck small epiphytic ferns (like Microsorum ‘Trident’ or tiny Davallia divisions) into crevices with a pinch of damp sphagnum as a cushion.
- Trail a creeping fig (Ficus pumila ‘Quercifolia’) from the base to climb the wood.
Action today: Add one statement rock or branch that reaches at least halfway up your glass and replant around it—your scene will look taller immediately while roots stay in their existing soil footprint.
4. Elevate Plants On Platforms: Net Pots, Mesh Cups, And Cork Mounts
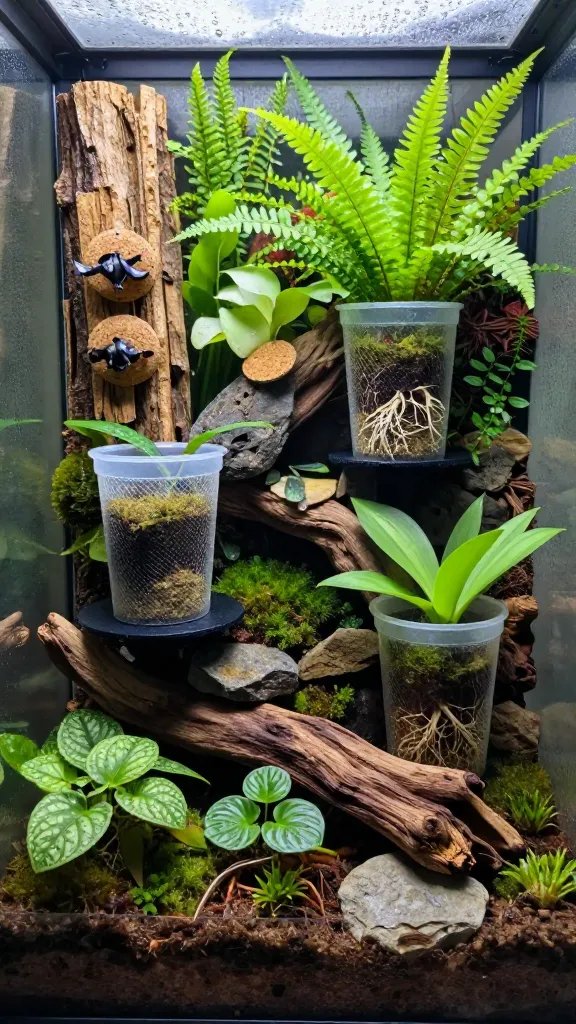
When every plant sits in the soil, roots fight for the same wet real estate. That leads to crowding, rot, and hard-to-manage watering. Platforms let you raise individual plants above the substrate, where their roots live drier and cleaner while foliage contributes height and layers.
Simple Platform Options From A Hardware Or Garden Centre
- Plastic mesh cups or small orchid/net pots: Line with a bit of damp sphagnum, fill with substrate, and tuck into rockwork.
- Cork bark tiles or rounds: Hot-glue or twine a small plant wrapped in sphagnum onto the cork, then lean or wedge it against hardscape.
- Upturned stones: Create mini pedestals under a nursery plug to lift it 2–3 cm.
Best Plants For Platforms
- Mini orchids (like Phalaenopsis equestris seedlings or Lepanthes if available) on cork with sphagnum.
- Pepperomia prostrata or Peperomia ‘Pixie’ in mesh cups to cascade.
- Miniature bromeliads/Neoregelia pups cupped on cork—keep their center “cups” damp with a syringe.
Watering And Maintenance
- Mist platform plants separately if needed—use a syringe or pipette to avoid soaking the main soil.
- Check sphagnum weekly; if it feels crunchy, re-wet lightly. If green algae covers it, improve airflow by opening the lid for 1–2 hours at midday.
Takeaway: Mount at least one plant on cork or in a mesh cup today—instant vertical foliage with zero extra crowding in the soil below.
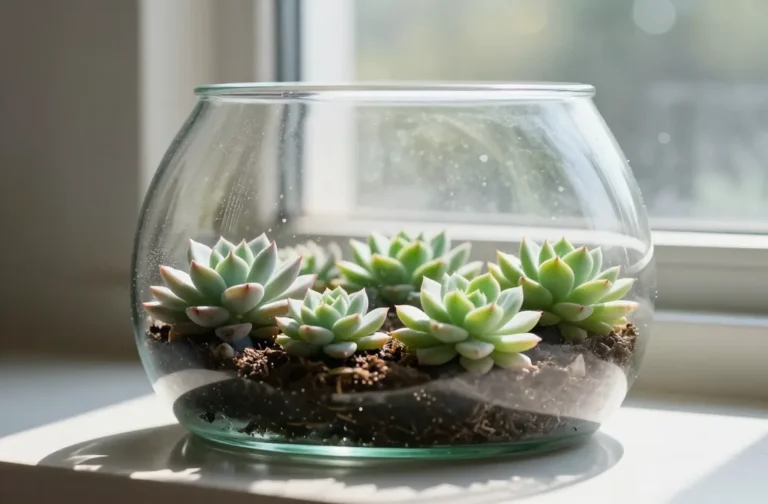
5. Choose Naturally Compact, Upright Species: Height From Growth Habit, Not Soil Depth
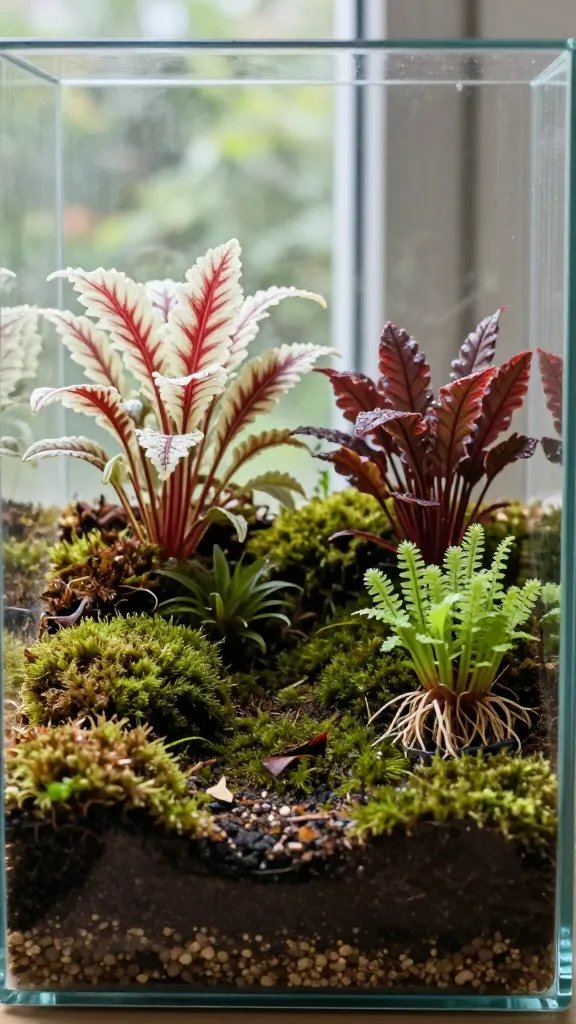
Forcing height from sprawling species means weekly trimming, fallen leaves, and weak, leggy stems. The right upright minis deliver height in tight footprints, so you get vertical interest while roots remain contained and healthy.
Reliable Upright Choices For Terrariums
- Selaginella kraussiana ‘Brownii’: Forms low hummocks that step up slopes cleanly.
- Fittonia albivenis ‘Mini White’ or ‘Red Vein’: Compact, colorful accents at 8–12 cm tall.
- Pilea involucrata ‘Norfolk’ or Pilea glauca: Small mounding habit, tidy roots.
- Cryptanthus (Earth Stars): Rosettes add mid-height with minimal root mass.
- Buces (Bucephalandra) on rock: Slow, upright leaves with rhizomes that don’t hog soil.
Plants To Skip If Space Is Tight
- Large ferns like Boston fern—they sprawl and shed fronds.
- Aggressive vines like standard creeping fig—overruns everything.
- Tall Dracaena or large Calathea—deep, thirsty roots in small containers spell trouble.
Planting Pattern That Maximizes Height Per Root
- One upright accent centered on a mound or beside a rock “spire.”
- Two mid-height fillers on slopes.
- Moss carpet and tiny groundcovers at the front lip for depth.
Action today: Swap one sprawling plant for a compact upright mini—your eye goes up, not out, and the root zone breathes again.
Frequently Asked Questions
How do I know if my terrarium’s root zone is overcrowded?
Look for slow or stalled growth, yellowing lower leaves, and roots circling at the glass. If soil stays wet longer than 10–14 days after a light watering, it’s holding too much plant mass. Lift one plant gently; if roots are a dense mat with little soil visible, thin by one-third and add a false bottom to regain drainage.
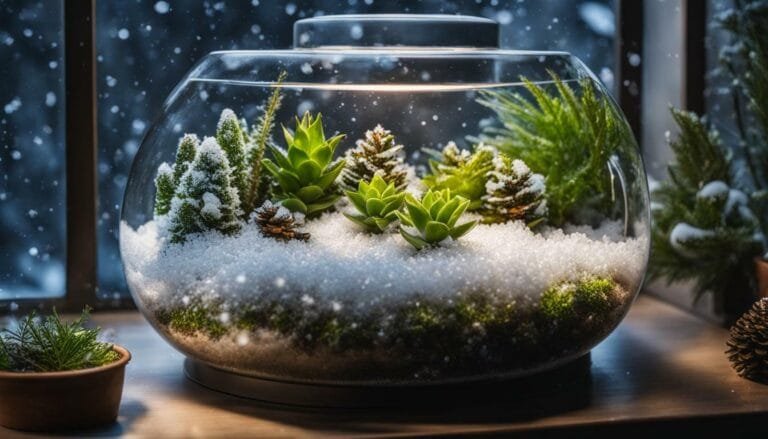
What’s the easiest way to add height in a very small jar?
Use one slim piece of driftwood or a single tall rock set at an angle, then add moss and one tiny upright plant. Keep soil depth to 4–5 cm with a 2–3 cm stone layer underneath. This creates an instant peak and keeps maintenance simple in small glass.
Can I raise plants without special terrarium tools?
Yes. Use items from a hardware or garden centre: aquarium stones, window screen, plastic mesh cups, and cork bark. A spoon, chopsticks, and a spray bottle handle almost all setup. Shape mounds with your hands and firm edges with small stones to prevent slumping.
How much water should I add after raising the substrate?
Less than before, because the false bottom holds extra moisture. For a 2–5 liter closed terrarium, add 1–2 tablespoons at a time with a spray bottle, then wait 24 hours. Aim for light morning condensation that clears by midday; if glass stays fogged all day, leave the lid open for 1–2 hours.
Which mosses work best on vertical features?
Use cushion or sheet-type mosses like Leucobryum (cushion moss) and Hypnum (sheet moss). Press thin layers onto damp wood or rock and mist to seat them. Keep them in bright indirect light near a window and trim any browned tips to encourage fresh, tight growth.
How often should I reshape mounds or adjust hardscape?
Check monthly for soil settling or gaps. If a mound slumps, lift the front edge and slide a few small stones as a terrace, then reapply soil and moss. Hardscape should feel solid when you tap it—if it wobbles, re-seat it deeper or brace with a hidden stone wedge.
Conclusion
Height without hassle comes from structure first, plants second. Start with a false bottom, sculpt one bold mound, and anchor the scene with a single rock or branch—then place compact uprights where they shine. If you’re ready for the next step, practice mounting one small plant on cork and watch how much taller your miniature landscape feels overnight.