The Truth About Sand Vs Gravel As the Drainage Base Layer — Weight, Porosity and Compaction Compared
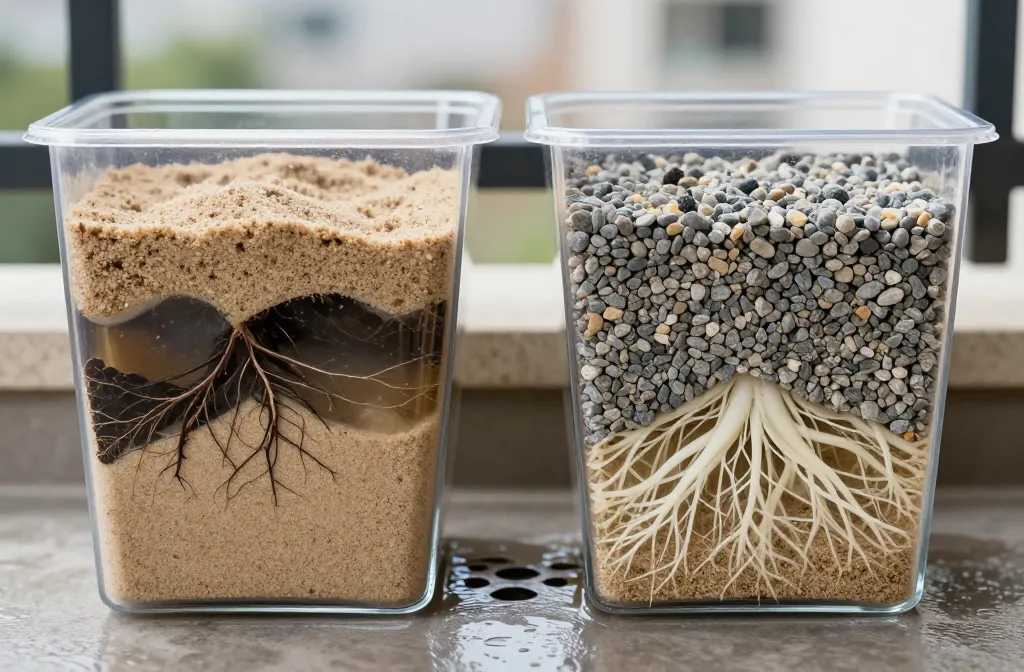
I ruined my first balcony planters by packing a layer of sand under the potting mix. Plants sulked for weeks, and when I tipped a pot out, the bottom smelled like a pond. Once I swapped that dense sand layer for a thin layer of washed gravel and fixed my soil mix, the same containers started draining cleanly and roots stayed white. In this guide, I show exactly when to use sand or gravel as a base layer, how their weight, porosity, and compaction change water movement, and how to set up containers so water actually exits the pot instead of pooling at the bottom.
What Does a Drainage Base Layer Actually Do?
A base layer creates space at the pot bottom so excess water collects briefly and exits through the holes without clogging them. It does not pull water out of soil above — fixing a waterlogged mix requires improving the mix itself with perlite or bark, not adding a bottom layer.
A base layer does not suck water out of soil. It creates space at the bottom so excess water can collect briefly and move out through the holes without clogging them. If your potting mix holds too much water, adding sand at the bottom makes things worse by raising the water table higher into the root zone.
Use a base layer to keep holes open, trap fines, and stop soil from washing out — not to “improve” a heavy mix. You improve the mix itself with structure, not a bottom layer. The Clemson extension fact sheet on common container planting problems explains how the perched water table works and why a base layer cannot fix a soil that’s too fine to begin with.
Action today: Flip a pot over and check that the drainage holes are fully open and not covered by a saucer that fits tight — leave a finger-width air gap under the pot.
Sand vs Gravel: How Do Weight, Porosity, and Compaction Compare?
Sand packs densely, holds water in tiny gaps, and compacts under the weight of wet soil — gravel stays open, drains fast, and resists compaction. For keeping pore space open and water moving at the pot bottom, washed gravel wins on every measure that matters.
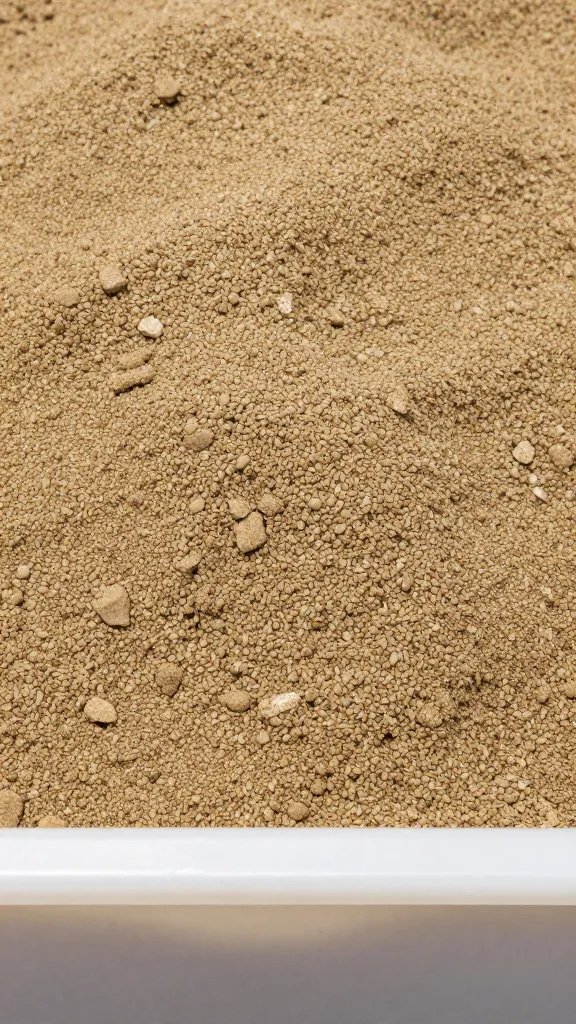
Weight: Sand is heavy for the volume because the grains pack tightly. A 5 cm sand layer in a 30 cm pot adds surprising mass, making balcony planters harder to move and stressing flimsy shelves. Gravel adds weight too, but for the same thickness it often weighs less because it contains more air gaps between stones.
Porosity: Sand has tiny gaps that fill with water fast and drain slowly. Gravel has large gaps that stay open, creating quick paths for water to reach the exit holes. More open voids mean less time for roots to sit wet at the bottom. The University of Minnesota’s container soil guide confirms that particle size is the primary driver of porosity — larger particles create larger gaps.
Compaction: Sand compacts under the weight of wet soil and watering, forming a dense barrier that slows water at the interface. Washed gravel resists compaction and keeps a rough, open channel for flow.
| Property | Sand | Washed Gravel |
|---|---|---|
| Weight (per 5 cm layer in 30 cm pot) | Heavy — grains pack tight | Lighter — air gaps between stones |
| Porosity | Low — tiny gaps hold water | High — large open voids drain fast |
| Compaction risk | High — forms dense barrier under wet soil | Low — resists compaction, stays open |
| Water speed through layer | Slow — water hesitates at interface | Fast — water drops through once soil reaches capacity |
| Best use | Mixed into soil for succulents, never as a base | Thin 1–2 cm base layer to protect drainage holes |
| Balcony/shelf weight impact | Significant — adds several kg in large pots | Moderate — mostly stone with air between |
Takeaway: For drainage at the pot bottom, choose washed gravel over sand to keep pore space open and water moving.
Why Does Sand Trap Water at the Soil Boundary?
Water slows whenever it moves from fine soil into finer sand, saturating the root zone above the boundary. Gravel’s larger voids let water drop through once the soil reaches field capacity, keeping the exit path open without pushing the water table up as high.
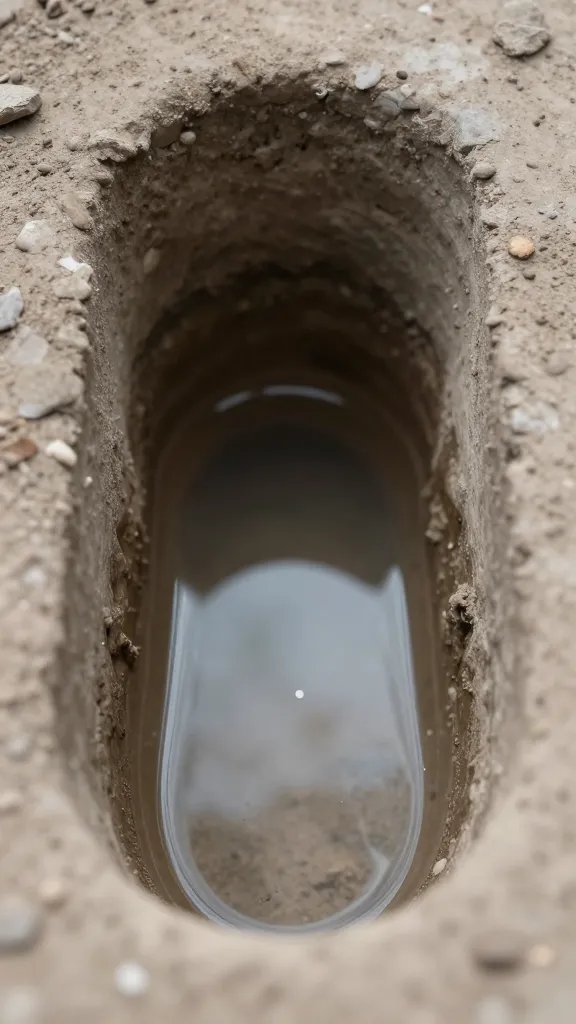
Water slows down whenever it moves from a fine material to a coarse one. In a pot, that boundary sits exactly where roots love to grow. With a sand layer under potting mix, water hesitates at the boundary and saturates the soil above, holding the root zone wetter for longer.
Gravel under potting mix creates a sharper contrast, but the larger voids in gravel let water drop through once the soil above reaches field capacity. In practice, a thin gravel layer keeps the exit path open without pushing the perched water table upward as dramatically as sand does. If you’ve noticed yellowing lower leaves and soft stems in your containers, the 12 common container gardening problems guide covers how drainage issues cause most of them.
Action today: If your pots feel heavy a day after watering and the top 2–3 cm are dry while the bottom stays wet, replace any sand base with a 1–2 cm layer of washed gravel and refresh the mix.
How Do You Set Up the Bottom of a Pot the Right Way?
Cover drainage holes with mesh or a terracotta shard, add just 1–2 cm of washed pea gravel, then fill with fresh potting mix amended with perlite. Water once thoroughly and time the exit — steady flow from the holes within 10 seconds means the setup is working.
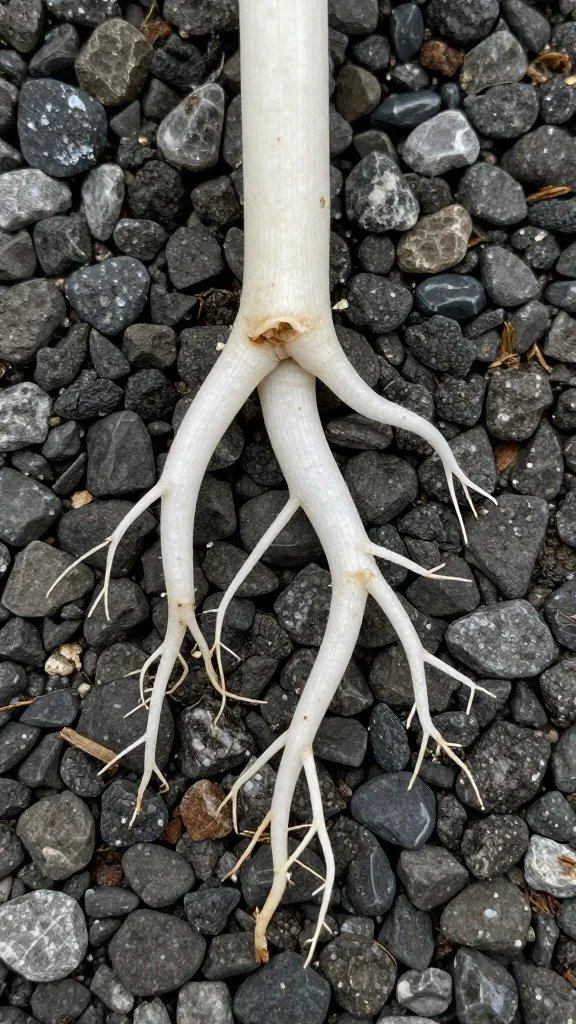
I keep the base layer thin — just enough to protect the holes and stop mix from escaping. More thickness does not equal better drainage; it just steals root space.
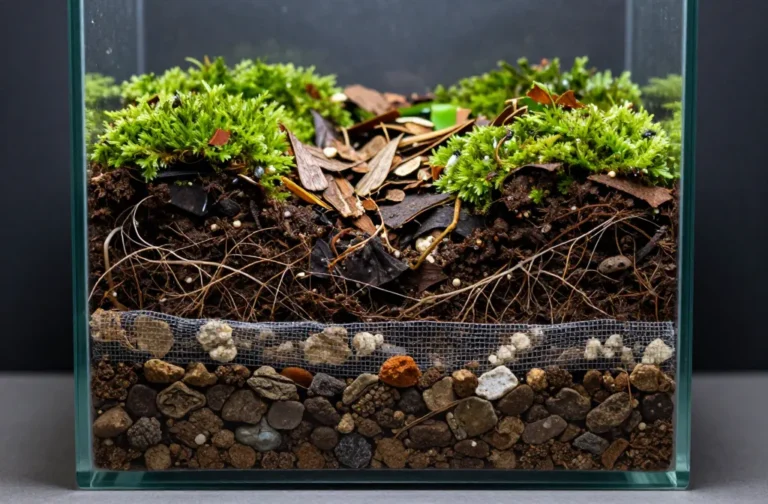
- Cover holes with a curved shard from a broken terracotta pot or a square of plastic mesh from the garden centre. This prevents mix from plugging the holes.
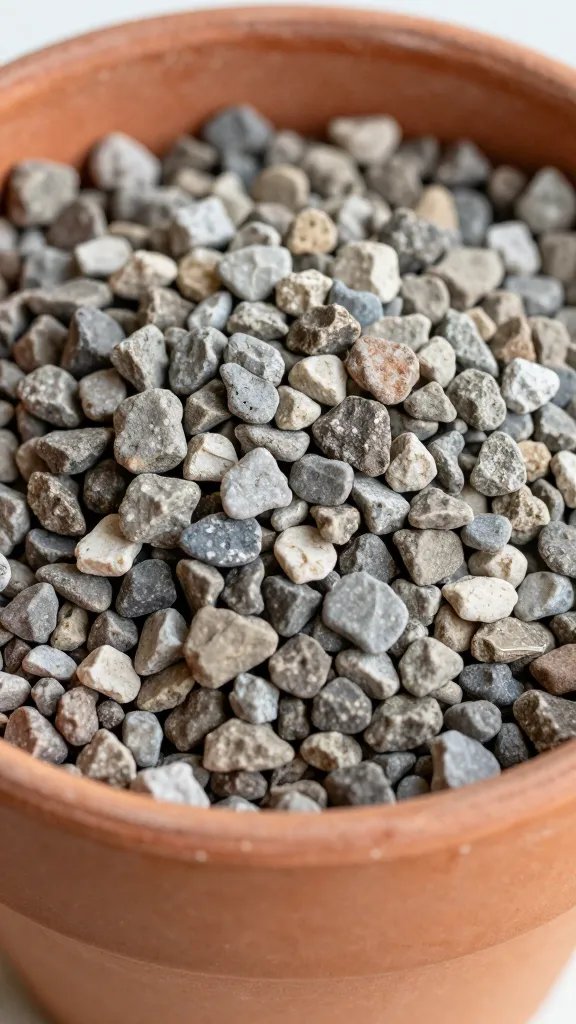
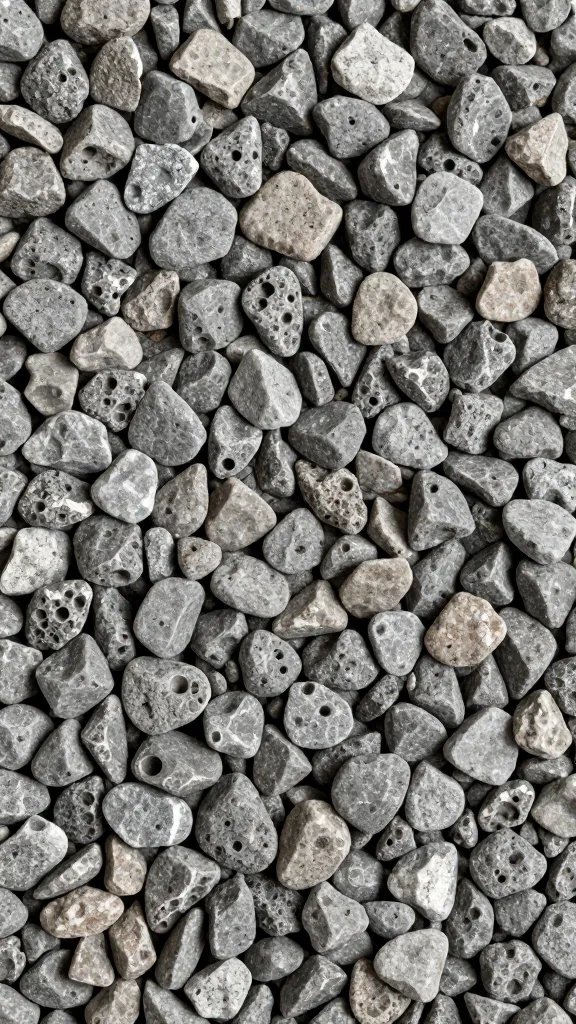
- Add 1–2 cm of washed pea gravel (about thumbnail-sized stones). Rinse in a bucket until the water runs mostly clear to remove fine dust.
- Fill with a high-quality potting mix from the garden centre. For thirsty herbs and annuals, I blend in a couple of handfuls of perlite per 10 litres to keep it open.
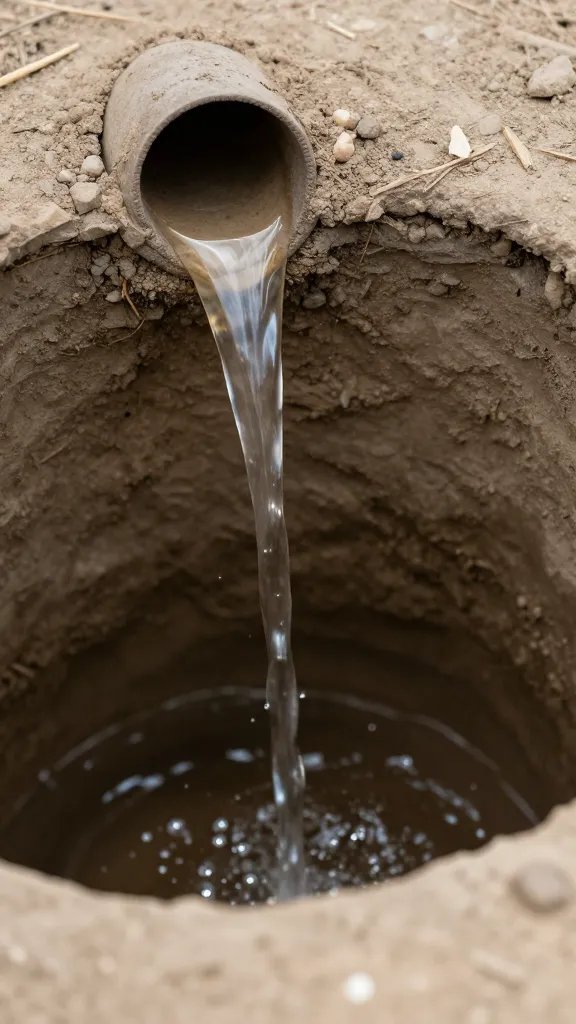
- Water once thoroughly and watch for a steady stream from the base within 5–10 seconds of the surface glistening.
For a full tour of which substrate mixes work best for different container types, the soil types for container gardening guide covers ten options and when to use each one.
Action today: Test drain speed on one pot: water until it pools on top, then time how long before it runs from the holes — aim for under 10 seconds. If slower, open the mix with perlite or repot out of a sand base.
When Does Sand Make Sense for Containers?
Coarse horticultural sand works only as a mix ingredient for succulents and cacti — blended evenly through potting soil with perlite, never as a base layer. Play sand and builder’s sand compact into a water-trapping pan and should stay out of pots entirely.
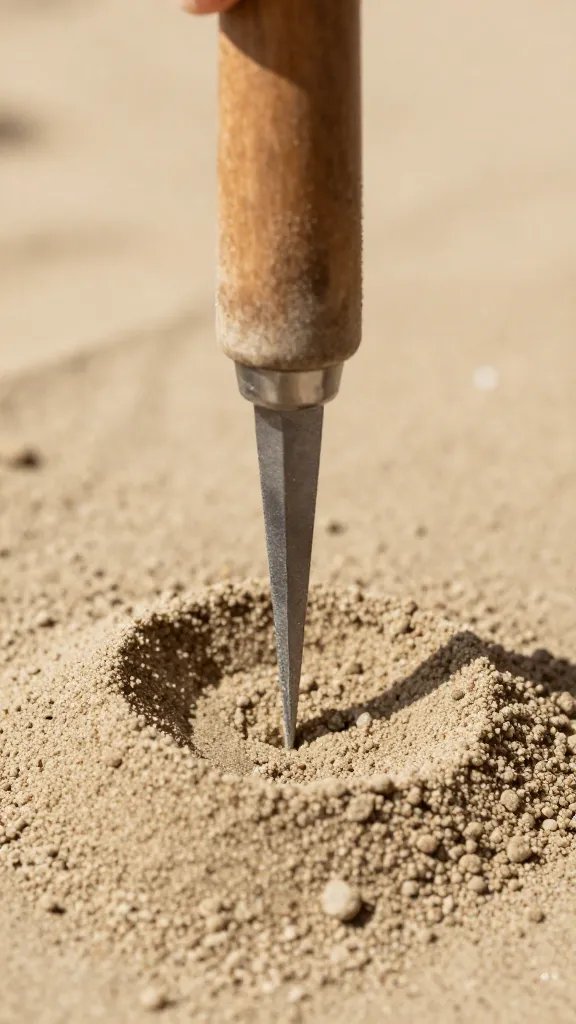
Clean, coarse horticultural sand has one niche: blending into potting mix for specific plants that like a lean, gritty medium, such as some succulents or cacti. Even then, I never use it as a base layer. I mix it through with perlite or fine gravel to prevent compaction. The University of Minnesota’s succulent guide recommends a gritty, fast-draining mix for these plants — and sand mixed through the soil (never as a layer) is part of that formula.
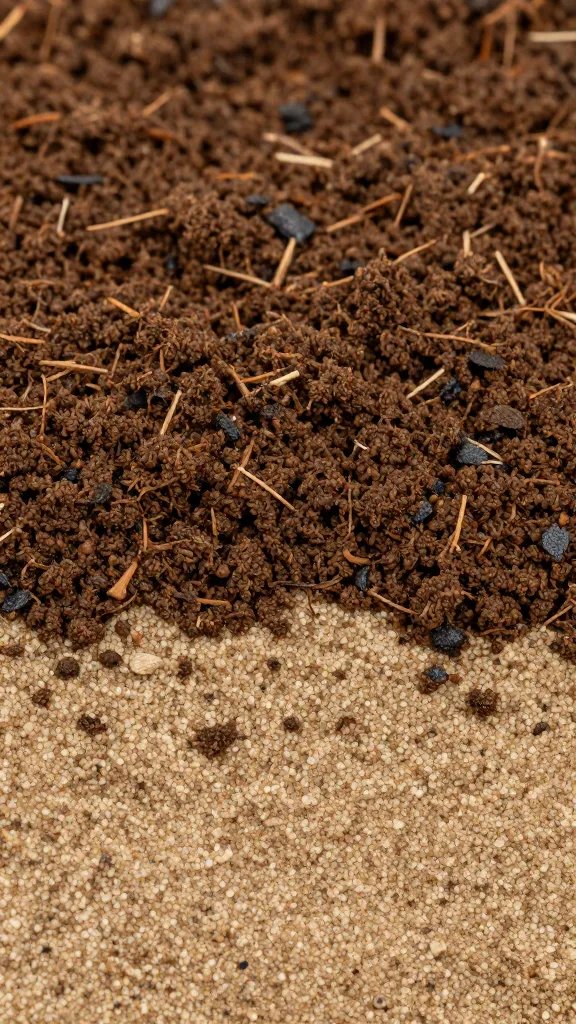
Play sand and builder’s sand stay damp, carry fine clay or silt, and compact into a pan. That traps water and rots roots. If sand is your only option, use a small amount mixed through the potting soil, and balance it with equal or greater volume of perlite to keep air space.
Material Recommendations That Work From Any Garden Centre
- Washed pea gravel or small decorative stones, 6–12 mm.
- Perlite for opening the mix — two large handfuls per 10 L of potting soil.
- Horticultural sand only if labeled “coarse,” used as a mix ingredient, not a base.
- Plastic mesh or a terracotta shard to cover holes.
Action today: Check the label on any sand at home — if it says play sand or looks powdery, keep it out of pots and use it for leveling pavers instead.
How Do You Keep Drainage Working Long-Term?
Refresh actively grown containers every 12–18 months by dumping the pot, rinsing the gravel, and refilling with a perlite-amended mix. Watch for slow surface drainage, algae, or a sulfur smell — those signals mean the base layer has clogged with fines and needs a reset.
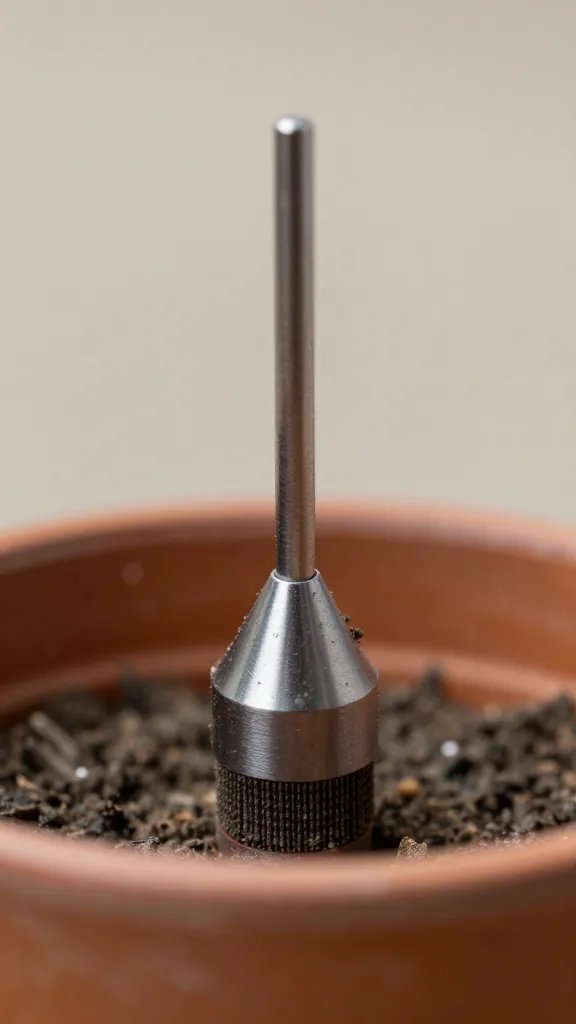
Even a good setup slows down as organic matter breaks down and fines wash downward. Pots you water from the top weekly will accumulate silt at the base after a season.
I refresh actively grown containers every 12–18 months. I dump the pot, shake out the roots, re-rinse the gravel, replace the mesh if clogged, and refill with fresh mix. This resets pore space and prevents the slow creep toward swampy bottoms.
Warning Signs Your Base Layer Is Failing
- Water stands on the surface longer than 10–15 seconds before disappearing.
- Persistent algae or a sulfur smell when you tap the pot free of the saucer.
- Leaves yellow from the bottom up and stems feel soft near the soil line.
If you’re seeing mold or algae around the base of your pots, the same moisture problems that cause mold in succulent terrariums apply to any container with poor drainage.
Action today: If you smell anything “eggy” from a pot, unpot it outdoors, rinse the gravel, and trim any brown, mushy roots before repotting into a fresher, airier mix.
What About Balcony Weight, Indoor Saucers, and Self-Watering Pots?
On balconies, skip thick layers entirely and use perlite in the mix to cut total mass. Indoors, rest pots on pebbles in the saucer and empty within 10 minutes. In self-watering pots, the reservoir replaces the base layer — adding gravel or sand at the bottom defeats the design.
On balconies and shelves, weight matters. Skip thick sand layers entirely and keep gravel minimal. Use lightweight planters and perlite in the mix to cut total mass.
Indoors, saucers trap runoff. I leave a few pebbles in the saucer and rest the pot on them so the base sits above any standing water. Empty saucers within 10 minutes of watering.
In self-watering pots, the reservoir replaces the base layer. Pack the wicking column firmly with potting mix and leave the rest of the mix airy. Adding gravel or sand at the bottom of a reservoir pot defeats the design.
For container setups that are giving you trouble indoors, check out the guide on watering container plants for apartment gardens — it covers saucer management, self-watering pots, and how to adjust your routine seasonally.
Action today: If your pots sit flat on sealed floors, add three adhesive rubber bumpers under the saucer to create airflow and faster drying between waterings.
Frequently Asked Questions
Should I put gravel at the bottom of every pot?
Use a thin 1–2 cm layer of washed gravel only when you need to protect holes and stop mix from escaping. It keeps the exit path open, but it is not a cure for heavy, waterlogged soil. If your potting mix drains slowly, fix the mix with perlite and repot — do not add more gravel thickness.
Can I use play sand from the hardware store in pots?
No. Play sand is very fine and compacts into a dense layer that holds water. If you want a gritty blend for succulents, use coarse horticultural sand and mix it evenly through the potting soil with perlite, roughly 1 part sand to 2 parts potting mix to 1–2 parts perlite. Never use sand as a separate bottom layer.
How thick should a drainage layer be?
Keep it thin: 1–2 cm for most containers. Thicker layers steal root space and raise the perched water table higher into the root zone. If the holes clog easily, add a mesh square or a terracotta shard before the gravel to keep the path open without adding bulk.
My pot still drains slowly even with gravel — what now?
Gravel cannot fix a dense or broken-down mix. Repot with fresh potting soil and mix in two big handfuls of perlite per 10 litres. Rinse the gravel, clear the holes, and ensure the saucer doesn’t seal the pot bottom — use pebbles or bumpers to create an air gap.
Is gravel safe for edible plants like herbs and tomatoes?
Yes, washed inert gravel is safe and won’t affect flavor or nutrition. Avoid limestone gravel for acid-loving plants, but most herbs and tomatoes tolerate it fine. Always rinse gravel until the water runs mostly clear before adding it to food crop containers.
What if my pot has only one small hole?
Enlarge it with a masonry bit if the pot is ceramic and unglazed, or add a few extra holes to plastic pots using a standard drill. Inside, cover holes with mesh or a shard, then add the thin gravel layer. Better exit capacity beats any base material choice.
Do indoor houseplants need a gravel drainage layer?
A thin 1–2 cm gravel layer helps indoor pots mainly by keeping drainage holes clear and stopping soil from escaping onto your saucer. It won’t fix a water-retentive mix — for that, you need to amend the potting soil itself with perlite or bark. Most indoor houseplants do better with a well-aerated mix than with any base layer alone.
What’s better than gravel for container drainage?
Coarse perlite or pumice mixed directly into the potting soil outperforms any base layer because it improves drainage throughout the entire root zone, not just at the bottom. For the base itself, nothing beats a thin wash of pea gravel under mesh — the real drainage work happens in the mix above. If you’re dealing with a stubbornly wet pot, fix the soil first, then worry about what goes beneath it.
Does the pot material change which drainage layer I should use?
Yes — porous terracotta pots wick moisture through their walls, so they need less base layer protection than sealed plastic or glazed ceramic. In plastic pots where water can only exit through the bottom holes, a thin gravel layer and clear mesh become more important for preventing clogs. Match your drainage strategy to how the pot itself handles moisture, not just what goes inside it.
Can I reuse gravel from an old pot when repotting?
Yes, as long as you rinse it thoroughly first — old gravel accumulates silt, salt deposits, and decomposed organic matter that slow drainage over time. Run it under a hose until the water runs clear, check that no fines are clogging the gaps between stones, and let it dry before adding it to the fresh repot. If the gravel is stained dark or smells sour, replace it with a new batch rather than reintroducing problems.
Conclusion
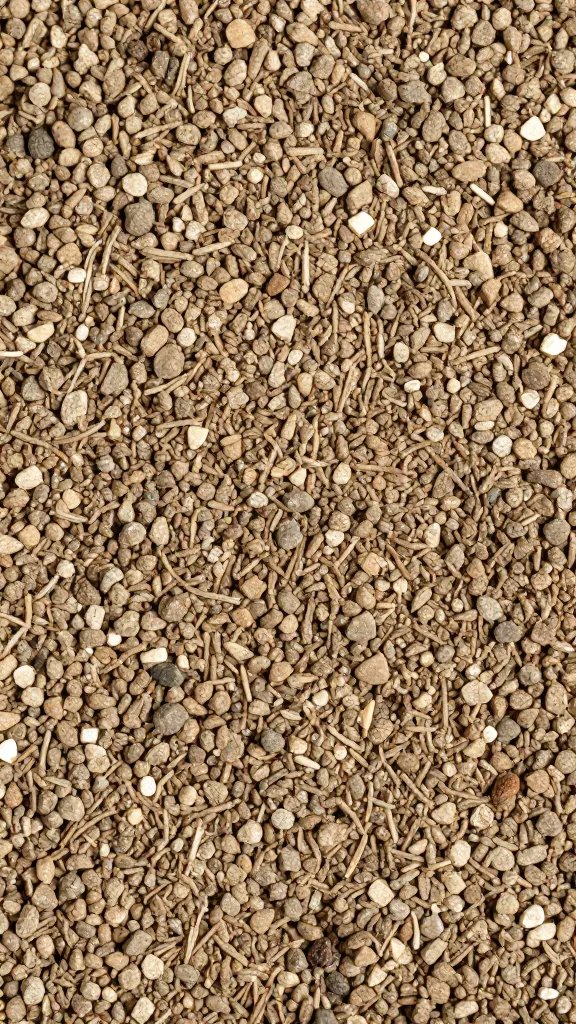
Choose washed gravel as a thin, practical base layer and invest your effort in an open, fresh potting mix. If a pot stays heavy and wet, you now know the fix lives in the mix and the exit path — not in piling on more sand. Today, reset one struggling container: clear the holes, add mesh and a 1–2 cm gravel layer, refresh the mix with perlite, and enjoy faster drying and healthier roots this month.