Master How to Build a Bioactive Terrarium Substrate — Layers, Microfauna and Long-Term Soil Health Unlocked
I built my first bioactive terrarium on a tiny apartment counter with a mixing bowl, a spoon, and a bag of potting soil. It looked great for two weeks, then compacted, grew fungus gnats, and stalled my plants. Once I understood how the layers work together and how to seed the right cleanup crew, everything stabilized. In this guide, I’ll show you exactly how to build a substrate that stays aerated, self-cleans, and feeds your plants for years without specialist tools.
What “Bioactive” Really Means (And Why It Saves You Work)
A bioactive substrate is alive with a small workforce: microfauna (springtails and isopods), microbes, and fungi that recycle waste into nutrients. Instead of you cleaning and replacing soil, the system composts fallen leaves, prevents rot pockets, and keeps nutrients circulating.
This living layer needs air pockets, steady moisture, and a food source. If you only pour in potting soil, you create a swamp that compacts and suffocates roots and microfauna.
Action today: Decide on your cleanup crew: buy a small culture of springtails and a starter colony of dwarf isopods from a garden center or reputable online supplier.
The Layered Substrate That Doesn’t Collapse
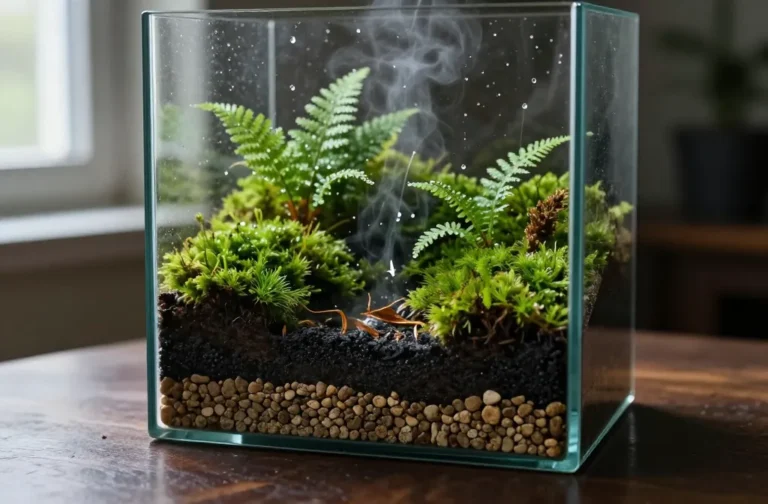
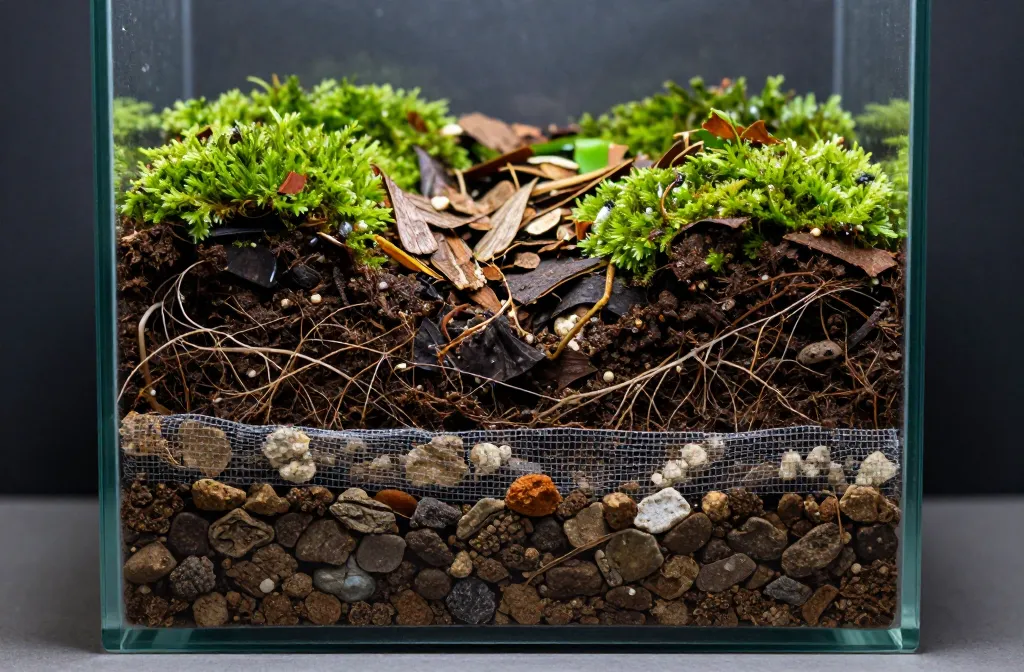
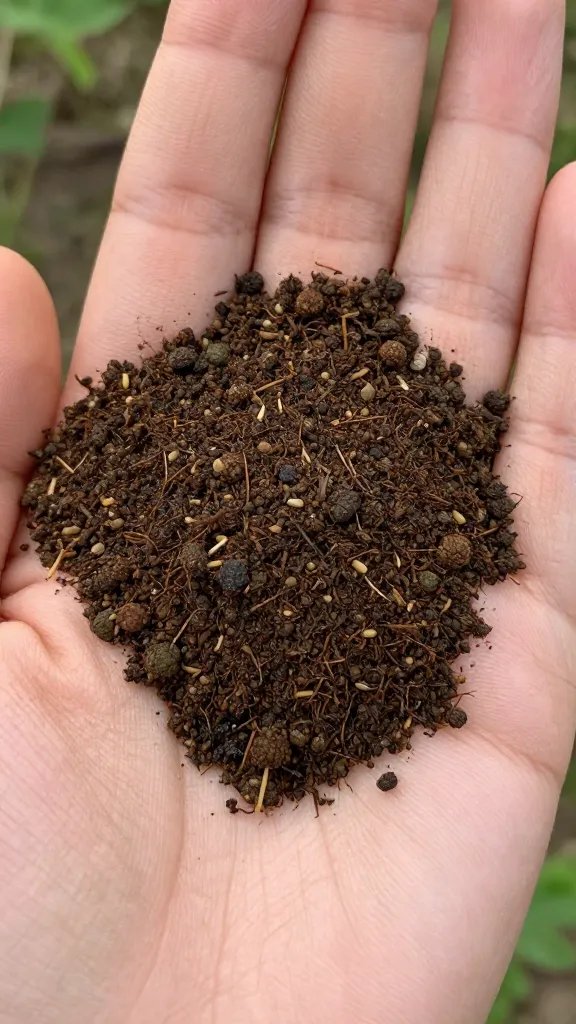
Use four functional layers: drainage, barrier, mix, and litter/moss. Each layer does one job, and together they keep water moving and soil breathing.
Recommended Materials You Can Find Locally
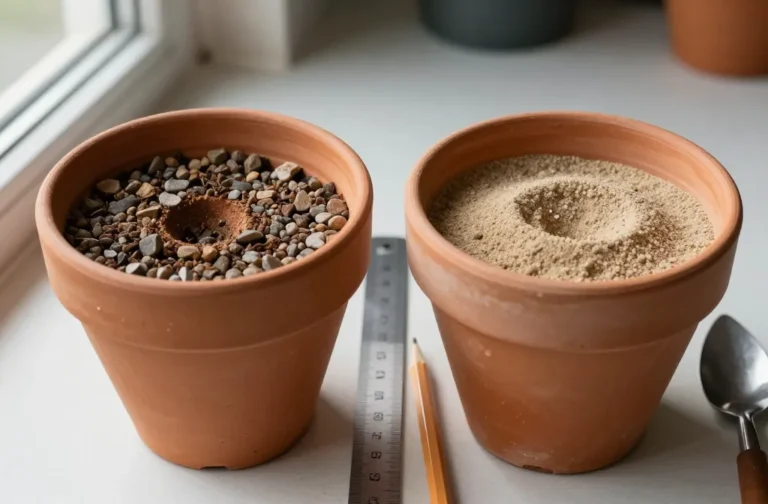
- Drainage: Lightweight expanded clay aggregate (LECA) or aquarium gravel.
- Barrier: Fiberglass mosquito screen or landscape fabric (cut to fit).
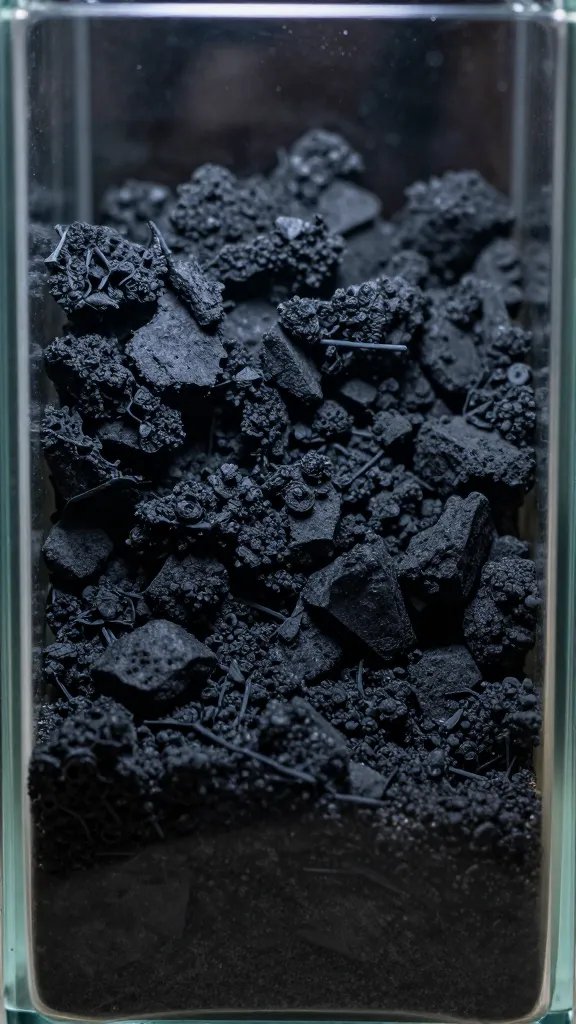
- Soil Mix: Good quality potting mix + orchid bark (fine grade) + horticultural charcoal + coarse sand or perlite.
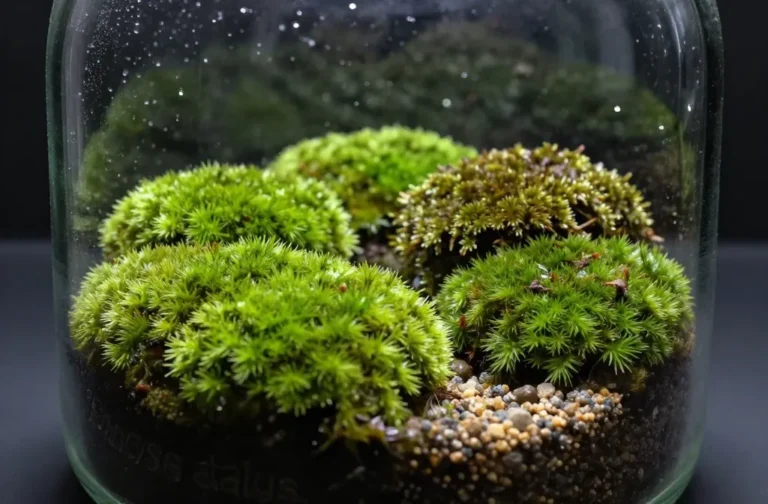
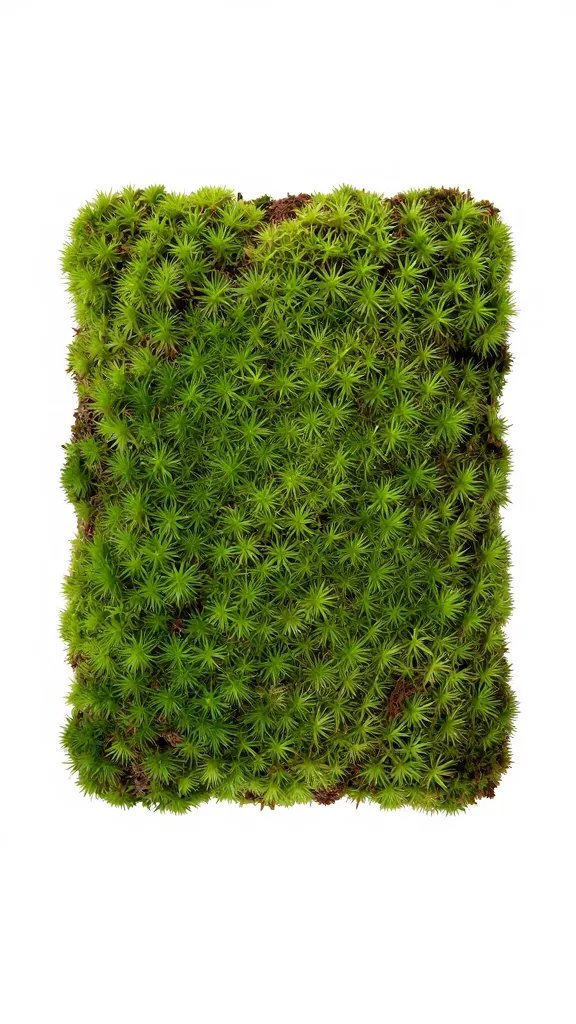
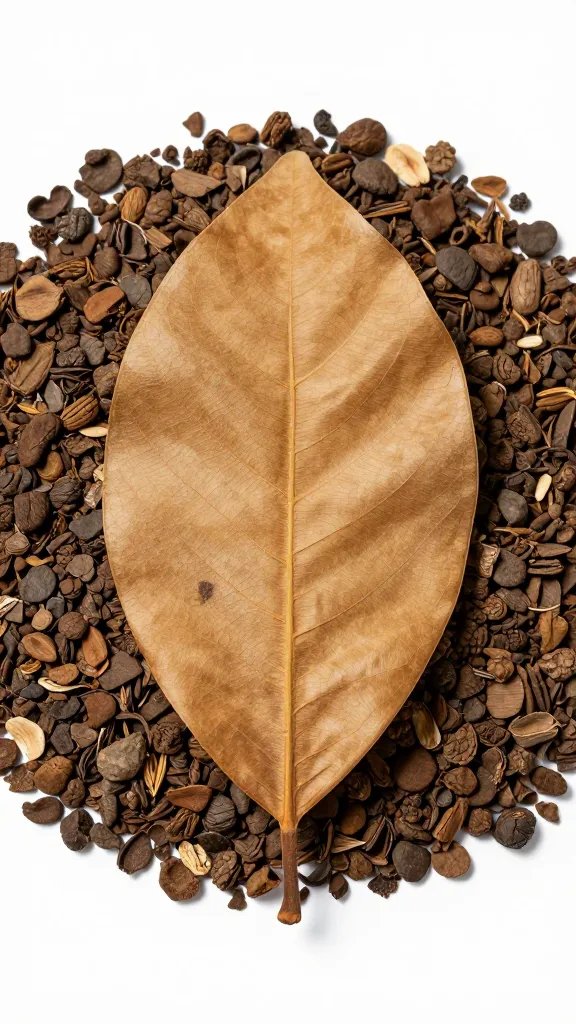
- Litter/Moss: Dried live oak or magnolia leaves (untreated), sterilized hardwood leaf litter, cork chunks, and sheet moss or cushion moss.
Simple Ratios and Depths
- Drainage: 2–4 cm (just enough to catch runoff).
- Soil Mix: 7–12 cm (enough for roots and microfauna to work comfortably).
- Mix ratio by volume: 2 parts potting mix : 1 part orchid bark : 1 part perlite or coarse sand : 0.5 part horticultural charcoal.
- Litter/Moss: 1–2 cm leaf litter with patches of moss.
Action today: Dry-mix the soil ingredients in a bucket with a spoon until the bark and perlite are evenly distributed; aim for a mix that feels light and gritty, not sticky.
Step-by-Step Build: From Empty Jar to Living Floor

- Rinse and place drainage: Pour in LECA or gravel, level it, and rinse once in the container to remove dust. Drain off cloudy water.
- Add barrier: Lay in fiberglass screen cut to the shape of the container. This keeps soil out of the drainage layer.
- Moisten the mix: In a bowl, add water until the mix clumps when squeezed but doesn’t drip. If it drips, add more dry mix.
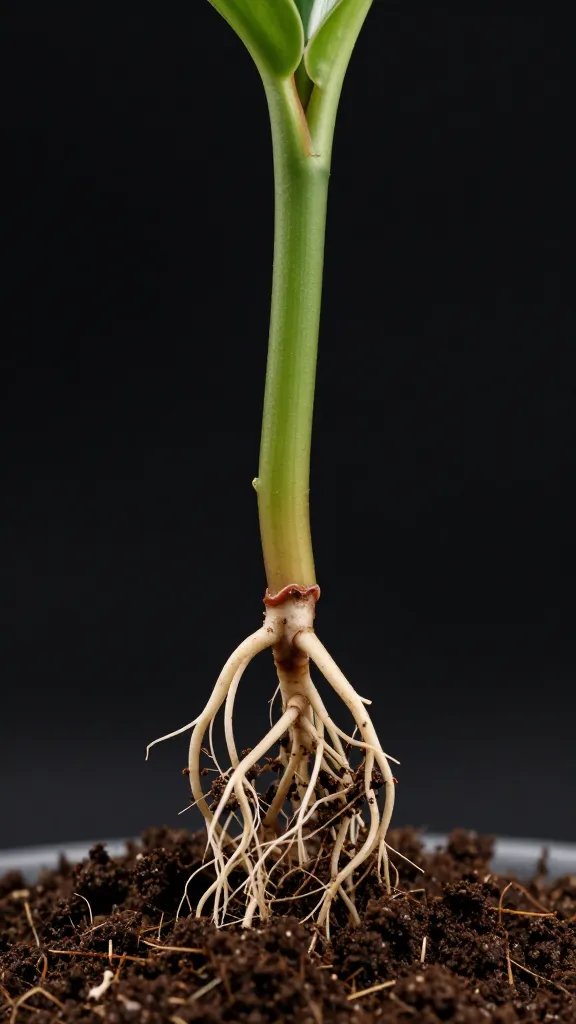
- Install soil: Add 7–12 cm of the moistened mix. Firm it gently with your fingertips so it supports plants but still has spring.
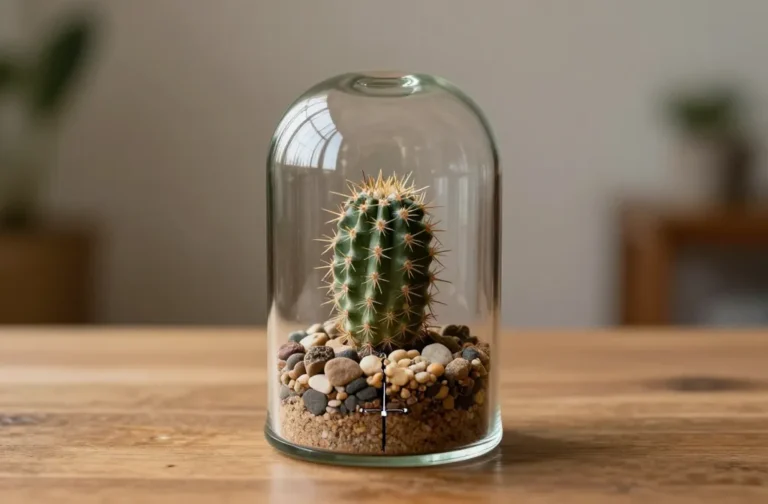
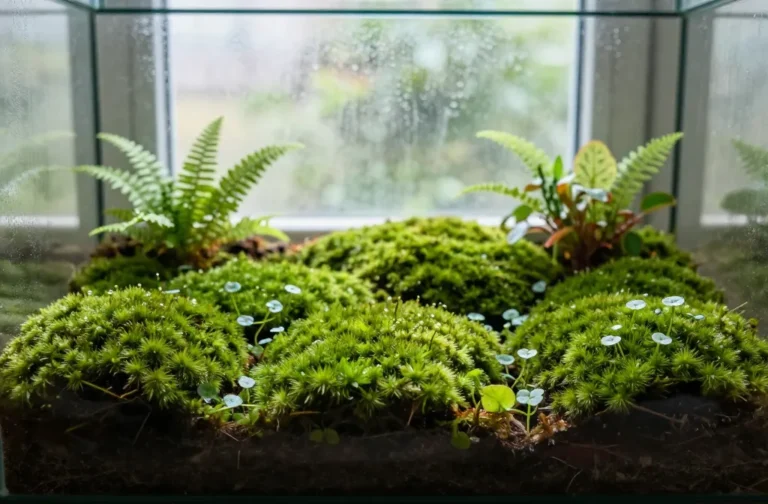
- Plant: Tuck in small, clean-rooted plants. For bioactive stability, choose compact species like Pilea, Fittonia, Pepperomia, and Ferns (mini varieties).
- Add leaf litter and moss: Scatter a thin blanket of dry leaves and place moss in patches. This is the microfauna pantry and humidity blanket.
- Seed microfauna: Add springtails by pouring a small amount of their culture water onto the substrate. Tap in a dozen dwarf isopods under the leaf litter.
- Initial watering: Mist until the soil darkens evenly. Do not flood. For closed terrariums, you want only light condensation on 10–30% of the glass by midday.
Action today: After planting, press two fingers into the soil; if they come up shiny-wet, leave the lid off for one hour to balance moisture.
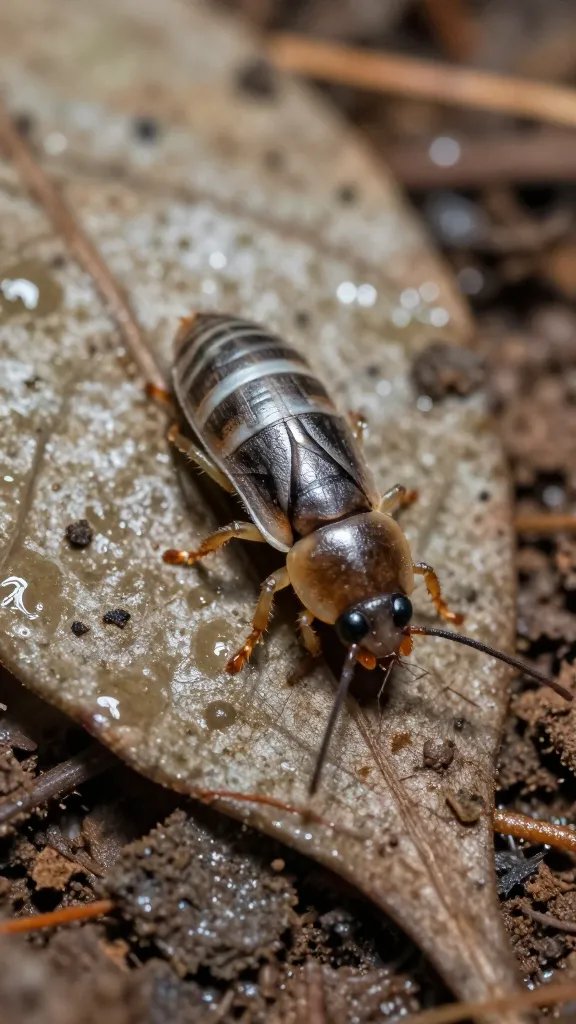
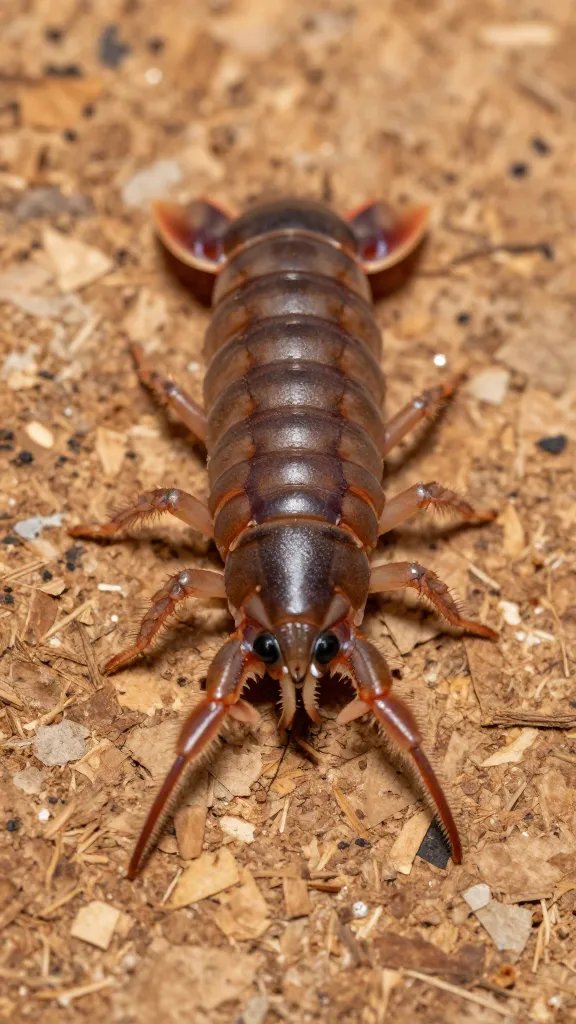
Microfauna: The Cleanup Crew That Prevents Rot and Gnats
Springtails eat fungus and mold blooms before they spread. They love moist surfaces and leaf litter. You’ll see them as tiny white flecks when you tap the glass.
Dwarf isopods (like “dairy cow” or “dwarf purple”) shred leaves and break down waste into fine crumbs microbes can finish. They prefer hide spots and steady moisture.
Feeding and Population Control
- Offer a pinch of plain fish food flakes or a few rice grains under a leaf once every 2–3 weeks.
- If you see cloudy white fuzz on that food after 24 hours, you fed too much; remove leftovers with tweezers.
- If you never see them, lift a leaf; if absent after 4 weeks, add another small starter culture.
Action today: Add a bottle-cap “feeding station” under a leaf so you can monitor and remove leftovers cleanly.
Moisture Management Without Meters
Moisture drives the whole system. Too wet suffocates roots and chases off isopods; too dry stalls microbes and moss. I use three no-tool checks.
- Glass test: By midday, light fog on up to one-third of the glass is perfect. Fully fogged glass means overwatering.
- Pinch test: Pinch the top 1 cm of soil. It should feel cool and slightly springy, not paste-like.
- Weight test: Lift the container weekly. Learn its “just right” weight after a good setup; sudden heaviness signals waterlogging.
Fixing Common Moisture Problems
- Too wet: Vent the lid for 2–4 hours daily for 2–3 days. Add a handful of dry leaf litter to wick moisture.
- Too dry: Mist the soil surface (not just the glass) with 10–15 sprays, then cover. Repeat next day if moss looks crisp.
Action today: Do the glass test at midday; adjust by venting or misting until only light, patchy condensation remains.
Nutrients and Long-Term Soil Health Without Fertilizer Burn

Bioactive soils feed themselves, but they still need gentle top-ups. I avoid liquid fertilizers in closed systems because they spike salts and fuel algae.
Use slow, small inputs that microbes can process. Every 8–12 weeks, tuck a pea-sized piece of compressed worm castings under the leaf litter in two spots. That’s enough nitrogen and micronutrients without tipping the balance.
Warning Signs and Fixes
- Pale new leaves: Add a pea-sized worm castings piece; check light is bright indirect near a window.
- Algae on glass: Reduce light intensity slightly by moving 30–60 cm from the window; stop all feeding for two weeks.
- Fungus gnats: Bury a thin slice of raw potato on the surface for 48 hours, remove with larvae attached, and let the top 1 cm dry slightly before re-misting.
Action today: If growth has slowed for over a month, add one pea-sized worm castings piece under a leaf and observe for two weeks.
Choosing Plants That Thrive in Bioactive Terrariums
Pick plants that enjoy consistent moisture and high humidity. Avoid fast, deep-rooted species that outgrow the container in months.
Reliable, Readily Available Choices
- Foliage: Fittonia, Pilea depressa, Peperomia prostrata, Baby Tears (Soleirolia), small ferns like Nephrolepis ‘Duffii’.
- Texture and height: Cryptanthus, small Selaginella, mini Syngonium cuttings (trim monthly).
- Groundcover/moss: Cushion moss or sheet moss from a garden center (not foraged from roadsides).
Action today: If you already have a plant that sulks in dry indoor air, relocate a small cutting into your terrarium to test compatibility.
Frequently Asked Questions

Do I need a false bottom or can I skip the drainage layer?
Use a drainage layer. Without it, excess water sits in the soil, compacts it, and suffocates roots and microfauna. A simple 2–4 cm layer of LECA or aquarium gravel catches runoff and buys you a safety margin when you over-mist. Always add a screen barrier to keep soil out of the drainage.
How often should I add water to a closed terrarium?
Check weekly, adjust monthly. Aim for light, patchy midday condensation on up to one-third of the glass. If the glass stays dry for three days and the top centimeter feels barely damp, mist with 10–15 sprays. Avoid pouring water unless you can see the substrate is very dry throughout.
Can I use garden soil from outside?
Skip outdoor soil. It compacts in glass containers and can bring pests you don’t want. Use a store-bought potting mix as the base and add bark, perlite, and charcoal for structure and airflow. You control what goes in and avoid mystery hitchhikers.
What if mold appears in the first month?
Early mold is normal while microbes settle in. Add springtails directly to the moldy area, improve airflow by venting the lid for an hour daily, and stop all feeding for two weeks. Remove thick, fuzzy patches with tweezers and top with dry leaf litter to cover bare soil.
Will isopods eat my plants?
Dwarf isopods prefer decaying matter. If they nibble green leaves, it usually means they lack dried food or calcium. Add a tiny piece of cuttlebone or a sprinkle of crushed eggshell under a leaf, and keep a steady supply of leaf litter. Healthy, well-fed isopods ignore live plant tissue.
How do I keep the substrate from compacting over time?
Start with bark and perlite in the mix to create permanent air pockets. Maintain an active cleanup crew, and refresh the leaf litter every 6–8 weeks so they always have material to process. If compaction begins, fork the top 1–2 cm gently with a chopstick and add a handful of fresh bark fines on the surface.
Conclusion
You now have a clear recipe and routine: build the four layers, seed your crew, set moisture by the glass test, and feed the soil with leaf litter and tiny nutrient boosts. Pick one container you own today and run this setup end-to-end; in four weeks you’ll see stable glass, active microfauna, and fresh growth. When that first build hums along, scale the same method to your next terrarium with confidence.