Why Most Indoor Living Walls Fail Within a Year — the Watering System Mistake Nobody Warns About
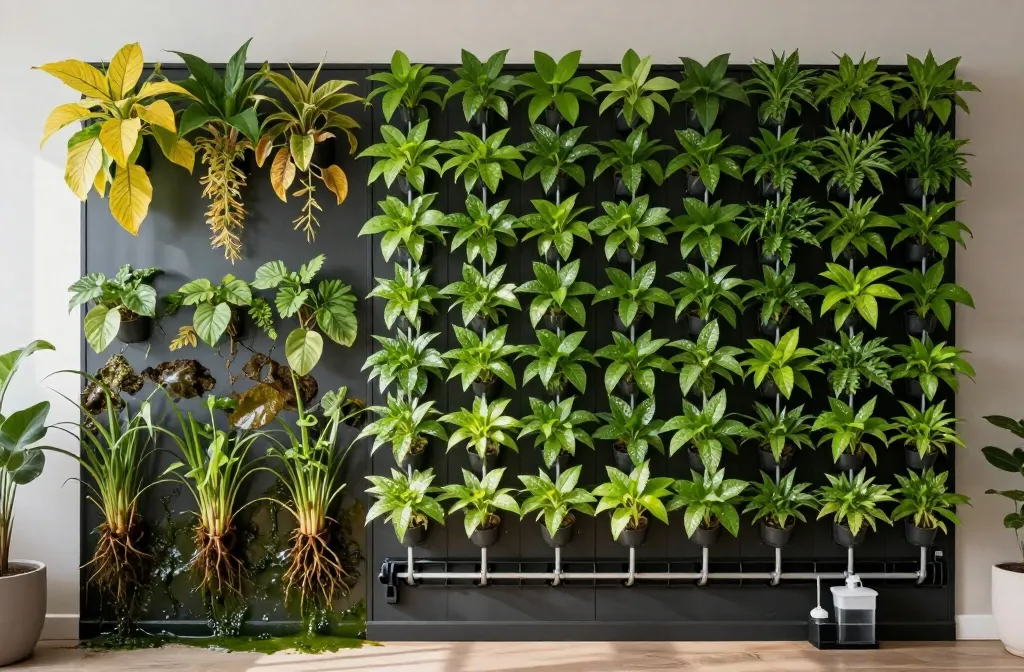
I installed my first indoor living wall in a bright apartment and watched it thrive for six weeks, then decline fast. Leaves yellowed from the top row down, the middle turned patchy, and the bottom rotted — classic “watered often, still thirsty” chaos. I learned the hard way that the biggest killer isn’t plant choice or light; it’s a poorly set-up watering system. In this guide, I’ll show you exactly how to design, test, and maintain watering so your wall lasts years, not months.
The Hidden Enemy: Uneven Watering Across the Wall
Most DIY walls rely on a simple pump or hand-watering from the top. Water rushes to the first few pockets, slows in the middle, and barely reaches the end. The result: crispy plants at the top, swampy pockets at the bottom, and fungal rot where water lingers.
Indoor walls need even distribution to every pocket, every time. That means a basic drip line that feeds each pocket the same amount, not a single hose or “just mist it” plan.
Action today: Water your wall and time how long until each pocket feels evenly damp. If top rows wet in 1 minute and bottom rows in 6, you have an uneven system that needs a drip line.
Stop the Flood: Why Recirculating Without Filtration Fails
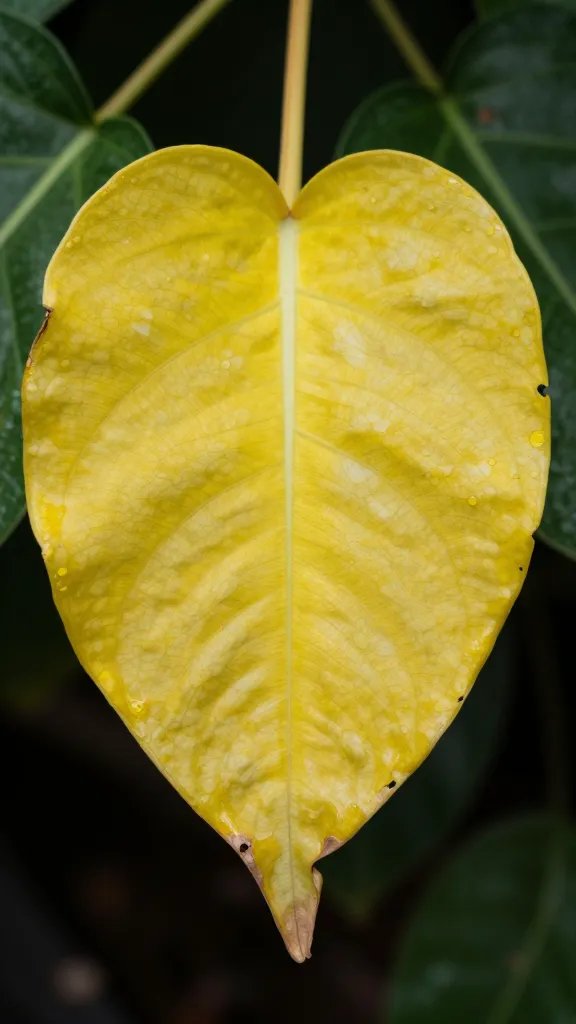
Many kits reuse water in a bottom tray with a submersible pump. Without filtration, tiny bits of potting mix clog emitters within weeks. Flow drops to random pockets, algae builds, and the pump strains until it dies.
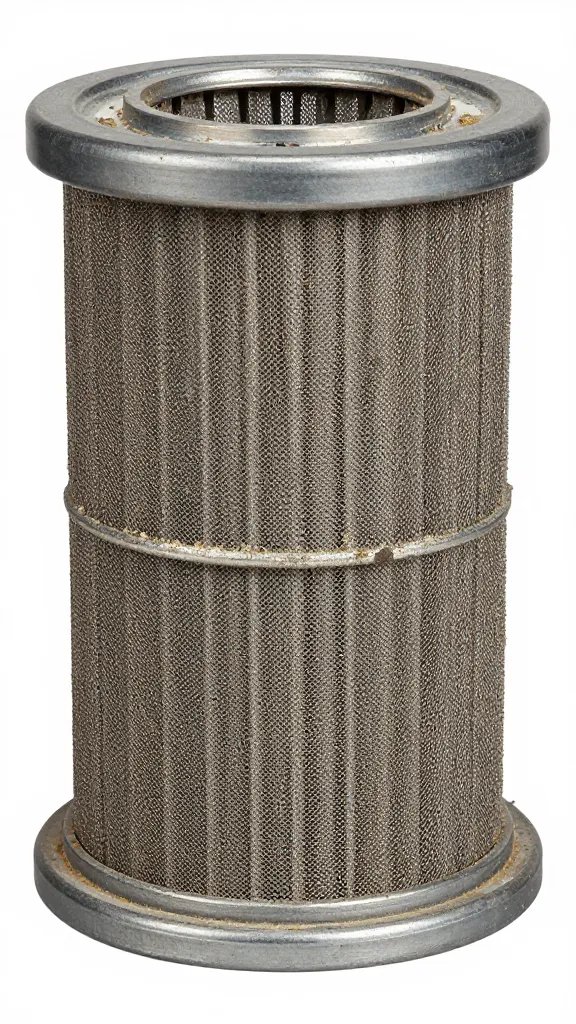
You don’t need a lab-grade filter. You need a mesh pre-filter on the pump intake and a simple inline filter designed for garden drip systems. Both are available at any garden centre.
Step-by-Step Fix
- Lift the pump and wrap the intake in a fine mesh bag (paint strainer bag or nylon stocking) with a rubber band.
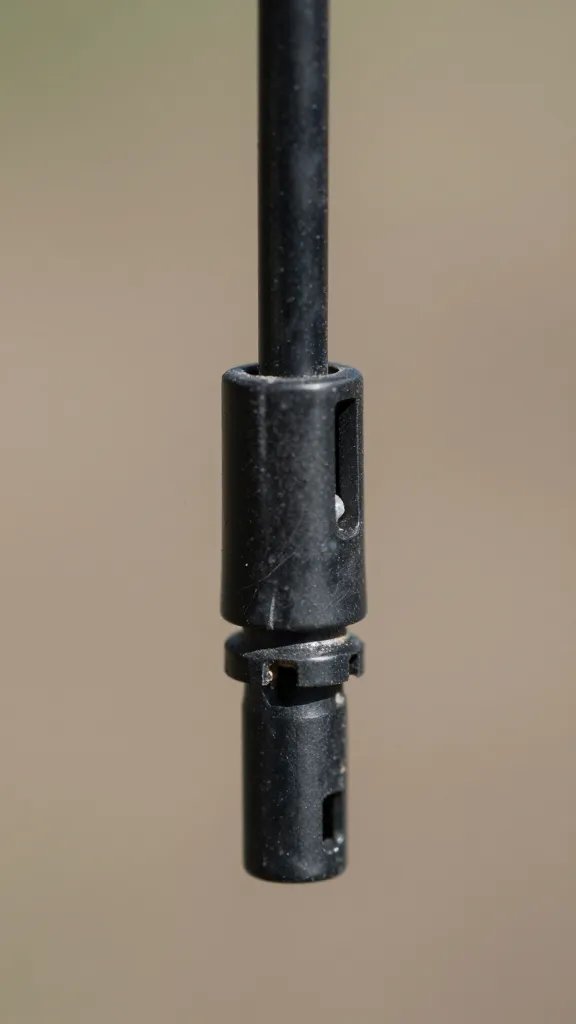
- Install a small inline garden drip filter between the pump and the drip line (follow arrow for flow direction).
- Rinse the filter screen monthly in the sink.
Takeaway: Add a mesh pre-filter and an inline drip filter this week — it prevents 90% of clogs.
The Water Path Problem: Vertical Wicking Doesn’t Share

Felt panels and coco liners look uniform, but water follows the easiest path, not the fairest. It creates “rivers” where some plants get soaked and neighbors stay dry. You can’t fix that by watering longer — that just drowns the lucky ones.
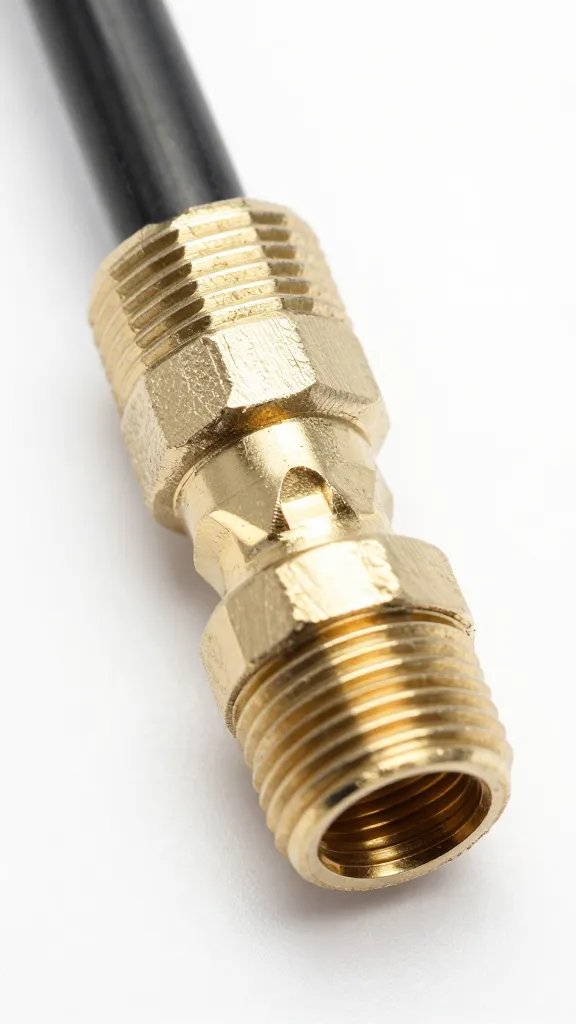
Give each plant its own delivery point. A simple 1/4-inch drip line with button drippers (or built-in holes) placed at the top of every pocket makes water show up where roots live, not where gravity prefers.
Material Recommendations
- A basic indoor/outdoor drip irrigation kit (1/4-inch line, connectors, punch tool, optional button drippers).
- Barbed tees to branch the line so every column gets a feed.
- Sticky-backed cable clips to anchor lines neatly along the frame.
Action today: Add a short drip stub (10–12 cm) into any pocket that dries first — you’ll see the difference on the next watering cycle.
Wrong Watering Schedule: Daily Spritzing Kills Roots
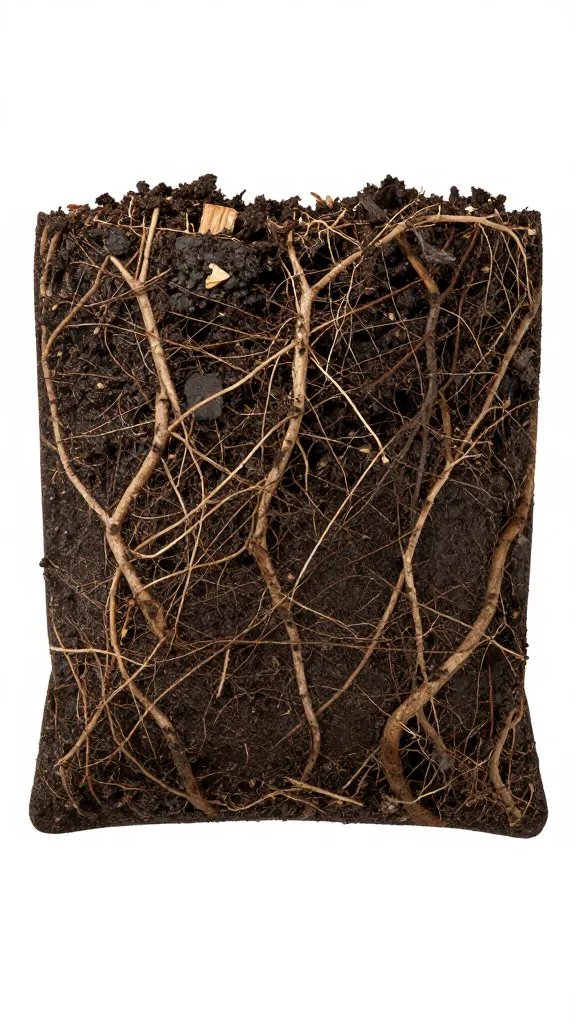
Indoor walls hate constant surface moisture. Daily misting keeps leaves wet, encourages fungus, and still starves roots. Roots need deep, periodic watering that soaks the pocket and then a rest period for air to return.
Use short, controlled cycles. Instead of one long soak, run two or three brief runs with a pause. Water goes into the mix instead of spilling off the front.
How to Set a Reliable Manual Schedule
- Run the pump for 2 minutes. Wait 10 minutes. Run 2 minutes again. Do this 2–3 times per watering day.
- Start with 2 watering days per week. Adjust by one additional day if top pockets feel dry by day 2.
- Use a mechanical plug-in timer if possible. If not, set phone alarms for exact days/times.
Takeaway: Replace daily misting with two watering days per week, using two short cycles per day.
Potting Mix Mistakes: Heavy Soils Turn Walls Into Swamps
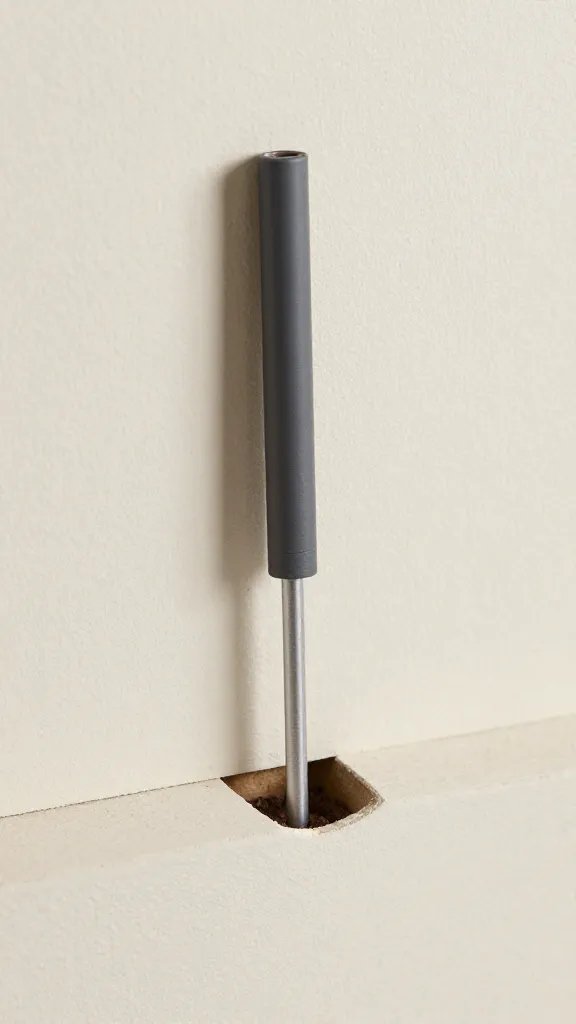
Standard potting mix holds too much water in vertical pockets. It compacts, excludes air, and suffocates roots. You don’t need a lab blend — you need air in the root zone.
Use a lightened mix: 2 parts good potting mix + 1 part perlite or fine bark. Pre-moisten it so it clumps lightly without dripping. Pack it firmly enough to hold plants in place, but not tight like a snowball.
Warning Signs
- Bottom pockets smell sour or earthy-muddy.
- Leaves yellow from the base upward with soft stems.
- Water drips for hours after a cycle.
Action today: Repot one failing pocket with a 2:1 potting mix to perlite blend and compare after two weeks.
No Overflow Plan: Indoor Floors Aren’t a Drain
Every indoor wall needs a place for extra water to go. Without an overflow path, the first clogged emitter or stuck-on timer ends with water on the floor and panic-pruning.
Set a shallow tray under the wall with a simple float mark (permanent marker line). If water ever rises above the line, you’re overwatering or a dripper has popped off.
Step-by-Step Containment
- Place a waterproof tray or low tote under the wall that can hold at least one full watering cycle.
- Add felt pads or a thin mat under the tray to protect floors.
- Test by running your longest watering cycle and confirming the tray stays below the marked line.
Takeaway: Add a tray and a visible fill line today — it turns leaks into a harmless warning, not a disaster.
No Baseline Test: If You Don’t Measure, You Guess
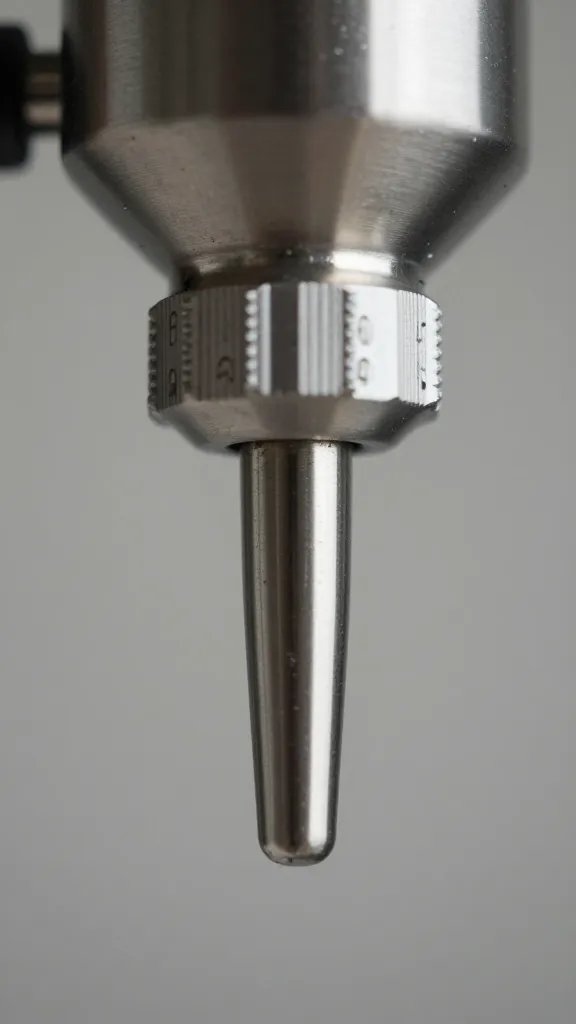
Most failures happen because nobody tests how much water reaches each pocket. You don’t need numbers or meters — you need a simple catch test.
Before planting or after a rework, put a small cup in three pockets: top-left, center, and bottom-right. Run your cycle and compare. If one cup has twice as much as another, adjust emitters or add a second feed to that column.
Simple Balancing Trick
- Too much water in one area: swap to a smaller dripper or pinch the line slightly with a clamp.
- Too little water: add a second dripper or split the feed line closer to that pocket.
Action today: Do a three-cup test on your next watering and tweak until all cups match within a small splash.
Frequently Asked Questions
Can I hand-water a living wall without a pump?
You can, but it’s unreliable. Water will follow the same paths each time, leaving dry zones. If you must hand-water, use a narrow-spout watering can and water each pocket directly for a slow count of five. Check the bottom tray after 10 minutes to ensure excess drains.
What plants tolerate small watering mistakes?
Choose forgiving species with sturdy roots. Good options: Pothos (Epipremnum), Heartleaf Philodendron, Spider Plant, Boston Fern for humid spots, and Peperomia for drier edges. Avoid thirsty calatheas and delicate ferns on top rows. Group plants by thirst so each zone gets similar care.
How do I know if I’m overwatering or underwatering?
Overwatering shows as yellow, soft leaves and a musty smell, especially in lower pockets. Underwatering shows crispy edges, dull leaves, and soil pulling from the liner. Check moisture by pressing a finger 2–3 cm into the pocket; if it feels cold and wet two days after watering, cut back a cycle.
Do I need fertilizer in a living wall?
Yes, but sparingly. Use a half-strength liquid houseplant fertilizer once a month during spring and summer, added to the reservoir on one watering day only. Flush with plain water the following week to prevent salt buildup. Skip feeding in winter when growth slows.
How loud are small pumps, and where should I place one?
Most small submersible pumps hum quietly if they don’t touch the tray wall. Set the pump on a thin sponge or rubber pad to reduce vibration. Keep the cord higher than the water line to form a “drip loop” so any condensation runs back down safely.
What if I can’t install a drip kit in a rental?
Use adhesive cable clips and removable hooks to hold the 1/4-inch line — no drilling. Keep everything within the wall frame and tray. When you move, pull the line, remove clips with a gentle twist, and patch tiny marks with touch-up paint if needed.
Conclusion
You don’t need a contractor to keep a living wall alive — you need even water, a light mix, short cycles, and a place for extra water to go. Set up a basic drip line, add a simple filter, and run a three-cup test this week. Once your watering is predictable, plant choice and pruning become the fun part instead of crisis control. Next step: pick one thirsty zone and one dry zone on your wall and balance them with an added dripper and a two-minute timer cycle — you’ll see healthier growth within two weeks.