Why Living Wall Plants Turn Yellow — the Three Causes and How to Distinguish Between Them Fast
I’ve built and maintained living walls in drafty hallways, sun-blasted studios, and dim rentals. The first time my wall yellowed overnight, I learned the hard way that the problem wasn’t “everything” — it was one of three culprits. In this guide, I’ll show you how to tell which cause you’re dealing with using only your eyes, fingers, and a basic watering can. You’ll learn clear fixes you can do today, so your wall greens up again and stays that way.
Cause #1: Overwatering And Suffocated Roots
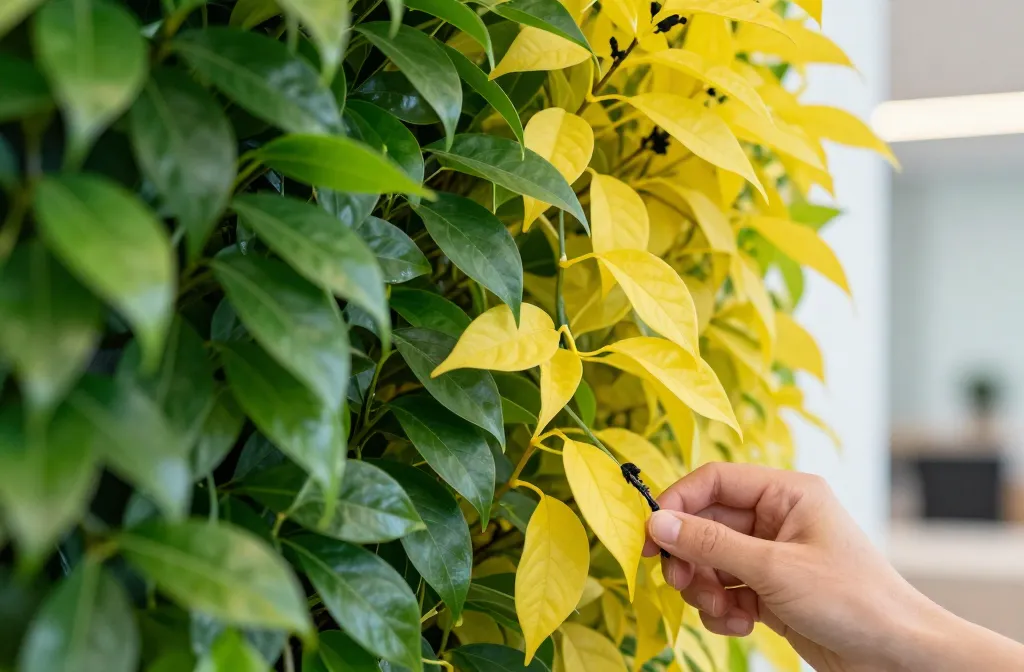
When living walls yellow from the bottom up and leaves feel soft and limp, it’s almost always overwatering. Wall pockets and planters hold less air than pots. Constantly wet media pushes out oxygen, roots drown, and leaves lose color before they collapse.
Warning Signs That Scream Overwatering
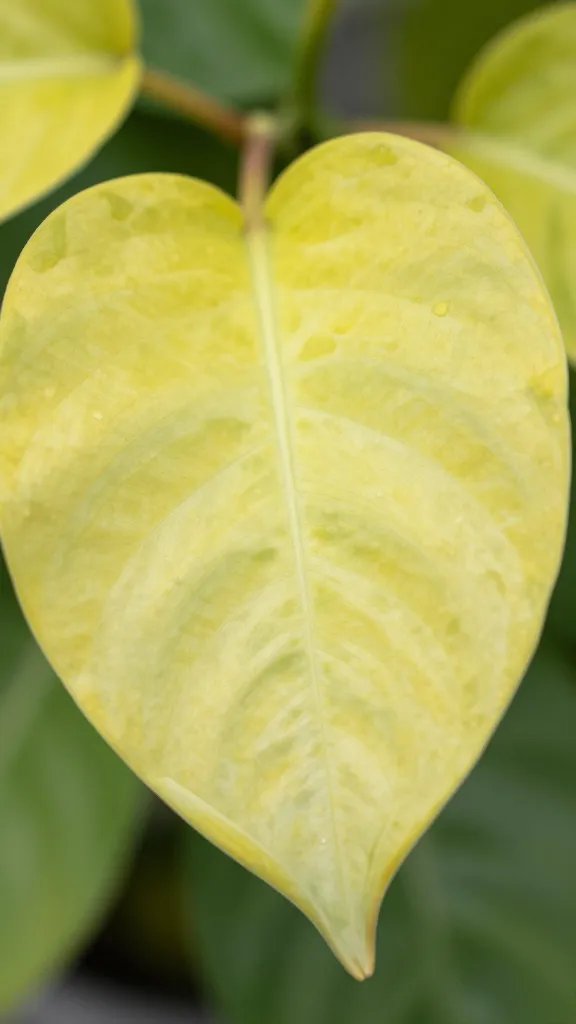
- Leaf feel: Yellow leaves are soft, bendy, and sometimes translucent.
- Pattern: Older, lower leaves yellow first. New growth looks small and pale.
- Smell and media: Musty or sour smell in the pocket. Media stays cold and wet for days.
- Stems: Blackened or mushy at the base when you pinch.
Step-by-Step Fix For Overwatering
- Pause watering for 5–7 days. Let the top 2 cm of media dry before you touch a can again.
- Improve drainage now. If your panel has a reservoir, open the drain or tip the panel slightly and catch runoff in a tray.
- Air out the roots. Gently loosen compacted media with a chopstick to add air pockets without tearing roots.
- Trim rot. Snip off yellow, mushy leaves and any black stem bases with clean scissors.
- Reset your schedule. Water deeply but less often: for most indoor walls, every 5–10 days, until water just starts to drip from the lowest pockets.
Takeaway: Skip the next watering, ventilate the panel, and only water again when the top 2 cm of media feels dry to the touch.
Cause #2: Underwatering And Chronic Dryness
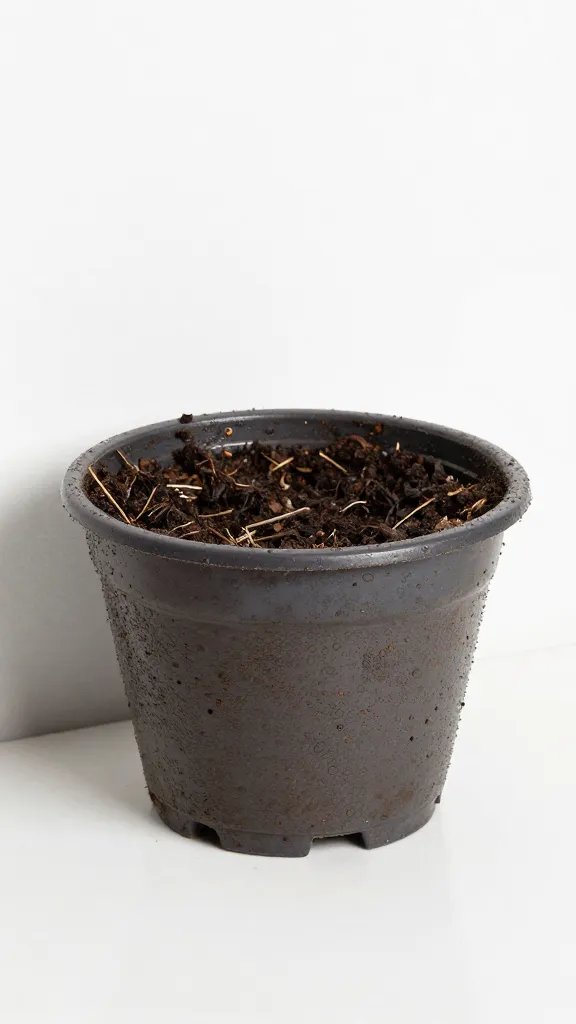
Living walls dry out faster than pots because gravity and airflow pull moisture down and out. Underwatering shows up as uniform pale yellowing, crispy edges, and leaves cupping inward. Plants stop making chlorophyll when they can’t move nutrients through dry roots.
How To Confirm It’s Underwatering
- Leaf feel: Yellow leaves are papery, edges crisp, and they crack when bent.
- Pattern: Top row and outer edges of the panel fade first; bottom pockets may still look okay.
- Media test: Push a finger in 2 cm — it feels dusty and pulls away from the pocket.
- After watering test: Plants perk up within 2–12 hours after a thorough soak.
Step-by-Step Fix For Underwatering
- Rehydrate thoroughly. Water from top to bottom until you see steady drips from the lowest row. Wait 10 minutes and repeat once to resoak dry pockets.
- Even out distribution. Use a watering can with a narrow spout to target the top and outer pockets first, then the middle.
- Add a moisture buffer. Top-dress each pocket with 1–2 cm of fine orchid bark or coco chips from the garden centre to slow evaporation.
- Adjust frequency. In heated homes, plan every 3–6 days for thirsty mixes, weekly for moisture-retentive mixes.
Takeaway: Do a double-pass watering today and add a thin bark or coco top-dress to hold moisture longer.
Cause #3: Low Light Or Light Shock
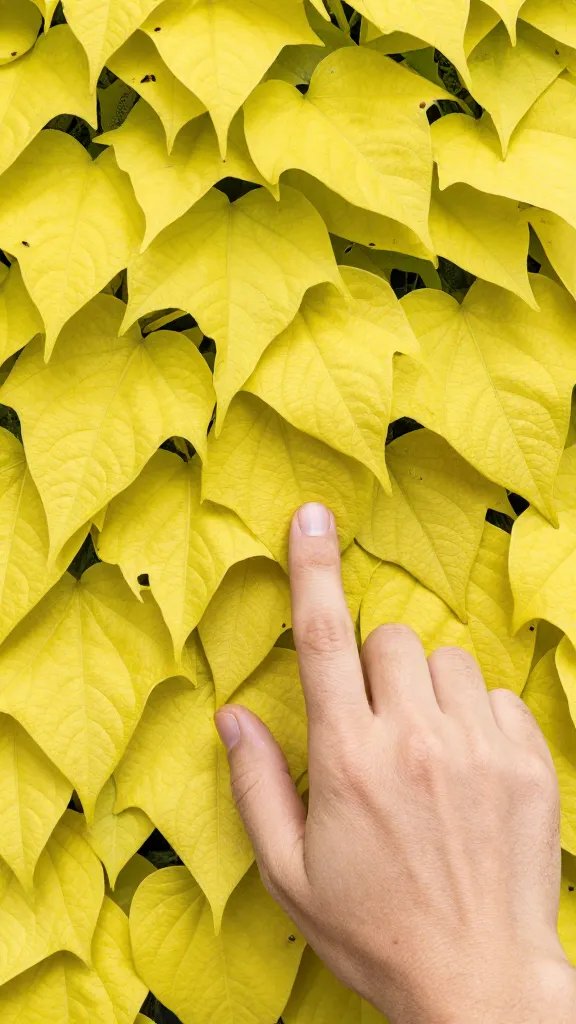
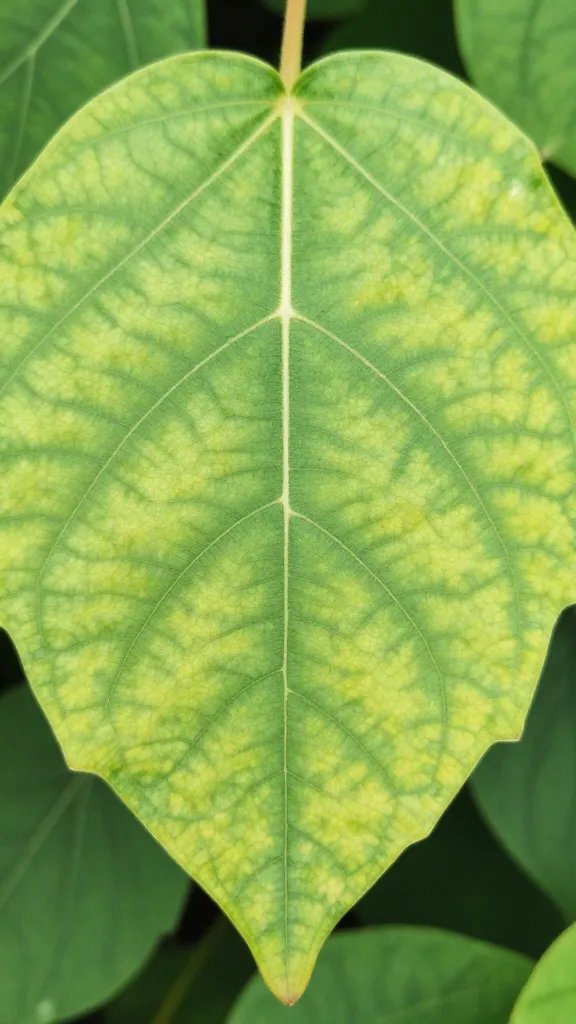
Most yellowing on living walls traces back to light — either too little or a sudden jump to harsh light. In low light, leaves turn pale lemon-green and internodes stretch. In sudden strong sun, leaves get yellow patches with crisp brown centers: classic sunscald.
How To Tell Low Light From Light Shock
- Low light: Even, washed-out color across many leaves, long spaces between leaves, and new growth is tiny and weak.
- Light shock: Yellow or bleached spots only on leaves that face the window, often with brown crispy centers or edges.
- Room clue: If you can read a book easily 2 m from the window at midday, you have “bright indirect.” If not, it’s low light.
Fixes For Light Problems
- For low light: Move the wall within 1–2 m of a bright window, or add a simple 20–40W LED grow bulb on a clamp lamp, 30–45 cm from the foliage, on a 12–14 hour timer.
- For light shock: Add a sheer curtain or move 0.5–1 m back from direct sun. Rotate the panel 90 degrees weekly so all plants acclimate evenly.
- Feed lightly once light is fixed: Use a half-strength, general-purpose liquid fertilizer every 2–4 weeks during spring and summer to rebuild chlorophyll.
Takeaway: Either move the wall closer to a bright window or add a clamp-on LED grow light today and set a 12–14 hour timer.
Distinguishing The Three Causes In Two Minutes
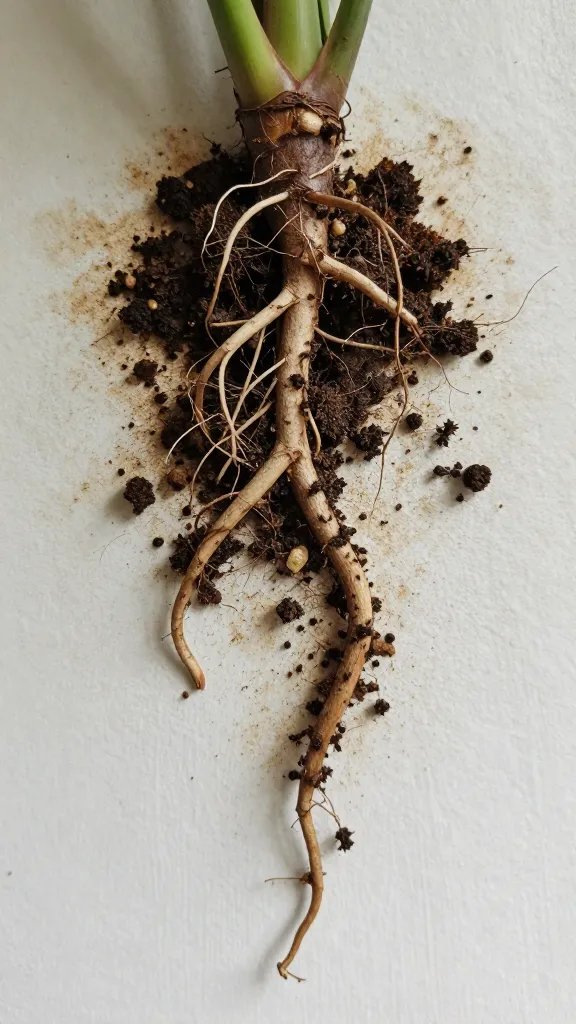
I use a quick check so I don’t guess. Touch, lift, and look — in that order.
- Touch the media: Wet and cold for days = overwatered. Dry and shrinking from the pocket = underwatered.
- Lift a leaf: Soft and floppy yellow = overwatered. Crispy yellow edges = underwatered. Even pale color with stretchy stems = low light.
- Look at location: Top/edges suffering first = underwatered. Bottom row yellowing first = overwatered. Window-facing leaves with blotches = light shock.
Takeaway: Run the touch–lift–look test right now and circle the matching cause before you change anything.
Nutrient Deficiency: When It’s The Fourth Suspect (And When It Isn’t)
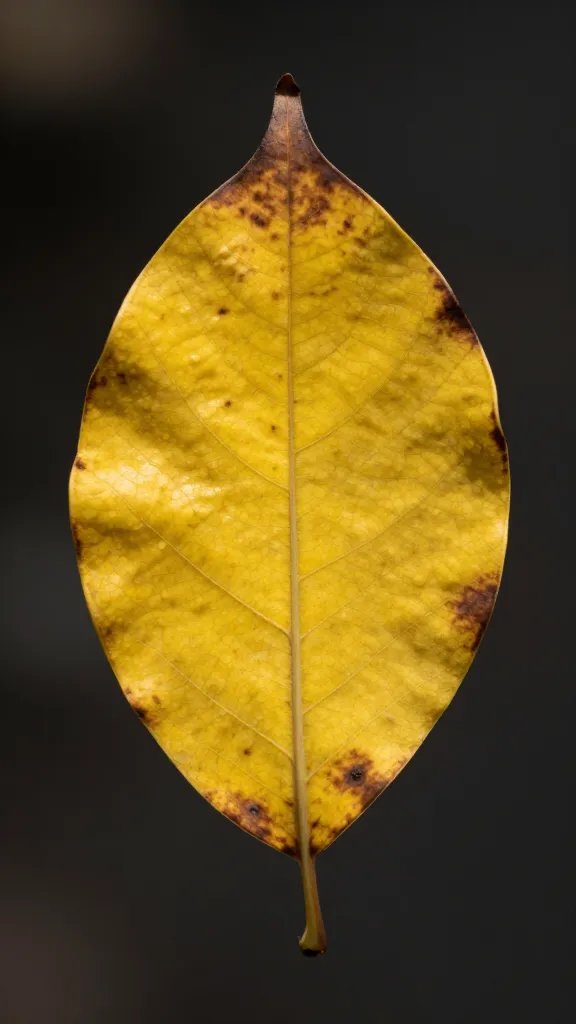
Beginners often blame fertilizer first. Most yellowing in living walls is water or light related. True nitrogen deficiency shows as older leaves going uniformly pale while new growth stays small but green. Iron deficiency shows as new leaves turning lemon-yellow with green veins.
Safe, Simple Feeding Plan
- Use a balanced liquid fertilizer (for example, 10-10-10 or 20-20-20) at half strength every 2–4 weeks in spring and summer.
- Flush with plain water once a month to prevent salt buildup, especially if your tap water tastes mineral-rich.
- If new leaves show yellow with green veins, switch one feeding to an “iron chelate” product per the label.
Takeaway: Fix water and light first; then resume half-strength feeding every 2–4 weeks and flush monthly.
Media, Drainage, And Air: The Wall Hardware Matters
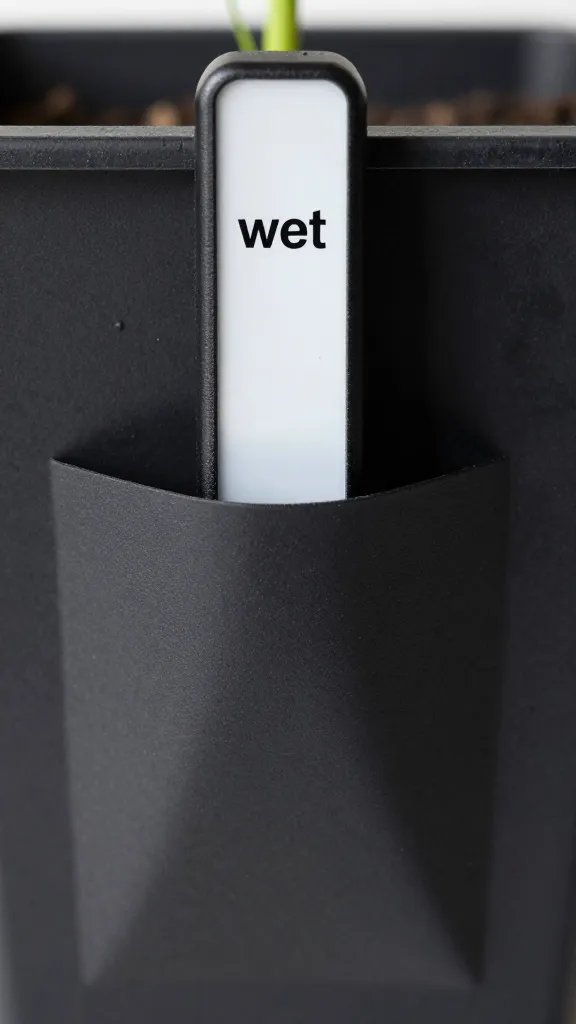
Dense or old media holds water and blocks air. In wall pockets, that turns small mistakes into yellow leaves fast. I replace media in high-traffic pockets every 12–18 months and refresh the top layer twice a year.
Simple Material Recommendations
- Media: Use a high-quality potting mix from the garden centre, blended 3:1 with perlite or fine orchid bark for air.
- Drainage: Make sure overflow holes aren’t blocked. Clear algae and salts with warm water and a bottle brush.
- Airflow: Aim a small desk fan on low across the wall for 2–3 hours daily to dry surfaces without chilling leaves.
Takeaway: Today, poke a few air channels with a chopstick, clear any clogged drains, and plan a top-layer refresh this weekend.
Plant Choices That Tolerate Wall Life
Some plants shrug off wall conditions better than others. Mixing resilient species reduces yellowing while you dial in care.
Reliable Options From Any Garden Centre
- Low to medium light: Epipremnum (Pothos), Philodendron hederaceum, Scindapsus, Aspidistra, ZZ cuttings.
- Bright indirect: Nephrolepis (Boston fern), Asplenium, Peperomia, Fittonia, Tradescantia.
- High light with some sun: Hoya, Senecio (String-of-Beans types), small succulents near the top rows only.
Takeaway: Add two resilient “anchor” plants like Pothos or Philodendron to weak zones this week to stabilize the wall.
Frequently Asked Questions
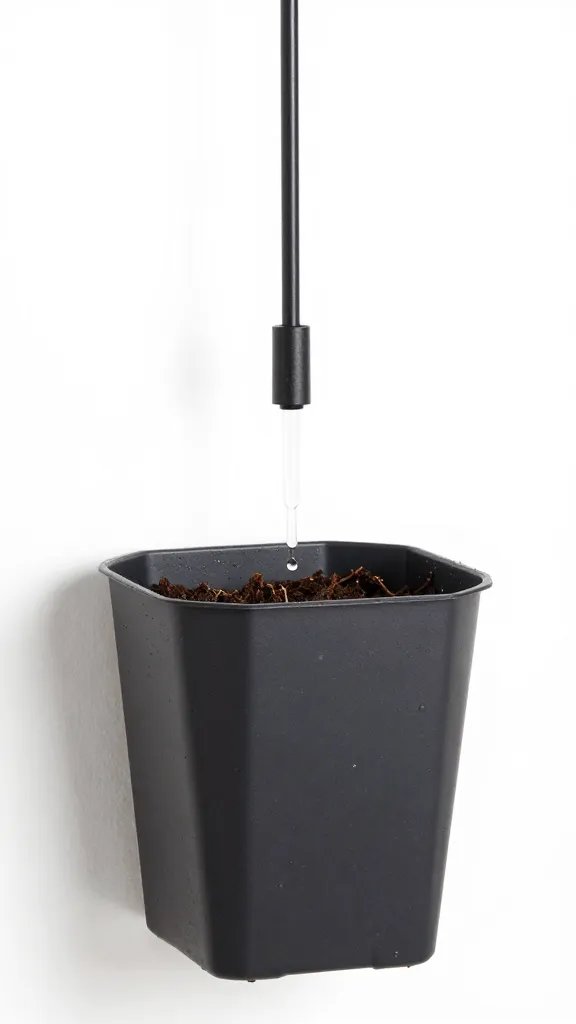
How often should I water a living wall without a built-in system?
Most indoor walls need water every 3–7 days. Check the top 2 cm of media and only water when it feels dry. When you water, do a full pass until the bottom row drips, wait 10 minutes, then do a second light pass to rehydrate any hydrophobic spots.
Can tap water cause yellowing?
Hard, salty water can stress roots and lock out nutrients over time. If your tap water leaves white crusts on kettles and your wall shows tip burn, switch to filtered or mix half tap and half distilled. Flush the wall thoroughly once a month with plain water to clear built-up salts.
Do I need a fertilizer made just for living walls?
No. A general-purpose liquid fertilizer at half strength works well. Feed every 2–4 weeks in spring and summer and pause in winter when growth slows. Always water with plain water first, then feed on damp media to avoid root burn.
Why do the top pockets dry out faster than the bottom ones?
Gravity pulls water down, and warm air collects high on walls, speeding evaporation. Target the top row first and give it a second pass after you finish the panel. Adding a 1–2 cm bark or coco top-dress to the top pockets helps them keep pace with the rest.
Should I remove every yellow leaf?
Remove leaves that are more than 50% yellow or any that feel mushy. They won’t green up again and they attract pests and disease. Leave slightly faded but firm leaves while you correct light and watering; they still photosynthesize and support recovery.
My wall looks pale even after fixing watering — what next?
Increase light for two weeks before changing anything else. Move within 1–2 m of a bright window or add a 20–40W LED grow bulb on a 12–14 hour timer. If new growth stays pale after that, start half-strength feeding and consider an iron chelate once if new leaves show yellow with green veins.
Conclusion
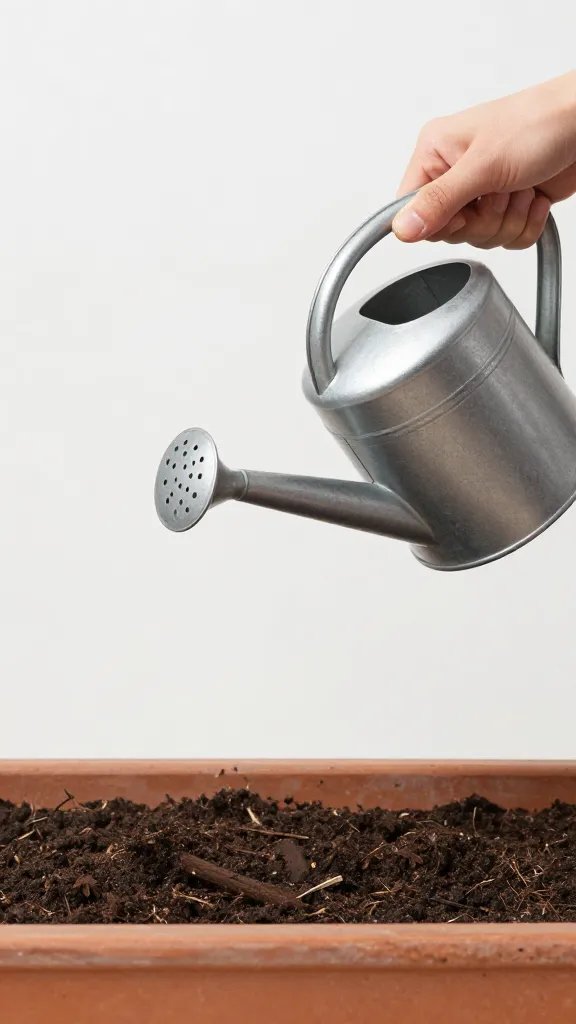
You don’t need special meters to fix yellowing — just a clear diagnosis and a simple routine. Do the touch–lift–look test, correct water first, set light for 12–14 bright hours, and feed lightly on a schedule. If you want to go deeper, your next step is to refresh the top 2–3 cm of media this weekend and add two resilient anchor plants to stabilize weak zones. By next month, you’ll recognize the early signs and keep your wall green without guesswork.