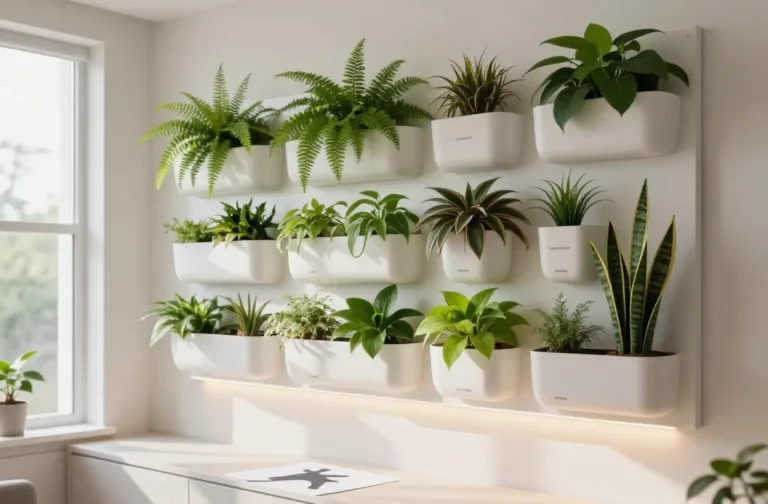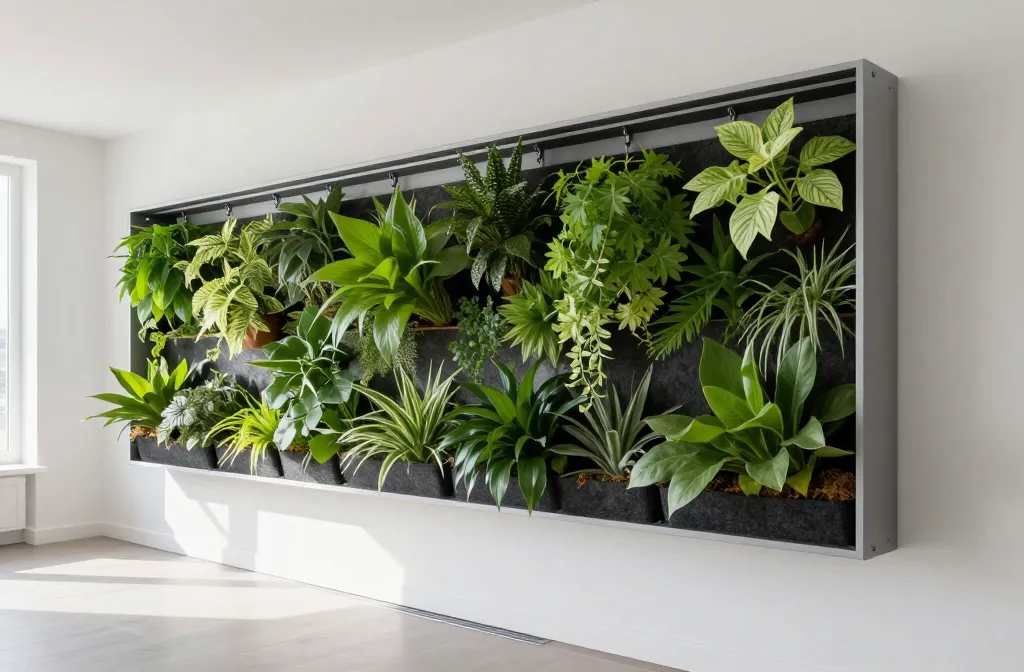
How a Modular Living Wall System Actually Works — the Hidden Layers Behind the Plants Revealed
I built my first living wall on a rented apartment wall with nothing more than a stud finder, a basic drip kit, and a lot of optimism. The plants looked great for two weeks, then a few browned, others drooped, and one panel turned swampy. The fix wasn’t more watering or fancier plants — it was understanding the hidden layers doing the real work. In this guide, I’ll show you exactly how a modular living wall system works and how to set it up so your plants stay healthy month after month.
The Structural Backboard: Why the Wall Never Gets Wet

A proper system starts with a rigid backboard that keeps moisture off your wall. Most kits use plastic, powder-coated metal, or a composite panel hung on wall anchors or a simple French cleat. It creates an air gap so splashes and humidity don’t touch paint or drywall.
Behind the scenes, small ventilation spaces at the top and bottom stop stale, damp air from getting trapped. That single detail prevents peeling paint, moldy drywall, and landlord drama.
Action today: Hold your hand behind your planned wall area. If it’s a cold exterior wall, add 1–2 felt furniture pads as spacers behind the backboard to create a safe air gap.
The Water Path: How Drip and Drain Turn Chaos Into Routine
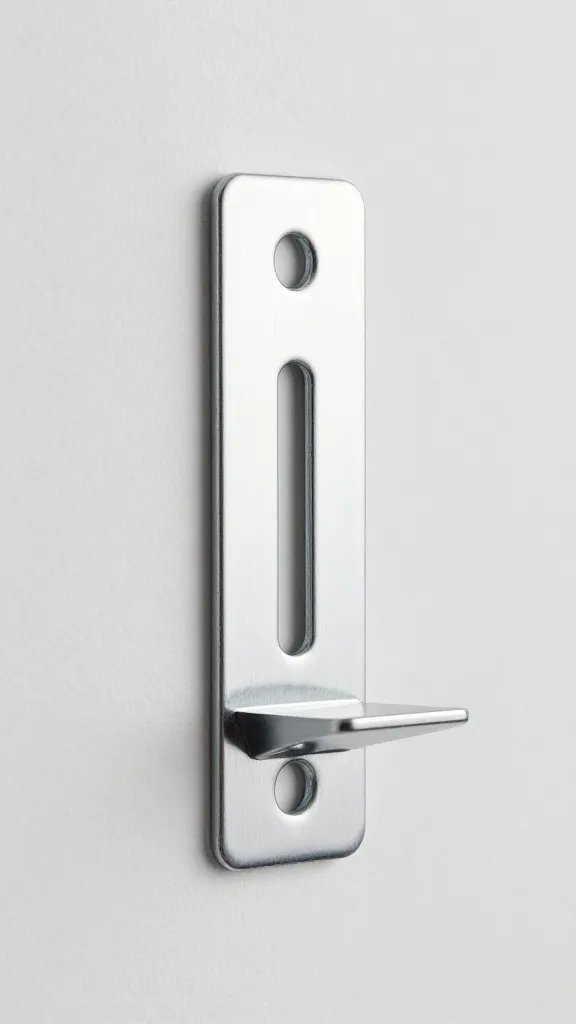
Above the panels, a simple drip line feeds water into each module. You don’t need specialty irrigation parts; a basic garden-centre drip kit with 4 mm tubing, a few inline drippers, and a timer does the job. Water enters at the top, trickles down through each module, and exits at the bottom into a discreet drain tray or bucket.
This vertical flow means top plants sip first and bottom plants finish the drink. Balanced drippers (same rating on every run) keep distribution fair. A shallow catch tray lets you see exactly how much you used, so you can adjust before plants complain.
Action today: Put a baking tray or planter saucer under your mock-up and run the drip for 2 minutes. Measure what collects with a kitchen measuring cup. That becomes your baseline “session size.”
The Root Zone: Pockets, Inserts, and Why Soil Choice Matters
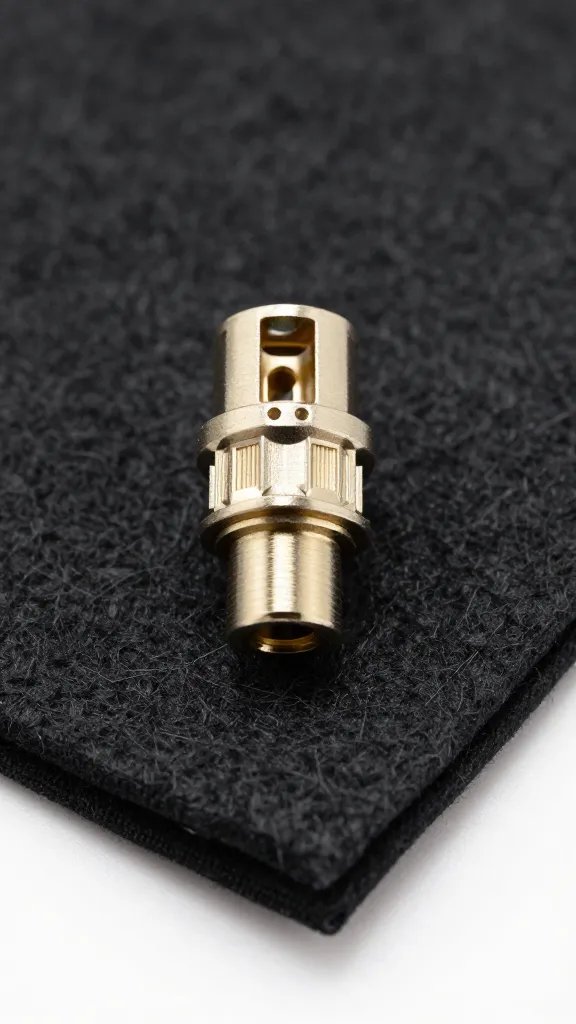
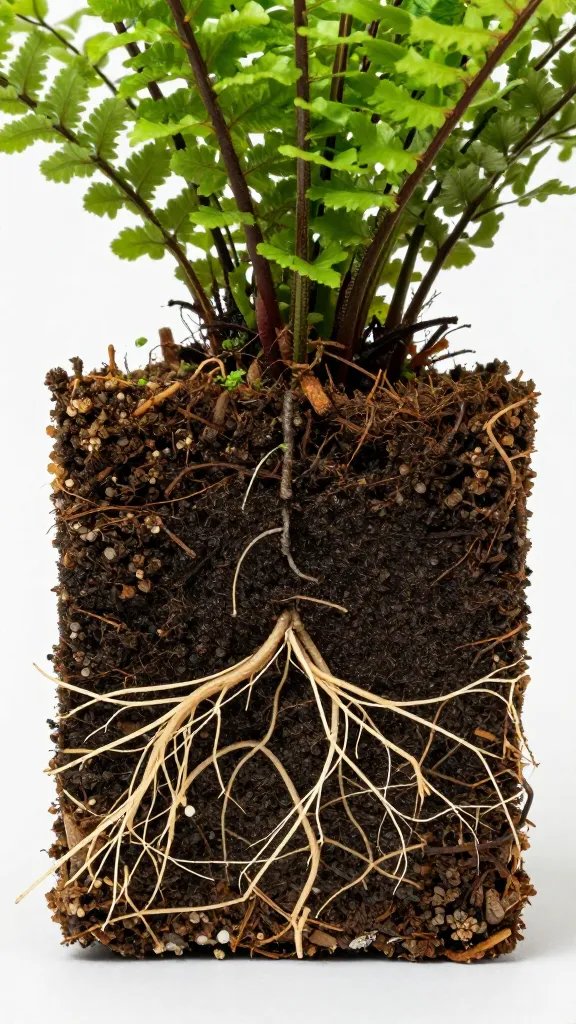
Each module holds plants in small pockets or pots that slide into the frame. This lets you swap a struggling plant without tearing the wall apart. Use a good quality potting mix from the garden centre — not garden soil. Potting mix drains quickly, which keeps roots oxygenated on a vertical surface.
If your kit includes felt pockets, line the root ball with a thin sleeve of plastic nursery pot or mesh to keep mix from washing out. For plastic cup inserts, punch two small side holes near the base with a heated nail to keep roots from sitting in a puddle.
Action today: Pre-soak potting mix in a bucket until it feels like a wrung-out sponge, then pot plants snugly so the mix doesn’t slump when mounted vertically.
The Wicking Layer: Even Moisture Without Guesswork
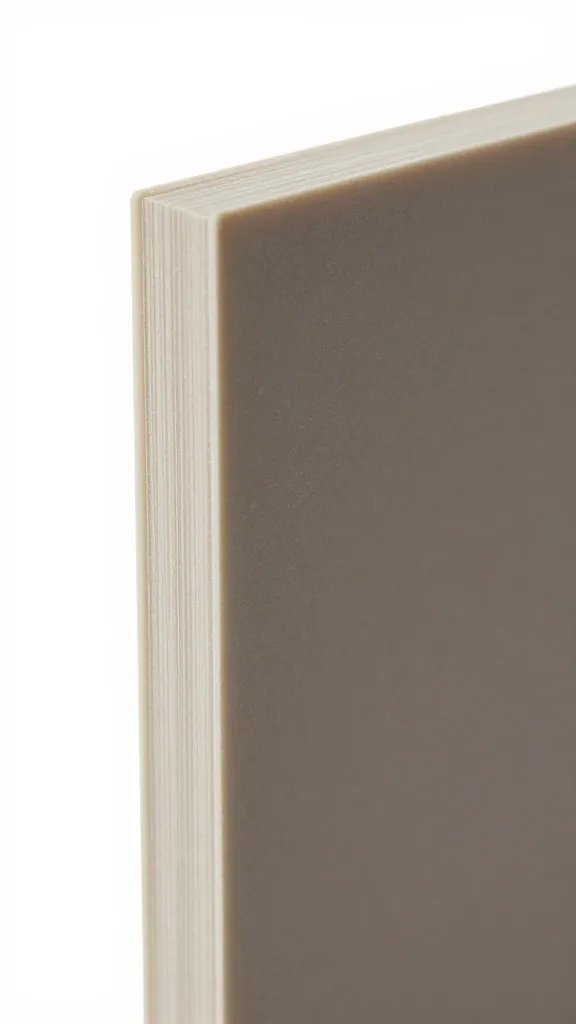
Many systems include a shared wicking layer — usually felt or coir — behind the plant pockets. It spreads water sideways before it drips down. That evens out moisture so the center pockets don’t hog everything while the edges dry out.
Think of it like a towel behind the plants. It absorbs, shares, and then releases. If your kit doesn’t have one, you can add a piece of high-quality landscape fabric or capillary mat cut to size, clipped behind the pockets.
Action today: Run the drip for 1 minute and touch the felt at top, middle, and bottom after 10 minutes. If the top is soaked and the bottom dry, increase your session by 30 seconds and test again tomorrow.
Light and Air: The Least Fancy Gear Makes the Biggest Difference
Living walls fail from low light more than any other reason. Place the wall in bright indirect light near a window. If your space is dim or the wall sits back from the window, use a simple LED shop light or a bar-style grow light rated for houseplants, hung 12–18 inches away. Run it 12–14 hours daily on a plug timer.
Air movement matters too. A small, quiet clip-on fan on the lowest setting, aimed to skim across foliage, prevents fungal issues and helps leaves dry after watering.
Action today: Stand at midday where the wall will go and try to read a book without eye strain. If it feels dim, plan for a light bar and a timer before you mount the plants.
Fertiliser and Water Quality: Feed Lightly, Watch the Leaves
Vertical systems rinse fast, so nutrients run out quicker than in a pot. Use a balanced liquid fertiliser for houseplants at half strength every 2–3 weeks during spring and summer, once monthly in winter. Mix it into your watering can or inject it for one session, then run a plain-water session after to prevent buildup.
Use tap water that tastes clean, not salty. If your kettle shows heavy scale in a month, switch to filtered water. Warning: Heavy salts scorch leaf tips and stunt new growth in vertical setups.
Action today: Add 1 teaspoon of liquid fertiliser per 2 litres of water for your next session, then follow with the same amount of plain water three days later.
Plant Selection: Choose Survivors That Love “Feet Wet, Head Dry”
Pick plants that tolerate regular moisture at the roots but don’t collapse without a dry day. I group by light first, then by thirst. For low to medium light, use Epipremnum aureum (Pothos), Scindapsus pictus, Philodendron hederaceum, Asplenium nidus (Bird’s Nest Fern), Aglaonema, and Chlorophytum (Spider Plant). For brighter spots, add Neon Pothos, Peperomia, and Ficus pumila.
Put thirstier plants lower where more water collects, and drought-tolerant plants higher. Avoid succulents and cacti here — they hate frequent light watering and will rot.
Quick Placement List
- Top row: Philodendron hederaceum, Peperomia, trailing Pothos
- Middle rows: Pothos, Scindapsus, Aglaonema
- Bottom row: Ferns, Spider Plant, Ficus pumila
Action today: Sort plants into top/middle/bottom groups on the floor before mounting. You’ll avoid moving them again next week.
Daily and Weekly Care: The Simple Rhythm That Prevents 90% of Problems
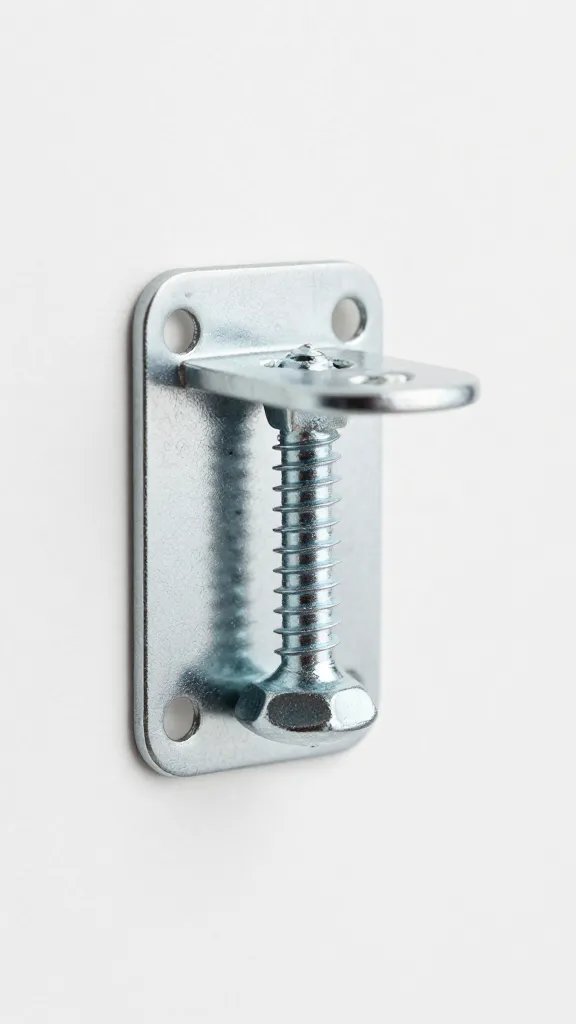
Set a timer to water 2–4 times per week for 1–4 minutes per session. Start small: 2 minutes, three times weekly. Check the drain tray; you want a small puddle (a few millimetres) after each run that dries within 12–18 hours.
Weekly, trim runners, wipe leaves with a damp cloth, and check for dead foliage trapped in pockets. Monthly, lift one insert from top, middle, and bottom to inspect roots. White, firm roots mean you’re on track; brown, mushy roots mean too much water.
Warning Signs and Fixes
- Yellow lower leaves + wet felt: Reduce each watering session by 30 seconds.
- Crispy tips + dry felt 2 hours post-watering: Add one extra session per week.
- Algae on felt or tray: Wipe with diluted white vinegar (1:10) and reduce light spill on the backing.
Action today: Program your plug timer for your starting schedule and set a phone reminder to check the tray for the first three sessions.
Frequently Asked Questions

How do I mount a living wall without damaging rental walls?
Use a backboard hung on 2–4 heavy-duty wall anchors rated for 20–30 kg each, or a French cleat screwed into studs. Add felt furniture pads behind corners to create a 5–10 mm air gap. Keep the drain tray fully contained and line it with a plastic boot tray. When you move out, you’ll patch a few small holes and repaint.
How much should I water if I don’t have a timer?
Water with a watering can until the first drips reach the tray, then stop. Do this every 2–3 days to start. Adjust so the tray shows a shallow puddle that disappears within half a day. If moisture lingers through the next morning, cut back by one-third.
Can I grow herbs or edibles in a living wall?
Yes, but keep them near a bright window or under a grow light. Choose mint, parsley, and oregano over thirsty basil, which sulks without strong, consistent light. Feed lightly every two weeks and harvest often to keep growth compact. Avoid raw manure fertilisers; use a standard liquid feed labeled for edibles.
What if the bottom plants always look happier than the top ones?
That means the top dries faster. Increase total run time by 30–60 seconds or add an extra short session midday. You can also move thirstier plants down and place tougher plants up top. If using drippers, match them across the line so the top isn’t starved.
How do I stop leaks or drips on the floor?
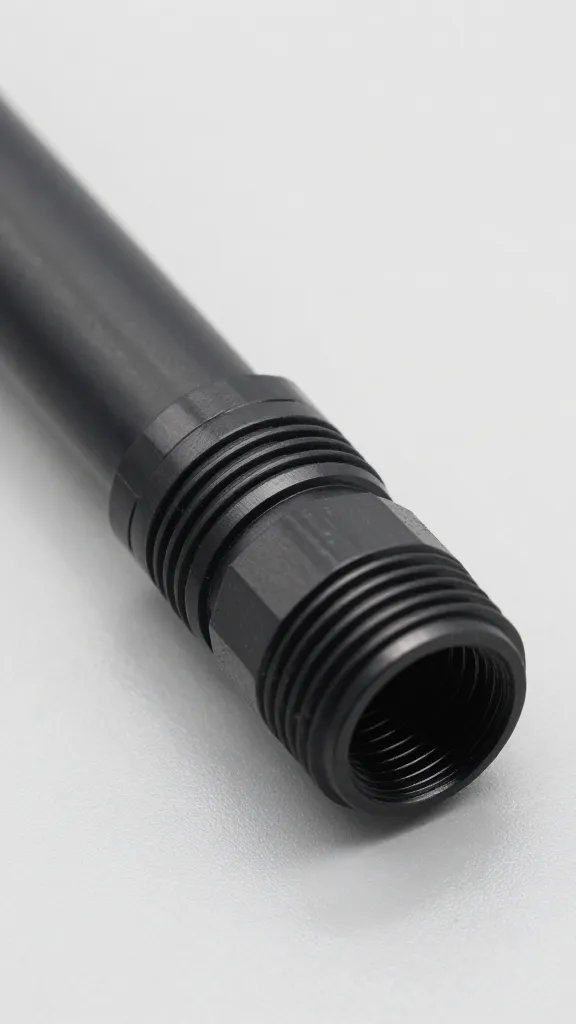
Level the frame with a small bubble level or a phone app. Make sure all tubing connections click tight; push until you feel a firm seat. Add a slightly larger tray or a tray liner and empty it after each watering during your first week while you fine-tune the schedule. If a joint weeps, wrap it once with PTFE tape and reseat.
Do I need to replace the potting mix?
Yes, refresh or repot inserts every 18–24 months. Vertical systems compress mix over time, which reduces airflow. When you repot, trim dead roots, shake out old mix, and replace with fresh potting mix. Water in thoroughly once, then return to your normal schedule.
Conclusion
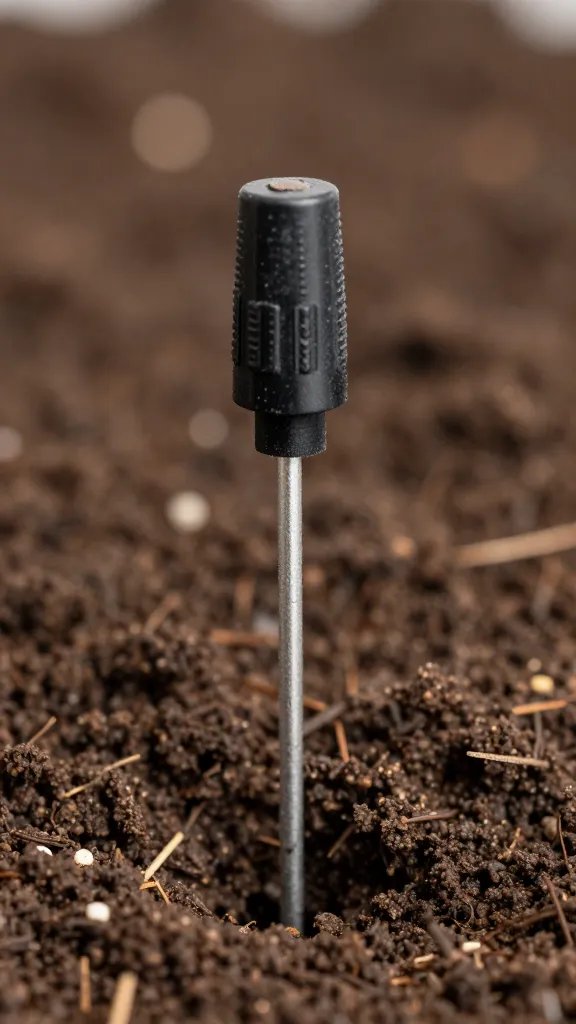
You don’t need specialised tools to run a reliable living wall — you need the right layers working together and a simple routine. Start with a solid backboard, add a predictable water path with a catch tray, choose plants that like your light, and set a schedule you can repeat. If you’re ready for the next step, map your wall on the floor today, group plants by top/middle/bottom, and run a 2-minute test watering into a tray. That single exercise sets you up for a wall that keeps thriving long after the novelty wears off.