The Secret to How to Build a Miniature Zen Garden Terrarium — Sand Planting, Root Isolation and Watering Precision
I built my first Zen terrarium on a coffee table the size of a chessboard, and it taught me how unforgiving sand can be. If you’ve tried to plant straight into sand and watched things wilt or rot, you’re not alone. In this guide I’ll show you exactly how to create the calm, raked look you want while keeping roots healthy and your watering under control. You’ll learn the layering method, plant choices, and simple tools that make a miniature Zen garden thrive indoors.
Why Sand Alone Fails and How to Fake the Look

Pure sand looks Zen, but it’s a terrible growing medium. It compacts, sheds water to the edges, and suffocates roots. I keep the sand for the surface and build a hidden, breathable substrate below.
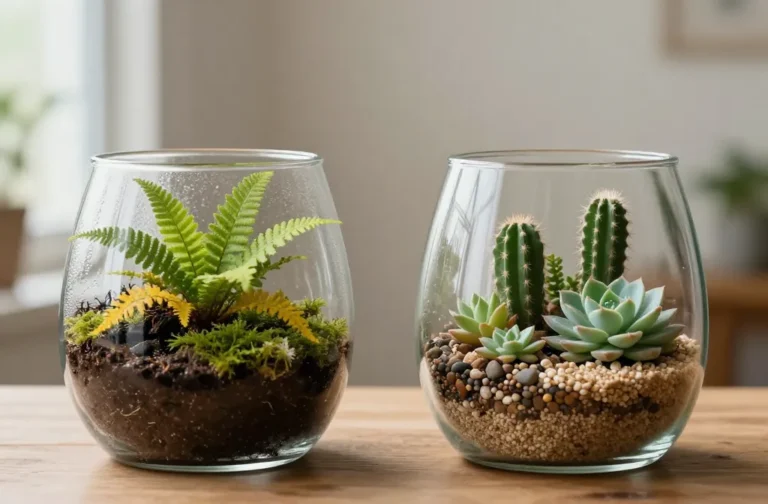
The solution is a two-layer system: a thin decorative sand layer on top of a normal potting base the plants can actually live in. The sand gives you clean raking lines; the base keeps roots aerated and watered.
Action today: Commit to a two-layer build — sand only on top, real substrate below. That single choice prevents 90% of failures.
Container, Drainage, and the Hidden Layers That Keep Roots Alive
Choose a shallow, wide glass vessel or ceramic tray 5–10 cm deep. Wider gives you room to rake patterns and place stones without crowding plants.
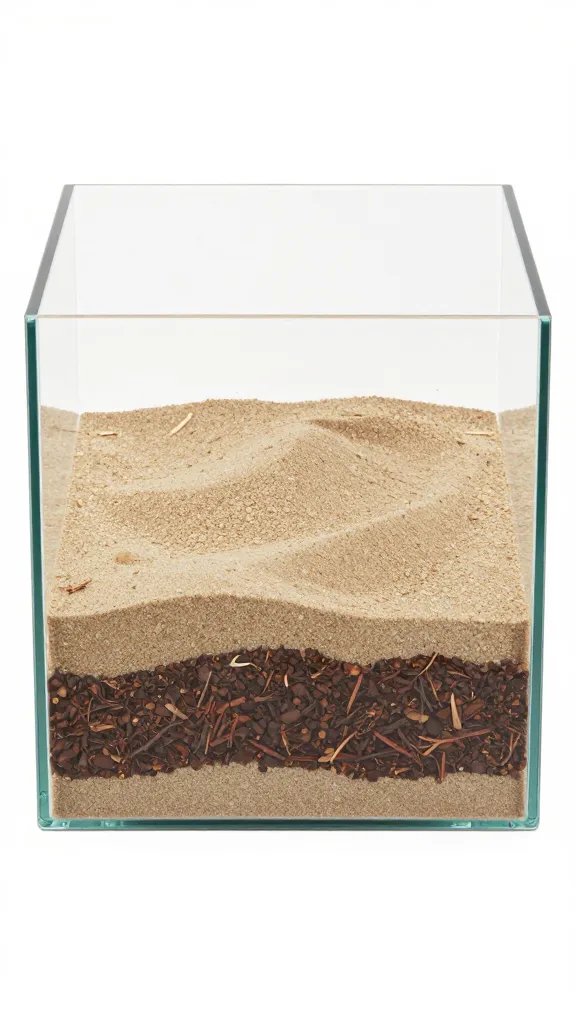
Build layers from bottom to top:
- Drainage layer (1–2 cm): Rinse aquarium gravel or small pebbles and spread evenly. This prevents a stagnant water pool around roots.
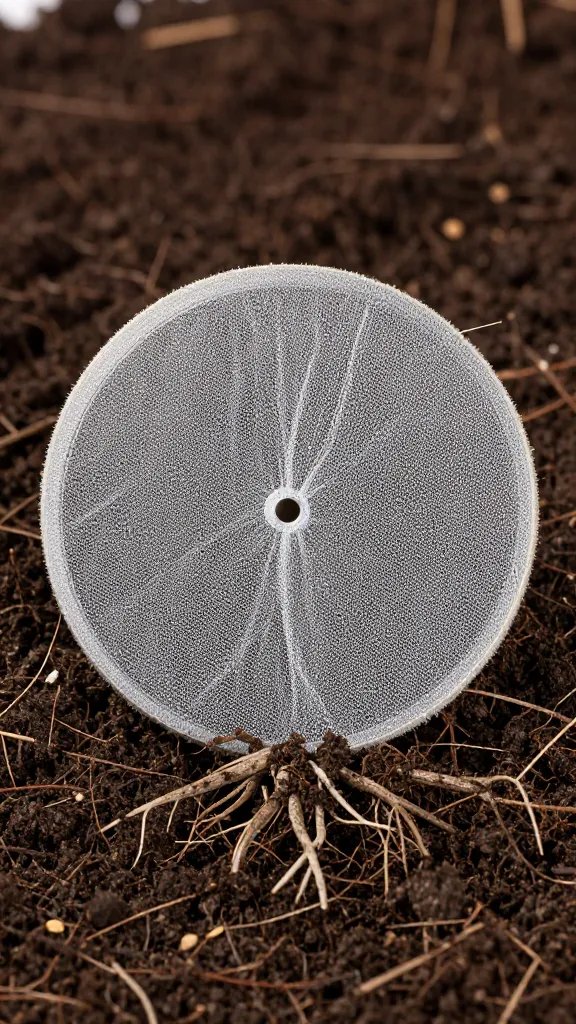
- Separator: Add a cut piece of fiberglass window screen or landscape fabric to keep soil from sifting into the gravel.
- Planting layer (2–3 cm): Use a regular potting mix from the garden centre mixed 1:1 with fine orchid bark or perlite for airiness. Aim for a crumbly feel, not sticky.
- Capillary veil: Optional thin sheet of screen over the soil where you don’t plan to plant; it stops sand from migrating down.
- Decorative sand (0.5–1 cm): Use clean, dry horticultural or play sand. Keep it shallow so water can pass through quickly.
Action today: Cut a piece of window screen to fit your container — it’s the cheap, invisible part that keeps your layers crisp for years.
Root Isolation: Keeping Plants Alive While Preserving Clean Sand

Plant roots will wander into sand if you give them a chance. I corral them with root pockets so the sand stays clean and rakeable.
Make root pockets with small plastic nursery pots, mesh pots, or food-safe containers with side holes. Sink these into the soil layer so their rims sit 2–3 mm below the sand level, then fill them with the same airy potting mix.
Step-by-Step Root Pocket Setup
- Position empty pockets where you want greenery, leaving clear “raking lanes” of sand.
- Backfill around pockets with soil, level flush, then add your sand cap everywhere except over the pocket openings.
- Plant into the pockets, then top-dress just the pocket surfaces with a dusting of sand or fine gravel to blend.
Action today: Save three 5–7 cm nursery pots from old plants — they’re perfect instant root pockets.
Plant Choices That Tolerate Dry Caps and Sparse Watering
You need plants that forgive dry top layers and won’t outgrow a shallow tray. I use compact, slow growers that look tidy against rocks and sand.
Reliable Plant List
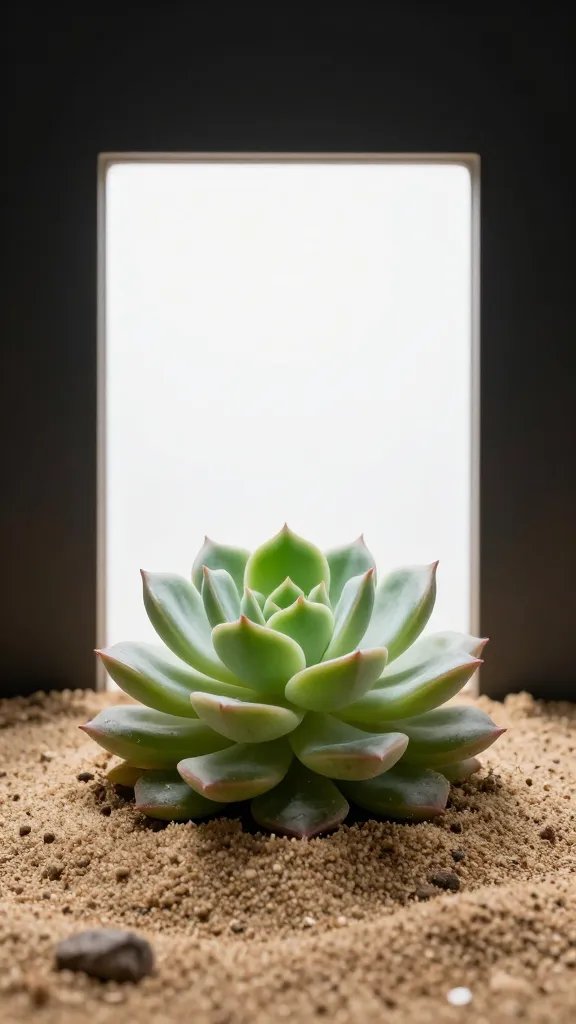
- Haworthia (small species) — architectural rosettes, low water use.
- Gasteria (mini forms) — handles indoor light and sparse watering.
- Peperomia (prostrata, caperata ‘Mini’) — small leaves, gentle spread.
- Fittonia (mini) — for humid rooms; keep in a pocket away from direct drafts.
- Moss sheets (cushion or mood moss) — only in brighter, humid spots; avoid direct sun.
- Air plants (Tillandsia) — perch on stones, no roots in sand; dunk weekly.
Skip fast crawlers and deep-rooted grasses; they break your clean lines and hit the container bottom fast.
Action today: Pick two contrasting textures (one spiky, one soft) and stop there — restraint creates the Zen effect.
Watering Precision: How to Moisturize Soil Without Flooding Sand
Watering decides whether your rake marks stay crisp or smear into clumps. I water the root pockets directly and keep the sand layer almost dry.
Use a long-spout watering can, a needle-tip squeeze bottle, or a large syringe from the pharmacy. Room-temperature tap water that tastes clean works. For a 25–30 cm tray with two root pockets, I start with 2–3 tablespoons per pocket every 10–14 days, then adjust by observation.
Warning Signs and Fixes
- Sand crusts or clumps: Too much water hit the surface. Switch to syringe watering into pocket soil only.
- Foggy glass or sour smell: Excess moisture trapped. Lift one side on a coaster for airflow and skip one cycle.
- Wrinkled succulent leaves: Increase by 1 tablespoon per pocket next watering.
- Moss browns: Mist moss directly, not the sand. Add a teaspoon of water to its pocket area twice weekly.
Action today: Fill a 60 ml syringe or squeeze bottle and practice placing water straight into a pocket without wetting sand — it’s a one-minute habit that keeps your design sharp.
Hardscape: Stones, Driftwood, and Raking Lines That Stay Put
Stones do more than look good — they anchor sand and guide water flow away from the surface. I set the largest stone first, slightly buried for a natural look, then step down in size.
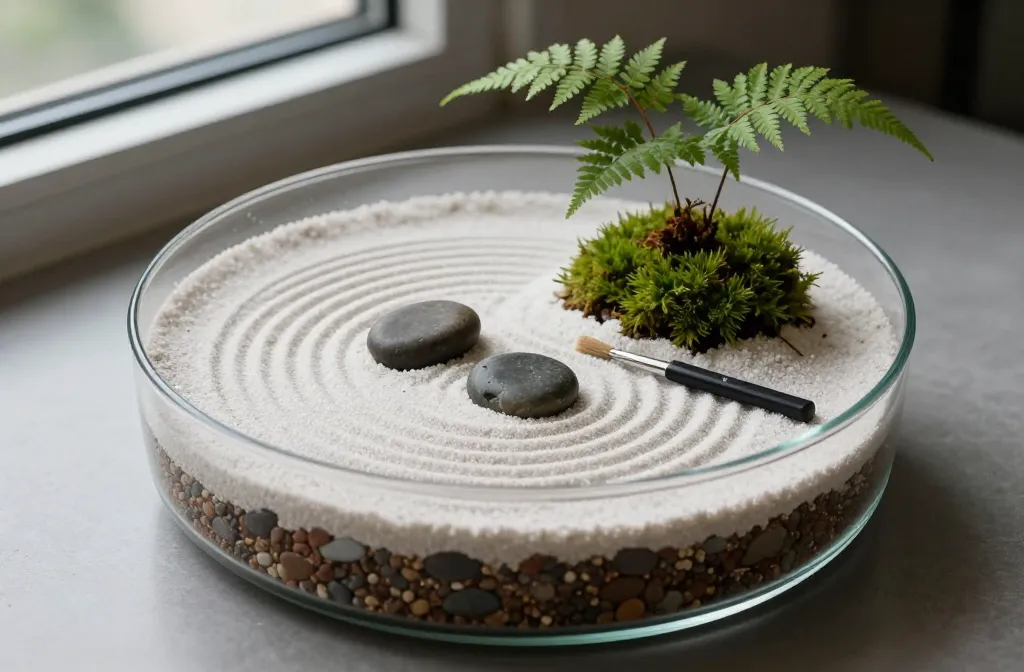
Rake patterns with a bamboo skewer or mini fork. Keep lines 5–10 mm apart so they hold shape. If a line collapses, the sand is damp; let it dry a day and try again.
Action today: Test your raking tool on a dry patch of sand; adjust spacing until grooves hold without crumbling.
Light, Placement, and Simple Maintenance

Place the terrarium in bright indirect light near a window. Avoid hot midday sun, which bakes sand and stresses roots. A north or east window ledge works well.
Weekly, use a soft brush or blower to remove dust from stones and leaves. Trim any runner that crosses a raking lane. Every three months, lift and refill sand thinly where footpaths develop.
Action today: Move your build to a spot where you can read a book without switching on a lamp at noon — that’s the right light level.
Frequently Asked Questions

Can I plant directly into sand if I mix in some soil?
No. Even mixed, a sand-dominant layer compacts and sheds water unevenly. Keep soil in the hidden planting layer or root pockets and cap with a thin sand layer only for looks. Your plants get air and moisture; your surface stays clean and rakeable.
How do I keep the sand from turning green with algae?
Algae needs light and constant moisture. Water only into root pockets, keep the sand layer thin and dry, and avoid placing the terrarium in direct sun. If algae appears, skim the top 2–3 mm of sand and replace with fresh, dry sand after letting the surface dry for 24 hours.
What if condensation keeps forming on the glass?
Too much water is trapped in the system. Reduce watering volume by half next cycle, lift the container edge slightly for airflow, and wick excess by inserting a paper towel edge into the sand for 10 minutes. Keep the sand layer shallow so moisture can evaporate evenly.
Which tools do I actually need from a regular store?
Pick up a long-spout watering can or plastic squeeze bottle, bamboo skewers for raking, a small brush, and fiberglass window screen. Everything else — pebbles, potting mix, play sand, stones — comes from the garden centre or aquarium aisle. You don’t need meters or specialty substrates.
How often should I water in winter?
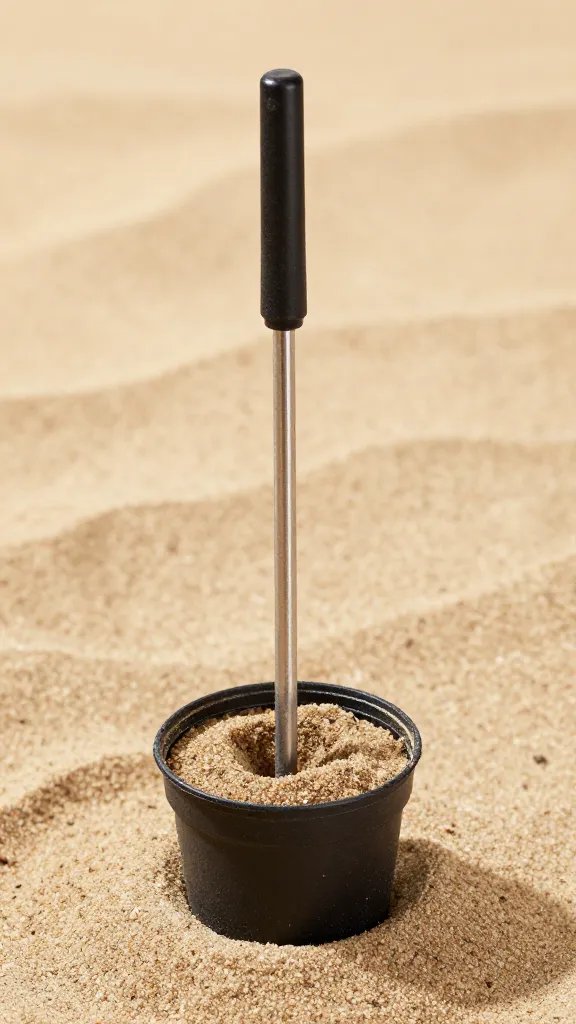
Indoor light drops and evaporation slows, so stretch the interval to every 2–3 weeks. Test by feeling the pocket soil with a skewer: if it comes out barely damp, wait three more days. Water succulents even less, and mist moss separately if you use it.
Can I add a tiny water feature or pool?
I don’t recommend it in a sand terrarium. Standing water raises humidity, encourages algae, and collapses sand lines. If you want the look of water, use a glossy black or deep blue stone slab as a “pond” and keep the rest of the system dry.
Conclusion
You can have the calm of a raked Zen surface and the reliability of healthy plants if you separate what looks good from what roots need. Build the hidden layers, isolate the roots, and water with intent — not by habit. Start with one tray, two plants, and a syringe watering routine this week; once you see how steady it stays, scale the design with confidence.