The Secret to How to Build a Terrarium Using a Repurposed Fish Tank — Cleaning, Sealing and Substrate Setup
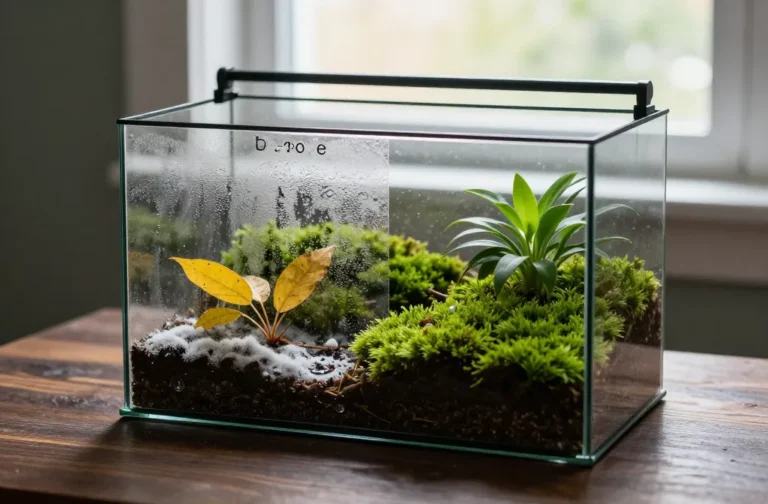
My first fish-tank terrarium fogged up like a bathroom mirror and smelled like a swamp within a week. I had cleaned the glass, but not in the right order, and I skipped a proper drainage layer. Once I fixed my prep and substrate, the next build ran clean for over a year with only light trimming. In this guide I’ll show you exactly how to prep the tank, seal it sensibly, and layer a substrate that stays healthy — using only what you can grab at a garden centre or hardware store.
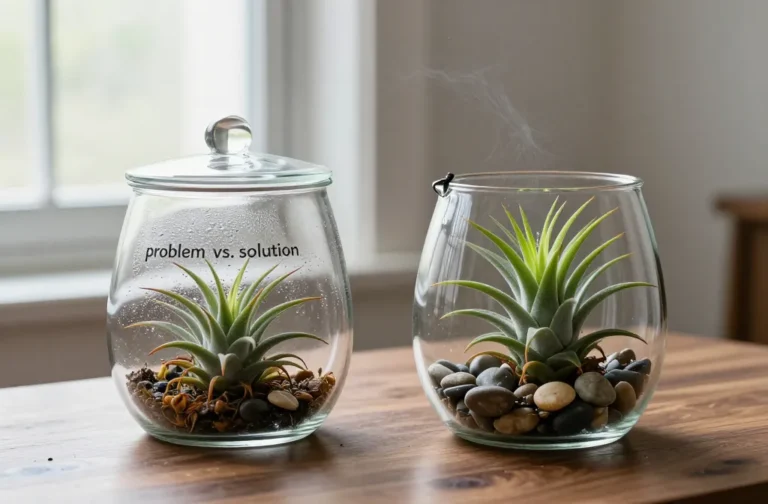
Choose the Right Tank and Decide on Open vs. Closed
Repurposed tanks work beautifully, but you need a sound starting point. Pick a tank with no cracks, chips on load-bearing edges, or loose corner seals. Standard 5–20 gallon tanks fit on shelves and windowsills without bowing.
Decide if you want an open terrarium (for succulents or plants that like airflow) or a closed terrarium (for humidity-loving tropicals and mosses). A closed tank needs a fitted lid and a way to vent briefly; an open tank needs brighter light and drier substrate.
Action today: Inspect each silicone seam with a flashlight — if you see bubbles, gaps, or gummy silicone, choose a different tank or plan to reseal.
Deep-Clean the Glass So Biology Doesn’t Beat You
Old aquariums carry minerals, algae, and biofilm that seed mold. Clean in this exact order so residues don’t reappear.
- Scrape: Use a new plastic scraper or old loyalty card to remove old algae and silicone smears.
- Descale: Wipe all glass with white vinegar (undiluted) and let sit 10 minutes to dissolve hard water scale. Rinse thoroughly with warm tap water.
- Degrease: Wash with a small drop of unscented dish soap in warm water using a soft sponge. Rinse until water sheets off with no bubbles.
- Disinfect: Spray 70% isopropyl alcohol or hydrogen peroxide (3%) on the interior, wait 5 minutes, and wipe dry with lint-free towels.
- Final Prep: Once dry, wipe inside glass with a microfiber cloth dampened slightly with alcohol to remove fingerprints that encourage condensation streaks.
Warning Signs You Missed Something
White crusty lines on seams = mineral scale still present. Slimy feel after drying = soap residue. Fix by repeating the vinegar rinse, then a plain-water rinse.
Action today: After cleaning, drip water down a glass wall — if it runs in a smooth sheet instead of beading, the surface is residue-free and ready.
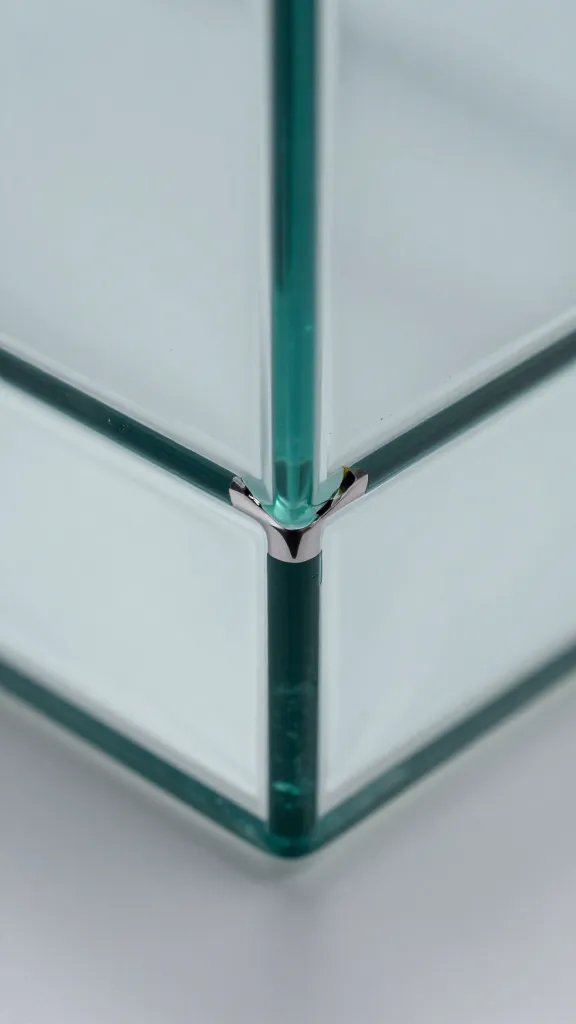
Seal Smart: Safe Silicone and Sensible Venting
If any seams look tired or you want a semi-closed setup, use the right sealant. Choose 100% silicone labeled for windows/doors or aquariums — clear, no mildew-resistant additives. Mildew inhibitors harm plants and moss.
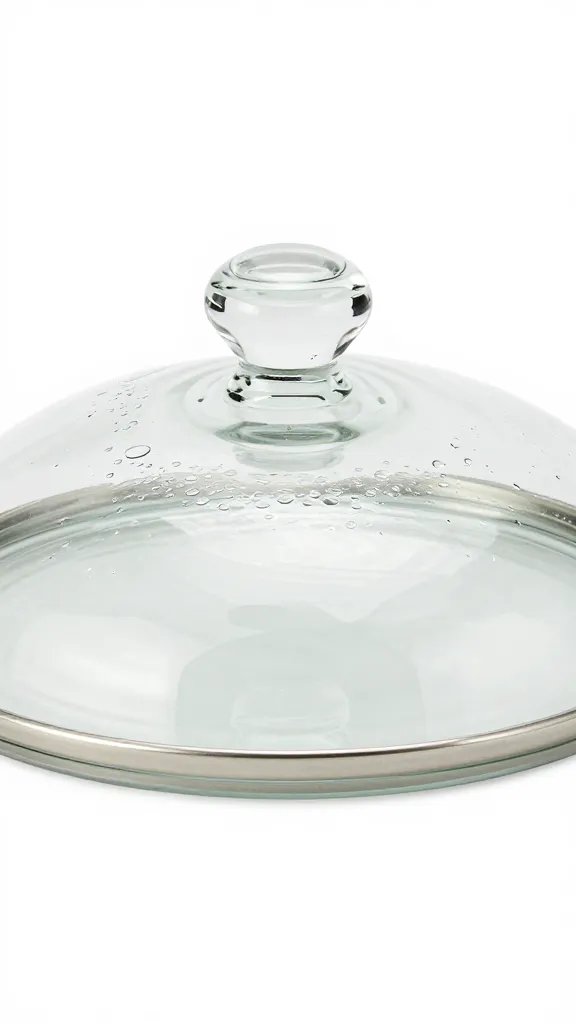
Mask the seam with painter’s tape, apply a thin bead, smooth with a wet finger, pull tape immediately, and let it cure 48 hours. For lids, a simple glass pane or acrylic sheet works. Leave a 3–5 mm gap at a back corner or drill 2–3 small holes in an acrylic lid to stop stagnant air without drying the tank.
Quick Lid Options
- Existing aquarium hood with the light unplugged: cover vent slots with clear plastic, leaving one corner open.
- Picture frame glass cut to size from a hardware store, resting on silicone bumpers to create a tiny gap.
- Plastic wrap stretched taut for testing moisture during the first week before upgrading to a rigid lid.
Action today: If you plan a closed terrarium, prep a lid with a pencil-sized vent hole so you can fine-tune humidity without removing the top.
Build a Drainage System That Prevents Swamp Rot
Aquariums lack drainage holes, so you must add a false bottom. This layer traps excess water below the roots where it can’t cause rot.
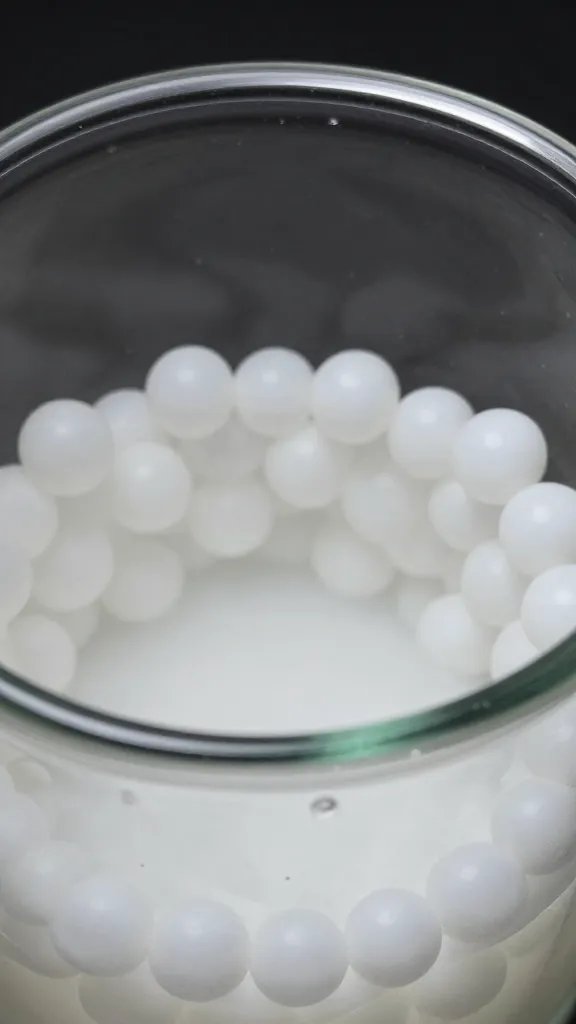
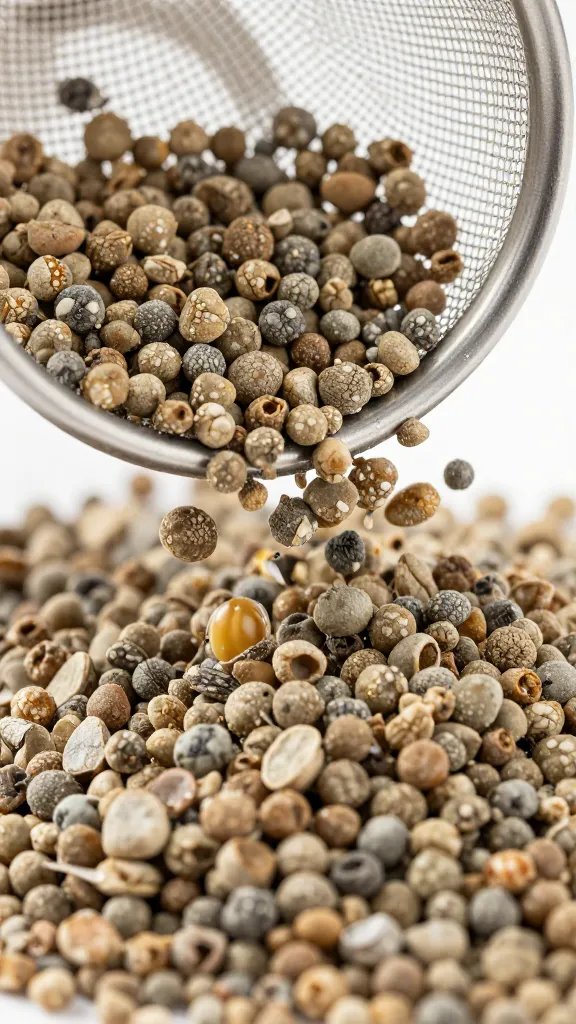
- Base Layer (2–5 cm): Rinse pea gravel, aquarium gravel, or LECA (expanded clay) until water runs clear. Spread evenly.
- Barrier: Add a sheet of fiberglass window screen or a thick layer of activated charcoal in a mesh bag. The screen keeps soil out of the gravel; the charcoal in a thin layer helps with odors.
- Moisture Indicator (optional): Press a clear soda straw down the back corner to the gravel. You can check water level later without disturbing plants.
Do not skip the barrier — soil slipping into gravel defeats the whole point and creates anaerobic pockets.
Action today: Rinse your chosen drainage media in a colander until the water runs clear, then spread it to a level that equals one-fifth of your tank’s interior height.
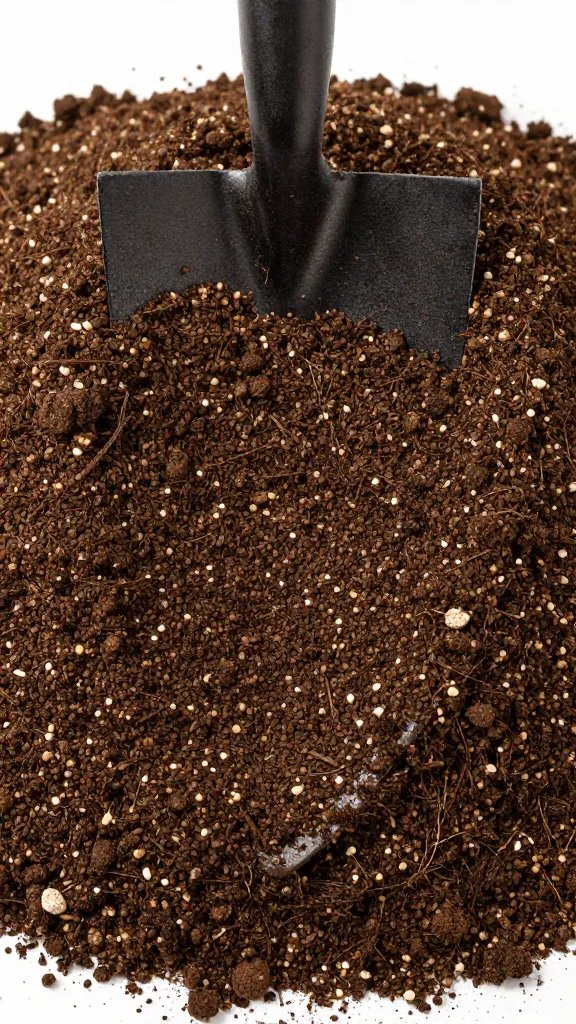
Mix a Stable Substrate: Airy, Clean, and Long-Lasting
Use a fresh, peat-free potting mix or quality indoor potting soil as your base. Improve its structure so it stays airy in a closed, humid box.
- Standard closed terrarium (ferns, moss, peperomia, pilea): 2 parts potting mix + 1 part fine orchid bark or coco chips + 1 part perlite. Add a light handful of activated charcoal per 5 liters to reduce odors.
- Open terrarium (succulents): 1 part potting mix + 1 part coarse sand + 1 part perlite or pumice. Keep bark out; it holds too much moisture for succulents.
Pre-moisten the mix so it clumps lightly when squeezed but doesn’t drip. Add 5–10 cm of substrate above the barrier — enough to anchor roots and create contours.
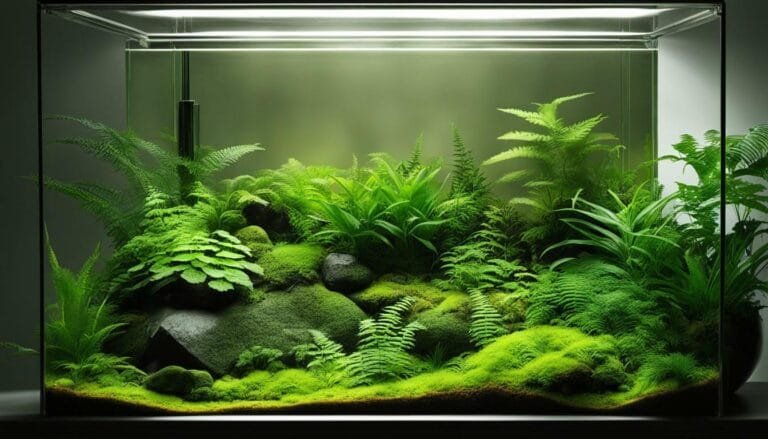
Plant Choices That Behave
- Closed: Ferns (button, maidenhair in larger tanks), fittonia, pilea, peperomia, selaginella, small begonias, mosses.
- Open: Haworthia, gasteria, small echeveria, sedum, crassula cuttings.
Action today: Squeeze-test your moistened mix — if a hard squeeze yields more than a drop or two of water, add more perlite and remix.
Planting Without Compacting and Setting the Hardscape

Plan your layout first. Place rock or wood hardscape slightly into the substrate for stability, not just on top. Use a spoon or chopsticks to make planting holes rather than pressing plants in by force.
Trim excess roots and remove nursery soil clumps. Tuck plants so crowns sit just above soil level to prevent rot. Top-dress bare areas with fine gravel or chopped sphagnum to reduce splash and algae.
Step-by-Step Planting
- Set hardscape and test the lid fit.
- Plant tallest species at the back, groundcovers at the front.
- Mist lightly to settle soil; do not pour water.
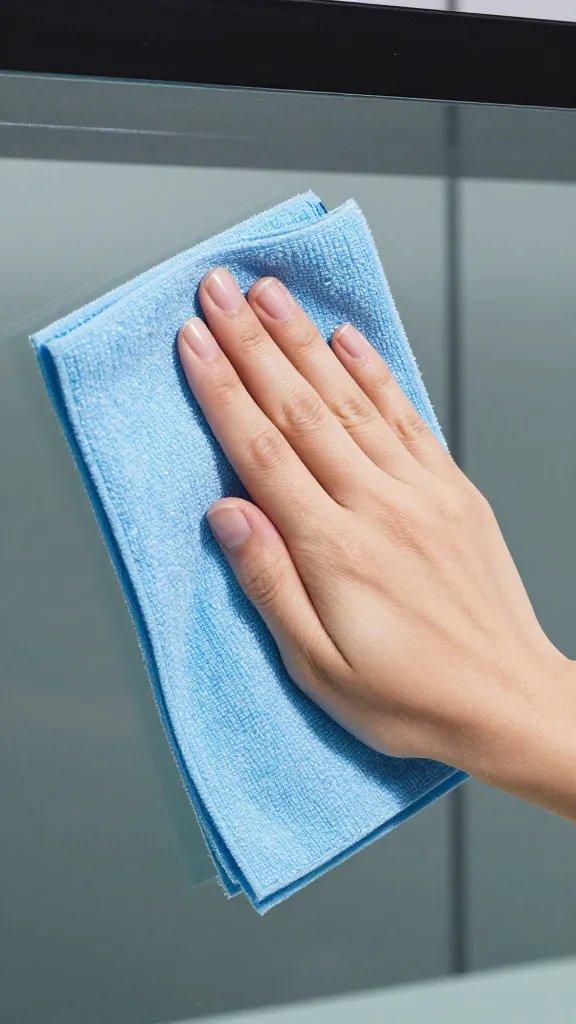
- Wipe interior glass with a dry microfiber to remove smears.
Action today: After planting, press gently around each root ball with two fingers — firm enough to hold, light enough to avoid compacting more than 1 cm.
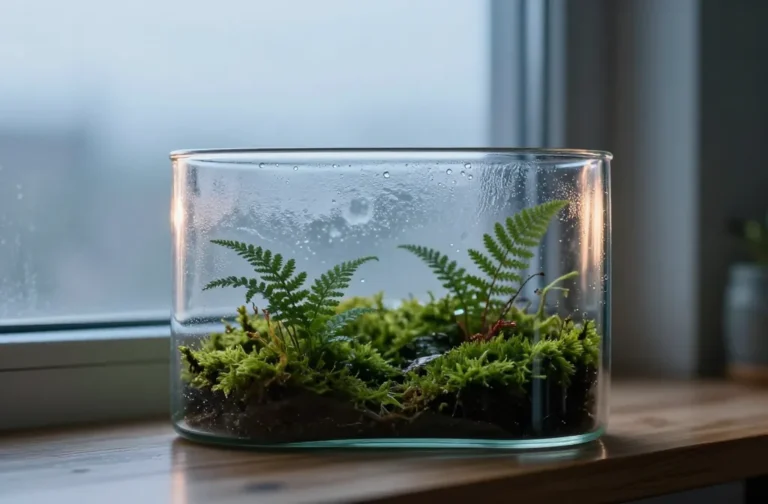
Moisture, Light, and First-Week Tuning

For closed builds, you want a light morning haze on the glass, not full-on raindrops at noon. If you see heavy condensation across more than half the glass by midday, open the lid for 1–2 hours and wick excess water from the drainage layer with paper towels wrapped around a chopstick if needed.
Place the terrarium in bright indirect light near a window. East or bright north windows work well. Avoid direct midday sun on glass — it overheats fast. For open succulent builds, give bright light with 2–4 hours of gentle morning sun.
Do not fertilize for the first 2–3 months. Fresh substrate has enough nutrients, and fertilizer fuels algae and mold in closed systems.
Action today: At midday for the first week, check condensation. Adjust by cracking the lid or misting 2–3 sprays as needed to keep only a light fog line.
Maintenance That Prevents Mold and Overgrowth

Set a simple routine. Weekly for the first month, then monthly, do three checks: condensation pattern, leaf litter on soil, and any mold threads on wood or mulch.
Pinch or trim fast growers so leaves don’t press against the glass. Remove fallen leaves promptly. If mold appears, spot-treat with a 1:3 mix of hydrogen peroxide to water using a cotton swab, improve air exchange for 24 hours, and reduce moisture slightly next week.
Common Warning Signs and Fixes
- Persistent swamp smell: Too wet. Vent daily for 1 hour and wick water from the drainage layer.
- Algae film on glass: Too bright and too wet. Reduce light one step and wipe glass with vinegar, then plain water.
- Wilting despite wet soil: Roots suffocating. Aerate top 1–2 cm with a chopstick and increase venting.
Action today: Add a small calendar reminder to inspect and wipe the glass every Sunday — a two-minute habit that catches problems early.
Frequently Asked Questions
How much water do I add on day one?
Pre-moisten the substrate until it holds together when squeezed but doesn’t drip, then add plants and mist 5–10 sprays to settle leaves. Do not pour water into the drainage layer. On a closed build, aim for a light fog line within the first 24 hours. If the glass stays bone dry, add 1–2 tablespoons of water by misting the soil surface.
Do I need activated charcoal, and where do I find it?
Charcoal helps absorb odors and minor impurities, which matters in sealed tanks. You can buy small bags labeled for terrariums or aquariums at garden centres or pet stores. Use a thin layer above the gravel or mix a small handful into your substrate. It won’t fix overwatering, but it keeps the system fresher.
Can I use driftwood or rocks I found outside?
Yes, but clean them thoroughly. Scrub with a stiff brush under hot water, then bake rocks at 100–120°C for 30 minutes and soak wood in near-boiling water for an hour to flush pests. Let everything dry fully before placing it in the tank. Avoid salt-contaminated beach finds.
Why is my closed terrarium always fogged up?
It started too wet or sits in a cold spot. Open the lid for 1–2 hours daily for three days and wick out water from the drainage layer using paper towels. Move the tank to a slightly warmer, bright room to reduce constant condensation. After clearing, resume with just a light morning haze.
What plants fail most often in fish-tank terrariums?
Large, thirsty tropicals like peace lilies, palms, and pothos outgrow the space and push against glass. Cacti rot in closed setups and stretch in low light. Stick to compact species like fittonia, pilea, peperomia, and mosses for closed builds, or haworthia and gasteria for open builds. Choose plants that stay under 20–25 cm tall at maturity.
How do I clean the glass without disturbing the plants?
Use a microfiber cloth wrapped around a ruler or paint stirrer for reach. Lightly mist the cloth with vinegar, wipe, then follow with a water-damp cloth and finally a dry pass. Keep liquids away from the soil line to avoid over-wetting. Wipe edges last so debris doesn’t fall back inside.
Conclusion
You don’t need lab tools to build a reliable terrarium — just a clean tank, safe sealing, a real drainage layer, and an airy substrate. Set yours up this week, tune condensation for seven days, and you’ll have a stable mini-forest that runs itself. When you’re ready, your next step is to try a planted “hill” or stream layout using the same base method — the structure won’t change, only your creativity will.