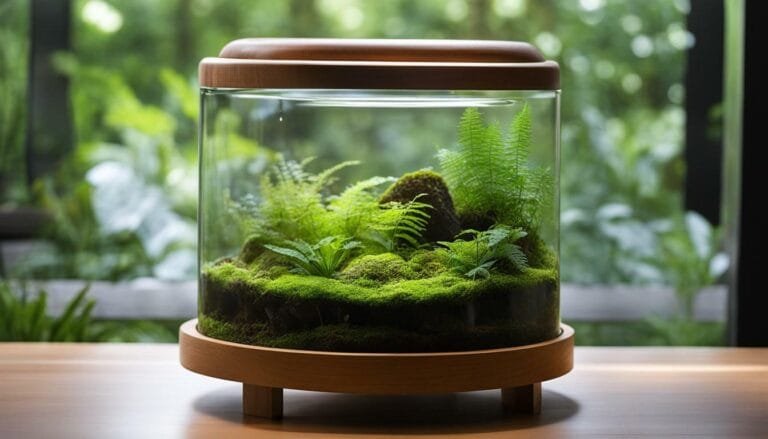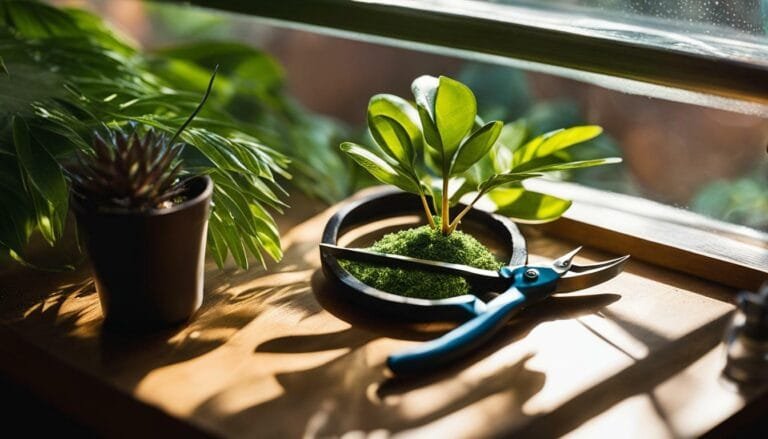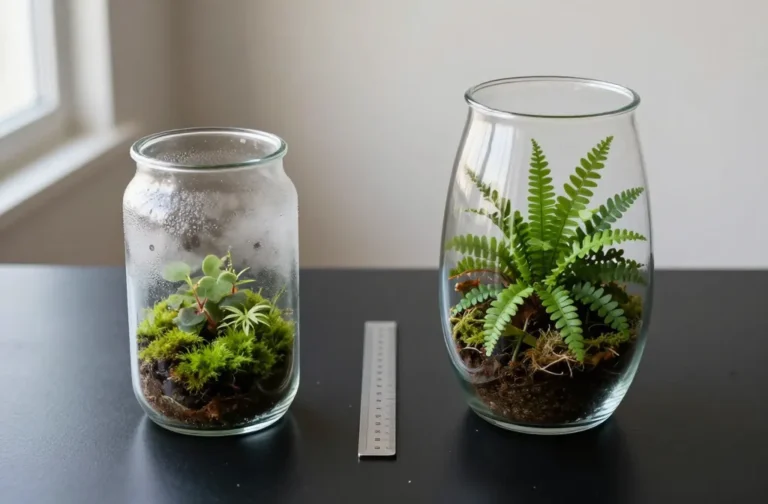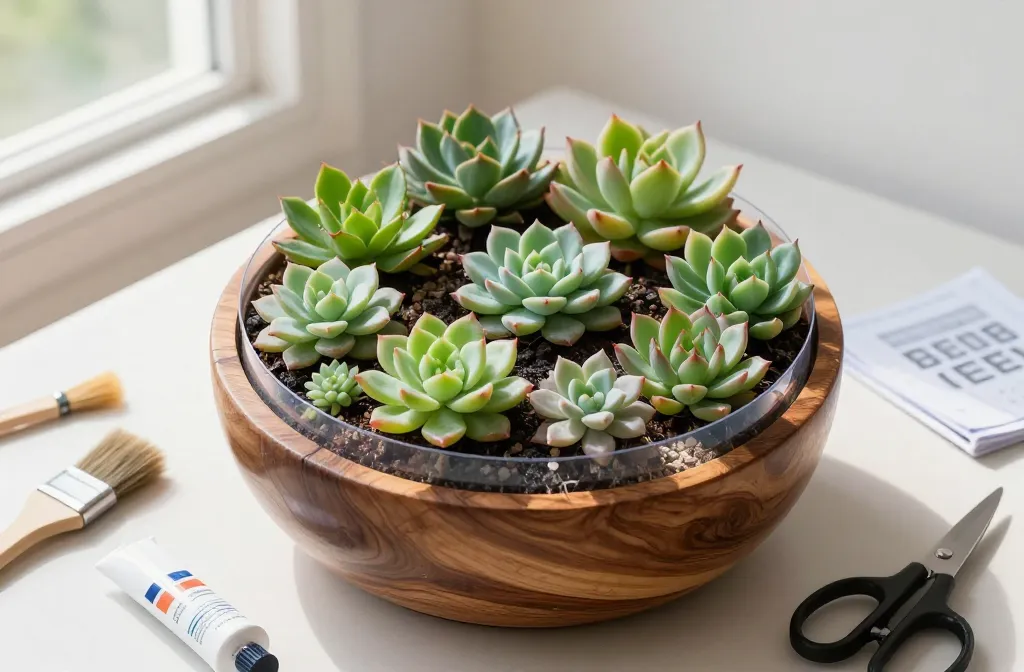
How to Build a Succulent Terrarium in a Wooden Bowl — Waterproofing, Layering and Drainage Without Holes That Lasts
I learned the hard way that a beautiful wooden bowl becomes a swamp if you treat it like a normal planter. My first attempt rotted within a month because I skipped waterproofing and guessed at the layers. Since then, I’ve built dozens that stay crisp and healthy for a year or more. In this guide I’ll show you a reliable, no-guesswork method for waterproofing, layering, and managing drainage without holes — so your succulents stay firm, colorful, and alive.
Why Wooden Bowls Need Waterproofing Before Any Soil Touches Them
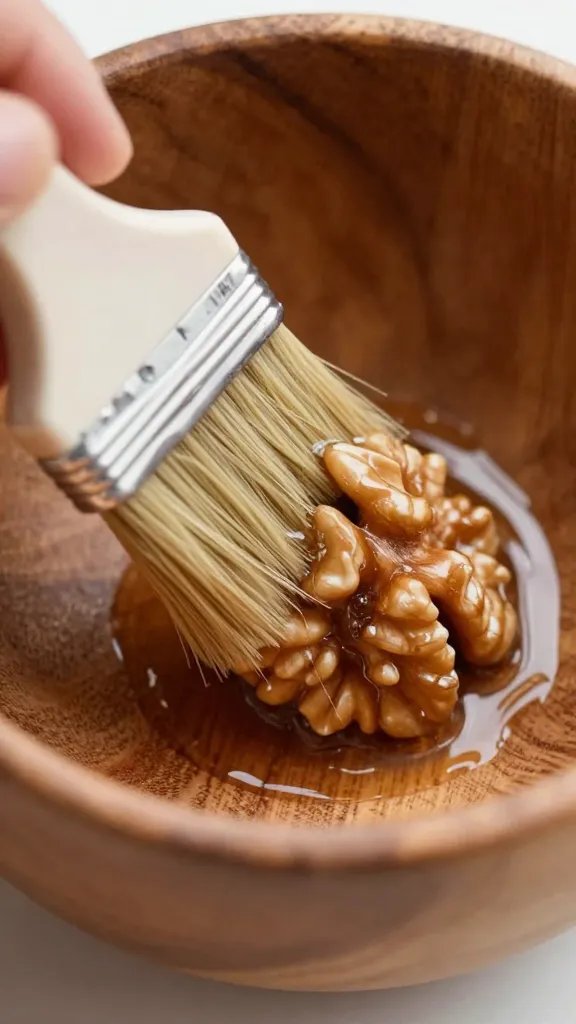
Wood wicks moisture into its grain and holds it there. That trapped moisture invites rot, warping, and fungus — and it keeps the terrarium too damp for succulents.
I seal every wooden vessel inside with two barriers: a liquid sealer for the wood and a thin plastic liner for insurance. This keeps the bowl dry and prevents hidden moisture from lingering under the soil.
Materials That Work From Any Hardware Store
- Waterproof sealer: Clear polyurethane (interior) or water-based spar urethane.
- Plastic liner: Thick painter’s plastic, pond liner offcut, or a heavy-duty trash bag.
- Adhesive: Clear silicone sealant (bathroom/kitchen grade).
- Tools: Small brush, scissors, and masking tape.
Step-by-Step Waterproofing
- Lightly clean and dry the bowl for 24 hours indoors.
- Brush on a thin coat of polyurethane. Let it dry as directed, then add a second coat — especially on seams and the base.
- Cut plastic to fit the interior with 2–3 cm extra up the sides. Press it in smoothly.
- Seal the top edge of the liner to the bowl with a neat bead of silicone. Let cure 24 hours.
- Test: Add 1 cup of water, let sit 30 minutes, then pour out. Wipe dry and air for 12 hours.
Action today: If your bowl isn’t sealed, apply two coats of polyurethane tonight — it’s the single best insurance against rot.
The Right Substrate Layers for Drainage Without Drain Holes

Without a hole, water needs a place to go and stay away from roots. I build a clear, breathable stack: a false bottom for water, a barrier to keep soil out of it, then a gritty succulent mix on top.
The Three-Layer Stack
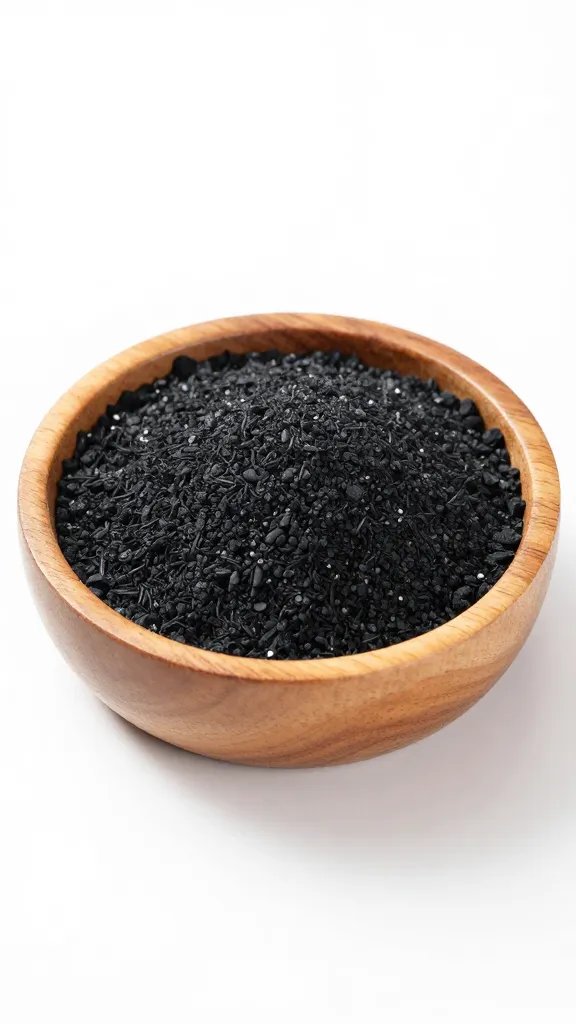
- Drainage layer (2–3 cm): Rinsed aquarium gravel, pea gravel, or pumice. Avoid charcoal as a drainage layer — it clogs and floats.
- Separator: Fiberglass window screen or landscape fabric cut to fit snugly, edges tucked. This prevents soil from sinking.
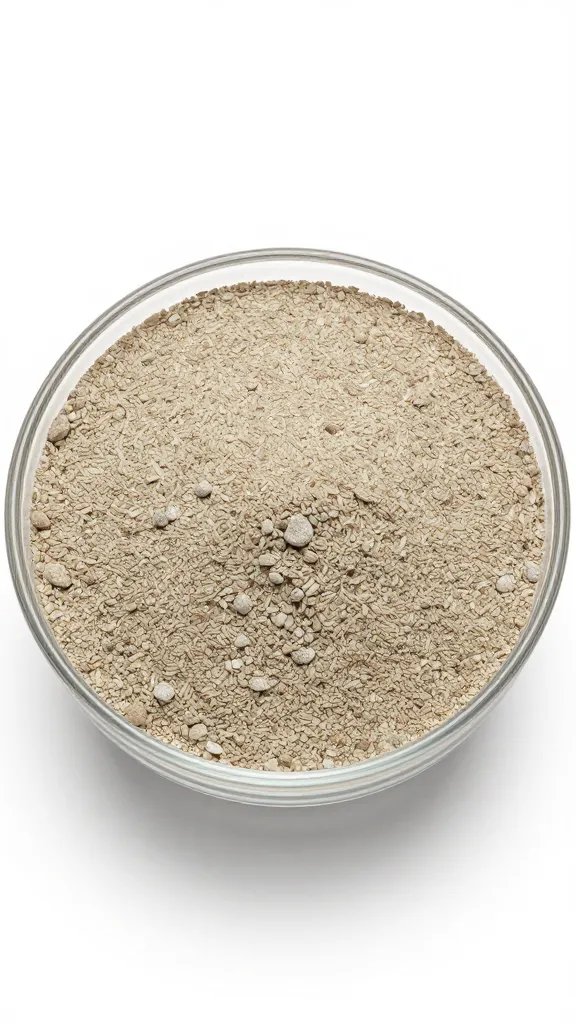
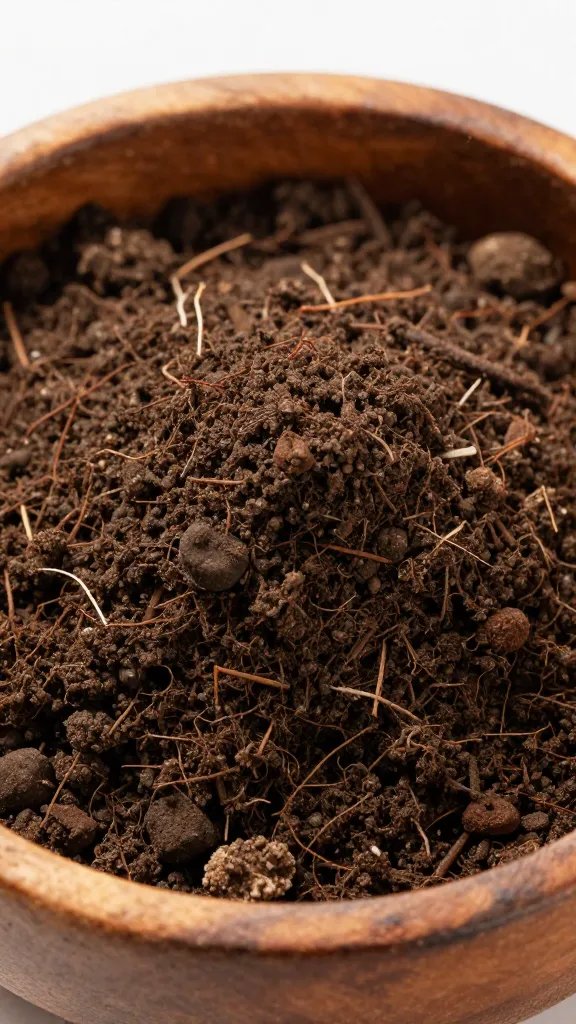
- Soil (5–8 cm): A fast-draining mix: 50% bagged cactus/succulent mix + 50% coarse mineral (pumice or perlite). If you only have standard potting mix, add at least 60% perlite by volume.
Action today: Rinse your gravel or pumice in a colander until water runs clear — dirty fines clog the drainage layer.
Choosing Succulents That Tolerate Shallow Roots and Low Airflow
Bowls are shallow and have slower air exchange than pots, so I use compact species that don’t resent close quarters. Avoid thirst-tolerant but rot-prone giants that need deep, bone-dry pots.
Reliable, Compact Choices
- Haworthia (e.g., H. cooperi, H. fasciata) — thrive in bright indirect light and stay tidy.
- Gasteria — slow-growing, forgiving in bowls.
- Graptopetalum and Graptosedum — colorful rosettes with firm leaves.
- Sempervivum (indoors near a cool window) — shallow roots, tight clumps.
- String-of-Pearls (Senecio/Curio rowleyanus) only if you keep the crown dry and trailing over the rim.
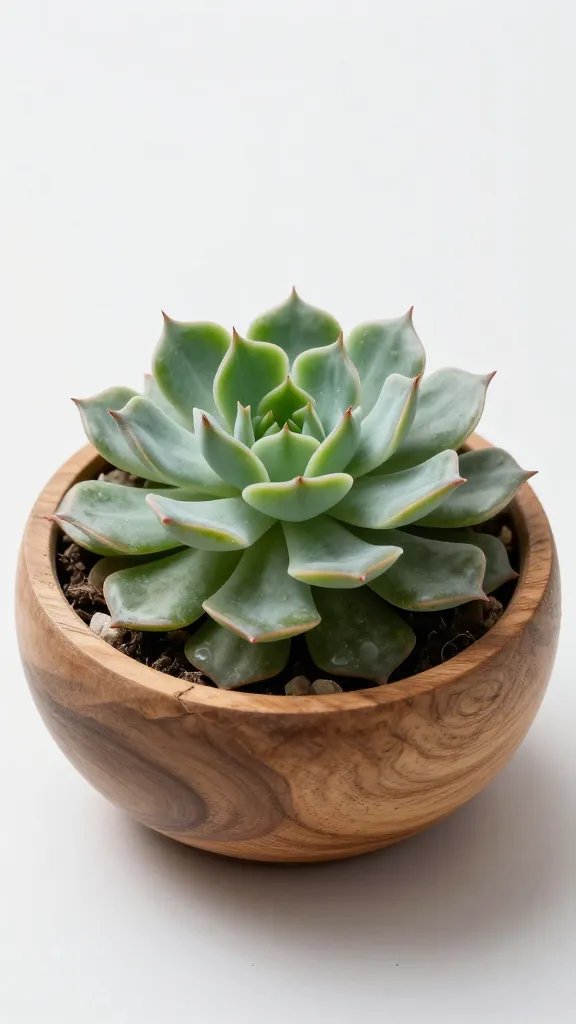
Avoid: Large Aloe, thirsty Kalanchoe hybrids, and moisture-sensitive Echeveria with dense cores unless your light is excellent and watering is precise.
Action today: Limit the bowl to 3–5 small plants total — crowding traps humidity and invites rot.
Planting Technique That Prevents Root Rot From Day One
How you set plants matters more than what you plant. I keep crowns high, roots trimmed, and soil dry at assembly.
Planting Steps
- Dry start: Ensure all materials and plants are dry to the touch.
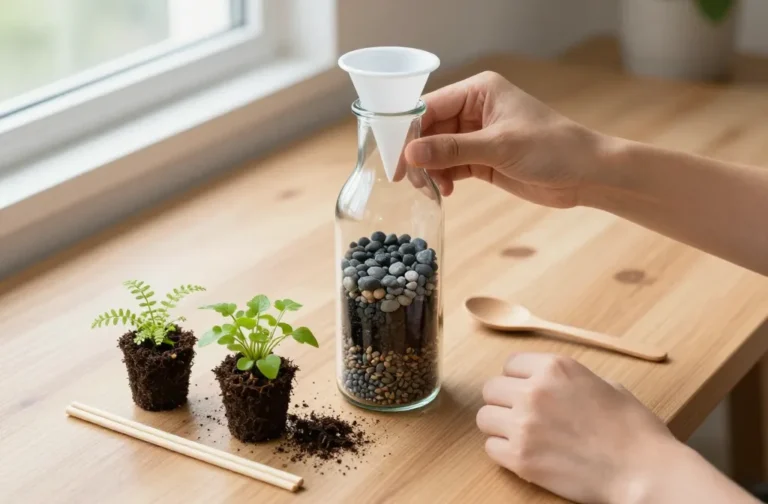
- Build layers: gravel (2–3 cm), screen, then dry mix (5–8 cm). Slightly mound the center to keep crowns above the rim plane.
- Gently tease soil from nursery roots and snip long, circling roots back to 3–5 cm.
- Set each plant so the crown sits 0.5–1 cm above the soil line. Backfill with chopsticks or a spoon.
- Brush soil off leaves with a dry paintbrush. Top-dress with 0.5–1 cm decorative gravel to keep surfaces dry.
Action today: After planting, do not water for 5–7 days — let tiny root nicks callus first.
Watering a Bowl With No Drain Hole: Exact Quantities and Timing

In a sealed-bottom bowl, less water beats perfect technique. I water by volume and read the top-dress as my gauge.
How Much Water, Exactly
- First watering (after 5–7 dry days): 1–2 tablespoons per 10 cm of bowl diameter, dribbled around roots, not into crowns.
- Routine watering: Every 3–4 weeks in bright light; every 4–6 weeks in lower light. Increase spacing in winter.
- Never pour until you see standing water in the gravel layer. If you do, wick it out.
Wicking Out Excess Water
- Twist a strip of paper towel or cotton cloth into a cord.
- Insert one end down the side to the gravel layer, the other end dangling over the rim into a cup.
- Leave 1–3 hours until drips slow, then remove and replace top-dress if disturbed.
Action today: Pre-mark a small measuring cup for your bowl’s dose so you never guess under pressure.
Light, Airflow, and Humidity Management in a Shallow Display
Succulents want strong light with gentle airflow. Bowls trap a bit of humidity, so I offset that with brighter placement and a brief daily air exchange.
- Light: Place 30–60 cm from a bright east or south window. If the sun scorches, move it just out of the sunbeam, but keep the room bright.
- Air: Crack a nearby window for 15 minutes on mild days or run a fan across the room for 10 minutes in the morning.
- Heat: Keep off radiators and away from AC blasts; target a steady 18–24°C.
Action today: Do a noon shadow test — if your hand casts a distinct shadow where the bowl sits, the light level is good.
Maintenance: Keeping It Crisp for the Long Haul
Small routines prevent big failures. I prune, clean, and reset moisture before problems escalate.
Monthly Checklist
- Pinch off any mushy leaves immediately and dust cuts with cinnamon to dry them.
- Brush dust from leaves and top-dress so surfaces stay dry.
- Rotate the bowl a quarter turn to even out growth.
- Fertilizer: none for the first 3 months; then a half-strength cactus feed once in spring and once in summer only — never in winter.
Early Warning Signs and Fixes
- Wrinkled, thin leaves: Underwatered. Add 1 tablespoon water, wait 72 hours, reassess.
- Soft, translucent leaves or sour smell: Overwatered. Wick water out, remove mushy parts, increase airflow for a week.
- Stretching (tall, pale growth): Not enough light. Move 30 cm closer to the window or choose a brighter room.
Action today: Set a recurring calendar reminder for a 5-minute monthly check — it prevents 90% of failures.
Frequently Asked Questions
Can I skip the plastic liner if I seal the wood well?
No. Wood hairline gaps and seams still wick moisture over time, even with good polyurethane. The thin plastic liner adds a physical barrier that protects the bowl and stabilizes humidity inside the terrarium. It also lets you lift or replace the planting later without damaging the vessel. Use silicone at the rim to lock it in place.
What if I only have regular potting soil?
Cut it with coarse perlite at a minimum of 60% perlite to 40% potting soil by volume. Mix it in a bucket until it looks rocky and barely holds together when squeezed dry. Top-dress with gravel to keep the surface from staying damp. Water 25% less than you would with a true cactus mix.
How do I know when to water without a moisture meter?
Watch the top-dress and leaves. If the gravel looks dusty-dry and leaves feel slightly flexible or show faint wrinkles, water your pre-measured dose. If leaves feel plump and cool, wait another week. Err dry — a missed watering recovers; a wet bowl rots.
My bowl developed fungus gnats. What’s the fix without a drain hole?
Let the soil dry an extra week, then bottom-wick moisture out using the paper towel cord method. Replace the top 1 cm of soil with fresh, dry mix and gravel. Add yellow sticky traps near the bowl and water only in the morning so the surface dries by night. Gnats vanish once the top stays dry for two weeks.
Can I add moss or companion plants for looks?
Live moss keeps surfaces damp and fights succulents for airflow — skip it. Use dry preserved moss only as a tiny accent away from crowns. For companions, stick to slow, dry-tolerant minis like Haworthia pups or very small Sedum. Keep total plant mass low to avoid humidity build-up.
What size bowl works best for beginners?
A 20–30 cm diameter bowl with at least 8–10 cm interior depth gives enough room for the drainage layer and root space. Smaller bowls swing too fast from wet to dry and leave no margin of error. Start mid-size, learn your watering rhythm, then experiment smaller if you want. Keep the rim wide enough for your hand and a spoon.
Conclusion
You don’t need special tools to make a wooden-bowl succulent terrarium succeed — you need the right barriers, a gritty substrate, measured watering, and bright placement. If your last attempt went soggy, rebuild with the waterproofing and three-layer stack I use and set a fixed water dose. Next step: pick three compact Haworthia or Gasteria, gather your liner and gravel, and seal the bowl tonight so you can plant this weekend with confidence.