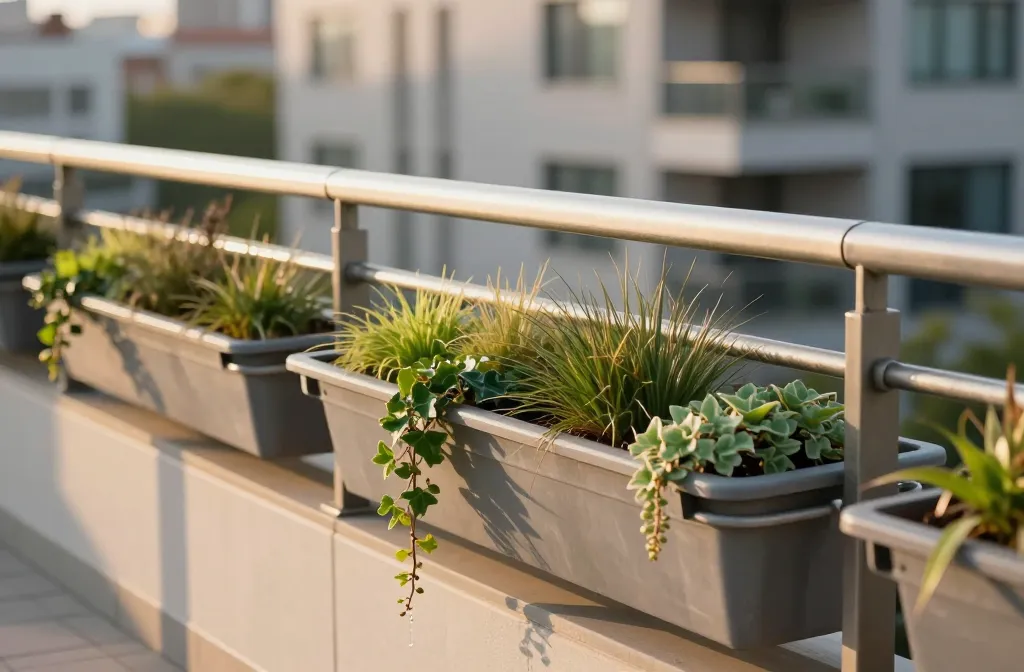
How to Build a Railing Planter System — Weight Distribution, Fixings and Which Plants Won’t Blow Over
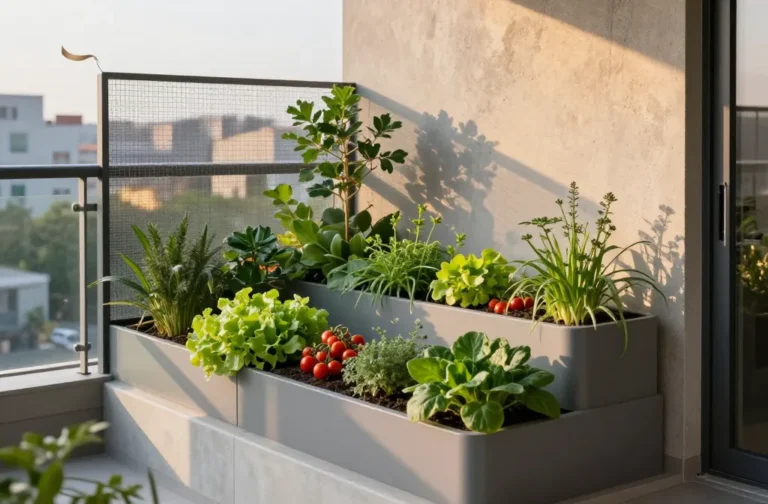
I’ve built railing planters on wobbly Victorian balconies and modern steel balustrades, and I’ve seen the same headaches every time: sagging brackets, wind-tossed plants, and mystery leaks that annoy the neighbor below. None of this is inevitable. When you balance weight, pick the right fixings, and choose plants that stand up to wind, a railing planter runs itself. Here’s exactly how I design them so they stay safe, drain cleanly, and look good year-round.
Know Your Railing Before You Buy Anything
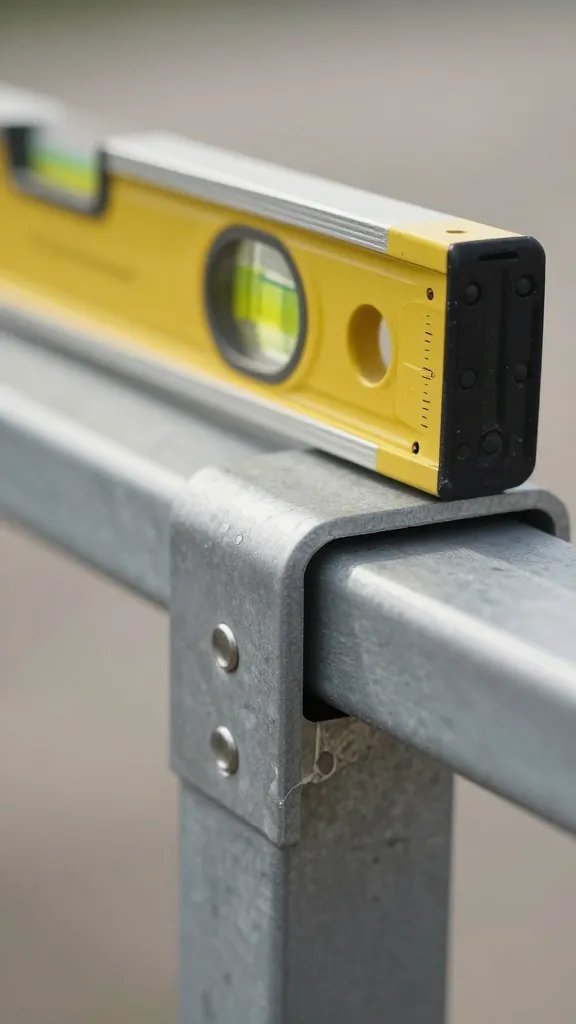
I start by identifying the railing type because that dictates everything else. You likely have one of three: flat-top metal (square tube), round metal (pipe), or timber (deck rails). Each needs brackets built for its shape, not “universal” ones that flex and loosen.
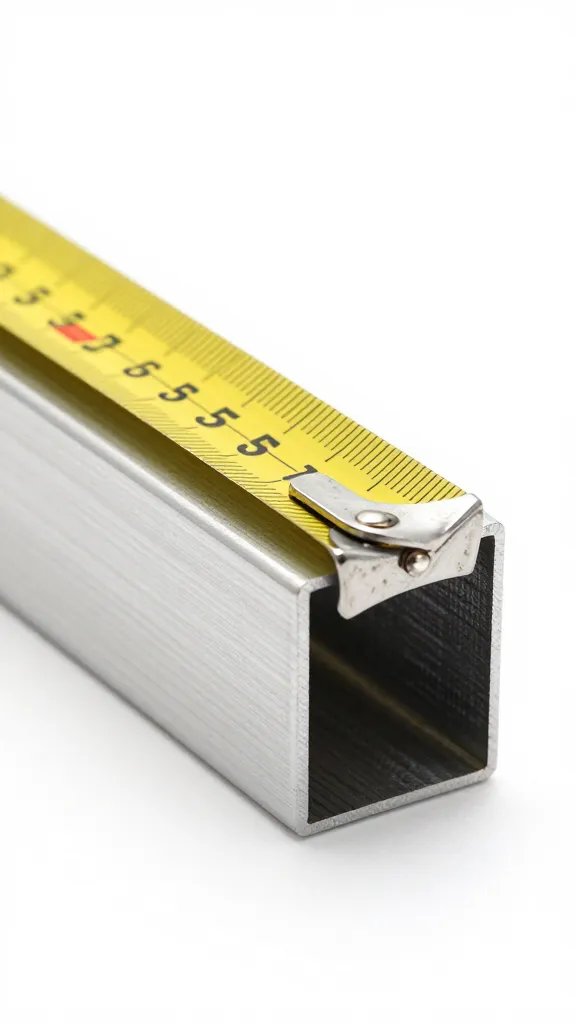
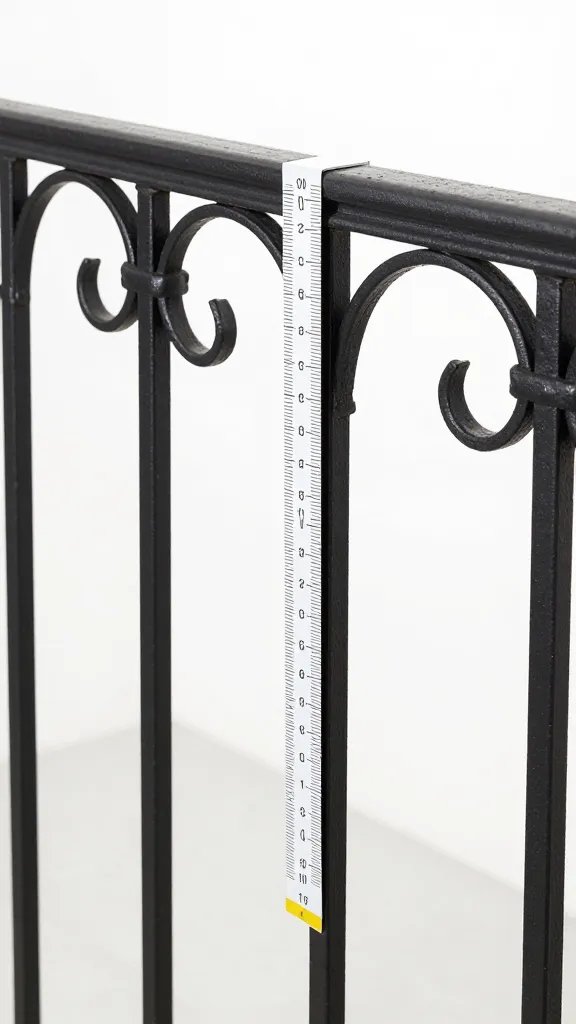
Measure three things with a tape: top rail width/diameter, baluster spacing, and the distance to the outside edge where a box would hang. Snap a photo and take it to the garden centre if you’re unsure — bracket packaging lists supported rail sizes.
Action today: Measure your rail’s top width/diameter and take a clear photo; match a bracket labeled for that exact size and material.
Distribute Weight So Nothing Creeps or Tilts
Wet potting mix is heavy. A 24–30 inch plastic planter with soil and plants weighs roughly 20–30 lb (9–14 kg) when watered; wood and ceramic weigh more. Concentrate that on flimsy brackets and the box will tip or bow the rail.
I use two brackets for anything up to 24 inches and three brackets for 30–36 inches. Space them evenly, no more than 12–14 inches apart. If your set includes an under-box cross strap, install it — it turns three point loads into one spread load.
To reduce total weight without starving plants, I fill the bottom 1–1.5 inches with perlite or clean nursery pot upturned inserts to displace soil above the drainage holes. I never use rocks; they add weight without improving drainage.
Action today: Count and space brackets so the gap between supports is under 14 inches for any box over 24 inches long.
Pick Fixings That Don’t Loosen in Wind or Rain
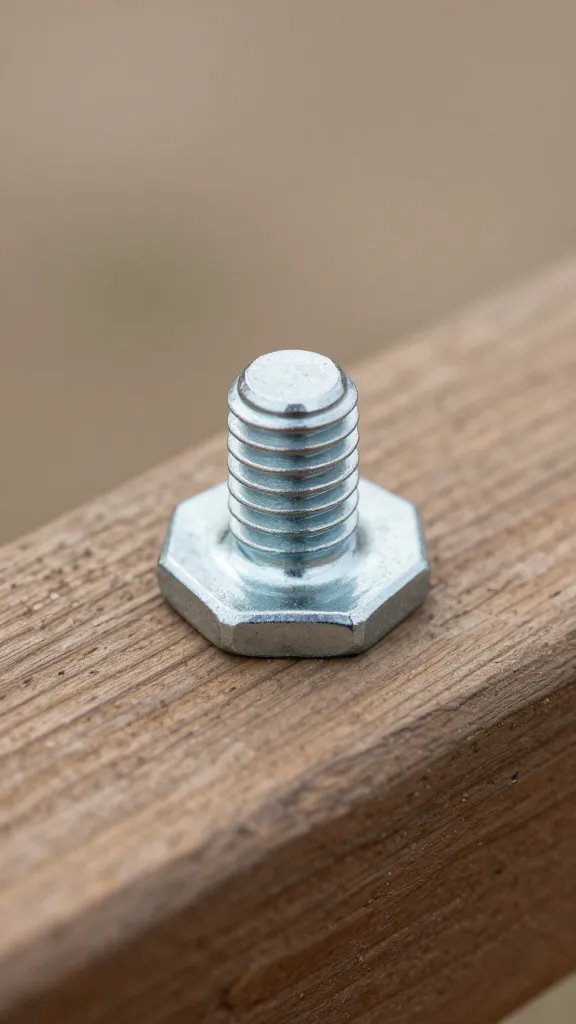
Brackets fail because people rely on a single set screw biting smooth metal. I secure in three ways: a non-slip pad under the clamp, a lock washer or nylon-insert lock nut on the main bolt, and a secondary safety tether from box to rail.
Use adhesive-backed rubber or cork pads where the clamp meets the rail. Tighten bolts with a real spanner, not fingers. Add a short stainless cable or heavy-duty zip tie around the box frame and rail as a backup; hide it behind foliage.
Material recommendations
- For metal rails: Powder-coated steel brackets with U-bolts sized to your rail, plus rubber pads.
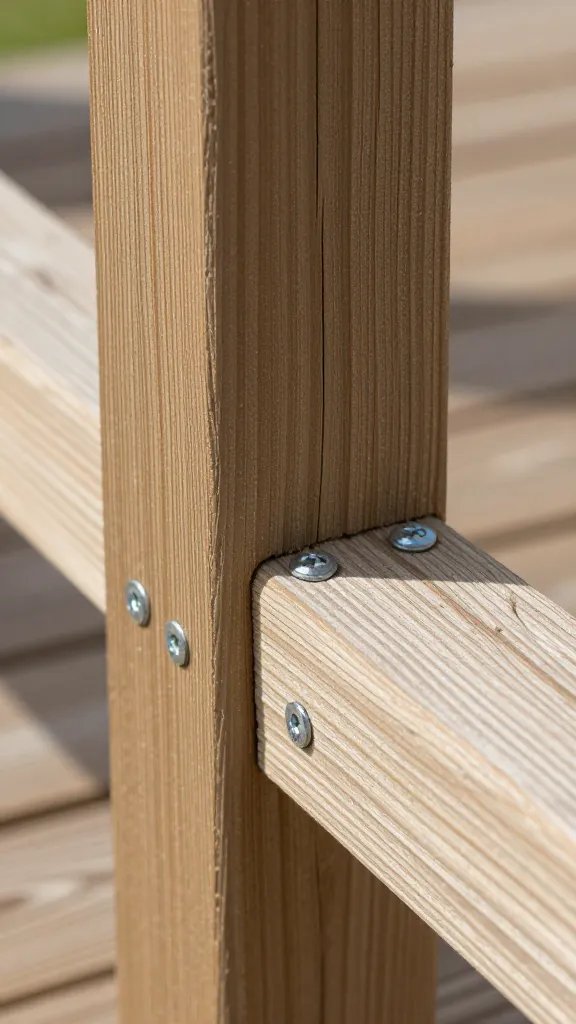
- For wooden rails: L-shaped brackets with two wood screws into the vertical face; pre-drill and use exterior screws.
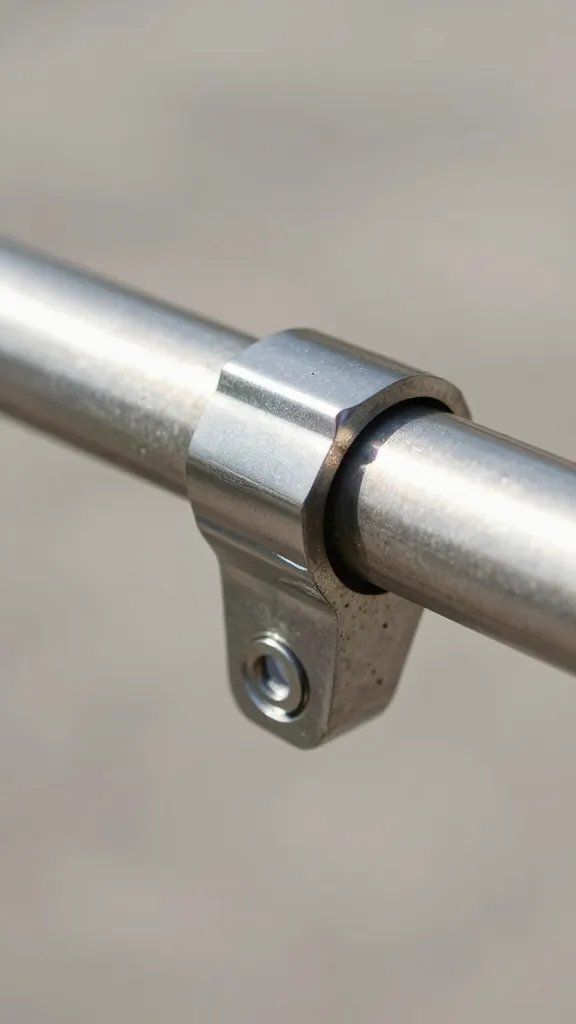
- For round rails: Curved-saddle clamps with lock nuts; avoid flat clamps on round pipe.
Action today: Add a nylon-insert lock nut or a drop of threadlocker to each bracket bolt so wind can’t unwind it.
Drainage That Doesn’t Drench Your Neighbours
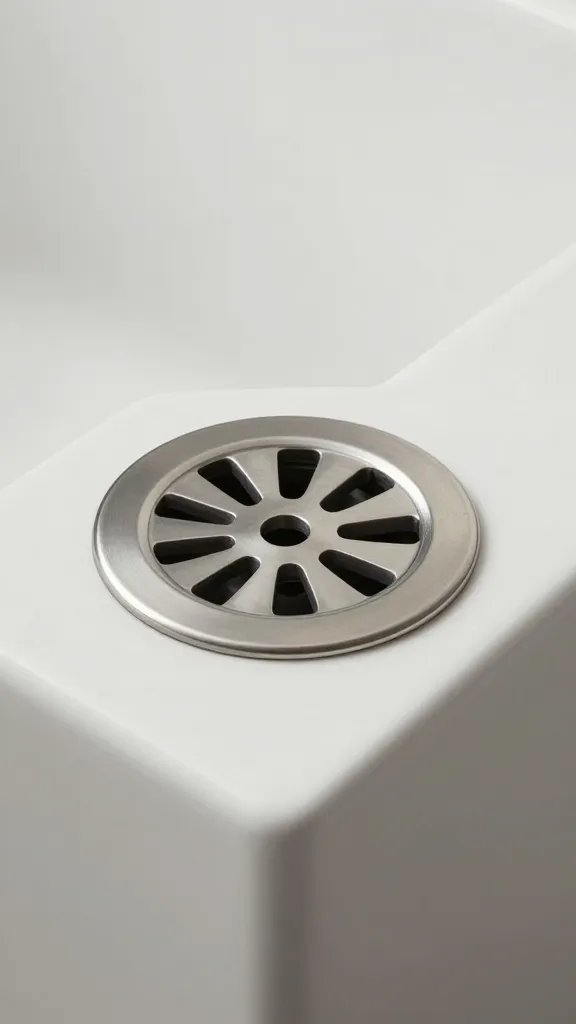
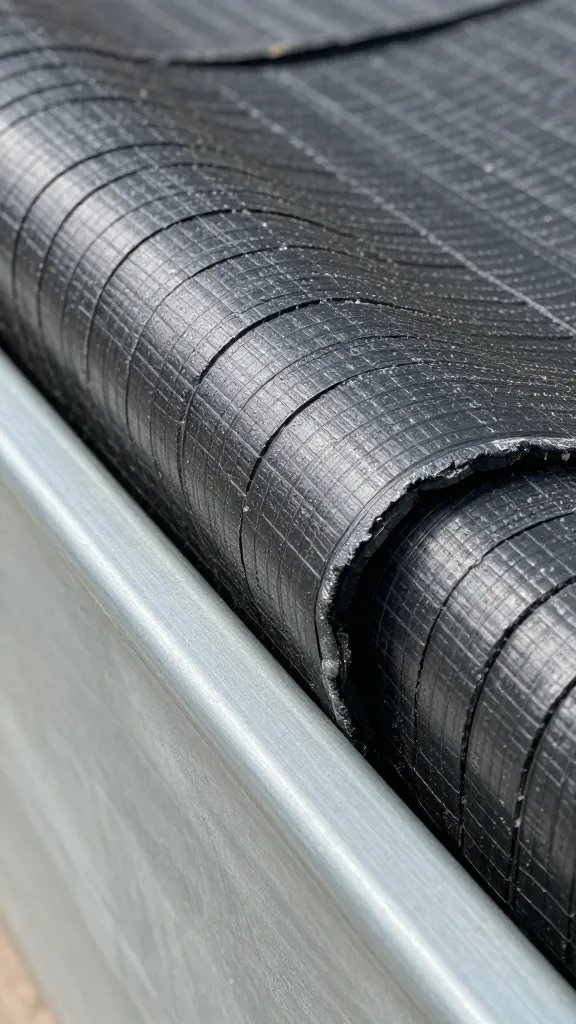
Railing planters need holes, but you control where the water exits. I prefer planter boxes with a built-in reservoir and side outlet so overflow runs toward your balcony, not the street. If your box only has bottom holes, line the base with a layer of perlite and a mesh sheet (insect screen works) to keep mix from washing out.
Set trays or narrow drip edges under the box if you have neighbors below. Water slowly with a small can until you see the first signs of drip, then stop. On exposed balconies, I water in the morning so any splashes dry before evening wind picks up.
Warning signs
- Constant dripping hours after watering: Mix is waterlogged; add more drainage media and reduce watering volume.
- Brown streaks on facade: Soil washing out; add mesh, top up mix to 1 inch below rim.
Action today: Add a strip of mesh over the drainage holes before filling — it keeps mix in and sends only clear water out.
Choose Plants That Don’t Sail Away in Wind
Wind topples plants with tall, soft stems and big leaves. I use low, mounding, or trailing plants with flexible stems and small leaves. In full sun, I mix drought-tough species; in partial shade, I use compact foliage that hugs the soil.
Plant lists that resist wind
- Full sun, windy: Sedum (stonecrop), Thymus (creeping thyme), Helichrysum petiolare (licorice plant), Calibrachoa, Verbena, Festuca glauca (blue fescue), Portulaca.
- Partial sun/bright shade: Heuchera (compact varieties), Ajuga, Carex oshimensis ‘Evergold’, Trailing ivy-leaf pelargoniums, Bacopa, Compact boxwood (1-gallon max).
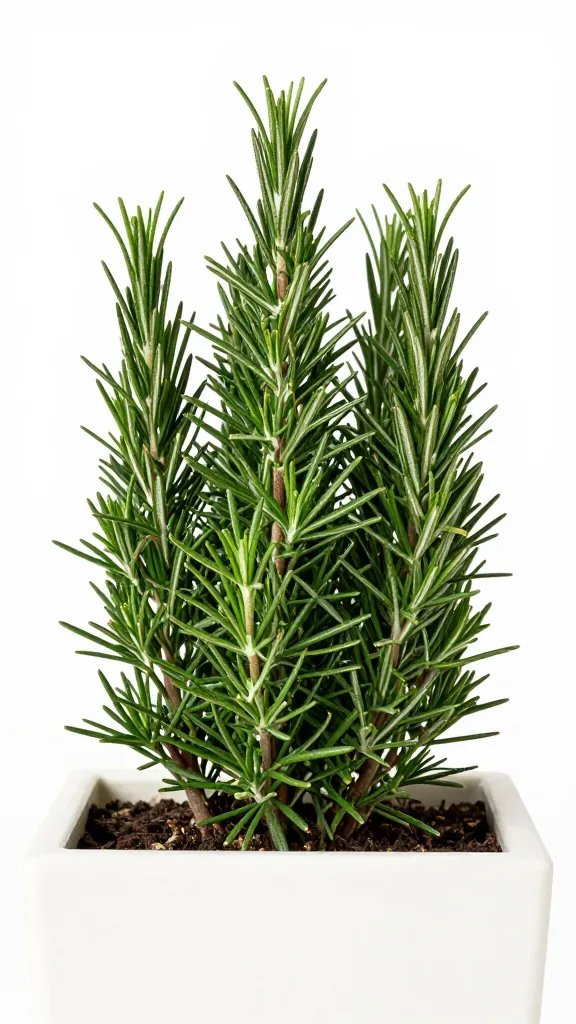
- Herbs that won’t flop: Oregano, thyme, rosemary (upright but woody), chives. Avoid tall basil on exposed rails; use compact Greek basil instead.
Plant densely: 5–6 small plugs (9–10 cm pots) per 24-inch box. Dense canopies interlock and reduce wind tunneling. Leave 1 inch from soil to rim to create a wind lip.
Action today: Pick three species from one list above and plant them in repeating groups — repetition stabilizes the canopy in wind.
Soil, Watering, and Fertiliser That Keep Plants Compact
Use a good quality potting mix from the garden centre, not garden soil. Blend in 20–30% perlite to keep it airy for years. Skip moisture crystals on exposed balconies; intermittent wind dries from the top, and crystals make soggy bottoms.
Water deeply but less often. In summer, expect 2–3 waterings per week in full sun, once a week in bright shade. If the top 1 inch feels dry and the box feels noticeably lighter when lifted from below, water until you see the first drip, then stop.
Feed light and regular: a balanced liquid fertiliser at half strength every 2 weeks from spring to early autumn. Heavy feeding makes leggy, wind-prone growth.
Action today: Mix perlite into your potting mix before filling — one heaping cereal bowl of perlite per gallon of mix is about right.
Secure Installation: A Simple Step-By-Step
- Measure and test-fit: Place the empty box on the rail; mark bracket positions no more than 12–14 inches apart.
- Pad and clamp: Apply rubber pads, set brackets, add lock washers or nylon nuts, and tighten with a spanner.
- Add safety tether: Loop a stainless cable or heavy-duty zip tie through the box frame and around the rail, snug but not crushing.
- Prepare drainage: Lay mesh over holes, add 1–1.5 inches of perlite, then fill with potting mix to 1 inch below rim.
- Plant and water in: Set plants slightly snug, backfill, firm gently, and water until the first drip.
- Final check: Grasp the box with two hands and shake firmly. If anything moves, retighten now — not after a storm.
Action today: Do the two-hand shake test on your existing planter; if it shifts, add a safety tether before the next windy day.
Maintenance That Prevents Mid-Season Failures
Every month, I recheck bolts, tethers, and any rust. A quarter-turn on a loosening nut saves a fallen planter. Trim plants that push past the rim by 2–3 inches; that keeps the center of gravity low.
After heavy rain, lift a corner slightly; if the box feels much heavier than usual, poke two pencil-thick aeration holes down the mix and let it drain before feeding again.
Action today: Set a repeating monthly reminder labeled “Railing Planter Bolt Check + Trim.” It takes five minutes and prevents failures.
Frequently Asked Questions
Can I hang a planter on a glass or cable railing?
No. Never clamp to glass panels or tensioned cables. Use a free-standing railing-height planter stand that sits on your balcony floor, or mount a box to the solid post sections only with manufacturer-approved hardware. If in doubt, keep all weight on the deck, not the panel.
How do I stop planters from staining the railing or facade?
Add rubber pads under brackets and a mesh layer over drainage holes. Water slowly to avoid soil washout, and use a clear balcony-friendly tray or drip edge under the box. Wipe the rail after fertilising days, since nutrients leave the darkest marks.
What size planter is safe for a narrow metal rail?
Stick to 24 inches or less and keep total wet weight under 25 lb (11 kg). Use two brackets plus a safety tether, and choose a lightweight plastic or fibreglass box. If you want longer runs, split into multiple 20–24 inch boxes rather than one heavy span.
Which flowers look full but won’t blow over?
Use compact, trailing choices like calibrachoa, bacopa, lobelia, ivy-leaf pelargonium, and verbena. They knit together and spill without catching wind like sails. Plant 5–6 small plants per 24-inch box for a thick mat that moves but doesn’t topple.
Do I need to bring railing planters in for winter?
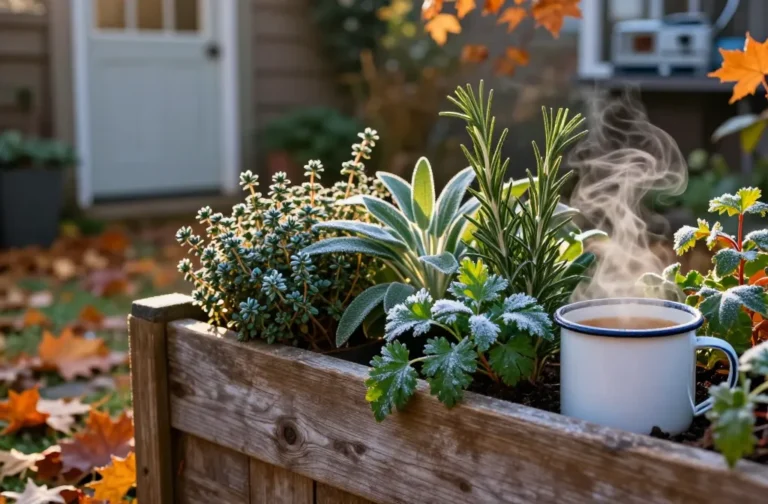
If you freeze in winter and your boxes are plastic or fibreglass, you can leave them out but remove spent annuals and keep the mix barely moist. Ceramic or terracotta can crack when saturated and frozen; move those to a sheltered spot. In mild climates, replant with hardy herbs and evergreens and keep feeding monthly at half strength.
How do I know if the brackets are tight enough?
After installation, grasp the planter and push-pull with firm pressure; nothing should shift or click. Recheck after the first heavy watering and again after a windy day. If a nut turns by finger, replace it with a nylon-insert lock nut and add a rubber pad under the clamp.
Conclusion
You don’t need special tools to build a safe, wind-stable railing planter — just smart weight distribution, solid fixings, and plants that suit exposure. Take one small step now: measure your rail and choose brackets that actually fit. From there, the rest falls into place, and your balcony earns a reliable, good-looking strip of green you only touch on weekends.