How to Build a Bottle Terrarium — Planting Through a Narrow Neck Without Specialist Tools Fast
I learned bottle terrariums in a small apartment with nothing but a wooden spoon, chopsticks, and a funnel made from a water bottle. The first one looked impossible: a long-necked cider bottle I refused to give up on. Once I understood how to stage materials and “telegraph” plants through the neck, it stopped being a juggling act and became a calm, precise routine. In this guide, I’ll show you exactly how to build a healthy bottle terrarium using household tools — cleanly, tightly, and without damaging your plants.
Choose the Right Bottle and Plants for a Narrow Neck
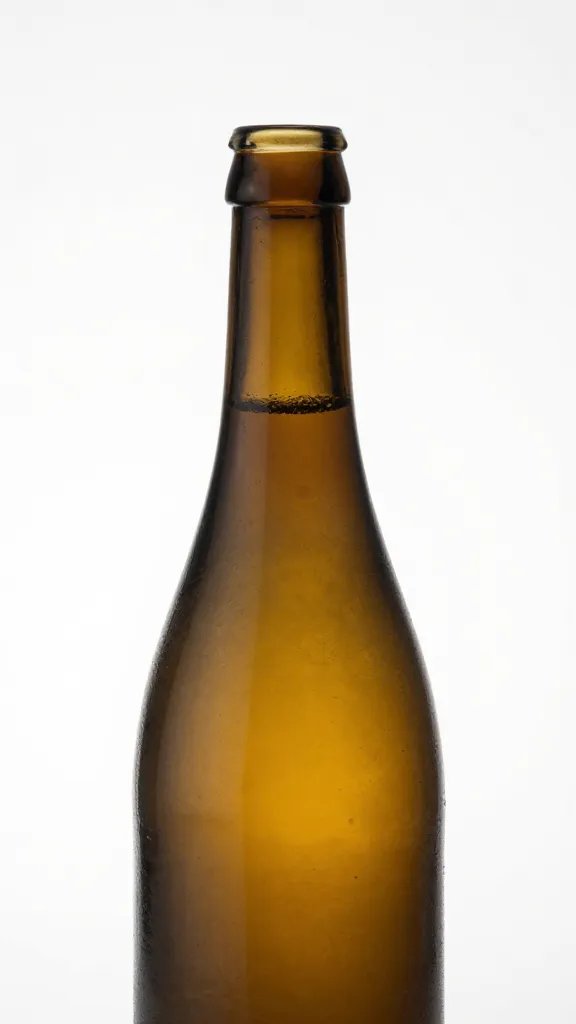
Pick a bottle with a neck you can fit a chopstick through and a body you can reach visually on all sides. Clear glass only — tint makes it hard to read moisture and plant health.
Match your plants to the container’s humidity and access. Use slow-growing, small-leaved species that handle high humidity: Selaginella, Pilea depressa, Ficus pumila ‘Minima’, Anubias nana on wood (emersed), Java moss, or a small fittonia. Skip fast growers and anything with stiff leaves that won’t bend through the neck.
Action today: Test-fit your chopstick through the neck and lay your plant list next to the bottle — if a leaf cluster can’t compress to nickel-size, choose a smaller specimen.
Assemble Simple, Effective Tools From Household Items
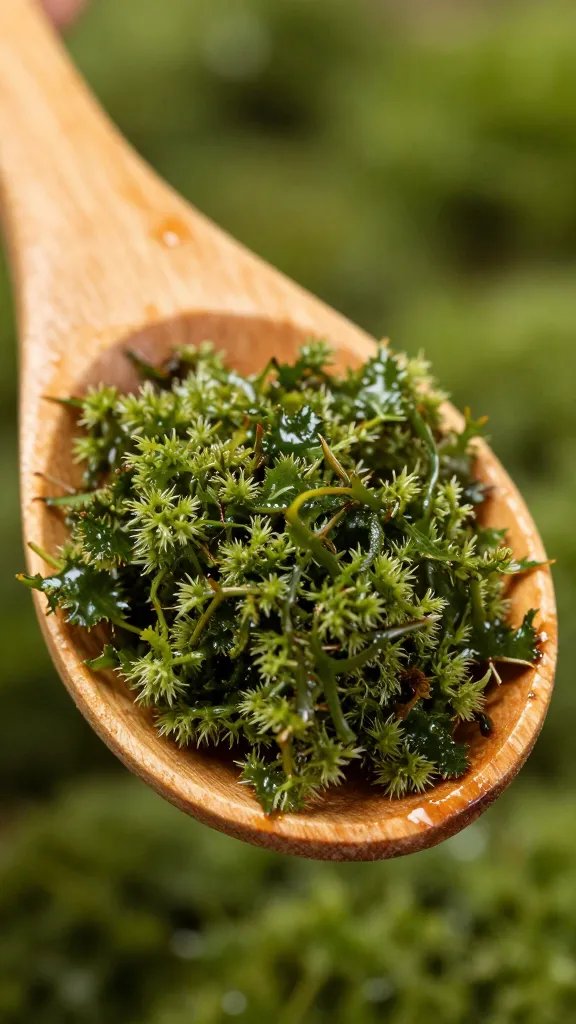
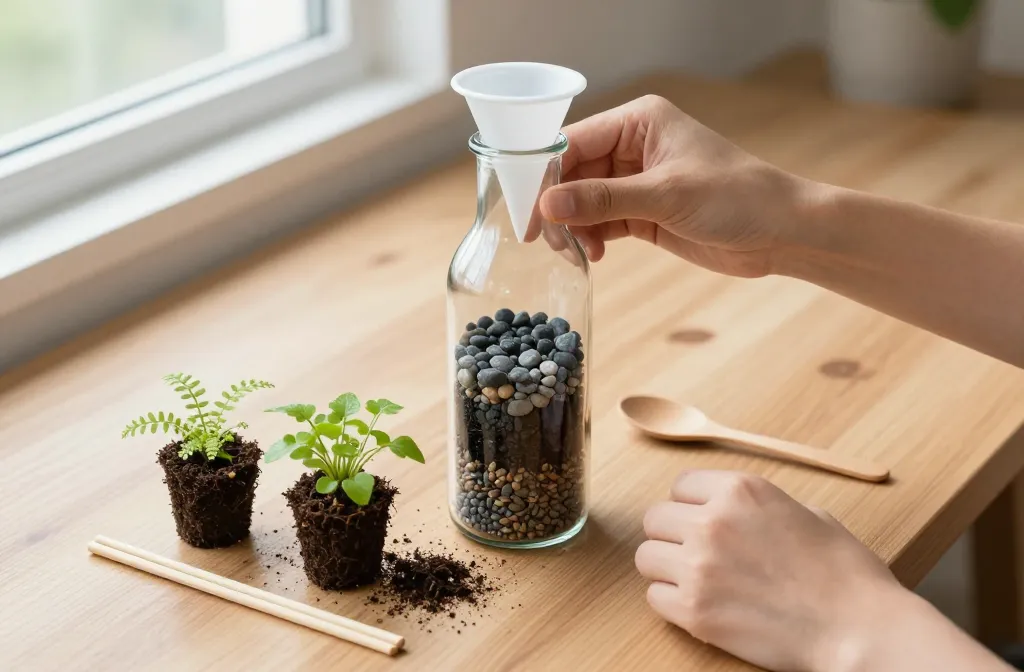
You don’t need terrarium tongs. Make a long funnel from a plastic water bottle: cut off the bottom, tape a paper towel tube to extend it, and wrap the joint with tape for stiffness. This gives you a clean shot to the base.
Build a planting “armory”: two chopsticks (one with a rubber band at the tip for grip), a dinner fork bent to 45 degrees, a long-handled spoon, cotton swabs, and string dental floss. Add a spray bottle, paper towels, and a flashlight for aiming through the glass.
Action today: Make the funnel extension and rubber-band chopstick now — they do 80% of the precision work.
Prepare a Reliable Substrate That Won’t Turn to Sludge
Use a simple, well-draining base you can pour cleanly. Mix 2 parts good quality potting mix, 1 part aquarium gravel or small pebbles, and 1 part orchid bark or perlite. Add a small pinch of horticultural charcoal if you have it from a garden centre — it helps with odour and clarity.
Skip deep “drainage layers” in true bottles. In a narrow vessel, thick gravel layers trap water and starve roots. Instead, keep the total substrate to 3–5 cm and manage moisture carefully.
Moisture Check Before You Pour
Hydrate the mix until it clumps when squeezed but does not drip. If it leaves your palm damp and clean, it’s right; if it mud-smears, it’s too wet.
Action today: Pre-moisten your mix in a bowl, squeeze-test it, and let it sit 10 minutes so moisture evens out before you funnel it.
Load the Bottle Cleanly: From Base to Hardscape
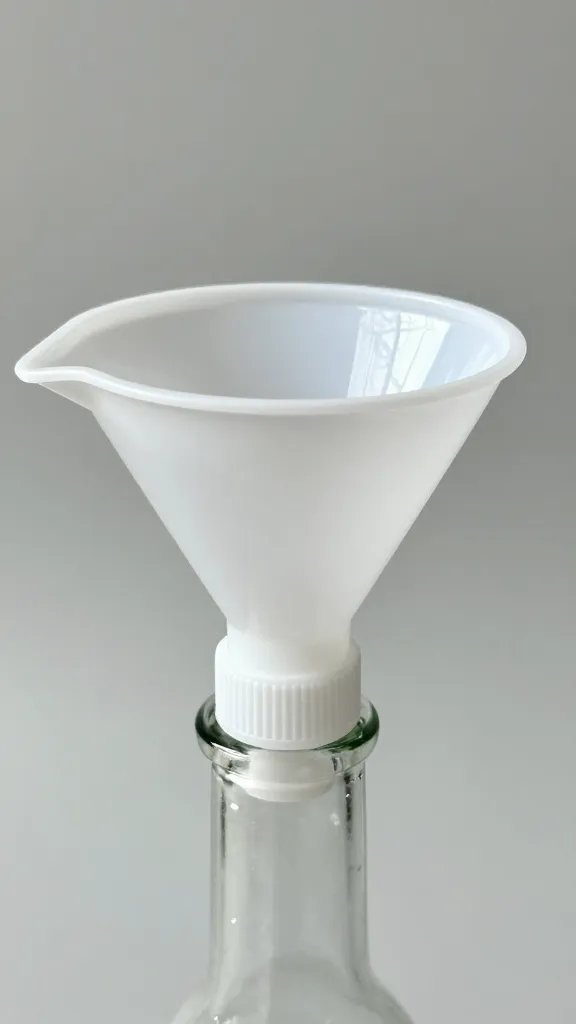
Angle the bottle 30–45 degrees and use your long funnel to add 1–1.5 cm of rinsed gravel for weight and scratch protection. Tap the glass to level. Add your substrate through the same funnel in small charges, rotating the bottle to spread evenly.
Shape the surface with the bent fork through the neck. Create a slight back-to-front slope so condensation runs forward for easy reading and light hits the rear plants.
Place Hardscape Without Scratching
Wrap any small driftwood or stones in a thin paper towel “jacket,” lower with floss tied around it, then pull the paper out with chopsticks once placed. This prevents gouges and bouncing debris.
Action today: Add substrate in two small pours instead of one large dump — it prevents buried necks and gives a flatter, cleaner grade.
Plant Through the Neck Without Damaging Stems
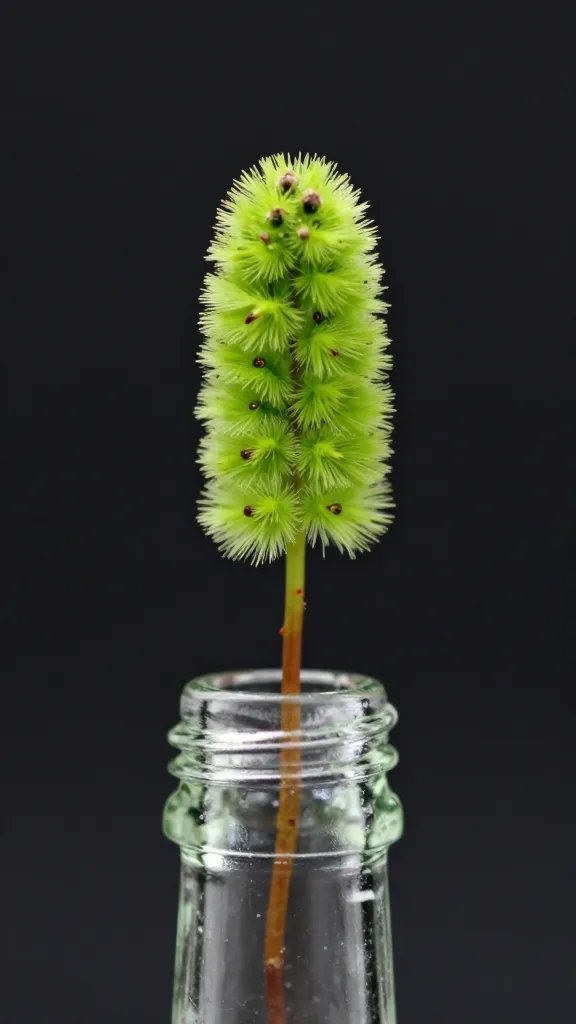
Trim plants down to bottle-size first. Keep root balls no wider than a grape. For mats like moss or Selaginella tips, tear into thumbnail pieces rather than stuffing a large pad that will trap air.
Create a planting bundle: wrap the root ball lightly in a damp strip of paper towel, secure with a single loop of floss, and lower it through the neck using chopsticks on either side. Set it on the substrate, snip the floss with nail scissors at the neck, then slide the paper away with the rubber-band chopstick.
Step-by-Step Planting Order
- Plant the back first so you don’t block yourself visually.
- Set anchors (wood/stone), then primary plant, then fillers, then moss.
- Firm roots with a chopstick tip — press down, not sideways, to avoid tearing.
- Mist lightly after each plant to settle crumbs and check placement.
Action today: Practice the floss-and-paper “lowering” on a spare cup before working over glass — you’ll avoid the only fiddly part.
Watering and Sealing: Set Humidity Once, Then Hands Off
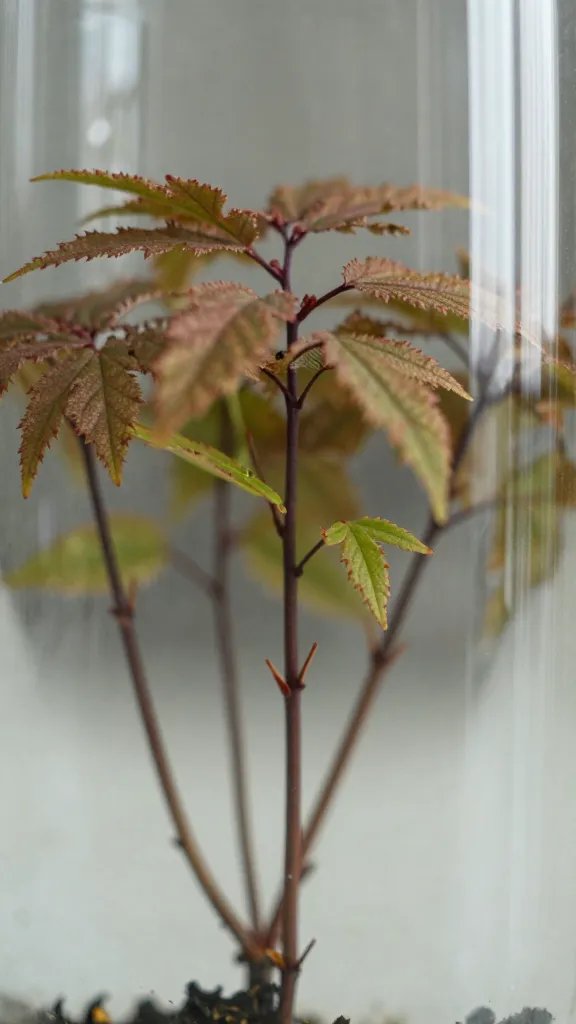
After planting, use a spray bottle to mist until the substrate darkens evenly. Do not pour water; pouring tunnels the soil and floods pockets. Aim for glass to show fine speckles, not running sheets.
Cork or cap the bottle. Place it in bright indirect light — one step back from an east or north window, or two steps back from a bright south window with a sheer curtain. No direct sun through glass — it cooks the air quickly in a bottle.
Condensation as Your Gauge
- Morning: light misting on 10–30% of glass — perfect.
- Midday: clear or only a few dots — also fine.
- Constant heavy droplets or running streaks all day — too wet.
Action today: If you see heavy condensation for 48 hours, pop the cork for 60 minutes at midday. Repeat daily until it stabilizes.
Cleanliness, Mold Control, and Ongoing Care You’ll Actually Do
Keep the glass clear so you can read moisture and growth. Twist a paper towel around the bent fork, mist it, and use it as an internal “squeegee.” Vacuum debris at the neck with a drinking straw and your mouth or a small handheld vacuum on low.
Warning: Fuzzy white mold on wood early on is common. Vent for an hour daily for three days, dab the spot with a cotton swab dipped in clean water, and add a small pinch of dry cinnamon to the substrate surface away from roots as a mild antifungal.
Prune as soon as a plant touches glass for more than a day. Snip tips with small scissors at the neck and use chopsticks to retrieve clippings so they don’t rot.
Action today: Add a calendar reminder to check condensation and trim tips every Sunday — five minutes keeps a bottle balanced for years.
Frequently Asked Questions
How do I get soil in without coating the glass?
Use a long funnel and pour in small batches while the bottle is tilted. Tap the glass to settle the soil before adding more. If you still get smears, wrap a paper towel on a bent fork and wipe immediately before it dries. A fine mist after placement also drops dust without streaks.
What plants stay small enough for a bottle?
Choose slow, fine-textured species: Selaginella kraussiana, Pilea depressa, Ficus pumila ‘Minima’, tiny fittonia, Anubias nana on wood, and Java moss. Buy the smallest pots you can find and divide them into tiny plugs. Avoid peperomias with thick stems, ferns that unfurl large fronds, and any succulent. Size and humidity tolerance matter more than looks in a bottle.
How much water should I add at the start?
Pre-moisten the mix so it clumps but doesn’t drip, then only mist after planting. If you accidentally poured, wick out excess by inserting a corner of paper towel to the soil level and holding it there for 30 seconds; repeat until condensation calms down. After that, keep it sealed and resist the urge to add more.
My bottle fogs up all day — what now?
It’s too wet or too warm. Vent for 60 minutes at midday each day and move the bottle one step farther from the window. If it still fogs after three days, wick out moisture with paper towel corners and reduce plant density touching glass. Clear glass by evening means you’re back in balance.
Can I build a drainage layer in a narrow bottle?
Use only a thin gravel base (about 1–1.5 cm) for stability, not a big reservoir. In narrow bottles, deep drainage layers trap water you can’t manage and create anaerobic pockets. Control moisture with initial substrate hydration and careful misting instead. Keep total substrate depth to 3–5 cm for reliable cycling.
Do I ever fertilize a closed bottle terrarium?
No liquid feed. Nutrients build up and burn roots in a sealed system. Start with fresh potting mix and, at most, tuck a tiny pinch of slow-release pellets under a hardscape piece if plants stall after 6–9 months. If growth surges or algae appears, stop and vent more often.
Conclusion
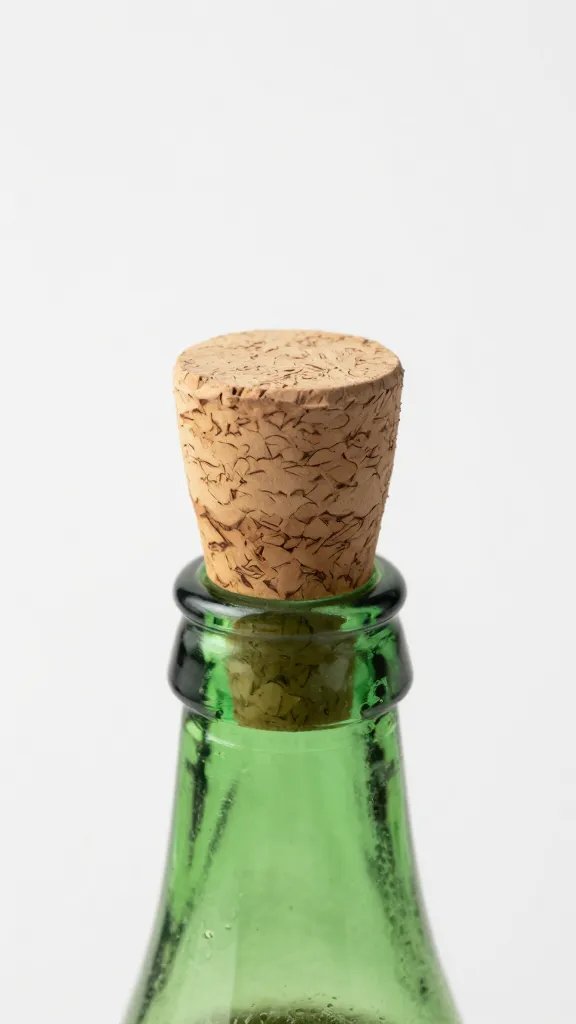

You don’t need long tweezers or lab gear to plant through a narrow neck — you need a plan and a few repurposed tools. Build your funnel, prep a clean, crumbly substrate, and practice the floss-and-paper lowering once before planting the real thing. Start with a small bottle this weekend; once you nail one, you’ll know exactly how to scale the technique to any shape on your shelf.