How to Build a Succulent Terrarium in a Wooden Bowl — Waterproofing, Layering and Drainage Without Holes Secrets That Last
I built my first succulent terrarium in a thrifted wooden salad bowl and watched the soil sour within a month. The problem wasn’t the plants — it was water stuck in a bowl with nowhere to go. Since then, I’ve refined a simple system that keeps wood sealed, moisture controlled, and roots healthy. In this guide, I’ll show you exactly how to waterproof, layer, and drain a wooden bowl with no holes so your succulents stay alive and look sharp long-term.
Why a Wooden Bowl Demands Waterproofing First
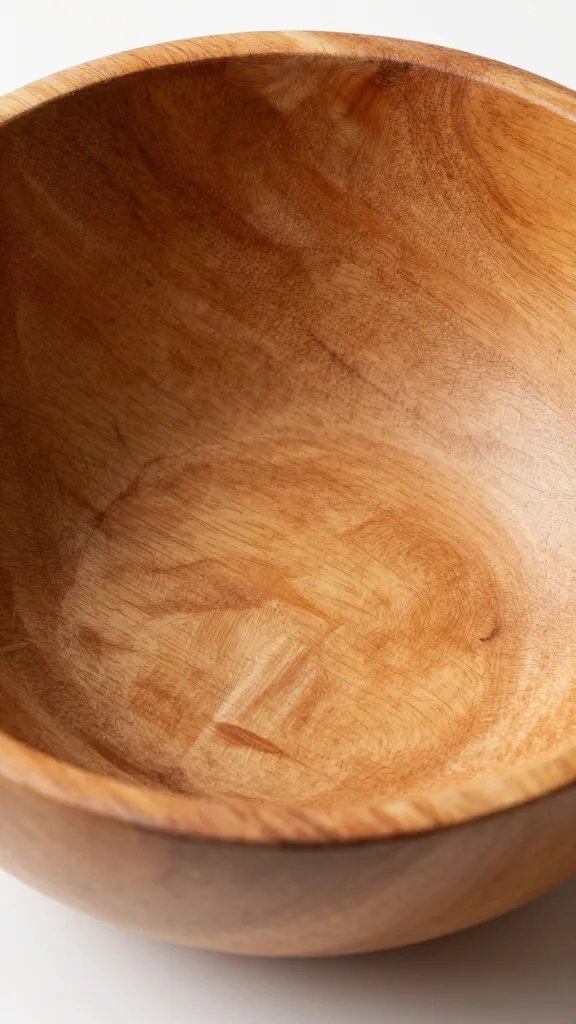
Wood absorbs water, swells, and leaches tannins into soil. That weakens roots and invites rot. I stop this by creating a physical, waterproof barrier that protects the bowl and isolates the planting zone.
I use two layers: a brush-on sealer for the wood itself and a removable plastic liner that forms a watertight cup. The sealer protects the wood fibers; the liner catches every drop of water.
Material recommendations
- Brush-on sealer: Clear, food-safe polyurethane or marine spar varnish from a hardware store.
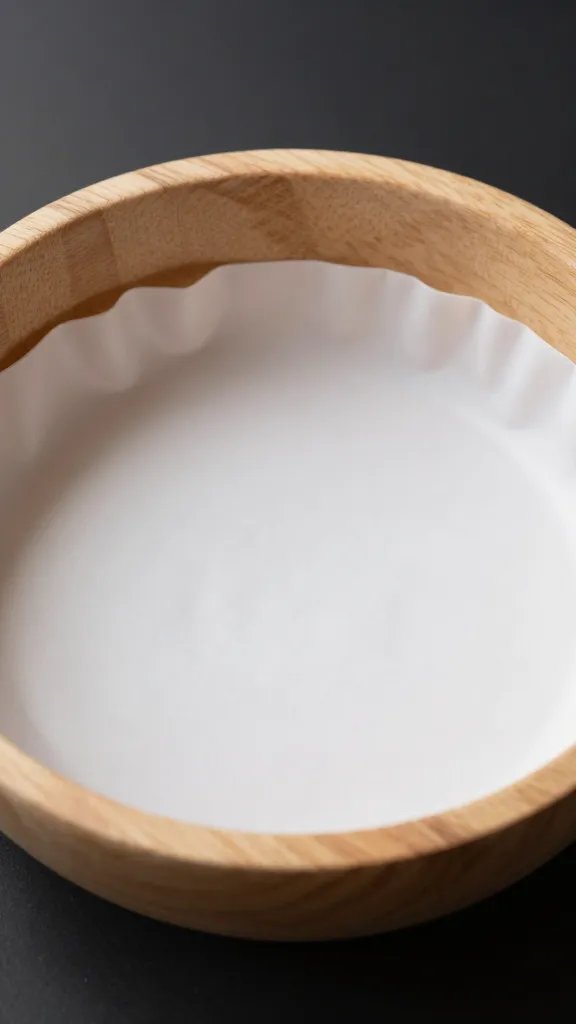
- Liner: HDPE nursery pot saucer trimmed to fit, thick pond liner offcut, or a heavy-duty plastic bowl that nests inside with 1–2 cm clearance.
- Adhesive/seal: 100% silicone (clear, aquarium-safe) to secure edges.
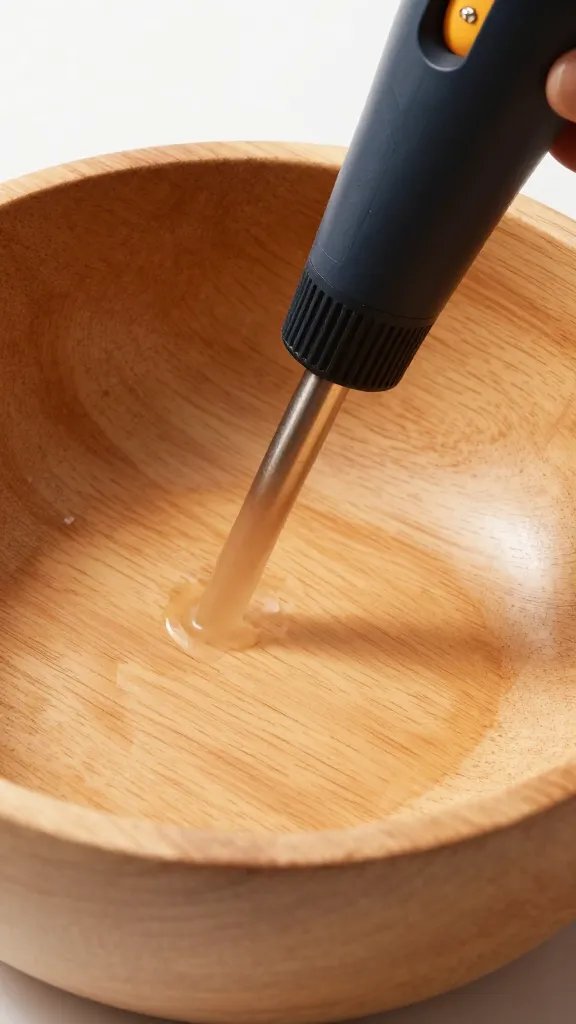
Action today: Wipe your wooden bowl with a damp cloth, let it dry fully, then apply the first coat of polyurethane; plan for 2–3 coats with light sanding between once dry.
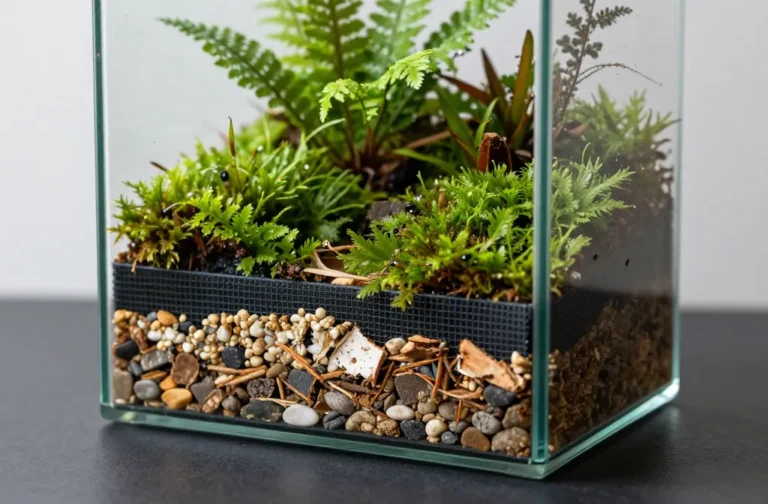
The No-Hole Drainage Strategy: Build a Hidden Reservoir

Without a drain hole, you need a false bottom so excess water can sit safely below the roots. I build a 2–3 cm deep reservoir with a clear boundary that I can see from the side.
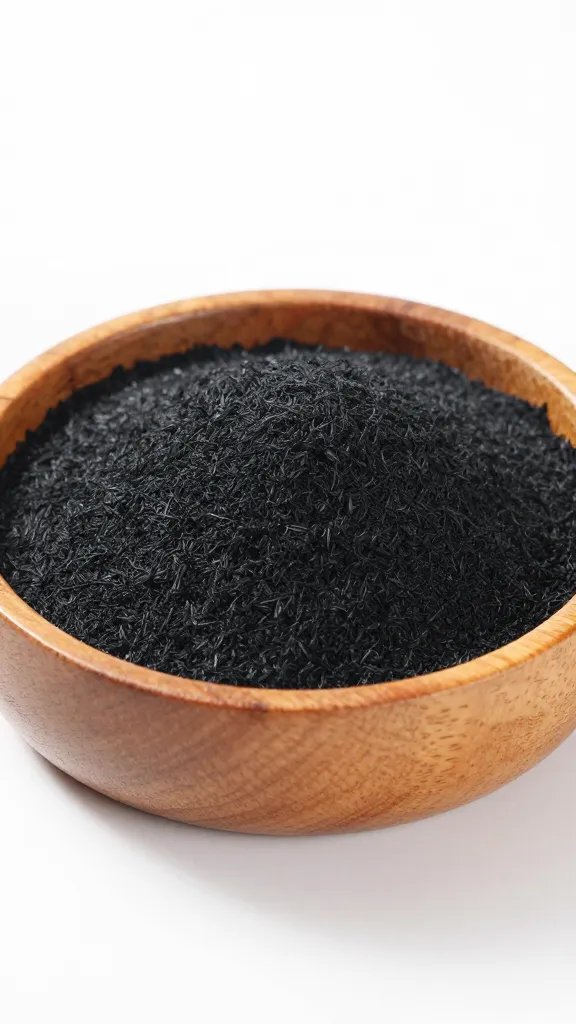
I start with expanded clay balls (LECA) or coarse aquarium gravel as the base layer. On top, I add a non-degrading mesh (window screen or landscape fabric) to keep soil from sifting down. This creates a permanent sump for extra water.
Warning signs and quick checks
- Sloshing sound when you tilt the bowl: too much water trapped — wick it out with paper towels or a turkey baster.
- Mushy topsoil within 24 hours of watering: reservoir depth is too shallow — remove plants carefully and add another 1 cm of drainage layer.
Action today: Add a 2–3 cm layer of LECA or gravel to your lined bowl and top it with a cut-to-fit window screen.
The Right Soil Mix for Succulents in Closed Containers
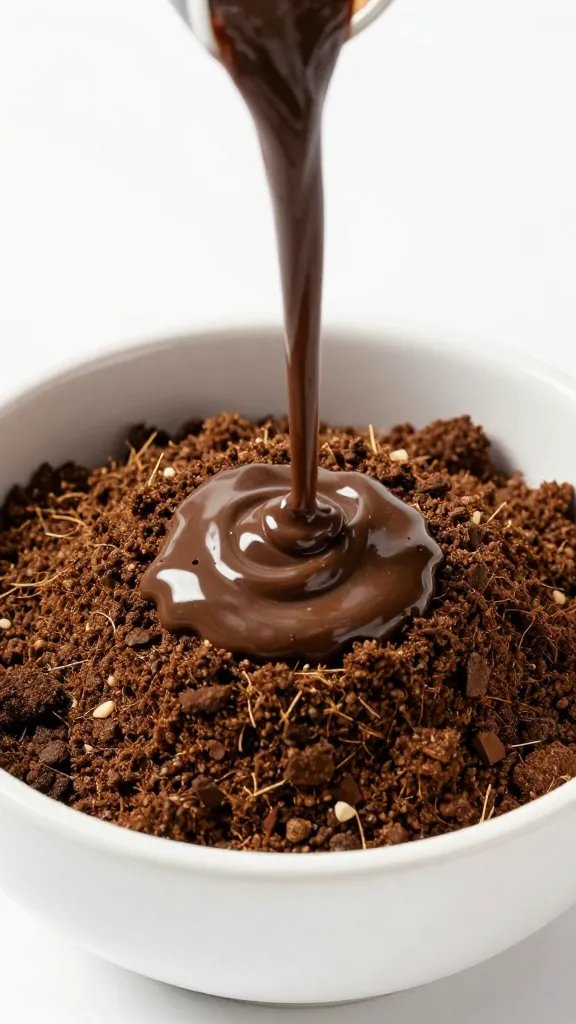
Standard potting soil holds water too long. You need fast drainage with just enough structure to anchor roots. I use a gritty mix you can assemble from any garden center.
Blend by volume: 1 part cactus/succulent mix, 1 part coarse perlite or pumice, and 1 part horticultural sand or fine gravel. If your cactus mix already looks very pebbly, use a 2:1 cactus mix to perlite. Avoid compost-heavy blends and moisture crystals.
Step-by-step soil prep
- Pre-dampen the mix very slightly — think one light misting until the dust settles, not wet.
- Fill on top of the mesh in 2–3 cm lifts, tapping the bowl to settle gaps.
- Leave a 1–2 cm lip below the bowl’s rim for clean watering and top-dressing.
Action today: Mix a small test batch (1 cup total) and run water through it in a sieve — it should drain in under 3 seconds.
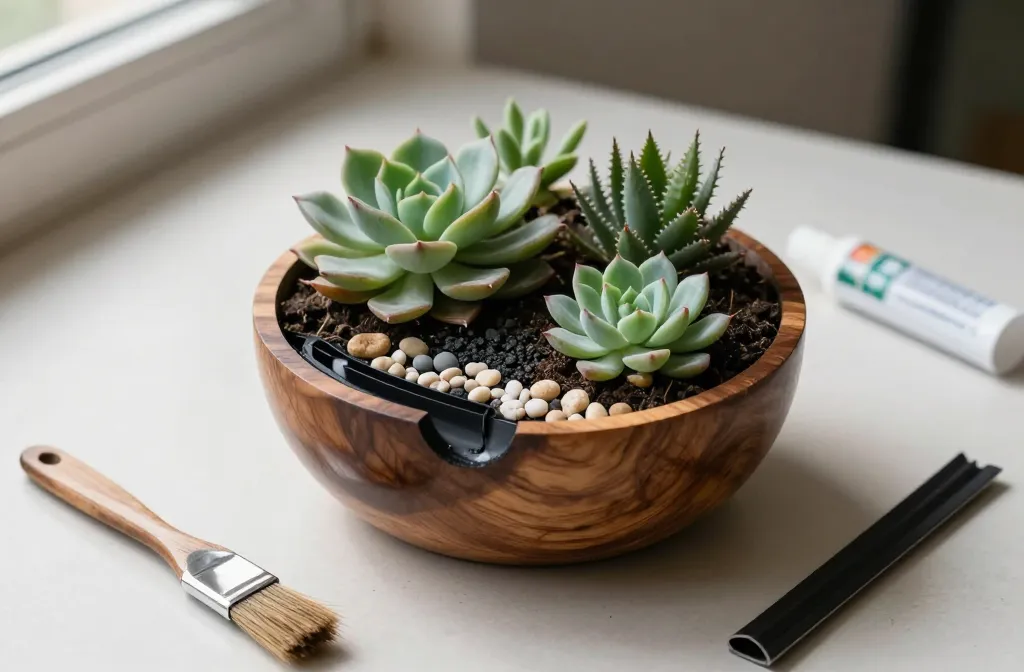
Plant Choices That Actually Tolerate Shallow, Dry Setups
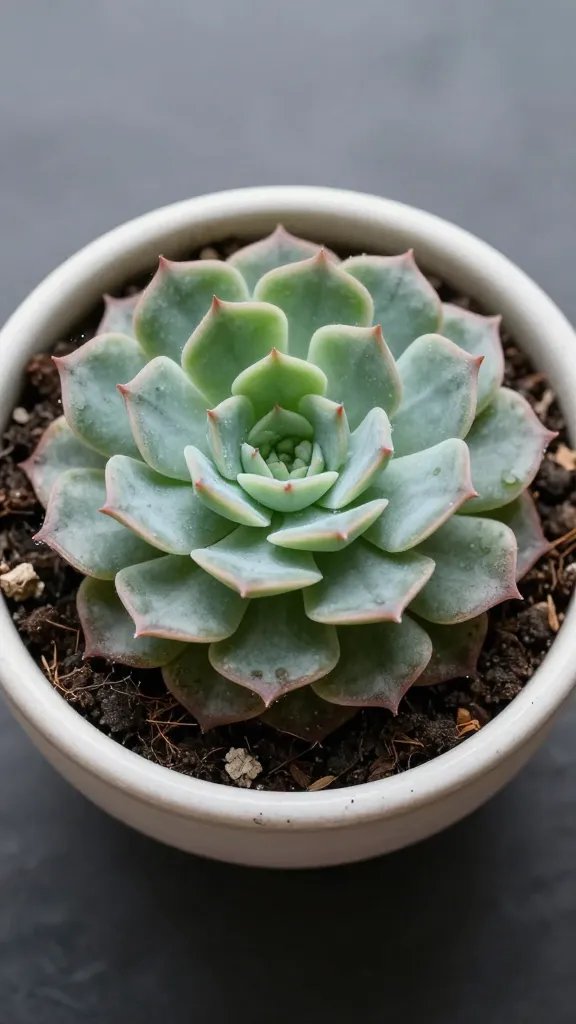
Compact succulents with slow growth and shallow roots suit bowls best. I avoid thirsty, leafy species and fast spreaders that outgrow the space in a season.
My reliable picks: Haworthiopsis (Haworthia) species, Gasteria, Echeveria rosettes under 8 cm, Sempervivum pups, Graptopetalum, Crassula ovata ‘Hobbit’ or ‘Gollum’ cuttings, and tiny sedum types for edging. Avoid Kalanchoe tomentosa in dim rooms and large Aloe species that tip the arrangement.
Plant layout tips
- Place tallest rosette off-center for balance.
- Keep 2–3 cm between plants for airflow and growth.
- Angle a few rosettes slightly toward the light-facing side to prevent leaning.
Action today: Set plants in their spots dry first, step back, and adjust heights with extra soil before you commit.
Watering Without Ruining the Reservoir
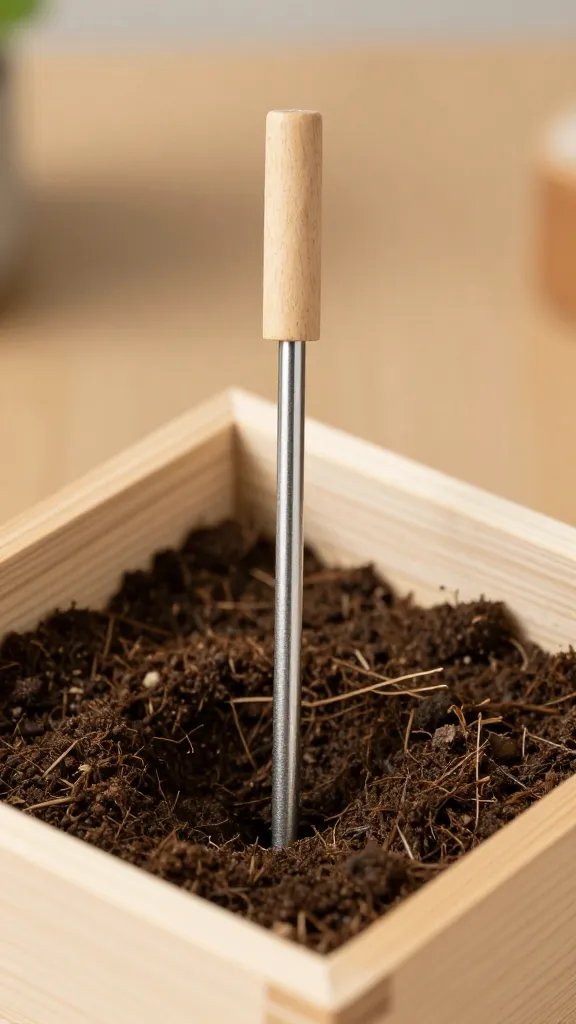
In a no-hole bowl, overwatering is the only way to fail. I water less, with precision, and I measure by spoon — not by feel.
After planting, wait 5–7 days before the first watering to let any broken roots callus. Then add 1–2 tablespoons of water per small plant (5–7 tablespoons total for a 20–25 cm bowl), poured slowly onto the soil near the root zone, not the leaves. I water again only when the top 2 cm of soil feel dry and the plants look slightly “thirsty-firm,” not wrinkled.
Fixes for common mistakes
- Added too much water: Insert a folded paper towel to the bottom edge with chopsticks to wick; repeat with fresh towels until the reservoir stops sloshing.
- Leaves shriveling fast: Move to brighter light and add 1–2 tablespoons of water total, then reassess in 48 hours.
Action today: Find a measuring spoon and commit to a set dose per watering; write it on a piece of tape under the bowl.
Light and Airflow Keep Succulents Compact
Succulents stretch when light is weak. I keep bowls in bright, indirect light near a south or west window, with 2–3 hours of gentle morning or late-afternoon sun. Avoid scorching midday sun on thin leaves if the bowl is near glass.
Air movement matters because bowls trap humid pockets. I rotate the bowl a quarter turn weekly and crack a window or run a fan across the room for an hour on watering days.
Action today: Place the bowl within 1–2 meters of your brightest window and set a weekly phone reminder to rotate it.
Finishing Touches That Also Protect the Soil

A top-dress does more than look tidy. A 0.5–1 cm layer of decorative gravel or crushed granite reduces algae, keeps fungus gnats from laying eggs, and slows evaporation just enough for steady moisture.
I add feature stones or a small piece of driftwood only after I water once, so I don’t trap wet soil. I keep decorations off stems to prevent rot and leave two small “watering windows” without top-dress to see soil color changes.
Action today: Rinse your top-dress gravel in a colander until water runs clear; let it dry before applying to avoid clouding the bowl.
Frequently Asked Questions
How do I waterproof a wooden bowl safely for plants?
Brush on 2–3 thin coats of clear polyurethane or marine spar varnish, letting each coat dry fully as directed on the can. Lightly sand between coats with fine sandpaper for good adhesion. After curing, add a plastic liner secured with a bead of 100% silicone around the rim. This two-step barrier protects both the wood and the soil.
What’s the best way to line the bowl if I can’t find pond liner?
Use a rigid plastic nursery saucer or a heavy-duty food-safe plastic bowl that nests inside. Trim the rim with scissors so it sits 5–10 mm below the bowl edge. Seal the gap with a thin bead of clear silicone to prevent soil slipping down the sides. Let it cure 24 hours before adding layers.
How much should I water a no-drain succulent terrarium?
For a 20–25 cm bowl with 5–7 small succulents, start with 5–7 tablespoons total after the first week. Water again only when the top 2 cm of soil are dry and leaves feel firm, not squishy. Always pour slowly at the base of plants, not over leaves. If you hear sloshing, wick water out immediately.
My soil smells sour after a month — what went wrong?
Sour smell means anaerobic conditions from trapped water. Wick out moisture with paper towels, then remove the top 1–2 cm of wet soil and replace with fresh gritty mix. Add another 1 cm of LECA to deepen the reservoir if needed. Reduce future watering by half and increase light and airflow.
Which succulents handle low light better in bowls?
Haworthiopsis and Gasteria tolerate lower light better than most rosette succulents. They stay compact and don’t collapse quickly in bright indirect light. Still, aim to place the bowl near your brightest window. Rotate weekly to prevent leaning.
Can I fertilize, and if so, how often?
Yes, but go lightly. Use a balanced liquid fertilizer at one-quarter strength once in spring and once in midsummer, mixed into your measured watering dose. Avoid feeding in winter when growth slows. Wipe any fertilizer off leaves immediately to prevent spotting.
Conclusion
You now have a clear plan: seal the wood, install a true reservoir, use a gritty mix, choose compact succulents, and water by the tablespoon. Build one bowl this weekend and track doses and light; that record will keep every future terrarium thriving. When you’re ready, scale the same system to a wider bowl or a shallow tray and experiment with bolder layouts without losing plants to hidden water.