How to Waterproof a Wall Before Installing a Living Wall System — What Fails and Why Exposed
I’ve built living walls in rentals and in my own home, and I’ve seen the same mess three times: damp drywall, a musty smell, and paint bubbling behind a “lush” display. Every one of those failures traced back to rushed or missing waterproofing. In this guide I’ll show you exactly how to waterproof a wall before installing a living wall system, what usually fails, and how to avoid repairs that cost more than the plants. You’ll finish with a clear weekend plan using materials from any hardware store.
Waterproofing Is Not Optional: Why Living Walls Wet Walls
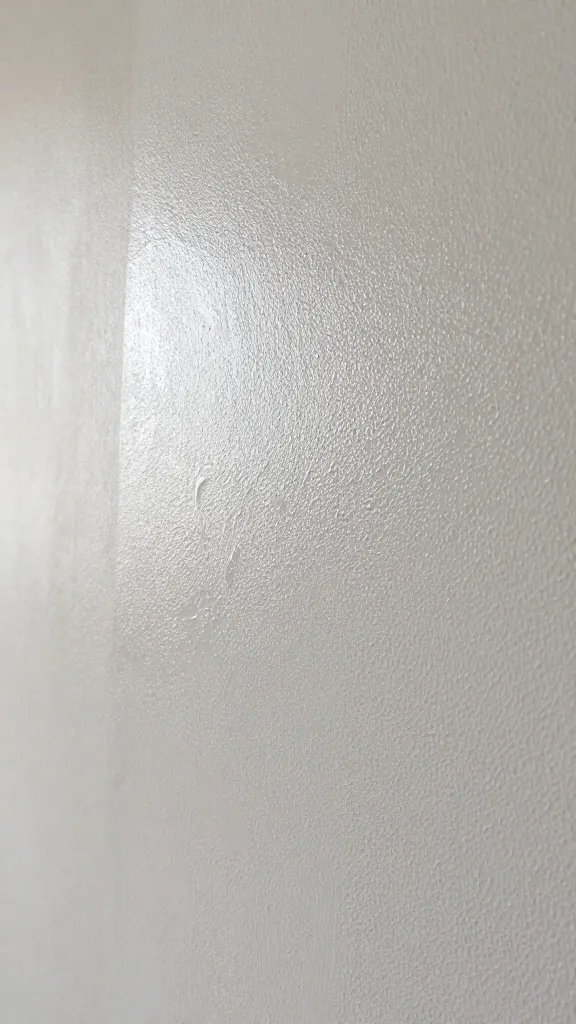
Living walls concentrate water in one spot. Even with careful watering, splashes, wicking, and humidity collect behind panels and felt pockets.
Drywall, standard paint, and bare timber all absorb that moisture. That leads to swelling, mold, and failed anchors. A waterproof layer stops liquid water and limits vapor getting into the wall structure.
Action today: Press your hand on the wall where you plan to hang the system. If it feels cool and you’re in a humid room (kitchen, bath), plan for a full waterproof membrane, not just paint.
Choose the Right Protection: Barrier Types That Actually Work
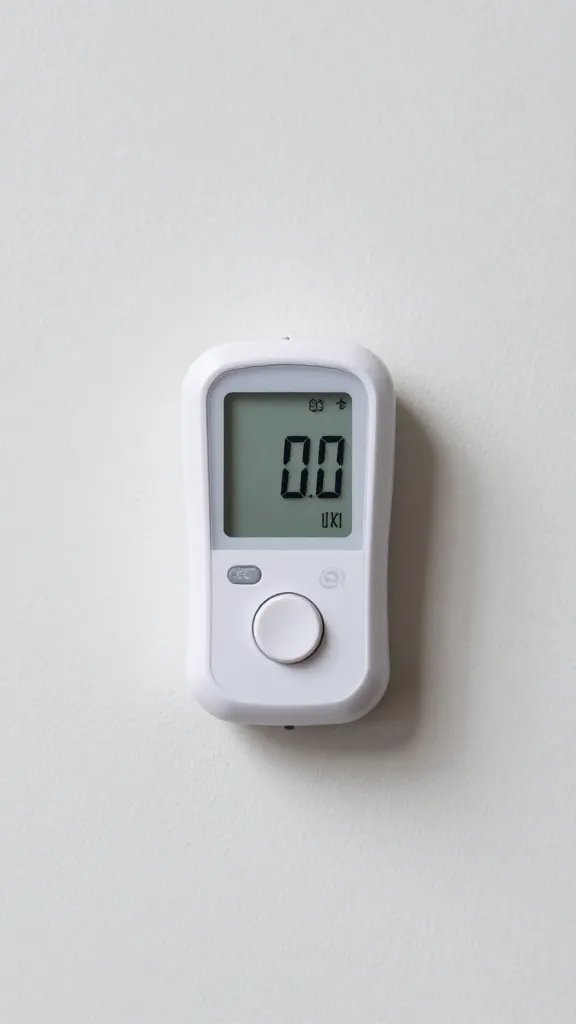
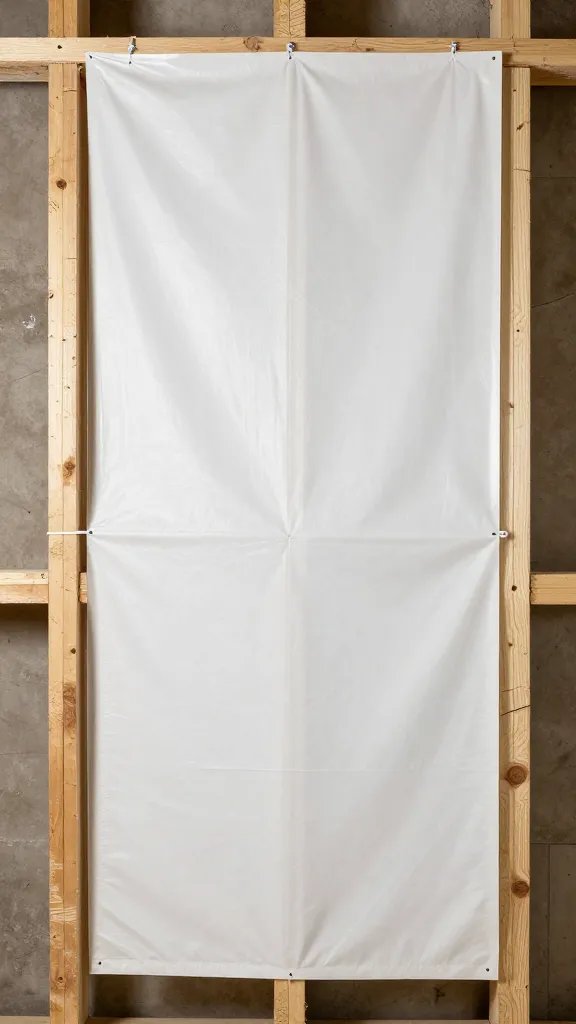
For renters or light systems, I use a removable backer board (PVC or cement board) mounted to studs, sealed, and hung like a giant splash guard. It keeps screws out of drywall and takes the abuse.
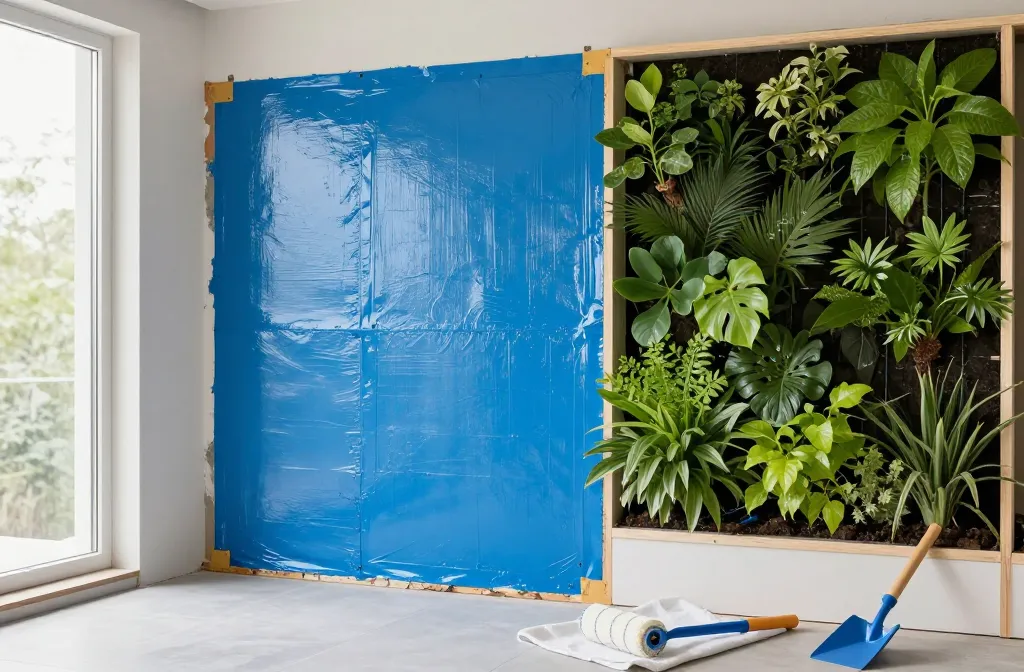
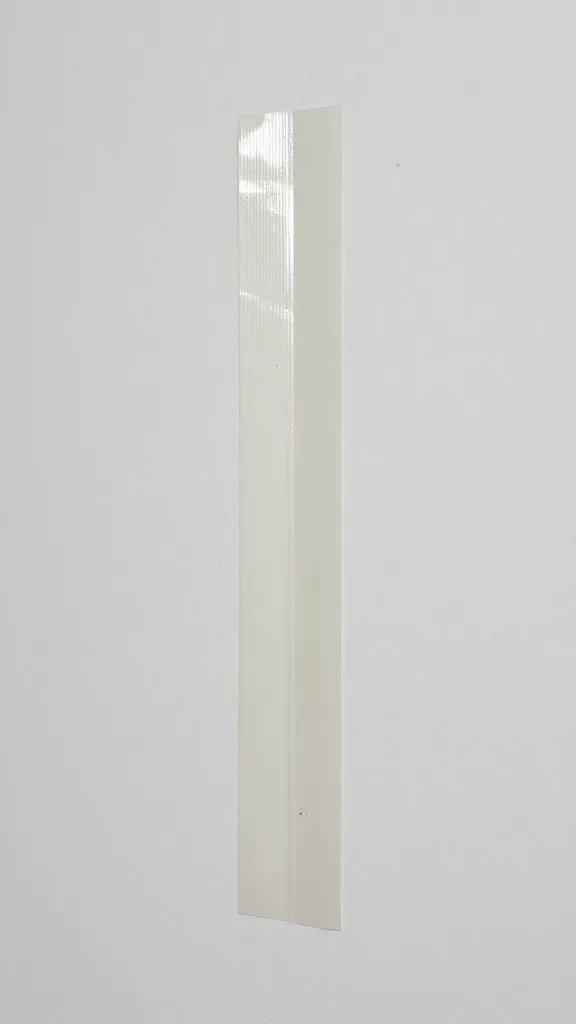
For owners and heavier builds, I apply a liquid waterproofing membrane (the same roll-on you use for shower walls) over a primed wall, then add a self-adhesive flashing tape at seams and penetrations. I finish with a plastic or metal drip edge at the base to catch spills.
Skip “bathroom paint” alone. It resists humidity, not repeated wetting. Use products you can grab at a hardware store: tile-underlayment membrane, exterior-grade flashing tape, and PVC trim.
Takeaway: Decide now: removable waterproof backer for rentals, or roll-on membrane plus flashing for permanent installs.
Prep the Wall Like a Shower, Not a Living Room

Waterproofing sticks only to clean, sound surfaces. I remove shelves, hooks, flaking paint, and any silicone blobs. I fill holes with a vinyl spackle, sand smooth, and vacuum dust.
I prime porous drywall with a stain-blocking primer so the membrane bonds evenly. If I’m adding a backer board, I mark studs with painter’s tape from floor to ceiling.
Step-by-Step Prep
- Clean with a mild detergent solution; rinse and dry overnight.
- Patch holes bigger than a pea; sand flush (120–150 grit).
- Prime patched drywall; let dry per the can (usually 1–2 hours).
- Mark stud centers and the footprint of your living wall panel.
Action today: Run a magnetic stud finder and mark stud locations with painter’s tape — your anchors and drip edge plan start there.
Install the Waterproofing Layer Correctly
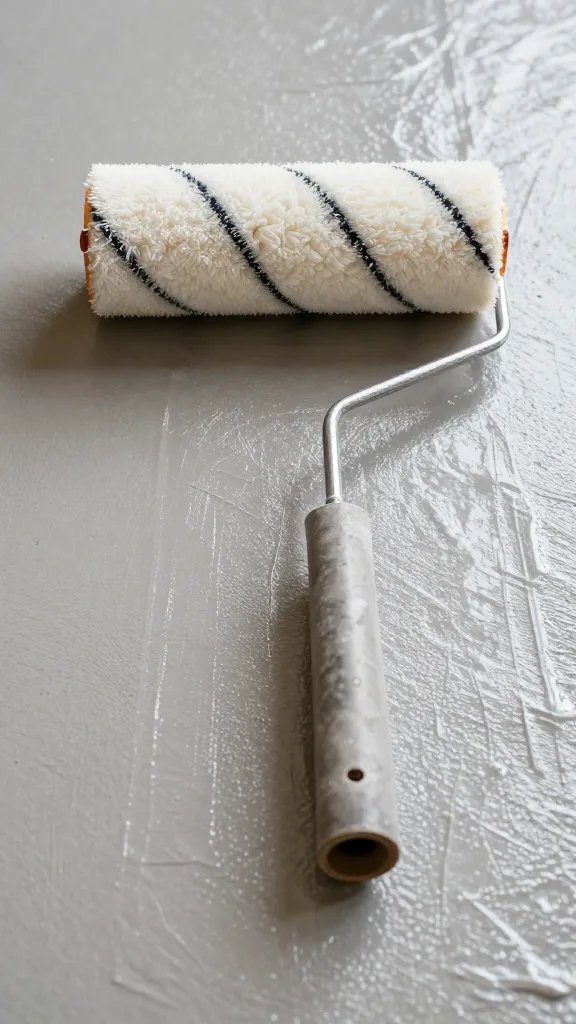
Roll-on membranes only work when you apply the right thickness and seal corners. I brush a generous coat into edges and outlet boxes first, then roll the field. I add fiberglass mesh tape across any wall cracks and embed it in the first coat.
After the first coat dries to “no transfer,” I apply a second coat perpendicular to the first. Around screws, brackets, and plumbing, I surround penetrations with self-adhesive flashing tape before the second coat, then roll over it.
Materials That Work From Any Hardware Store
- Liquid waterproofing membrane (sold for showers/tile backer)
- Fiberglass mesh tape (drywall or membrane-compatible)
- Self-adhesive flashing tape (exterior window/roof type)
- High-quality exterior-grade sealant (polyurethane or hybrid)
Takeaway: Apply two coats of membrane at right angles, and always tape penetrations before the final coat.
Mount a Sacrificial Backer and Drip Edge to Catch Real-World Mess
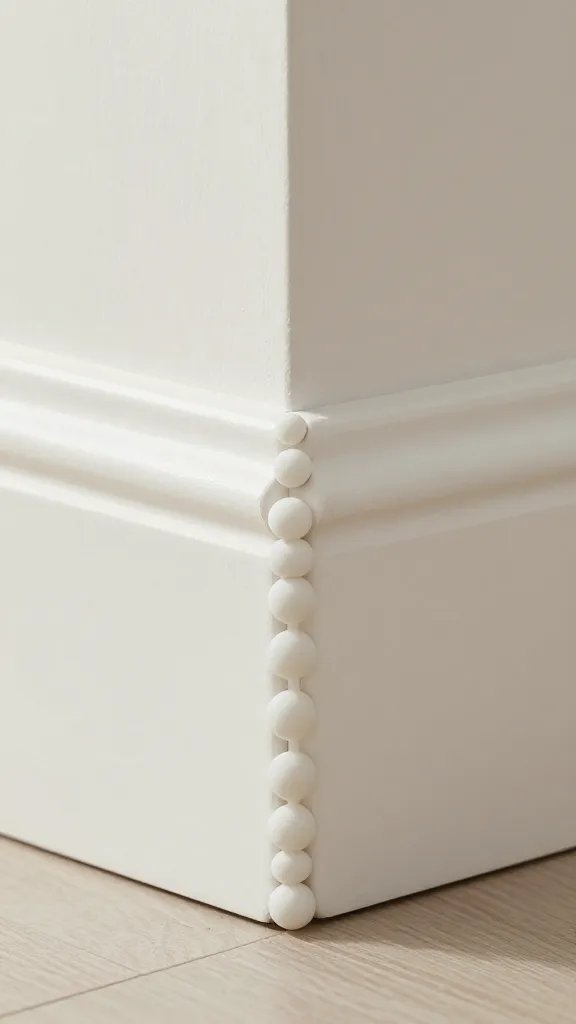
Plants drip. Hoses slip. I screw a PVC sheet or cement board (cut 5–10 cm larger than the planter footprint on all sides) into studs using exterior screws and washers. I leave a 1–2 cm gap off the floor so it never wicks water.
I run a continuous bead of exterior sealant around the board’s perimeter, then press on self-adhesive flashing tape to bridge board-to-wall edges. At the bottom, I add a PVC trim or metal L-profile tilted slightly forward as a drip edge, with a shallow tray beneath for occasional overflows.
Warning Signs of a Bad Mount
- Backer board flexes when pressed — not properly anchored to studs.
- Unsealed bottom edge — guaranteed wicking and paint failure.
- No drip edge or tray — puddles on floors and baseboards.
Action today: Cut a cardboard template of your backer and hold it up — verify stud screws land at least every 40 cm.
Manage Water at the Source: Irrigation and Liners That Don’t Leak
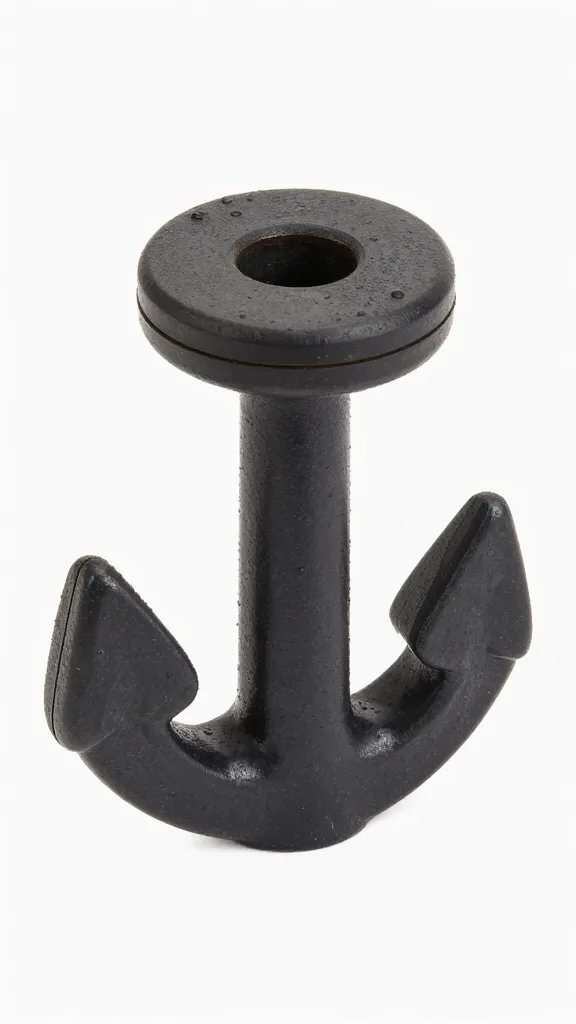
Hand-watering and felt pockets are the usual leak points. I fit plant liners with no holes or sealed inserts inside pockets, and I water with a small-neck watering can with a measured amount (about 1 cup per 20–25 cm pocket), not a hose.
For kits with drip lines, I use a basic drip kit from the garden centre and pressure test it in a bathtub for 15 minutes. I run all tubing so it drips into the planters, not behind the panel, and I secure lines with clips every 20–30 cm.
Takeaway: Pre-measure your water and test any drip parts in a sink or tub before you ever wet the wall.
What Fails and Why: The Predictable Mistakes I See
Using bathroom paint as “waterproofing.” It resists steam, not running water. Result: bubbling paint and soft drywall.
Screwing planters directly into drywall. Drywall crumbles under moisture and weight. Result: anchors pull out, creating leaks and damage.
No sealed penetrations. Unsealed screw holes act like straws. Result: water tracks into the wall cavity.
No drip edge or tray. Gravity wins every time. Result: swollen baseboards and stained floors.
Overwatering felt pockets. Felt wicks behind the system. Result: hidden damp patches and moldy smell.
Takeaway: If you remember one rule, treat the wall like a shower surround: membrane, taped penetrations, and a way to catch drips.
Maintenance: Keep It Dry Behind the Green
Once installed, I schedule a 60-second check every week. I run a finger along the bottom of the backer, sniff for musty odor, and look for paint dulling at the edges.
Every three months, I remove the lowest planter and check for moisture marks. If I see any, I stop watering for a week, run a fan, and re-seal suspect edges with exterior sealant.
Action today: Put a repeating reminder in your phone for a weekly “drip check” — it prevents small leaks from becoming repairs.
Frequently Asked Questions
Can I waterproof a rental wall without losing my deposit?
Yes. Mount a removable PVC or cement board backer into studs using minimal, well-placed screws and seal the board itself, not the wall. Add a drip edge and a small tray at the base. When you move, patch the screw holes with spackle and touch-up paint, and take the backer with you.
Do I need a professional waterproofing product, or will clear caulk do?
Use a liquid waterproofing membrane designed for showers for the wall surface and a high-quality exterior sealant for edges and penetrations. Clear caulk alone won’t protect a whole wall and will fail under constant moisture. Membrane plus sealant gives you a continuous barrier and detailed seals where water sneaks in.
How do I know if I’m overwatering my living wall?
Check for water collecting in the drip tray within an hour of watering and for a persistent dark damp band at the bottom of the planter. If you see either, reduce your volume to about 1 cup per 20–25 cm pocket and water only when the top 2–3 cm of the planting mix feels dry. Use a small-neck can to control flow instead of a hose or spray gun.
What if my wall has an outlet where I want the plants?
Do not cover outlets with planters. Extend the membrane right up to the box, apply flashing tape around the box perimeter, and use a gasketed cover plate. Keep watering areas at least a hand’s width from outlets, and route drip lines so they cannot run above electrical points.
Can I skip the backer board if I use a felt pocket system?
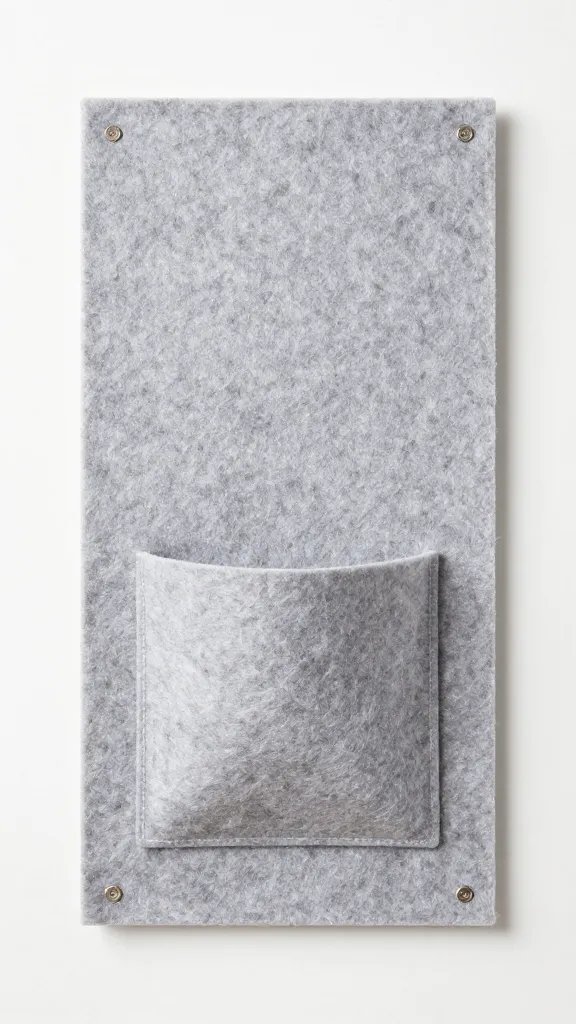
No. Felt systems transfer moisture to the wall through wicking and splashes. Use a waterproofed wall plus a sacrificial backer so the felt never touches painted drywall. You’ll protect anchors, contain drips, and make replacement easy if the felt eventually degrades.
How long does the waterproofing last?
A properly applied membrane and sealed edges last several years indoors. Inspect edges yearly and refresh exterior sealant where it looks cracked or pulled. If you see dulling, peeling, or soft spots, dry the area with a fan for 24 hours and recoat with membrane.
Conclusion
You can enjoy a lush living wall without risking soggy drywall when you treat the space like a splash zone: real membrane, sealed penetrations, a solid backer, and a drip edge. Pick your approach today — removable backer for renters or full membrane for a permanent install — and gather the few materials you need from your local hardware store. The right hour of prep beats months of mold chasing and keeps your plants and wall happy long-term.