10 Tools Every Terrarium Builder Actually Needs — and the 3 That Are Non-Negotiable Unlocked
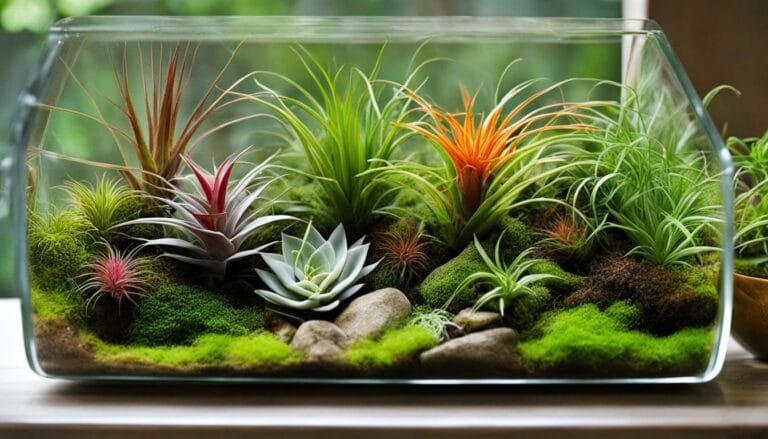
I built my first terrarium on a kitchen table with a spoon, a jar, and blind optimism. The result looked pretty for two weeks and then turned into a foggy swamp with melting plants. I learned fast that the right tools don’t complicate the hobby — they prevent the problems that make beginners quit. In this guide, I’ll show you the 10 tools that actually matter, the 3 I never build without, and exactly how to use them to get healthy, long-lived terrariums.
1. Long Tweezers: Precision Planting That Prevents Root Damage
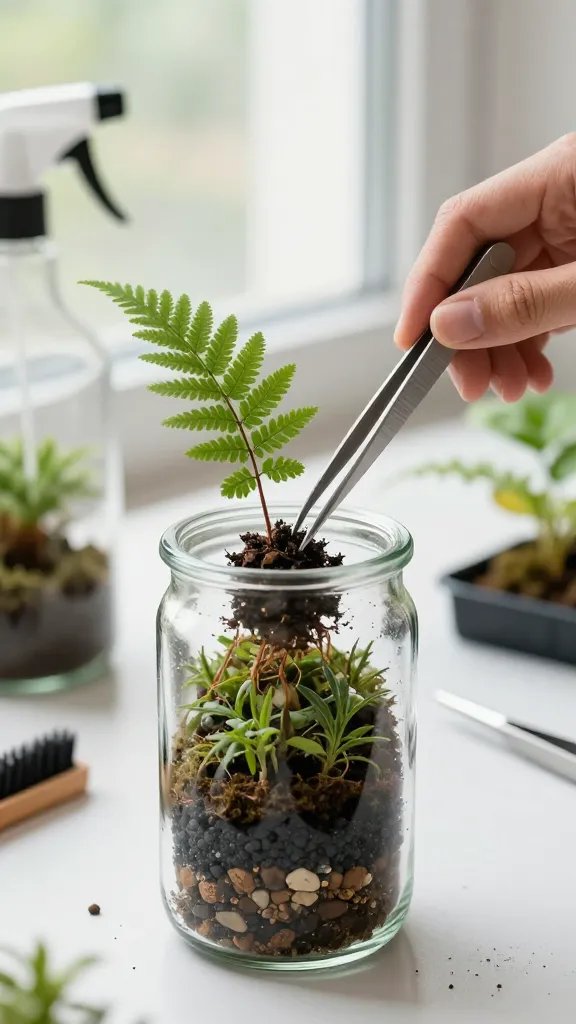
Finger-planting in narrow jars crushes roots, smears soil onto glass, and snaps delicate stems. That mess doesn’t just look bad — it traps moisture against leaves and speeds rot. Long tweezers let you guide plants and moss exactly where they belong without bruising them.
What to Look For
- Length: 10–12 inches to reach the bottom of common jars and vases
- Tip style: Fine-point or angled tips for tucking roots under substrate layers
- Material: Stainless steel from a garden centre or aquarium aisle
How to Use
- Grip plants by the base of the stem or root ball, never by leaves
- Open a pocket in the substrate first, then lower the plant in
- Release and gently pinch the soil around the roots to firm
Takeaway: Buy one 10–12 inch stainless tweezer set and practice planting a single stem into dry substrate before you assemble the full terrarium.
2. Narrow-Neck Watering Bottle: Moisture Control Without Flooding
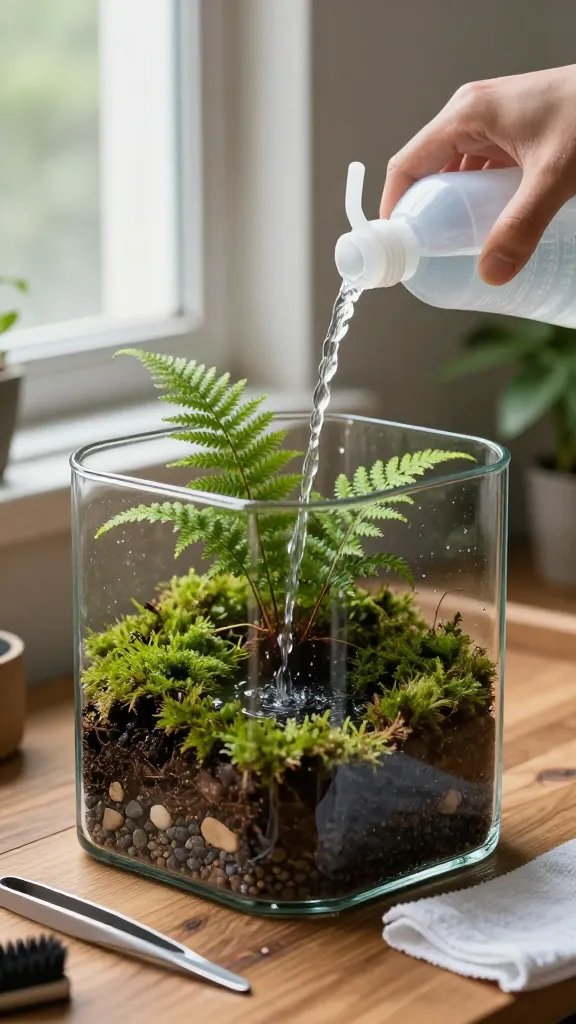
Pouring water from a cup erodes layers, floods roots, and blasts soil up the sides of the glass. That damage is hard to undo and leads to soggy pockets that never dry. A narrow-neck squeeze bottle gives slow, targeted watering where plants need it.
What Works From a Hardware Store
- Plastic wash bottle, condiment squeeze bottle, or a reusable sports bottle with a pull top
- Look for a nozzle that delivers a thin stream, not a wide gush
Watering Targets
- Closed terrariums: 1–3 tablespoons at a time, added at the substrate level
- Open terrariums: Water every 2–3 weeks for ferns, every 3–4 weeks for succulents, always at the soil not the leaves
Action today: Transfer your watering to a condiment bottle and add water in teaspoons, not cups — stop as soon as the top 1–2 cm of soil darkens evenly.
3. Long-Handled Spoon or Scoop: Clean Layering and Safe Backfilling
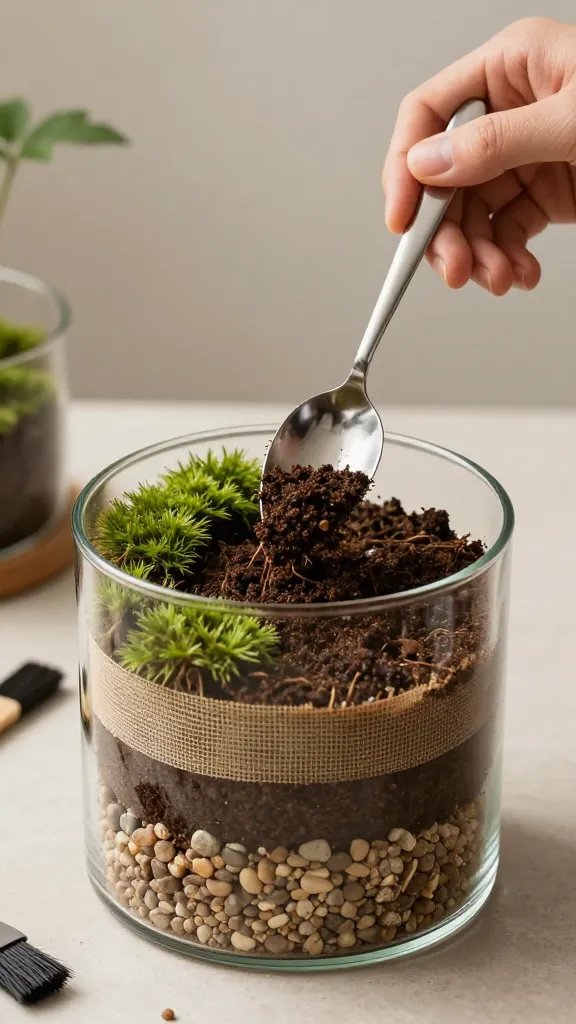
Dumping substrate by hand creates uneven layers and hollows that collapse later. Those voids trap water and drown roots. A long-handled spoon lets you place substrate exactly where it needs to go and backfill around root balls without smothering them.
How I Use It
- Layer drainage (pebbles), barrier (mesh or coffee filter), then substrate without slumping
- Push soil “uphill” gently to build terraces and prevent slides
- Feed small amounts under moss to improve contact without tearing
Takeaway: Add a 12-inch cooking spoon to your terrarium kit and use it to place substrate in small scoops rather than dumping from a bag.
4. Soft-Bristle Brush: Glass and Leaf Cleaner That Prevents Mold
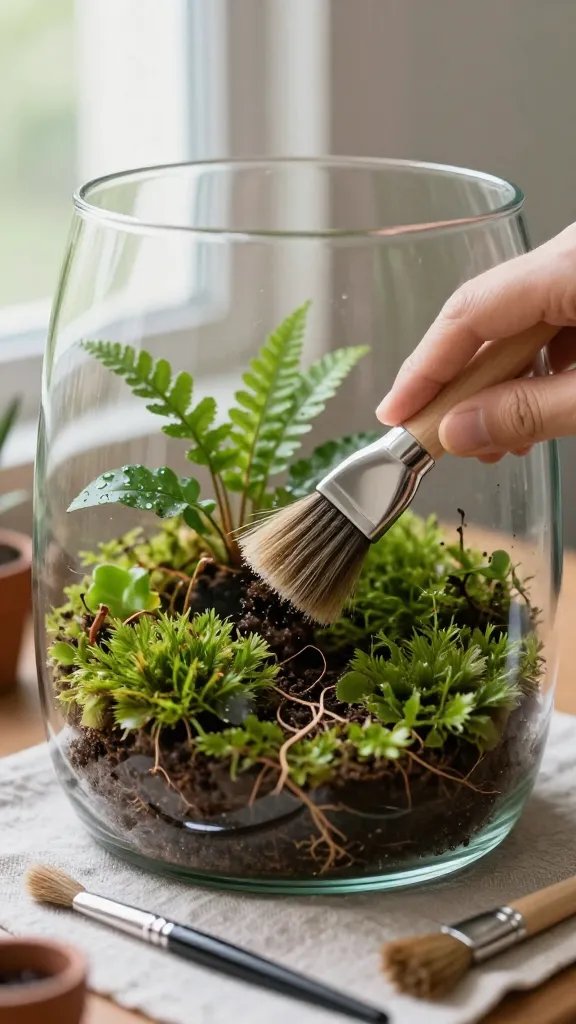
Soil smeared on glass keeps the terrarium humid in the wrong places and encourages algae and mold. Dirty leaves hold moisture and rot. A soft brush keeps everything clean without disturbing roots or compacting soil.
Tools That Work
- New makeup brush, artist’s paintbrush (1–2 cm wide), or a clean pastry brush
- Keep one for glass, one for plants to avoid cross-contamination
How to Use
- Brush soil off glass after each substrate or plant placement
- Flick debris off moss and leaf axils to prevent wet pockets
- Dry brush only; use a lightly damp microfiber cloth on the outside glass
Action today: Stash a clean makeup brush in your terrarium bin and brush the inside glass before you add the lid — every single build.
5. Spray Bottle with Fine Mist: Humidity Tuning and Moss Revival
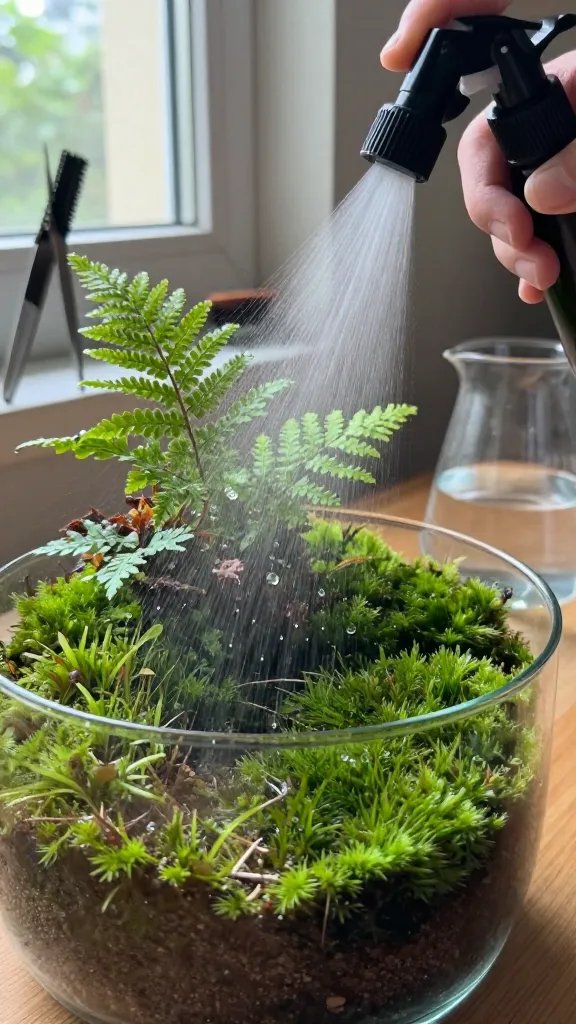
Big droplets splash soil and snap delicate moss tips. Uneven wetting leaves dry pockets that never establish. A fine-mist spray bottle evenly moistens surfaces and helps moss knit to the substrate.
What to Buy
- Hairdresser-style fine mist bottle or a standard trigger sprayer set to the gentlest mist
- Use clean tap water that tastes clean, not salty
When to Mist
- Before planting: Lightly mist substrate so it clumps when squeezed but doesn’t drip
- After planting: Two to three light passes to settle dust, not to soak
- Maintenance: If a closed terrarium shows no condensation by midday for 2–3 days
Takeaway: Pre-dampen your substrate with 8–10 fine sprays, mix, and test a handful — it should hold shape without releasing water.
6. Pruning Scissors: Controlled Growth and Airflow Management
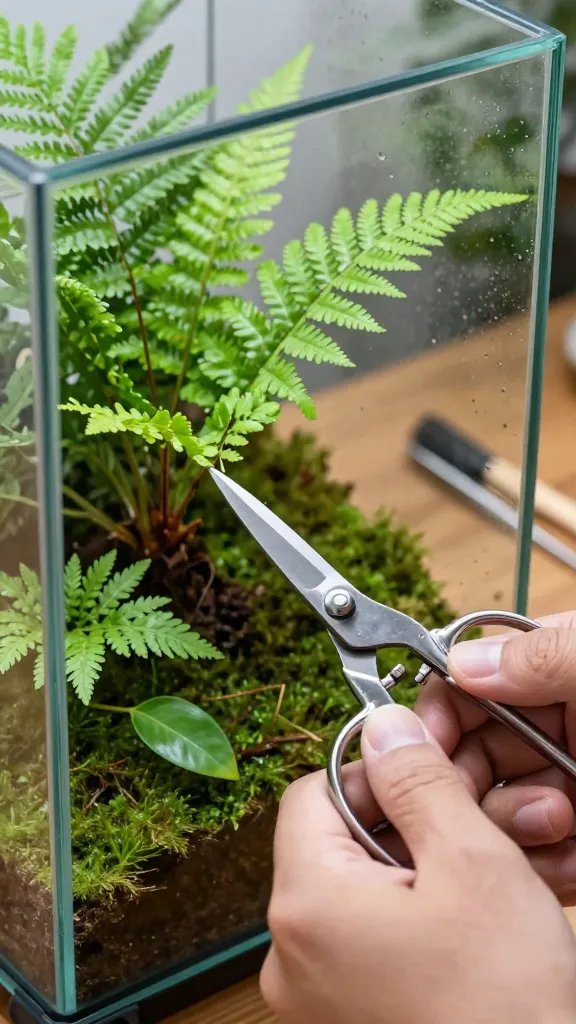
Overgrown stems press against glass, trap condensation, and rot where they touch. Ragged tears from household scissors invite disease. Sharp pruning scissors make clean cuts that heal fast and keep air moving.
Features That Matter
- Short, sharp blades (bonsai shears or small garden snips)
- Stainless steel for easy cleaning
- Tight pivot with no wobble for precision
What to Trim
- Remove leaves that touch the glass
- Cut back fast growers by one-third to maintain space
- Pinch spent fern fronds at the base to prevent decay
Action today: Disinfect blades with rubbing alcohol, then remove any leaf that presses on the glass — you’ll see clearer walls and fewer slime spots within days.
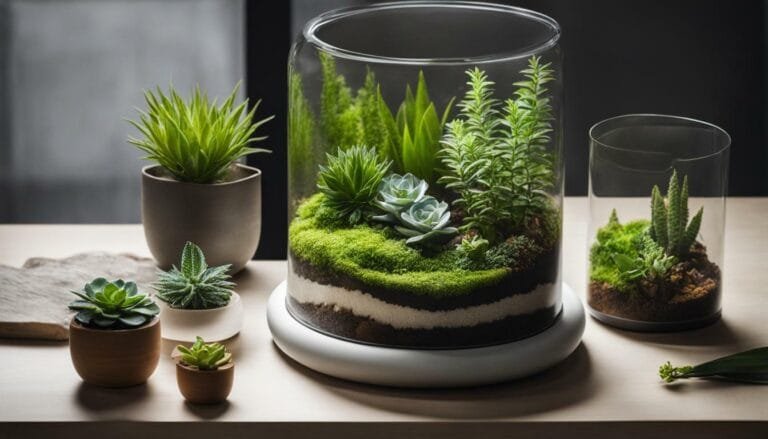
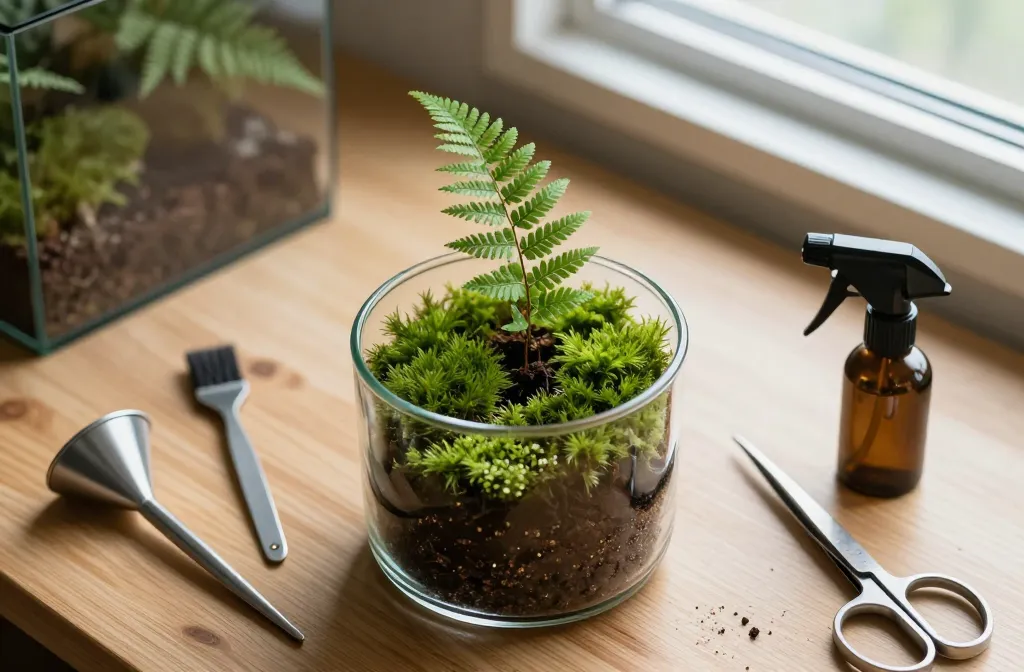
7. Substrate Setup: Pebbles, Mesh, and Quality Potting Mix
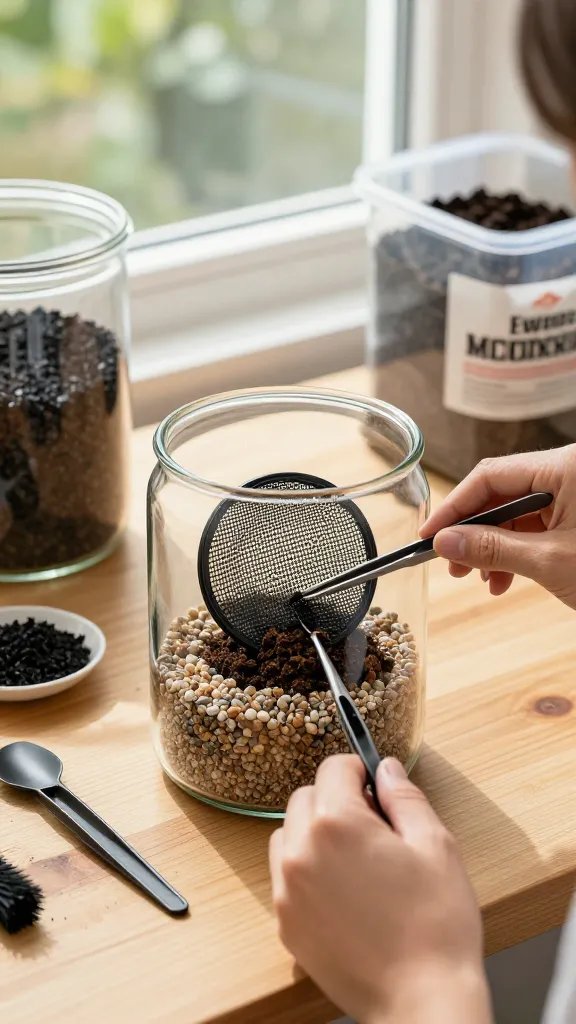
Skipping layers turns a terrarium into a swamp or a dust bowl. Too much drainage with no barrier clogs the pebbles; no drainage means roots sit in sour water. The right trio — pebbles, mesh, and a good potting mix — prevents both extremes.
Layer Basics
- Drainage: 1–2 cm of aquarium gravel or small pebbles
- Barrier: Cut-to-fit plastic mesh, window screen, or a coffee filter
- Substrate: Good quality potting mix from the garden centre
Optional Add-Ons
- Handful of horticultural charcoal mixed into the top of the pebble layer to reduce odors
- For succulents in open terrariums, blend in 30–40% coarse sand
Takeaway: Pre-cut mesh circles for your most-used jars and store them flat — you’ll stop soil slumps before they start.
8. Funnel or Paper Chute: Mess-Free Layering in Narrow Necks
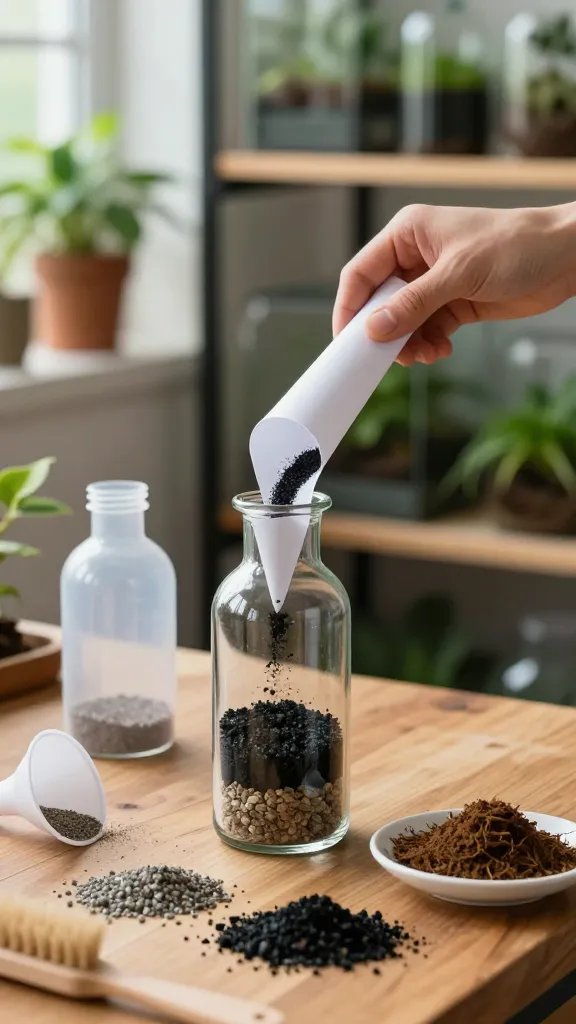
Trying to pour substrate into a bottle-neck terrarium by hand compacts soil and smears everything. That compaction chokes roots and stops water from moving through. A simple funnel or folded-paper chute places dry materials exactly where you need them.
DIY Options
- Kitchen funnel for sand and gravel
- Rolled cardstock or a cut plastic bottle for potting mix
- Use the handle of your spoon to guide flow to one side for slopes
Action today: Make a paper chute from a sheet of printer paper and test-pour a cup of dry gravel into a vase — you’ll see the control difference immediately.
9. Cork-On-A-Stick or Grabber Tool: Gentle Tamping Without Compaction
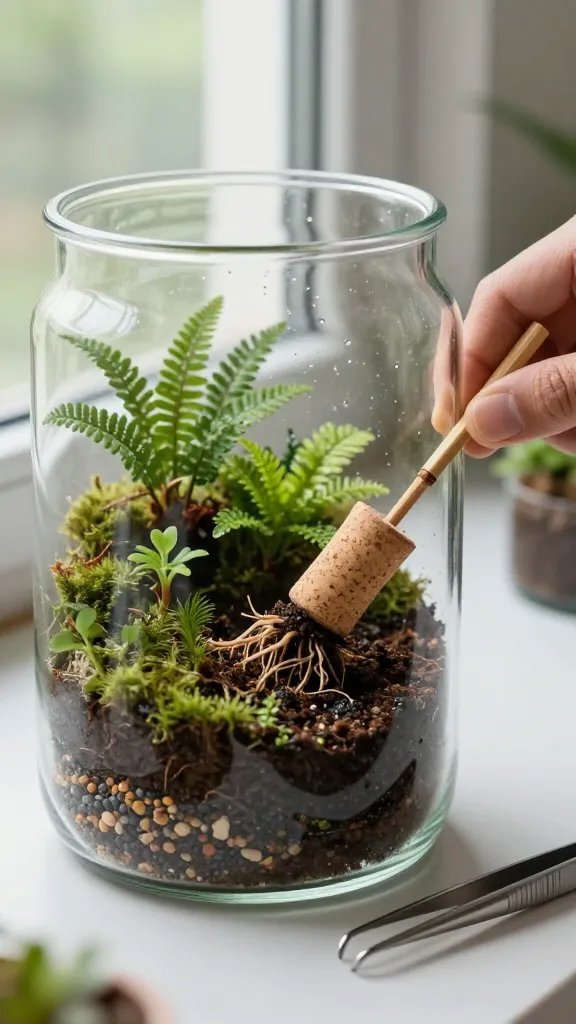
Pressing soil with fingers compacts the mix and crushes roots in tight spaces. Overcompaction suffocates roots and creates standing water layers. A cork or wine stopper on a bamboo skewer lets you firm soil just enough to anchor plants.
How to Assemble
- Push a bamboo skewer into a wine cork at an angle for better reach
- Sand the cork edge slightly for a smooth surface
How to Use
- Tamp around, not on top of, root balls
- Press lightly along slopes to stabilize without flattening
Takeaway: Make a cork tamper in two minutes and use it to secure moss edges — you’ll get quicker attachment and fewer lifted corners.
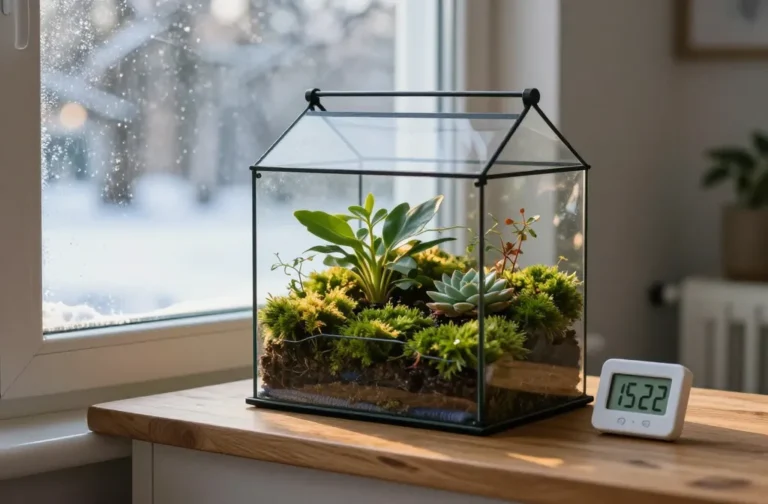
10. Vent Control: Lids, Cling Film, and Adjustable Airflow
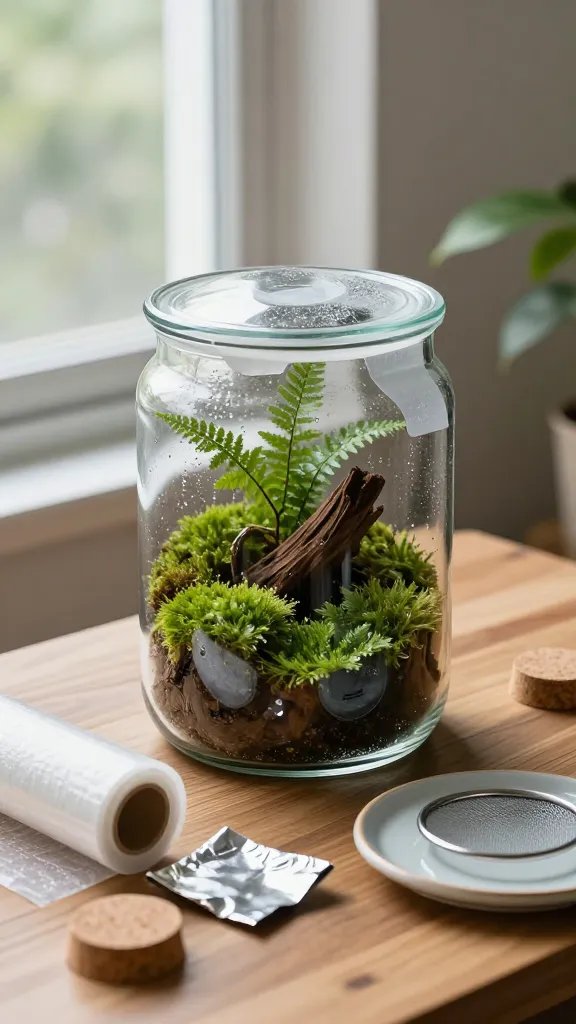
Wrong airflow ruins more terrariums than bad plants. Too sealed, and you get constant dripping, sour smells, and mold. Too open, and moss dries, ferns crisp, and the ecosystem stalls.
What You Need
- Snug-fitting lid, cork, or plate for closed builds
- Cling film or aluminum foil to fine-tune coverage by 25–50%
- For open builds, a mesh screen to reduce drafts near windows
How to Set It
- Aim for light morning condensation that clears by midday
- If glass stays foggy all day, crack the lid for 1–2 hours daily for a week
- If there’s no condensation after two days, cover 25% more of the opening
Action today: Adjust your lid so you see a thin band of condensation on the lower third of the glass by morning — that’s the sweet spot.
Frequently Asked Questions
What are the three non-negotiable tools I should buy first?
Long tweezers, a narrow-neck watering bottle, and pruning scissors. Tweezers prevent root damage and messy glass. The bottle gives precise watering so you don’t flood or erode layers. Scissors keep growth off the glass and stop rot where leaves stay wet.
Can I build a terrarium with just household items?
Yes, but choose substitutes wisely. Use chopsticks as tweezers, a condiment bottle for watering, and a makeup brush for cleaning. Cut a coffee filter for your barrier layer and make a paper chute for pouring. Upgrade to stainless tweezers and real snips as soon as you can for cleaner, safer work.
How do I know if I’ve added too much water at the start?
Watch the glass at midday. If more than half the walls stay fogged or you see droplets running down, you added too much. Remove the lid for 1–2 hours, repeat daily until condensation drops to the lower third, and only then add plants that prefer higher humidity like fittonia or ferns.
What substrate should I use if I can’t find specialty mixes?
Use a good quality potting mix from the garden centre and adjust slightly. For ferns and mosses, use it straight after removing large bark chunks. For succulents in open terrariums, blend in roughly 30–40% coarse sand or small grit. Always include a 1–2 cm pebble drainage layer with a mesh barrier.
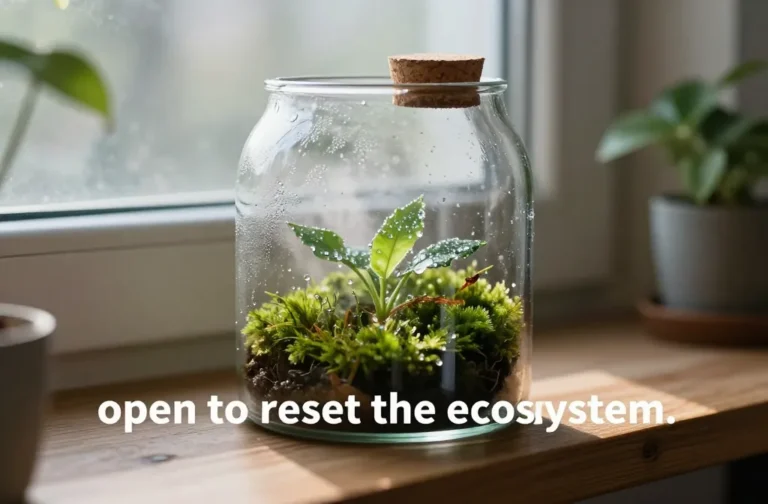
How often should I open a closed terrarium?
Only as a control tool. If you see heavy condensation lasting past midday, crack the lid for 1–2 hours. If leaves are drooping and there’s little to no condensation for two days, close it tighter with cling film covering more of the opening. Aim for a light morning fog that clears by lunchtime.
What’s the best way to place moss so it actually takes?
Moss fails when it sits on dry, loose soil. Lightly mist the substrate until it clumps, then press moss down with a cork-on-a-stick so all edges contact soil. Mist twice more with a fine spray and keep the lid on for the first week, venting 30 minutes every other day to prevent mold.
Conclusion
Terrariums thrive on precision, not price tags. Start with the three non-negotiables — long tweezers, a narrow-neck watering bottle, and sharp pruning scissors — then add the rest as you build confidence. Your next step: set up a small jar with proper layers and use these tools once — you’ll see healthier plants and crystal-clear glass from day one.