Why a Covered Container Accelerates Seed Germination — the Microclimate Mechanics Behind It Revealed
I learned the value of a simple lid after losing a tray of basil to dry air on a sunny windowsill. The second try, I used the same seeds, same potting mix, but snapped a clear cover on top — the whole tray popped in four days. Once I understood the small climate a cover creates, I stopped guessing and started getting consistent germination. In this guide, I’ll show you exactly why the cover works and how to use it without ending up with mold or leggy seedlings.
The Microclimate: Warm, Humid, Still Air That Seeds Expect
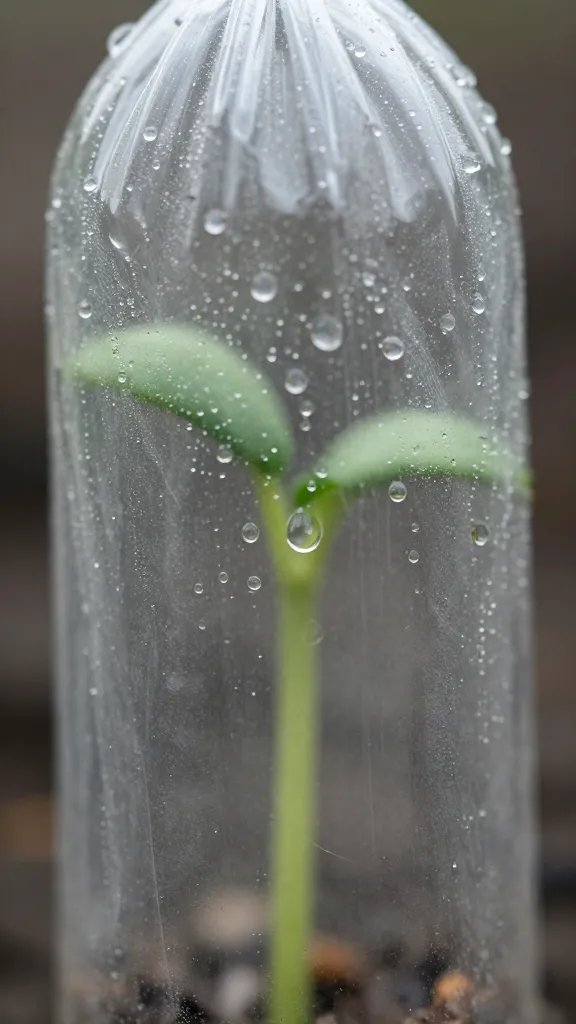
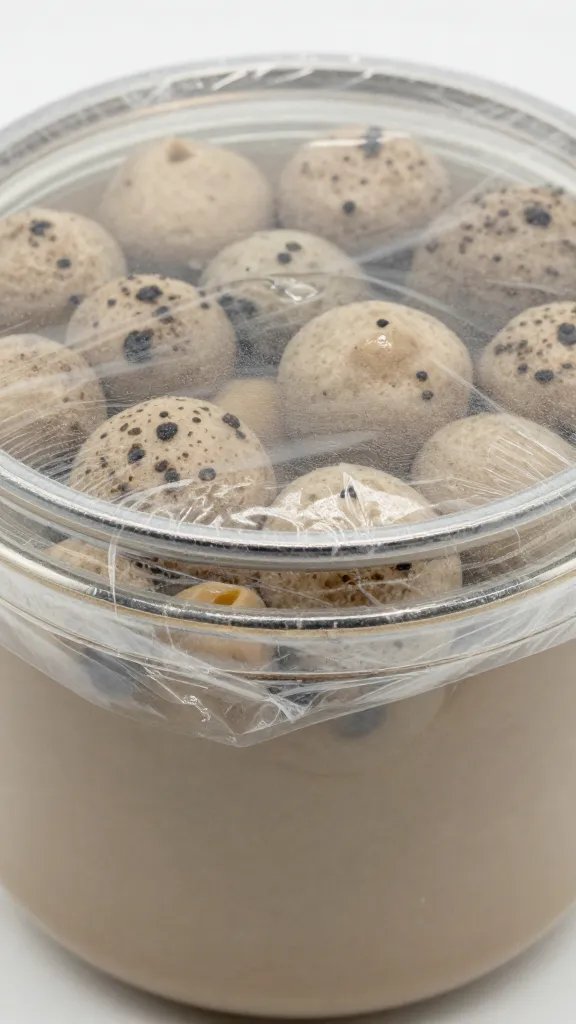
A covered container traps a pocket of warm, moist, still air right above the soil. That microclimate mimics the protected conditions under leaf litter where many seeds evolved to sprout.
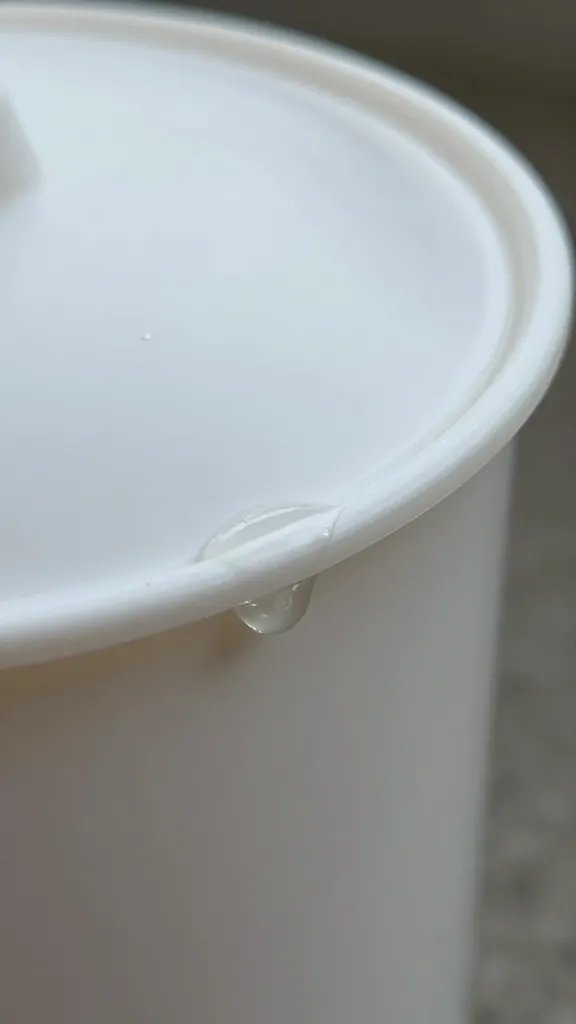
Humidity stays high because water evaporates from the soil and condenses on the lid, then drips back. Seeds need that constant moisture to soften their seed coats and trigger enzymes that start growth.
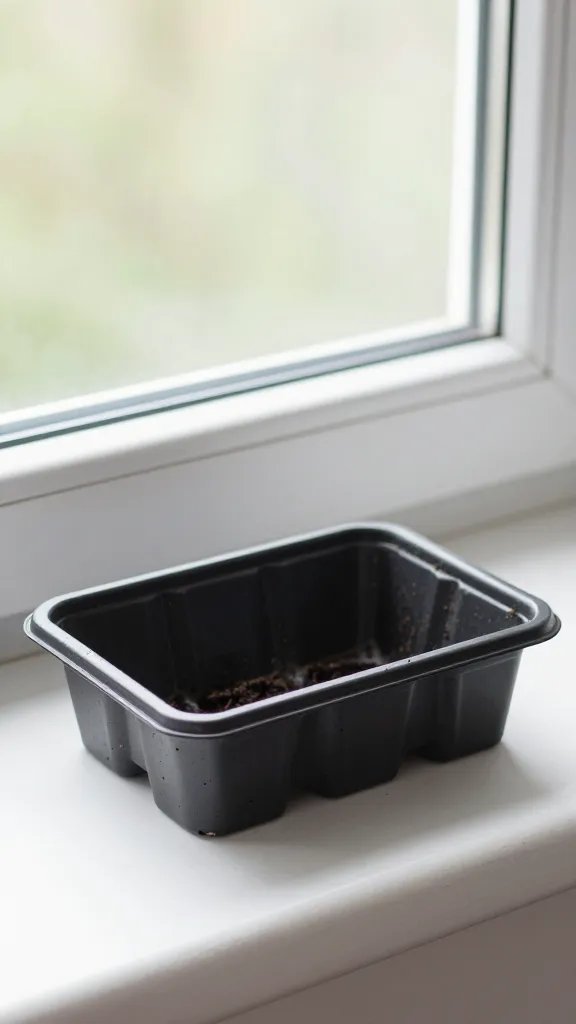
Action today: Cover a freshly sown pot with a clear lid or plastic wrap stretched over the rim, leaving a pencil-width gap for a little airflow.
Humidity Mechanics: Why Consistent Moisture Beats Daily Watering
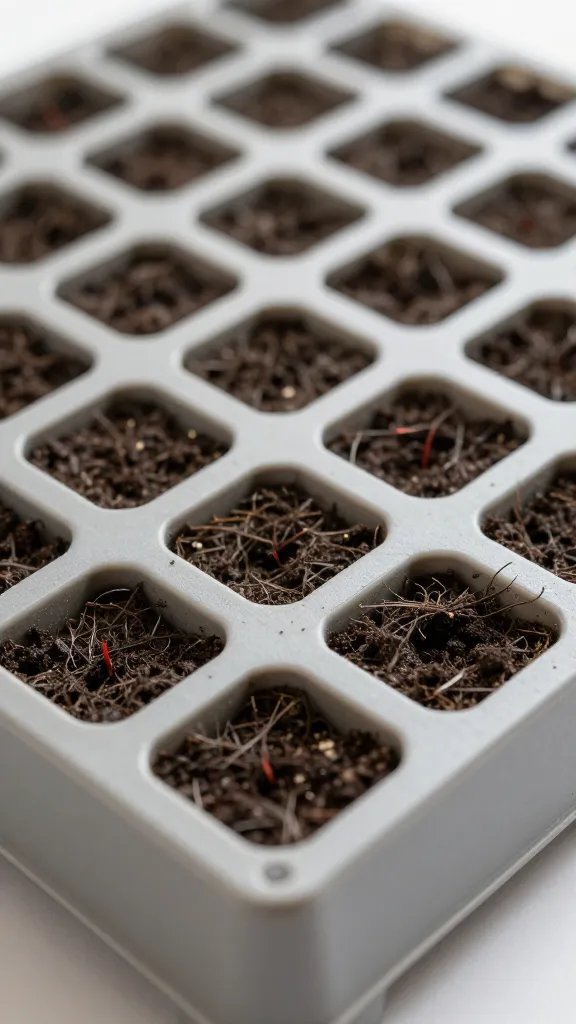
Uncovered trays swing wildly: the top 1 cm of mix dries first, then rewetting becomes uneven. With a cover, evaporation slows, and the moisture gradient in the top layer stays steady — no crust, no dry pockets.
That matters because a drying surface can stall germination at the exact moment a radicle (the first root) emerges. Under a cover, the surface stays evenly damp with fewer interventions from you.
Action today: Moisten seed-starting mix until it’s like a wrung-out sponge, then cover. You should see a light sheen on the mix, not pooled water.
Temperature Gain: A Few Degrees That Shorten the Wait
A clear lid creates a mild greenhouse effect. Even on a bright shelf, I measure 2–5°C warmer at soil level compared to uncovered trays, which is often the difference between 10-day and 6-day germination for warm-season crops.
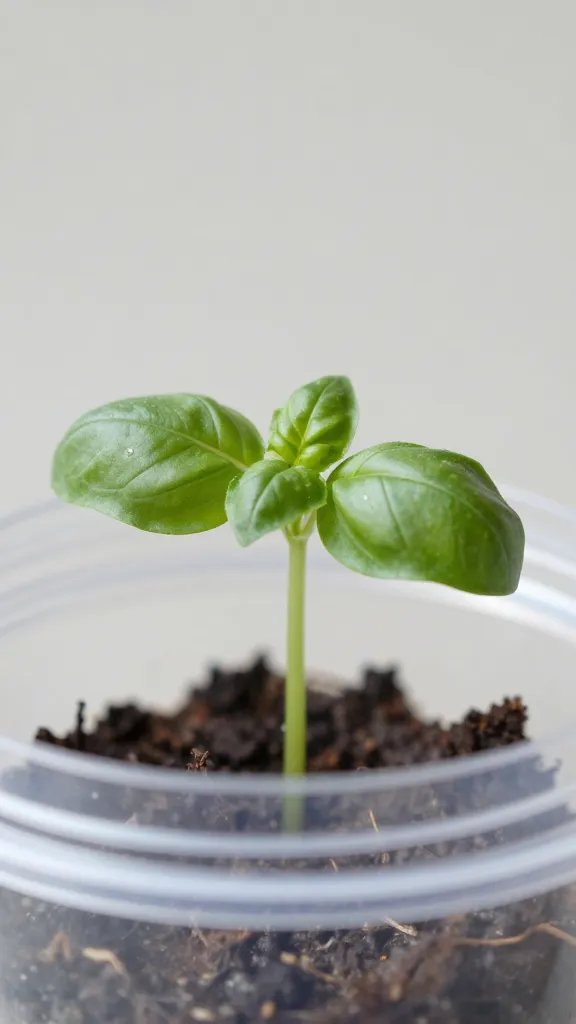
Warmth-loving seeds like tomato, pepper, basil, cucumber respond fastest. Cool-season seeds still benefit from stable temperatures, even if they don’t want high heat.
Warning Signs If It’s Too Warm
- Condensation drips constantly and leaves are pale — reduce heat or crack the lid wider.
- Seeds sprout, then stall — move out of direct midday sun to avoid soil overheating.
Action today: Place covered trays in bright, indirect light near a window, not pressed against hot glass. If the lid feels hot to the touch at noon, shift it back 30–60 cm.
Gas Exchange: Enough Oxygen Without Drying the Surface
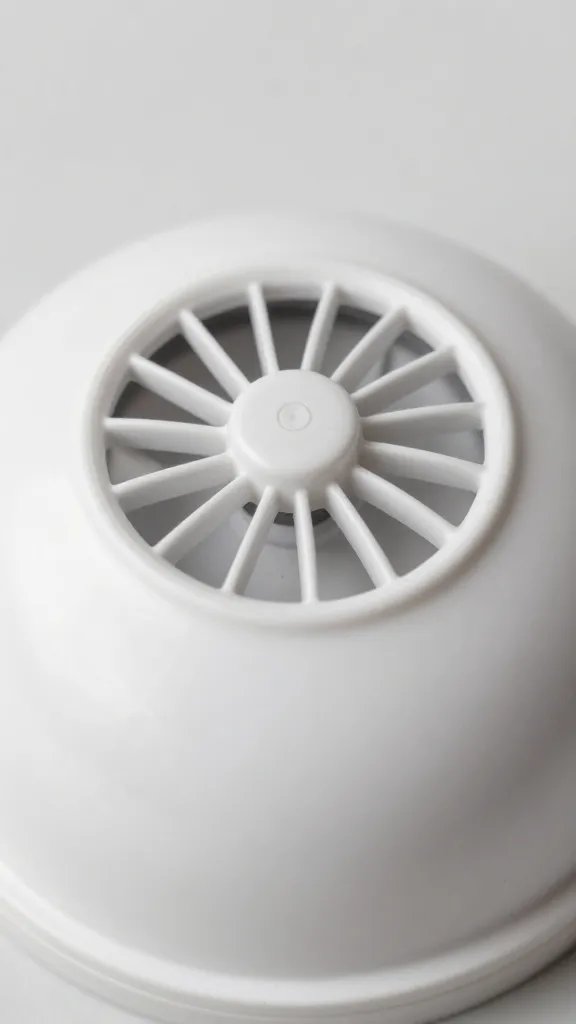
Seeds need oxygen to respire once they imbibe water. A tight seal traps humidity but can also trap stale air. I leave a small vent — a corner of the lid propped with a plant label — to keep oxygen moving without losing moisture.
That small gap also prevents pressure build-up and reduces condensation “rain” that can dislodge tiny seeds.
Easy Venting Methods
- Flip one humidity dome vent open halfway.
- If using plastic wrap, poke 8–10 pencil-tip holes evenly across the surface.
- Prop one side of a rigid lid with two coins.
Action today: Add a pea-sized vent to your cover and check the inside for light fog rather than heavy droplets by late morning.
Disease Pressure: Preventing Damping-Off Under a Lid
High humidity favors damping-off fungi, which collapse seedlings at the soil line. I stop it with clean materials and airflow the moment green shows.
Use a fresh, sterile seed-starting mix from the garden centre and clean containers. The instant you see sprouts, reduce condensation and move air gently across the tray to dry the surface while keeping the root zone moist.
Step-by-Step Fix When You See Fuzzy Growth
- Uncover immediately and increase airflow with a small household fan on low, 1–2 m away.
- Remove any visible mold with a tissue and discard it.
- Top-dress the surface with a thin sprinkle of dry mix or fine horticultural sand to break the moisture film.
- Water from the bottom for the next week so the surface stays drier.
Action today: As soon as 20–30% of seeds in a cell have sprouted, open vents fully or remove the cover during the day and only replace it at night for two more days.
Timing the Cover: On for Germination, Off for Growth
The cover is a germination tool, not a long-term growing tool. Once seedlings show their first true leaves (the second set after the seed leaves), they need stronger airflow and lower humidity to build sturdy stems and avoid stretch.
I transition over 2–3 days: lid off in the daytime, back on very loosely at night, then off completely. This keeps moisture steady while seedlings toughen up.
Action today: Set a reminder: “Vent at first sprout, remove at first true leaf.” This simple rule prevents most post-germination failures.
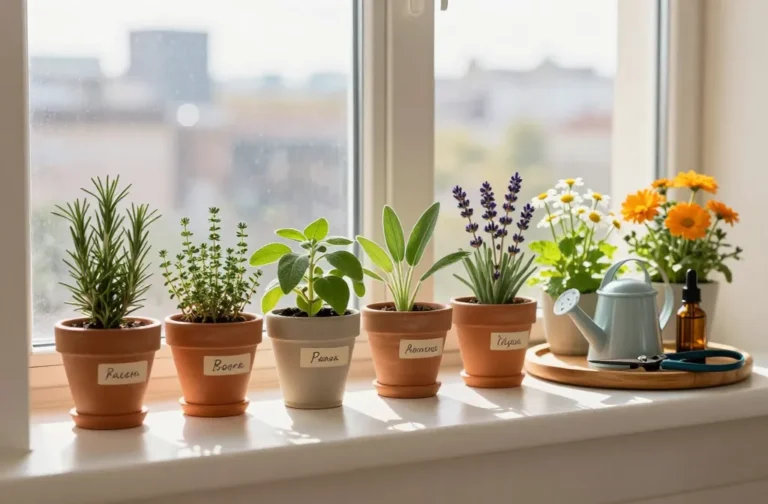
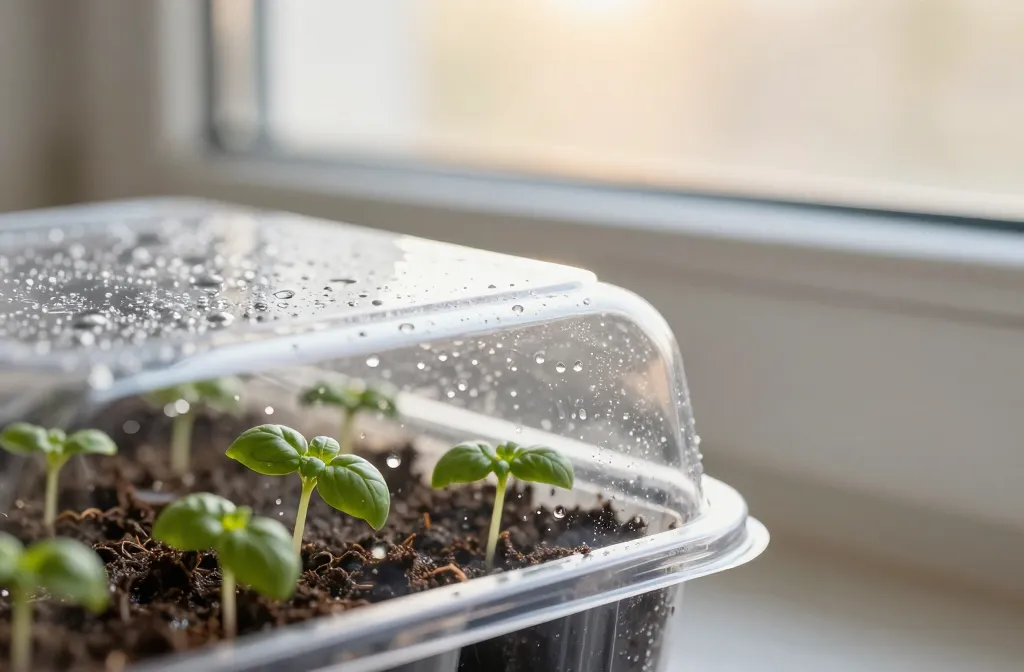
Practical Setups With Common Materials
You don’t need special gear. A clear takeaway container, a baking tray with plastic wrap, or a standard seed flat with a dome all work if you set moisture and venting correctly.
For tiny seeds like lettuce or petunias, sow on the surface and mist lightly before covering. For larger seeds like beans or peas, bury 2–3 cm deep and pre-moisten thoroughly so you don’t have to water from above after covering.
Material Recommendations From Any Garden Centre
- Seed-starting mix labeled fine-textured and peat- or coir-based.
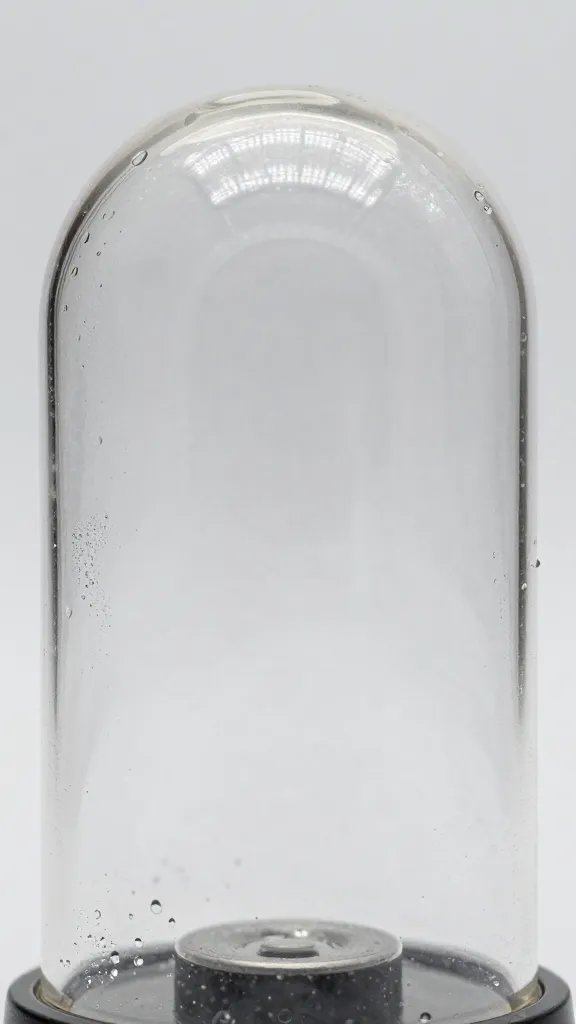
- Clear humidity dome that fits your tray, or plastic wrap and a shallow tray.
- Spray bottle for gentle surface wetting and a basic tray for bottom watering.
Action today: Build one “test cell” — a single pot with and without a cover side-by-side — and compare sprout time and uniformity this week.
Light During and After Germination
Most seeds don’t need bright light until they sprout, but they do need it immediately after. A cover slightly diffuses light, which helps keep surface moisture even, but I still keep trays near bright indirect light from a window from day one so I’m not scrambling to move them after they appear.
If seedlings lean toward the window, rotate the tray daily. Covered containers warm up fast in direct sun; I prioritize brightness without baking heat until lids come off.
Action today: Place covered trays where you could comfortably read a book at midday without squinting — bright but not scorching sun on the lid.
Frequently Asked Questions
Do all seeds benefit from a cover?
Most common vegetables and herbs sprout faster with a cover because they prefer steady moisture and warmth. A few woodland perennials and cool natives prefer cooler, airier conditions and may not need it. If the packet lists warm germination temperatures or quick sprout times, use a cover. When in doubt, run a small side-by-side test.
How wet should the soil be before I put the cover on?
Use the “wrung-out sponge” test. Squeeze a handful of moistened mix — it should clump without dripping more than a drop or two. If water pools on the surface after sowing, you overdid it; mix in a bit more dry medium and try again. After covering, you shouldn’t need to water again until you see sprouts.
When exactly do I remove the cover?
Vent the cover as soon as you see the first green hooks emerge. Remove it fully once most seedlings show their first true leaves, usually 2–7 days after sprouting depending on the plant. If condensation is heavy, advance the schedule and uncover sooner during the day. Strong airflow now prevents damping-off.
My seeds sprouted but look thin and stretched. Is the cover to blame?
Stretching (legginess) comes from low light and warm, still air. Remove the cover during the day once seedlings emerge and move the tray to brighter indirect light. Rotate daily and keep a gentle room fan on low to encourage sturdy stems. If they already stretched, pot a bit deeper at the next transplant.
Can I reuse the same cover without cleaning?
Yes, but clean it between batches to avoid carrying over fungal spores. Wash with warm soapy water, then rinse and let it dry completely. If you’ve had damping-off, spray with a household 3% hydrogen peroxide, let sit for 5 minutes, and rinse. Store covers dry so they don’t grow mold.
What if I see no condensation at all under the lid?
The mix is likely too dry or the vent is too large. Lift the cover and mist the surface evenly, or bottom-water until the top darkens slightly, then replace the lid with a smaller gap. You want light fogging by late morning, not dry walls. Recheck in 24 hours and adjust.
Conclusion
A simple cover gives seeds the three things they crave on day one: steady moisture, gentle warmth, and calm air. Use it confidently, vent at first sprout, and remove it at true leaves — that’s the whole rhythm. Set up one covered tray this week and watch how much faster and more even your germination becomes, then carry the same approach into your next round of sowing.