The Truth About How Air Plant Roots Work — Why They Don’T Absorb Water and What to Do with Them
I used to soak air plants for ages and worry about their scraggly roots drying out. Then I learned those roots aren’t for drinking at all — and my plants stopped rotting overnight. In this guide, I’ll show you exactly how air plant roots function, how to water the right way, and what to do with roots when they get messy. By the end, you’ll know how to mount, water, and groom air plants so they actually thrive.
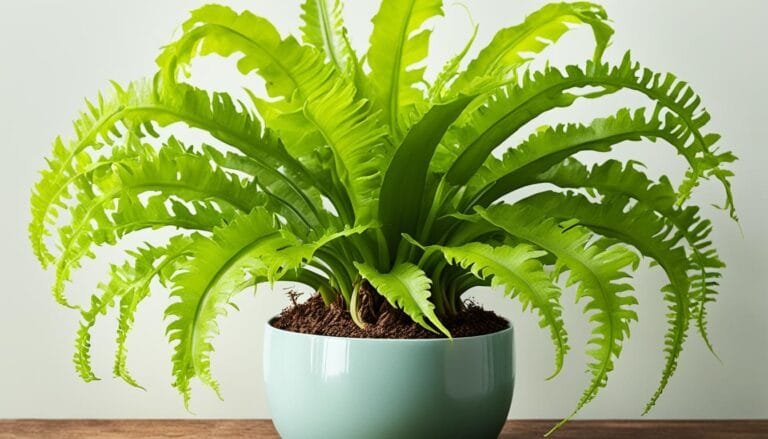
What Air Plant Roots Actually Do
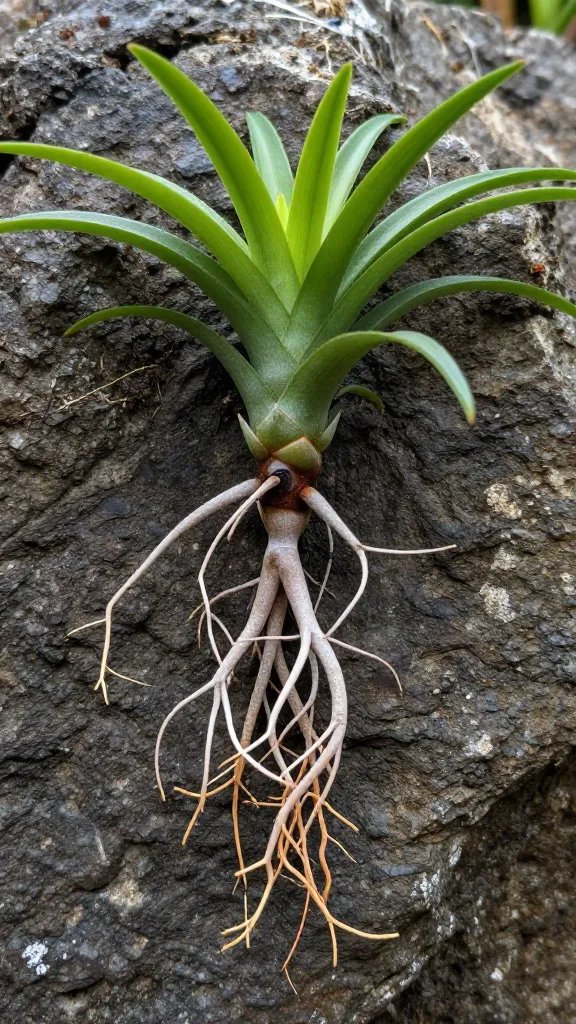
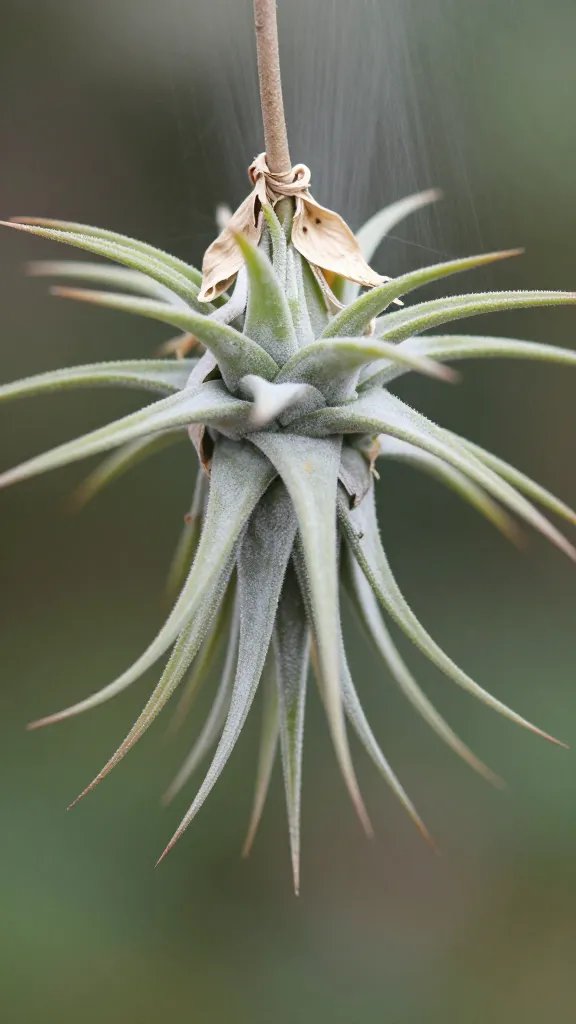
Air plants — the genus Tillandsia — evolved to live on trees and rocks. Their roots act as anchors, not drinking straws.
They attach the plant to bark, cork, or stone so wind doesn’t flip them. The plant drinks and breathes through its leaves, using tiny scale-like structures called trichomes to capture water and nutrients from mist, rain, and light fertilizer.
Action today: Stop aiming water at the roots; focus on thoroughly wetting the leaves instead.
Why Air Plant Roots Don’t Absorb Water
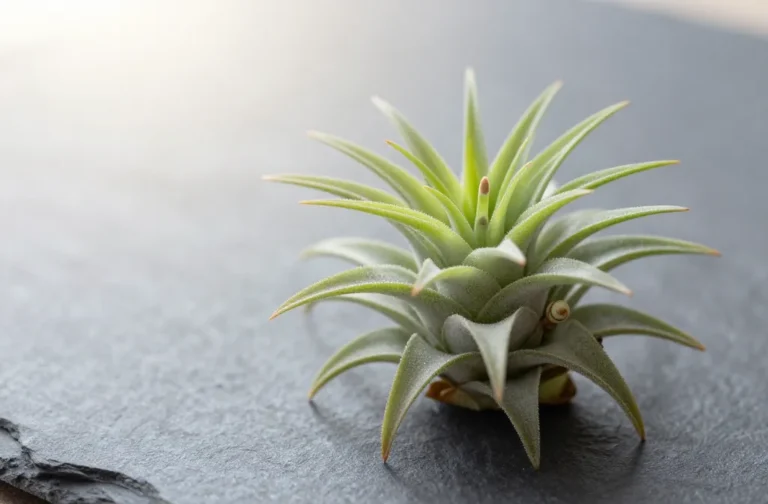
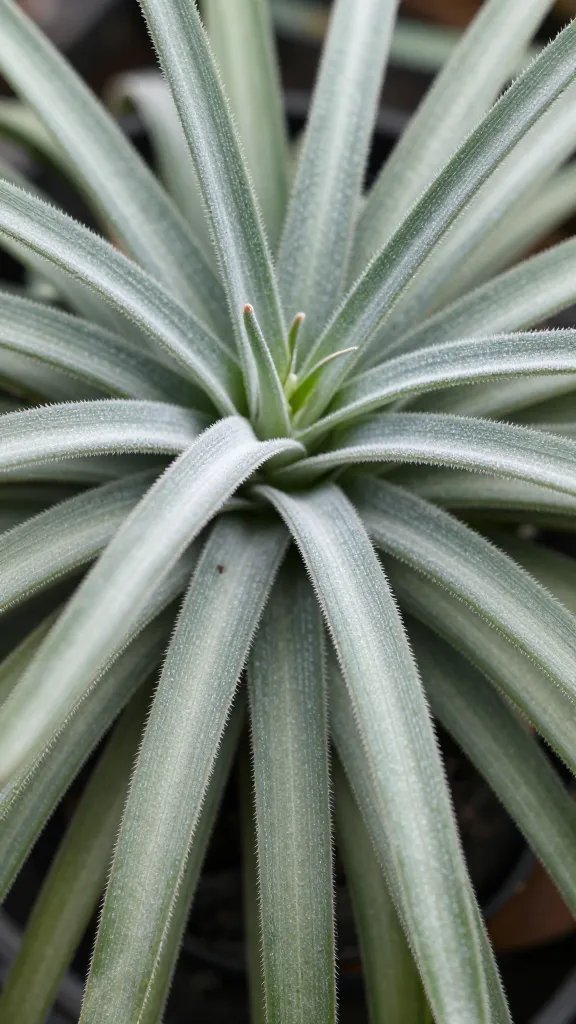
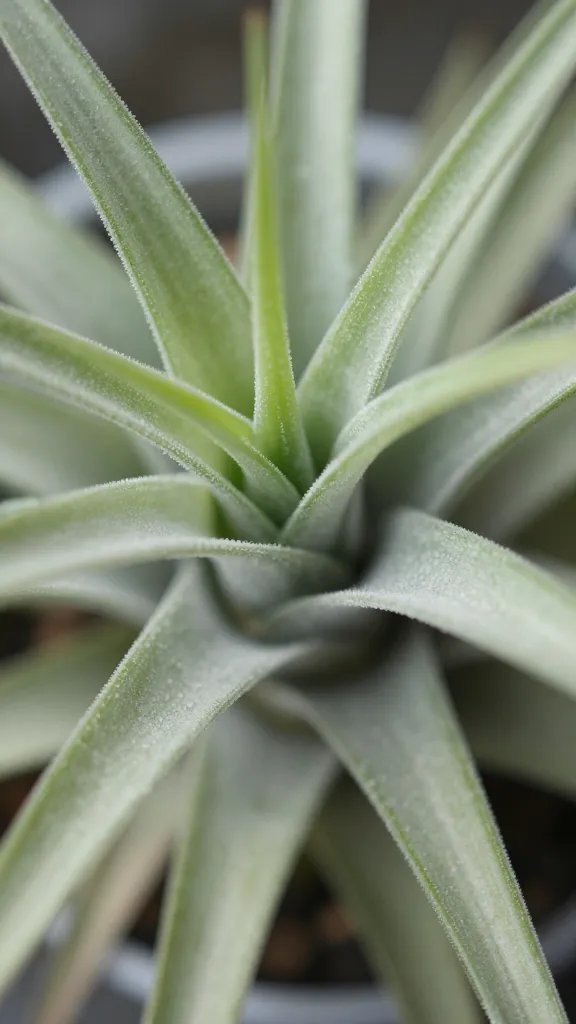
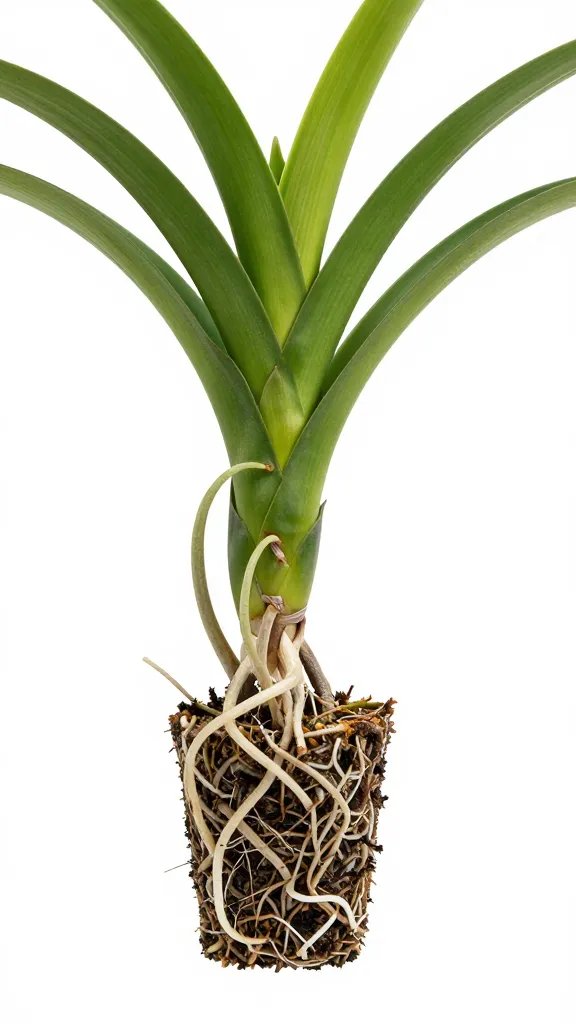
Unlike typical houseplants, air plants lack a soil-based root system. Their roots are thin, wiry, and often brown or copper-colored. That color is normal — not a sign of drought.
The leaves do the hydration work. When you wet the leaves, trichomes open and pull in moisture; when they stay wet too long without airflow, rot sets in. Roots play no role in water intake.
Action today: After watering, place the plant upside down or on its side for 30–60 minutes so water drains from the leaf bases.
How to Water Air Plants the Right Way
I use two methods based on light and airflow. Both aim to fully wet the leaves and then dry them within 4 hours.
Step-by-Step: Weekly Soak (Bright, Breezy Spots)
- Fill a bowl with room-temperature tap water that tastes clean, not salty. Let it sit 10 minutes if chlorine odor is strong.
- Submerge the plant leaves-only for 15–20 minutes. Mounted plants: dip the foliage and keep the base or mount dry if possible.
- Shake off excess water.
- Dry the plant upside down on a towel for 30–60 minutes, then return it to bright, indirect light.
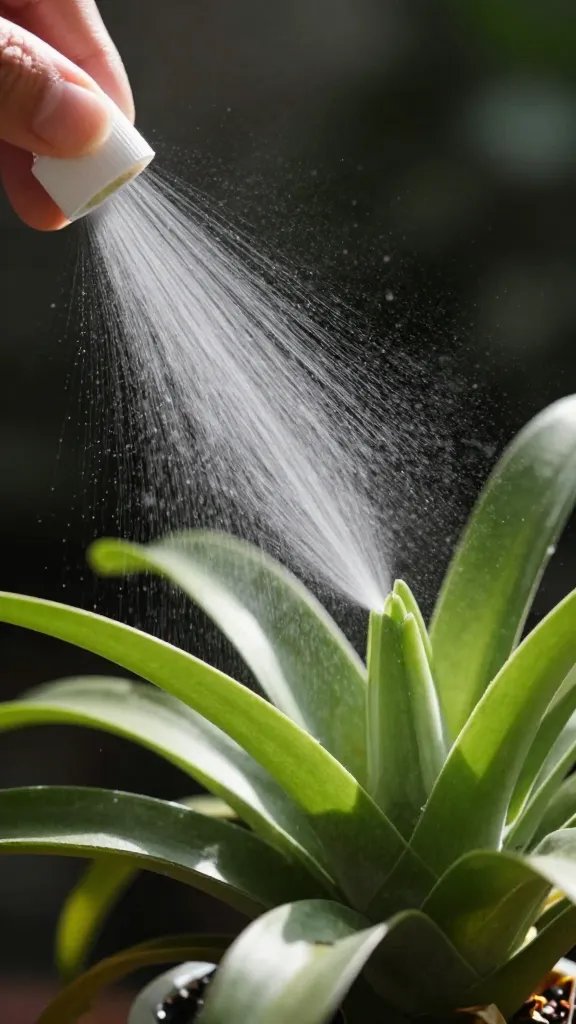
Step-by-Step: Thorough Mist (Lower Light or Cooler Rooms)
- Mist until the leaves look evenly darkened and slick, not just speckled.
- Repeat light passes over 2–3 minutes so water has time to cling.
- Ensure good airflow — a fan on low across the room works — until the plant is dry to the touch.
Action today: Pick one method and set a reminder: once a week for most homes, twice a week in very dry rooms, every 10–14 days in humid bathrooms.
What to Do With the Roots: Trim, Tidy, or Use Them
You can safely trim air plant roots without harming the plant. I snip straggly roots to 0.5–1 cm to tidy displays. The plant will grow new anchors over time.
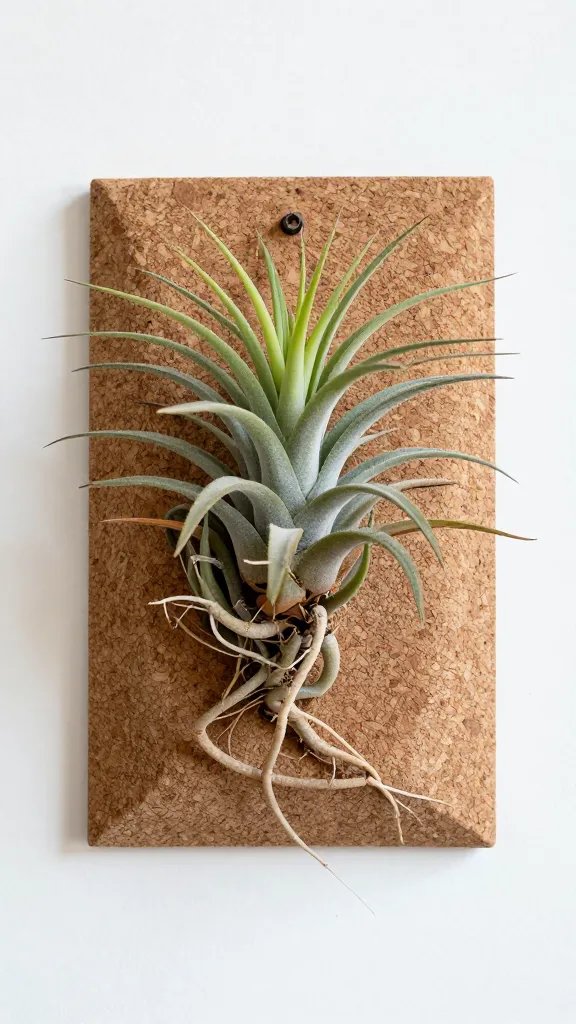
If you want to mount the plant, leave some roots to help it grip. Use soft wire, cotton thread, or a small dot of non-toxic, waterproof craft glue on the outer leaf sheath (never deep in the crown). Avoid hot glue on tiny plants; it can scorch tissue.
Action today: If roots look unruly, sterilize scissors with rubbing alcohol and trim them back to neat nubs.
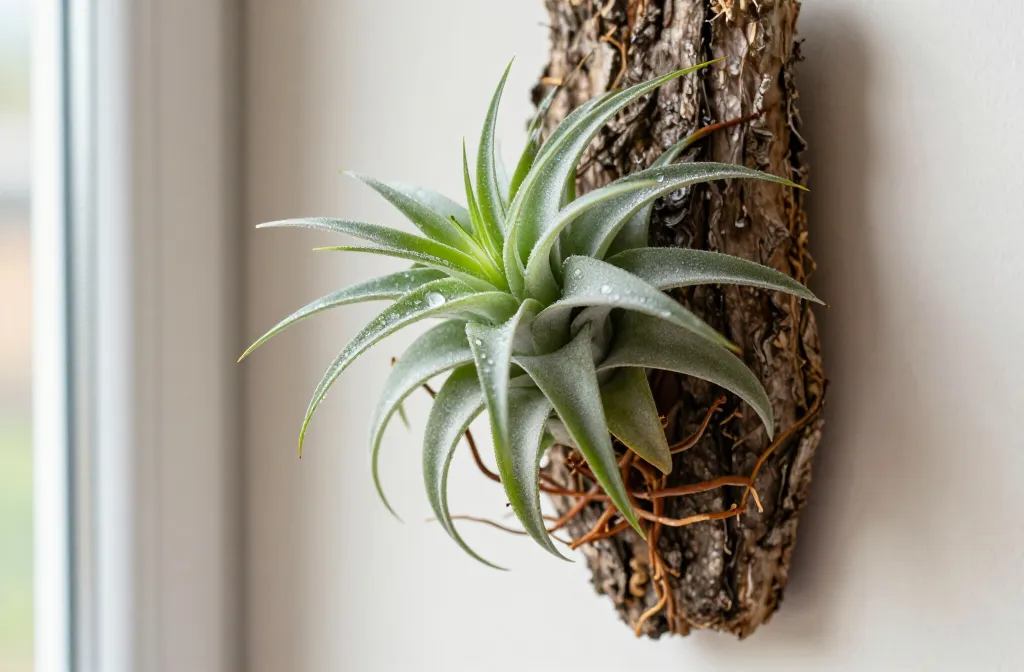
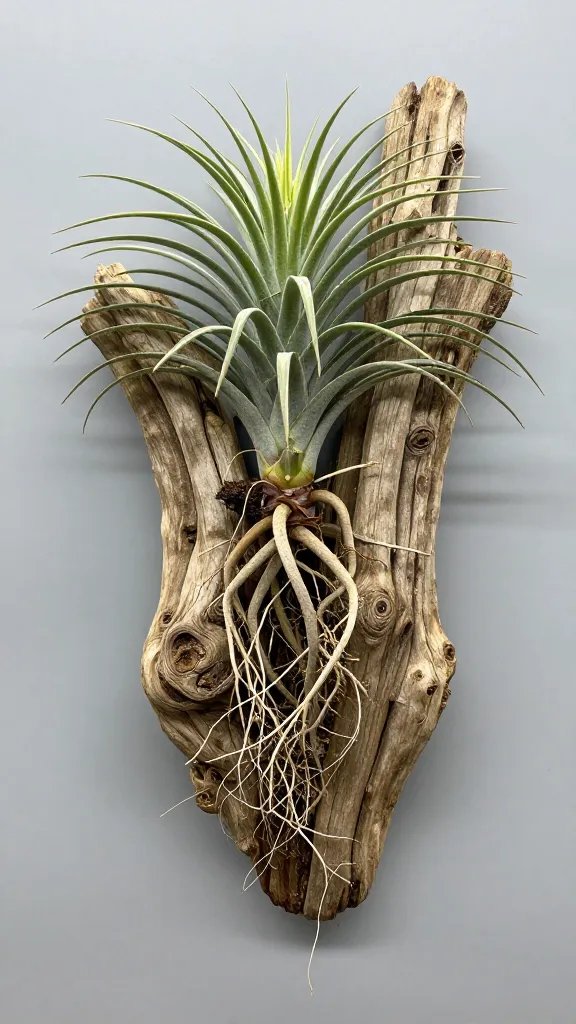
Mounting Air Plants Without Causing Rot
Rot happens when water collects in the crown or when the mount holds moisture against the plant. Choose breathable, non-soggy materials: cork bark, driftwood, natural grapevine, or stone.
Skip moss padding under the plant. If you add decorative moss, keep it around the mount, not touching the leaf bases. Place the mounted plant in bright indirect light near a window with steady airflow.
Simple Mounting Setup (10 Minutes)
- Rinse the mount to remove dust and let it dry.
- Position the plant slightly angled so water can’t pool in the crown.
- Secure with fishing line or cotton thread; don’t crush the leaves.
- Add a tiny glue dot to the outer leaf bases only if needed for stability.
Action today: Re-angle any mounted plant so the crown tilts forward — this single change prevents most crown rot.
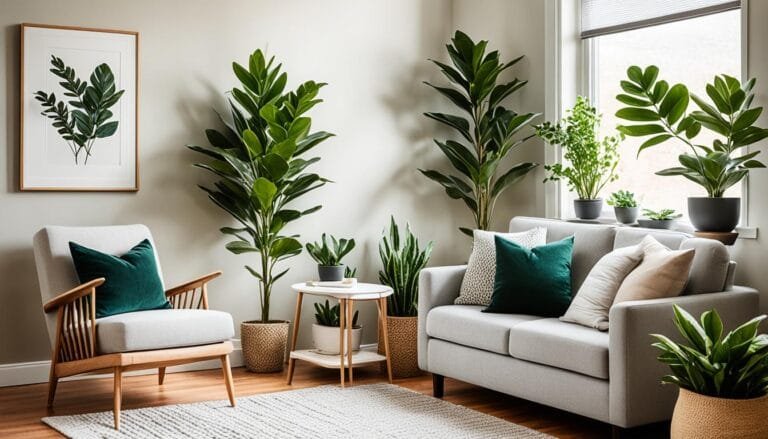
Light, Airflow, and Fertilizer: What Matters More Than Roots
Air plants thrive with bright, indirect light for at least half the day. A spot 1–3 feet from an east or bright north window works. For strong south or west windows, give light but keep them out of harsh midday sun unless you acclimate slowly.
Airflow keeps leaves dry and healthy. A ceiling fan on low or a cracked window helps. For feeding, use a bromeliad or orchid fertilizer at 1/4 strength in the water once a month during spring and summer.
Action today: Move your plant closer to a bright window and set a fan on low for an hour after each watering.
Recognizing Stress Versus Normal Root Behavior
Brown, wiry roots are normal. What isn’t normal: limp leaves, a soft base, or a sour smell — all point to overwatering or poor airflow.
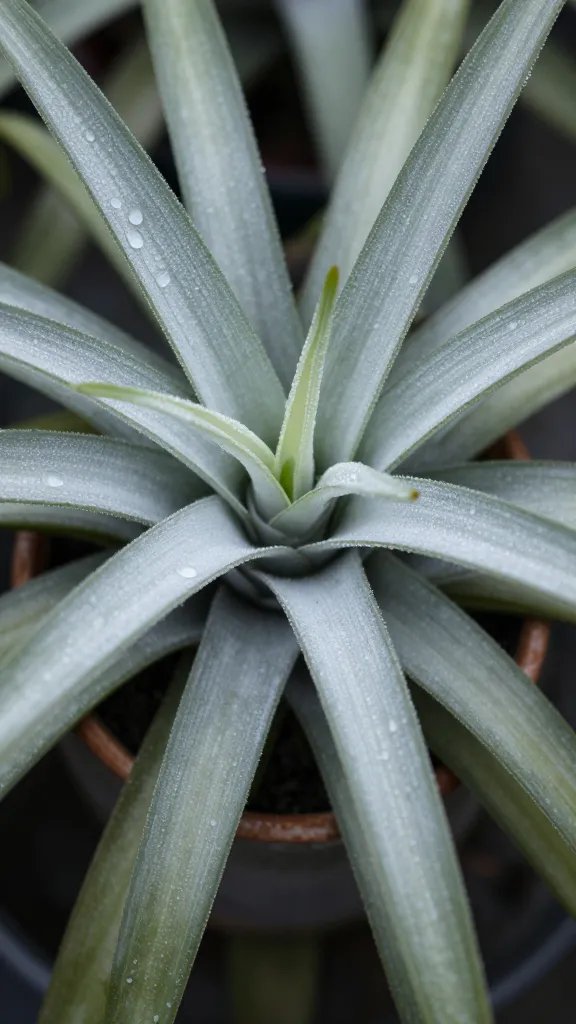
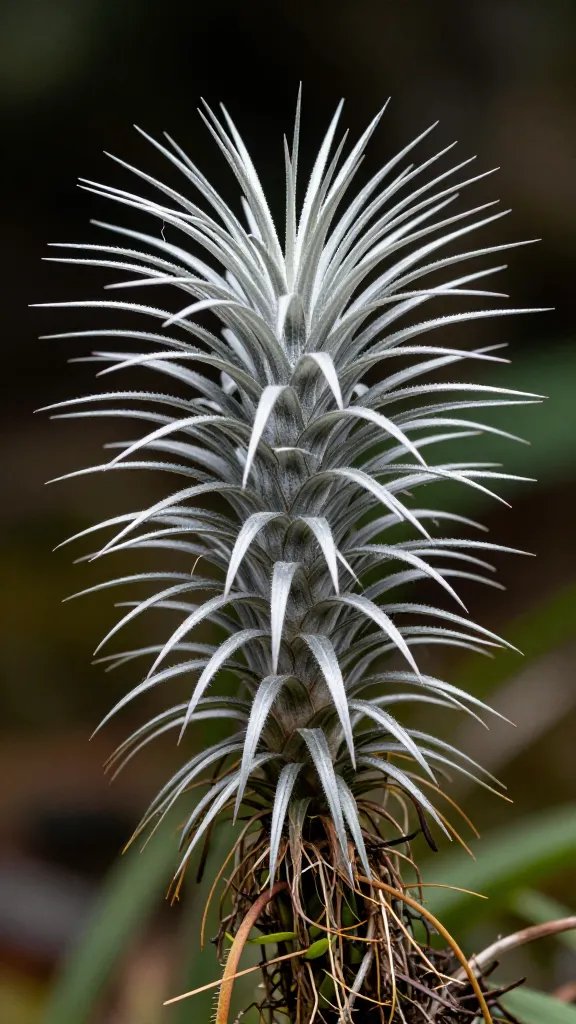
Wrinkled or curling leaves mean the plant wants more frequent water or brighter light. Silvered leaves with visible trichomes are healthy; a dull, mushy look signals trouble.
Quick Fixes by Symptom
- Limp, soft base: Remove from mount, dry completely for 24 hours in bright shade, then resume shorter water sessions.
- Wrinkled leaves: Give a 30-minute soak, then return to weekly care and improve light.
- Brown leaf tips only: Trim the tips following the natural angle, and reduce fertilizer strength.
Action today: Do a fingertip squeeze at the base; if it’s firm, you’re on track — adjust only light or watering frequency.
Frequently Asked Questions
Should I leave my air plant roots on or cut them off?
Leave roots on if you plan to mount the plant — they help it grip. If you display it loose in a bowl or on a shelf, trim roots back to keep the look clean. Trimming doesn’t affect water intake because leaves handle all hydration. Sterilize scissors and avoid cutting green leaf tissue.
Why are my air plant roots brown — are they dead?
Brown is normal for air plant roots. They function like tiny anchors, not drinking roots. As long as the leaves are firm and the base isn’t mushy, the plant is healthy. Focus on leaf condition, light, and airflow rather than root color.
Can I pot an air plant in soil to help the roots?
No — never bury an air plant in soil. Soil traps moisture against the base and causes rot. If you want a potted look, set the plant on top of pebbles, shells, or decorative bark so air flows all around it. Remove the plant for soaking or misting, then return it once dry.
How often should I water mounted air plants?
Most mounted plants do best with a thorough soak once a week, then fast drying. In very dry, heated homes, add a midweek heavy misting. Always dry upside down for 30–60 minutes so water doesn’t sit in the crown. If drying takes more than 4 hours, improve airflow.
Do air plant pups need their roots to grow well?
Pups rely on leaves for hydration just like adults. Keep them attached to the mother until they’re about one-third to half her size for faster growth. When you separate them, handle by the base and mount them at a slight angle. Roots will appear later and act as anchors only.
What water is safest to use?
Use tap water that tastes clean and not salty. If your water leaves white crusts on kettles or glass, switch to filtered or rainwater to avoid mineral buildup. Always use room-temperature water and avoid ice-cold soaks, which slow absorption. Let chlorinated water sit 10–15 minutes before use.
Conclusion
Once you stop treating air plant roots like drinking straws, care gets simpler and survival rates jump. Aim water at the leaves, dry the plant quickly, and use roots for what they’re good at — anchoring. Today, tidy the roots, re-angle your mount, and schedule one consistent watering routine. Next, explore a display that gives bright light and airflow, and you’ll see stronger leaves, steady pup growth, and fewer losses.