The Secret to How to Build a Terrarium on a Budget — What to Spend on and What You Can Skip
I built my first terrarium with thrift-store glass and a handful of cuttings, and it looked great for a week before fog, fungus gnats, and mushy roots took over. I learned that a few smart purchases matter, while plenty of “must-haves” are just nice-to-haves. In this guide, I’ll show you exactly where to invest and where to save so your terrarium stays clear, healthy, and affordable. You’ll finish with a step-by-step shopping plan and a setup that lasts.
Choose the Right Container Without Paying Gallery Prices
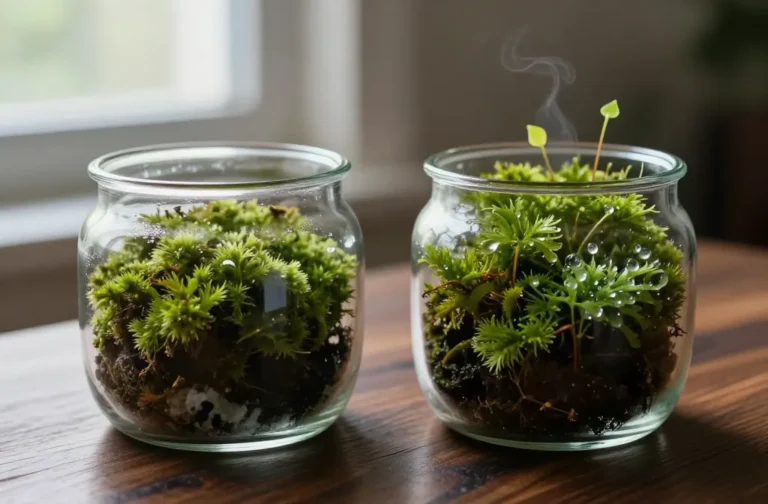
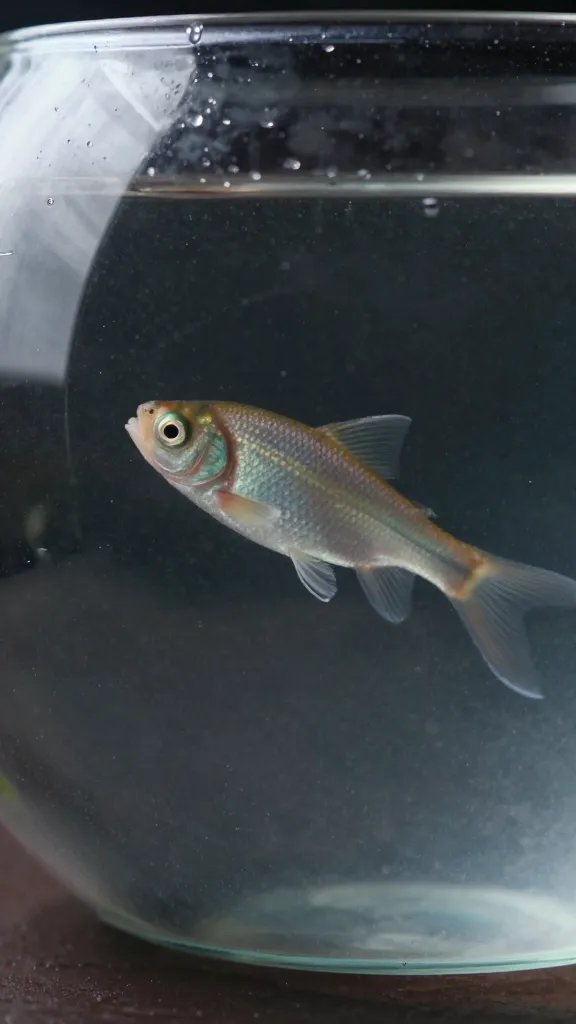
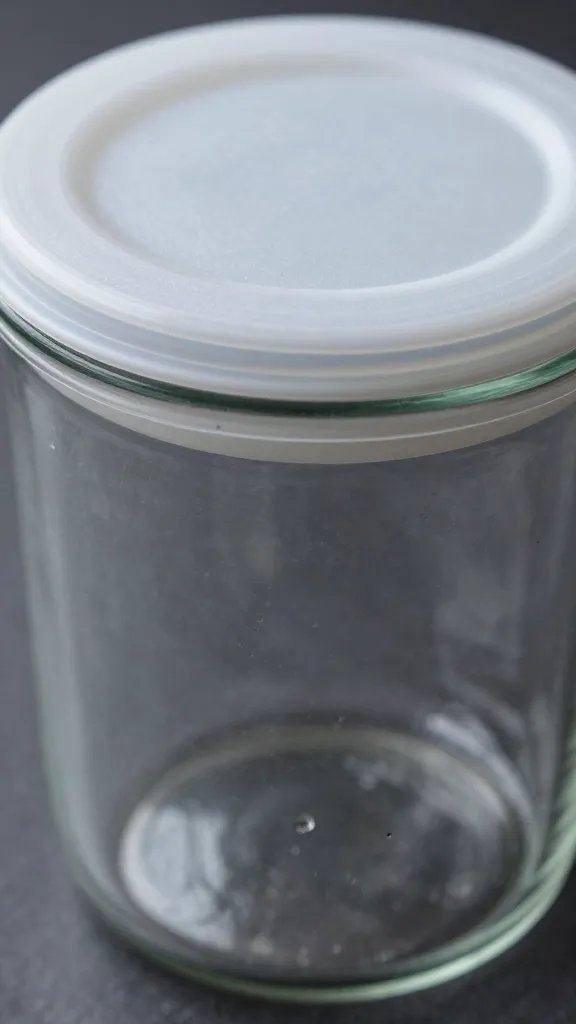
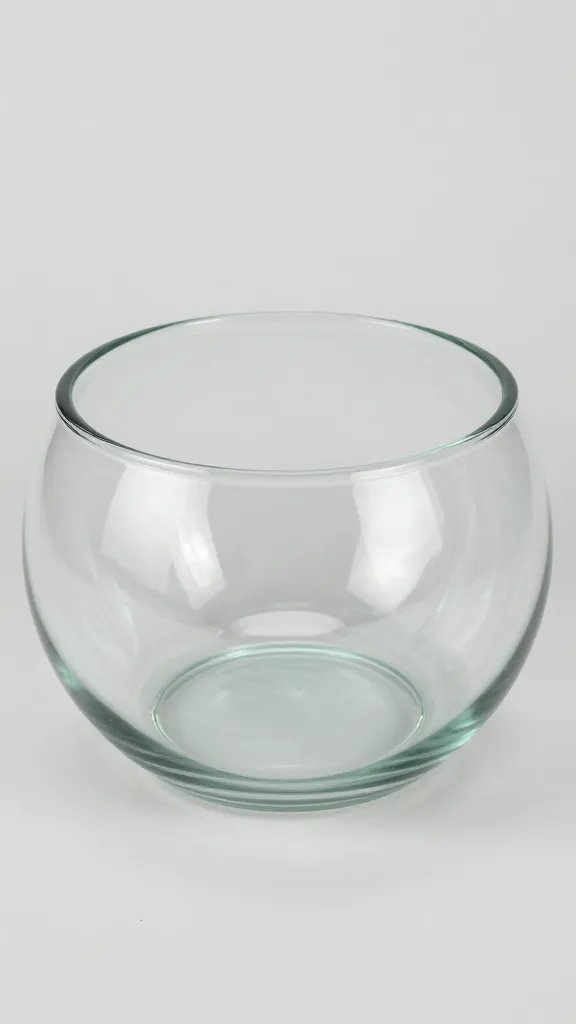
You don’t need an expensive apothecary jar. Any clear glass container with a wide-enough opening to work inside will do — think pasta jars, cookie jars, fish bowls, or storage canisters. Aim for glass over plastic because it stays clear, resists scratches, and won’t warp in sun.
Decide early: closed (with a lid) for humidity-loving plants or open (no lid) for succulents. A loose-fitting lid is fine; you can seal small gaps with plastic wrap under the lid if needed.
Material Recommendations
- Spend on: A container with clear glass, minimal tint, and a mouth wide enough for your hand.
- Skip: Designer lids, cork stoppers, or specialty terrarium vessels. Use a kitchen jar and plastic wrap if needed.
Action today: Rinse and dry a large pasta or cookie jar you already own and check your hand fits inside comfortably.
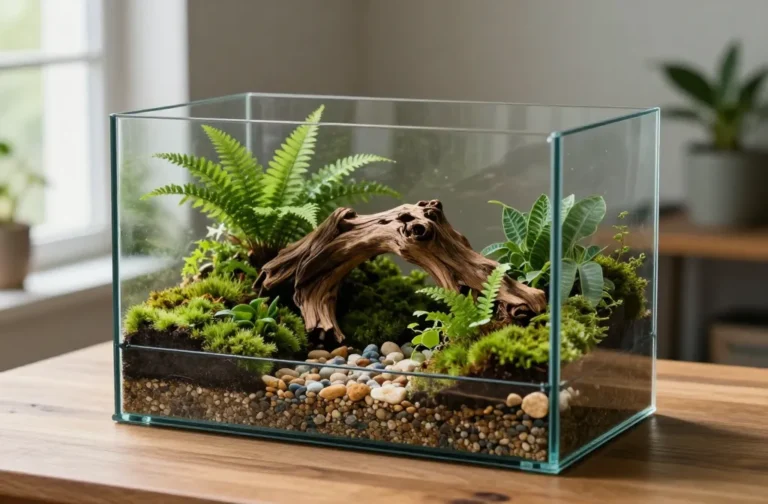
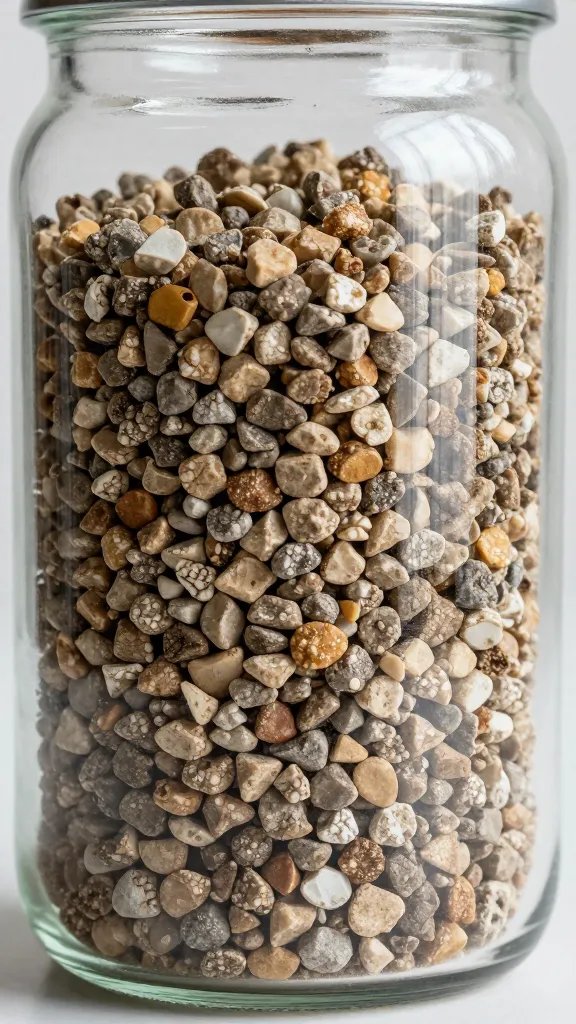
Substrate Layers That Actually Matter (And the Ones to Skip)
You need three functional layers: drainage, carbon/filtration, and a good potting mix. You don’t need colored sand art or five decorative strata that compress and suffocate roots.
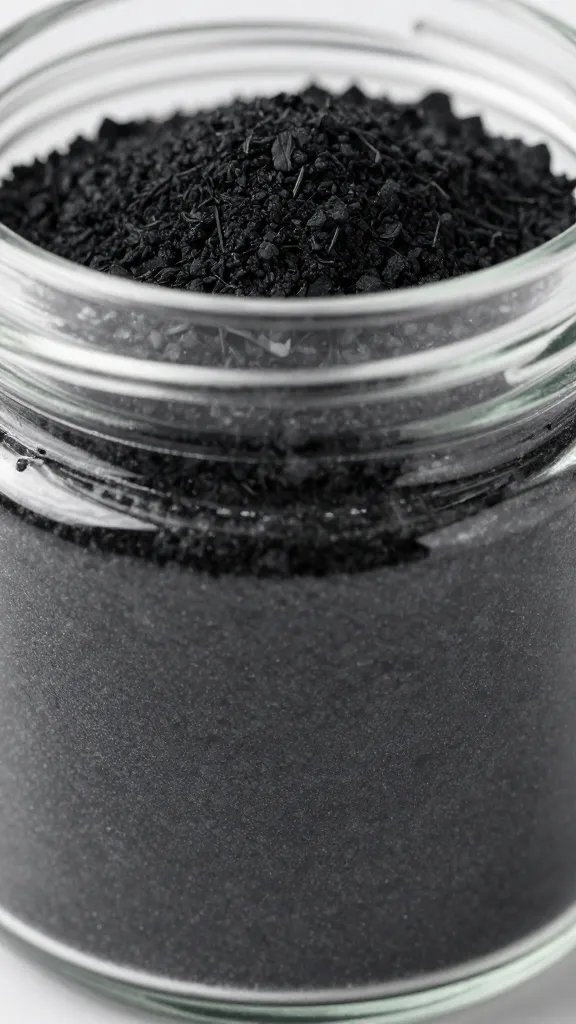
For drainage, use 1.5–2.5 cm of rinsed aquarium gravel or pea gravel. For filtration, add a thin 0.5–1 cm layer of horticultural charcoal to reduce odors and slow fungal growth. Then add 5–8 cm of quality potting mix from the garden centre; avoid heavy topsoil or compost that clumps and stays soggy.
Warning Signs
- Soil smells sour: too wet or no charcoal.
- Condensation all day, not just mornings: substrate holds too much water.
Material Recommendations
- Spend on: Horticultural charcoal and a fresh, reputable potting mix.
- Skip: Specialty “terrarium soil blends” if they cost more than regular potting mix. Skip expensive LECA unless you already have it; gravel works.
Action today: Buy a small bag of horticultural charcoal — that single purchase prevents most smell and mold complaints.
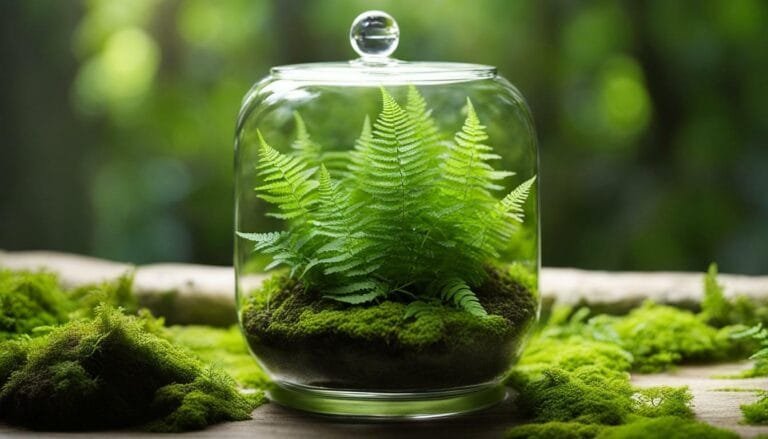
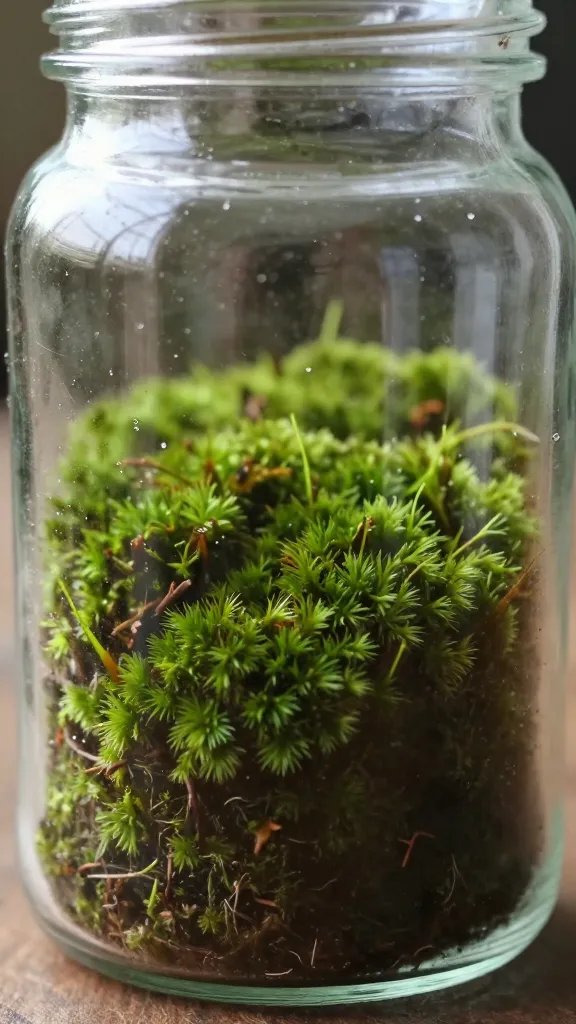
Pick Plants That Match Your Lid Choice
Closed terrariums thrive with moisture-loving, compact plants. Open terrariums need dry-tolerant plants. Mixing moisture needs is how most budget builds fail — the fern thrives while the succulent rots, or vice versa.
Plant Lists That Survive
- Closed (with lid): Fittonia (nerve plant), Pilea glauca, small ferns like button fern, Peperomia varieties, Moss (cushion or sheet), Tradescantia nanouk cuttings.
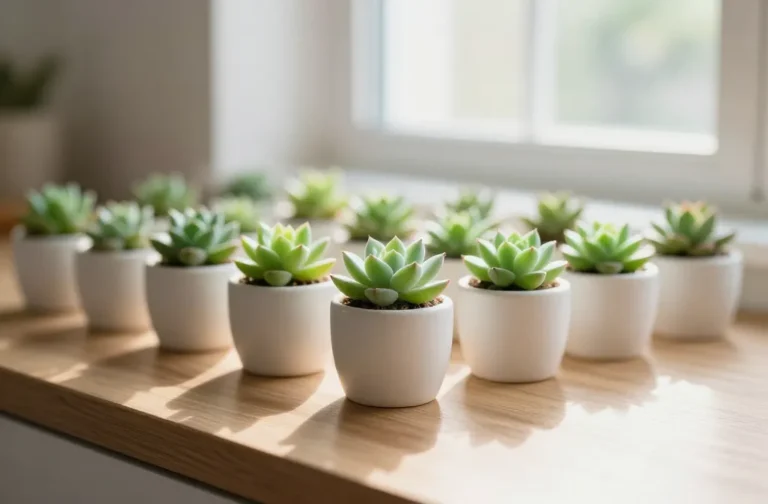
- Open (no lid): Haworthia, Gasteria, small Aloe, Crassula (jade types), Sedum micro varieties, String-of-pearls cuttings near the edge.
Spend vs Skip
- Spend on: 2–3 small starter plants in 5–7 cm nursery pots. Healthy stock saves months of frustration.
- Skip: Pre-made terrarium kits with mixed moisture needs and novelty plants glued to decor.
Action today: Decide “closed” or “open” and choose only plants from the matching list — no mixing.
Lighting That Works With Zero Gadgets
Place the terrarium in bright indirect light — near a window where you can read a book without turning on a lamp at midday, but not in direct midday sun that cooks the glass. East windows are ideal; bright north windows also work. If your only option is a darker room, use a simple clamp-on LED grow bulb from the hardware store, set 20–30 cm above the glass for 8–10 hours daily.
Warning: Direct hot sun through glass turns a closed terrarium into a mini greenhouse and can scorch plants within hours.
Action today: Set the jar where morning sun hits the room but not the glass directly; check at noon for harsh beams on the container.
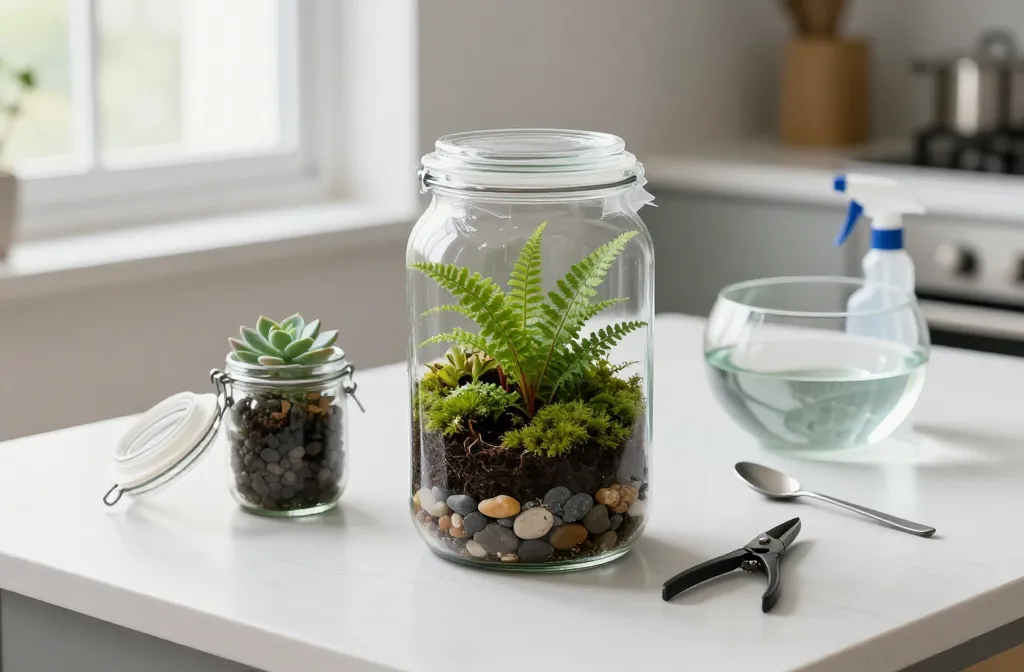
Assembly: The 15-Minute, No-Fuss Build
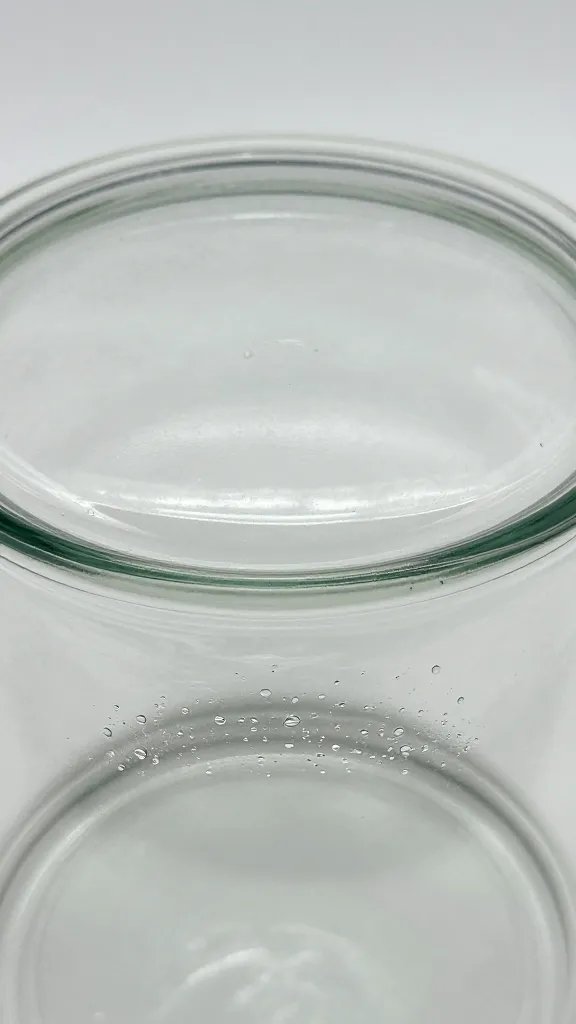
Clean glass prevents fog and algae. Wash with dish soap, rinse, and dry. Pre-rinse gravel to remove dust that clouds water and sticks to the glass.
Step-by-Step
- Add 1.5–2.5 cm gravel. Level it by tapping the jar on a towel.
- Sprinkle 0.5–1 cm horticultural charcoal evenly.
- Add 5–8 cm potting mix. For closed builds, mix in a small handful of perlite for airiness.
- Plant: Make holes with a spoon handle. Tuck plants so leaves don’t press against glass. Trim dead bits now.
- Water: For closed builds, moisten until the top looks evenly dark but not glossy-wet — usually 2–4 tablespoons per 10 cm diameter. For open builds, water like a small houseplant until the mix is uniformly moist, then drain any pooled water.
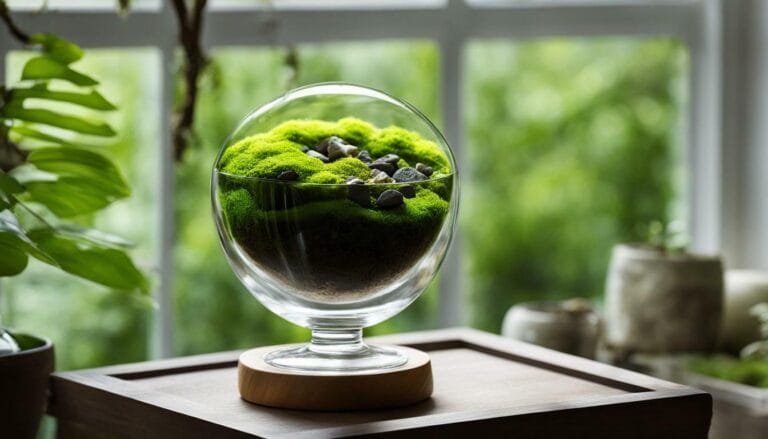
- Finish: Add a thin moss top or decorative stones only where they won’t smother stems. Wipe inside glass with a paper towel on chopsticks.
Action today: Measure water with a tablespoon, not by eye — stop when the surface darkens evenly.
Moisture Control and Condensation: Cheap, Reliable Checks
In a closed terrarium, you want light condensation in the morning that clears by afternoon. Persistent fog means too much water; a bone-dry wall all day means too little. Open terrariums should dry at the surface between waterings within 3–5 days.
Step-by-Step Fixes
- Too wet (constant fog, droopy leaves): Remove the lid for 2–4 hours daily until fog reduces. Wick excess by pressing a folded paper towel on the soil for 10 seconds in two spots.
- Too dry (no condensation for 48 hours): Mist the substrate surface with 1–2 tablespoons of water and reseal.
- Mold threads on soil: Increase airflow by tilting the lid for 24 hours and remove affected debris with tweezers.
Action today: Check condensation at midday — adjust the lid for two hours if more than half the glass is fogged.
Tools and Decor: Spend on Function, Not Frills
You can plant with household tools. Long tweezers look fancy, but a spoon, chopsticks, and a butter knife handle do the job. Use an old spray bottle for targeted watering and a plastic funnel (or paper cone) to add gravel cleanly.
Spend vs Skip
- Spend on: Horticultural charcoal, a fresh bag of potting mix, and healthy starter plants.
- Skip: Miniature figurines that trap moisture against leaves, colored sand layers, premium “terrarium tools,” and moss sold in sealed craft bags labeled “preserved” (it won’t grow).
Action today: Assemble a tray with a spoon, chopsticks, paper towels, and a spray bottle — you’re fully equipped.
Budget Breakdown: Where Your Money Goes
You can keep the total under a typical grocery trip by buying only what affects plant health. Expect the biggest value from plants and substrate; everything else can be improvised.
- Container: Free from your kitchen or $5–$15 at a thrift store.
- Gravel: $4–$8 (aquarium or pea gravel).
- Horticultural Charcoal: $6–$12 (small bag lasts multiple builds).
- Potting Mix: $6–$10 (standard indoor mix).
- Plants: $12–$24 for 2–3 small pots.
Action today: Set a cap — for example, $30 — and prioritize plants, charcoal, then potting mix.
Frequently Asked Questions
How do I know if my terrarium is overwatered?
In a closed terrarium, overwatering shows as heavy condensation that never clears and leaves that look limp rather than perky. Open the lid for 2–4 hours daily until the glass clears by afternoon. Wick out excess by pressing a folded paper towel onto the soil briefly. Remove any yellowing leaves so they don’t feed mold.
Can I use soil from my yard to save money?
I don’t. Yard soil compacts, drains poorly in glass, and may bring in pests. A small bag of indoor potting mix from the garden centre costs little and prevents most root and mold problems. If budget is tight, mix yard soil 1:1 with potting mix and add a handful of perlite to lighten it.
Do I need activated charcoal, or can I skip it?
Use it. Charcoal reduces odors and helps buffer the “swamp effect” in closed containers. A thin layer, no more than your pinky nail thick, is enough. One small bag covers multiple terrariums and is the best budget spend after plants and potting mix.
How much light is too much for a closed terrarium?
Aim for a bright spot where the glass feels room temperature at midday. If the glass feels warm to the touch or you see midday sunbeams hitting it, that’s too much and can cook the plants. Move it 1–2 feet back from the window or draw a sheer curtain. Morning sun in an east window for an hour is usually safe.
What’s the simplest maintenance routine?
Once a week, wipe the inside glass if it smears, remove any fallen leaves, and check condensation at midday. For closed builds, adjust the lid for an hour if fog covers more than half the glass. For open builds, water when the top centimeter of soil feels dry to the touch. Trim fast growers monthly to keep leaves off the glass.
Conclusion
You don’t need boutique jars or specialty tools to build a terrarium that lasts — you need a clear container, a smart substrate, and plants that match your lid. Start with one small build using the spend/skip list above, watch the condensation pattern for a week, and adjust once. When it stays clear and steady, repeat the exact recipe in a second jar — that’s how you scale a budget terrarium collection without wasting money.