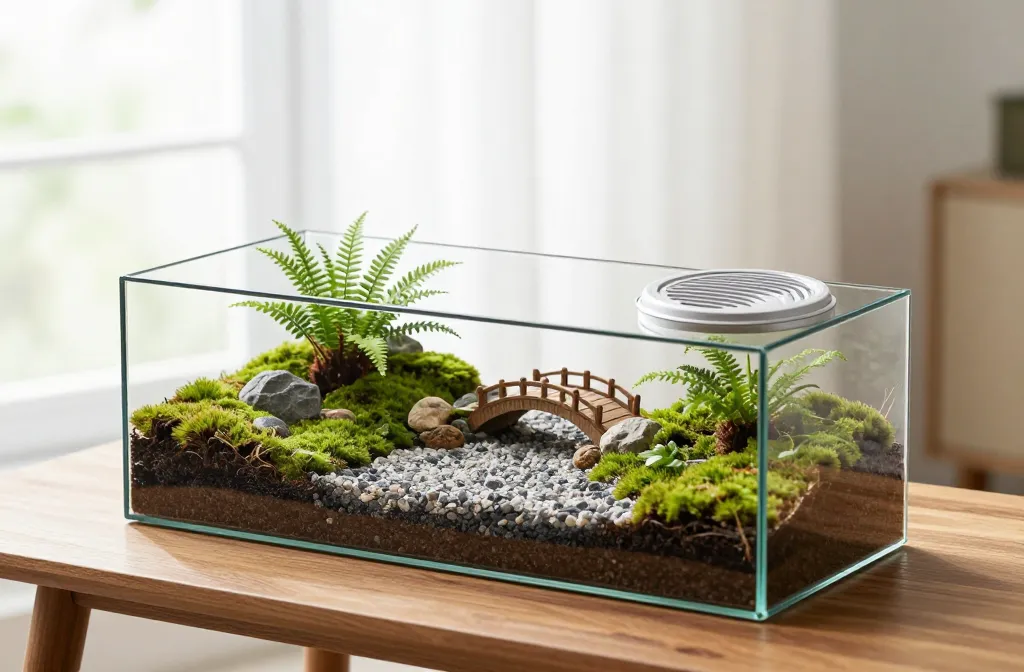
The Secret to How to Build a Fairy Garden Terrarium — What Makes the Miniature Landscape Structurally Stable
I built my first fairy garden terrarium on a coffee table that doubles as a cat runway. It looked charming for two days, then a tiny arched bridge slid downhill, the moss slumped, and the path vanished into mud. I fixed it by treating the container like a small landscape, not a decorated houseplant. In this guide I’ll show you how to make your miniature world stay put — stable layers, anchored features, and plants that won’t overrun your scene.
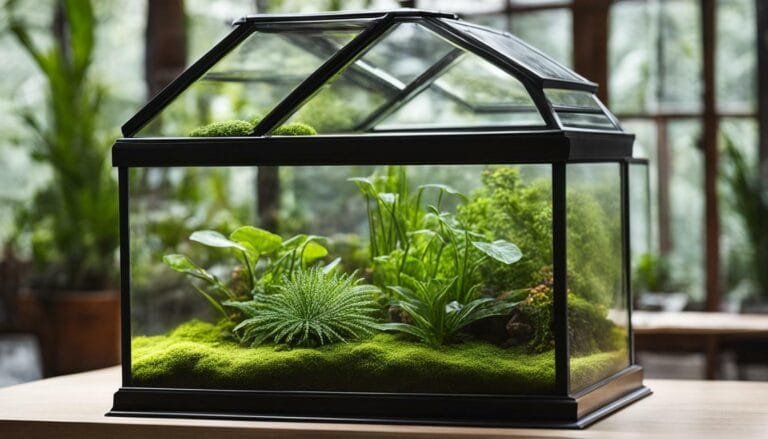
Choose the Right Container to Control Gravity and Humidity

Stability starts with glass shape. A wide, low container keeps the center of gravity low so paths and figures don’t tumble when you move it.
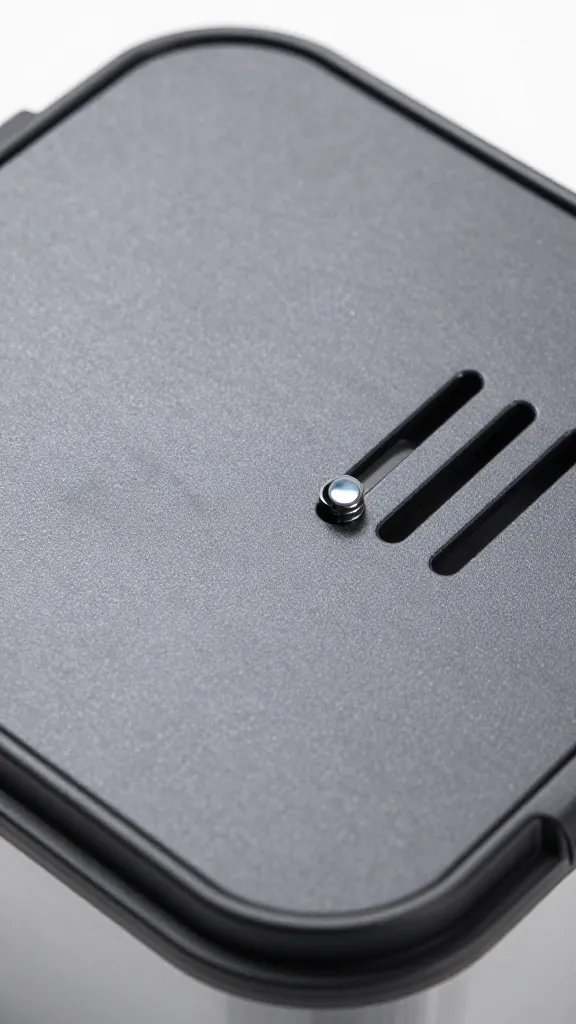
Use a jar, cookie jar, or fishbowl with a 6–12 inch opening. A lid gives you higher humidity but also faster moss creep; a vented lid or a jar you can crack open prevents foggy glass and slippery surfaces.
Pick glass with vertical or slightly flared sides. Avoid steeply curved bowls that create sliding slopes.
Takeaway: Start with a container no taller than it is wide, with at least a hand-width opening so you can place and press layers firmly.
Build a Substrate Stack That Locks Together
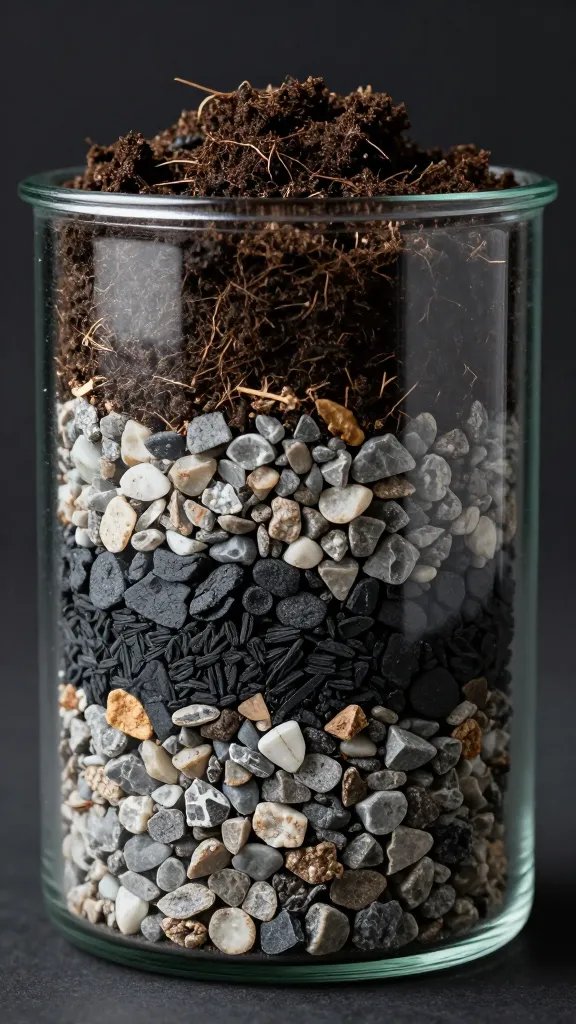
A fairy garden fails when waterlogged soil turns to pudding or when loose pebbles skate under your hardscape. I use a four-layer stack that interlocks and drains predictably.
- Base Drainage Layer: 1–1.5 inches of rinsed aquarium gravel or pea gravel. This keeps excess water away from roots and adds weight.
- Capillary Separator: A single layer of fiberglass window screen or nylon mesh cut to fit. It stops soil from sifting into the gravel and keeps slopes from collapsing.
- Structural Soil Mix: 2.5–3 inches of good quality potting mix from the garden centre blended 2:1 with fine orchid bark or perlite by volume. This makes a soil that drains yet compacts enough to hold shape.
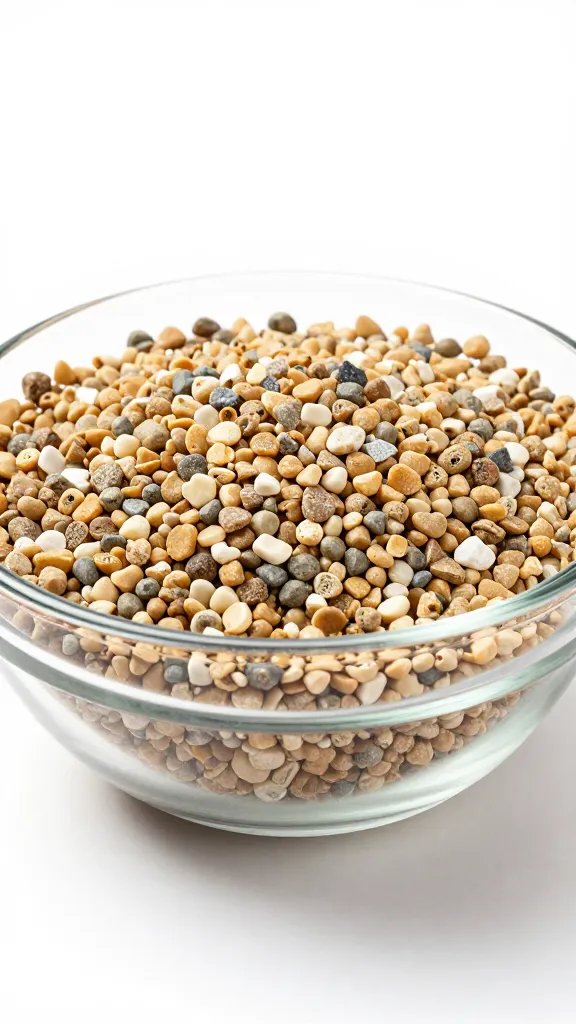
- Surface Dressing: 0.25–0.5 inches of fine aquarium gravel or poultry grit where paths or buildings sit. It sheds water and resists footprints.
Before planting, mist the soil until it clumps when squeezed but does not drip. Then press it down with your palm to pre-compact. This prevents later settling that topples decorations.
Action: Cut a piece of window screen to your bowl’s footprint and add it above the gravel — this single layer is the difference between stable hills and sinking soil.
Shape Micro-Terrain That Resists Slumping

Flat soil turns to puddles; steep mounds slump. I aim for gentle slopes and hidden buttresses.
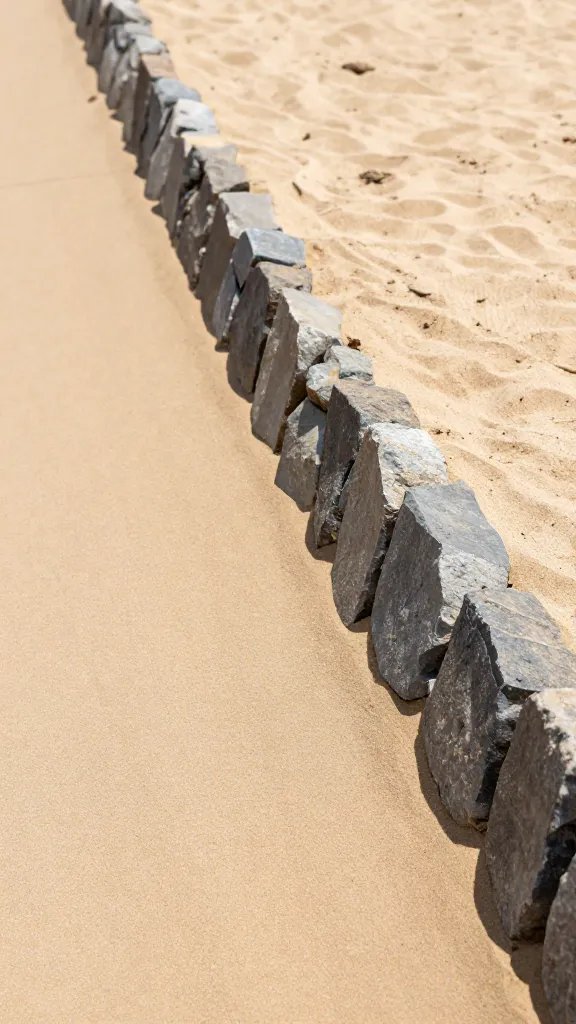
Build hills with damp soil in 1-inch lifts, pressing each lift firmly. Support steep sides by tucking flat stones or shards into the slope like tiny retaining walls.
Create a dry creek or path by carving a shallow channel, lining it with the mesh offcut, and topping with fine gravel. The mesh keeps the path from migrating into the soil after watering.
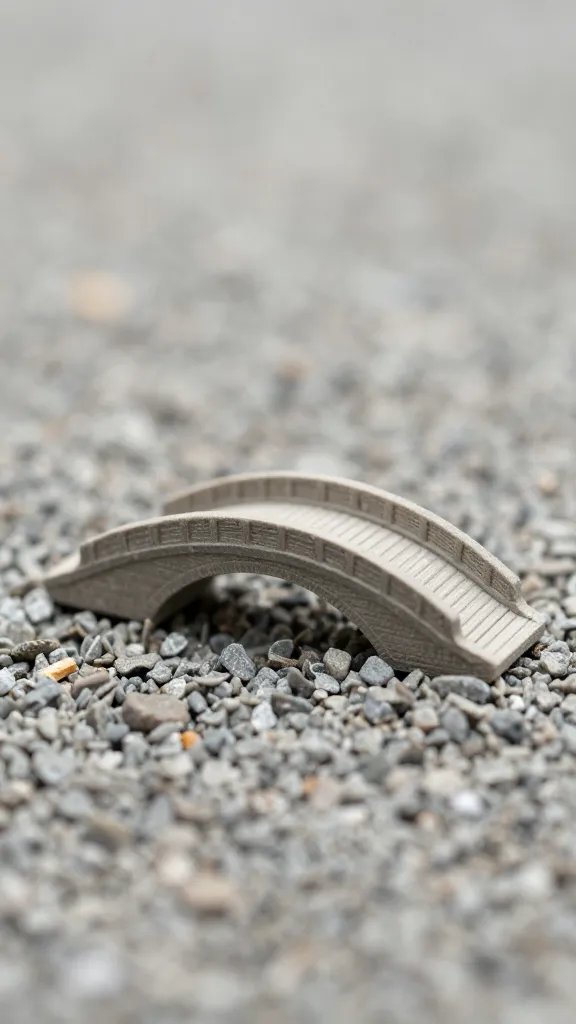
Place heavier features — a fairy house, bridge, or “boulder” — so at least a third sits below the soil line. Wiggle them down and press the surrounding soil tight.
Takeaway: Add at least two hidden “retaining stones” anywhere your slope exceeds the height of your thumb; they stop mid-slope slides.
Anchor Hardscape and Miniatures So They Don’t Drift
Miniatures move because the base is smooth and the surface beneath gets slick. I give everything a toothy anchor.
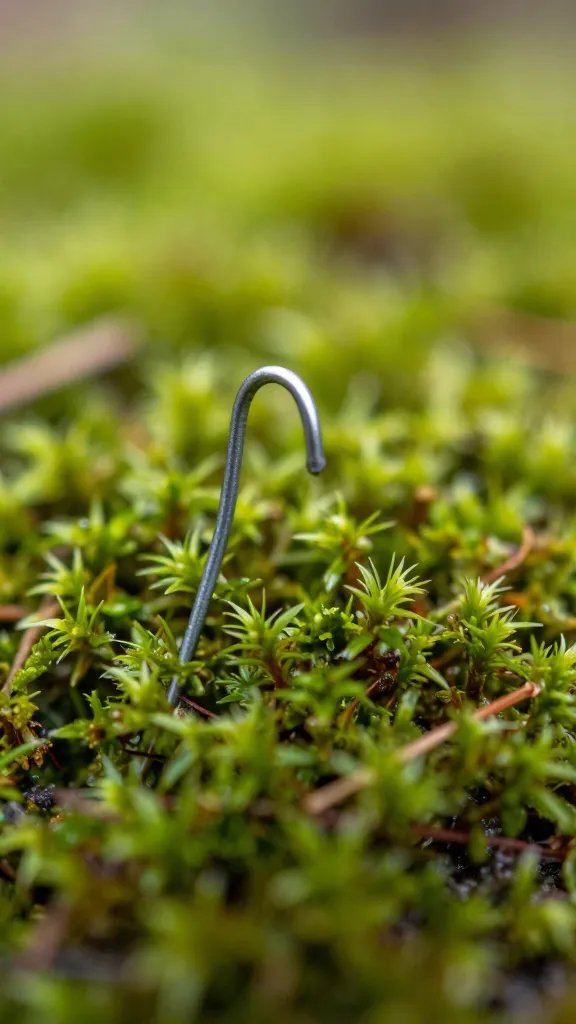
Glue a short length of wooden skewer or toothpick into the underside of figurines and bridge ends with a dot of waterproof craft adhesive. Push the pin 0.5–1 inch into the soil to lock them.
For logs, arches, or stepping stones, roughen the contact surface with sandpaper and press them into the still-damp soil. For larger houses, bed them on a thin layer of air-dry clay or mounting putty, then press gravel around the base as a collar.
Warning Signs Your Hardscape Is About to Move
- Shiny soil surface around decor means water is pooling — add a gravel collar.
- Gaps opening at the downhill side of a piece mean the soil has settled — re-press and pin.
- Crunchy tilt when you tap the glass means the base sits on loose gravel — reset on compacted soil or a flat stone.
Action: Add a toothpick “peg” to every figurine before placement — it takes two minutes and prevents months of nudging.
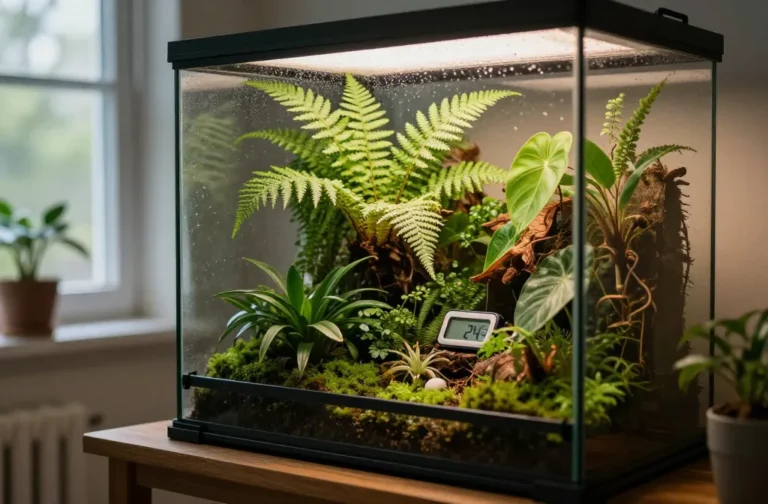
Select Plants That Stay Small and Root Shallow
Overgrown plants push paths aside and lift decor. I use species that tolerate bright indirect light, short roots, and periodic trimming.
- Mosses: Cushion moss (Leucobryum), sheet moss. Press onto pre-moistened soil; mist to seat fibers.
- Groundcovers: Baby tears (Soleirolia), dwarf thyme for open terrariums, small creeping fig cuttings for vented containers.
- Tiny ferns: Button fern (Pellaea), lemon button fern (Nephrolepis cordifolia ‘Duffii’) — one plant only, trimmed monthly.
- Accents: Miniature peperomia, pilea, or fittonia cuttings for pops of color near “houses.”
Space plants with a finger’s width between clumps to allow air and access paths. Keep tall growers at the back against glass to act as a windbreak that protects your minis.
Planting Steps That Preserve Structure
- Dibble a hole with a chopstick, not your finger — it keeps slopes intact.
- Place the root ball, then pinch soil from both sides toward the stem to wedge it.
- Top-dress exposed soil with a peppering of fine gravel to reduce erosion when misting.
Takeaway: Limit yourself to three plant species and five total plants in a 10-inch container — less mass means less shifting.
Water and Light That Keep the Landscape From Sliding
Water moves soil more than your hands do. I avoid pouring; I deliver moisture as mist or a slow syringe stream.
For open terrariums, water when the top half-inch of soil feels dry. Add 2–4 tablespoons at a time with a squeeze bottle, aiming at the base of plants, not paths. For lidded jars, start with damp soil and only mist lightly when condensation disappears for two days.
Place the terrarium in bright indirect light near a window. Morning sun for one hour is fine; strong midday sun heats the glass and drives condensation sheets that loosen gravel and moss.
Action: Switch to a kitchen syringe or narrow-spout bottle and water only the plant roots — not the scenery.
Maintenance That Locks In Stability Over Time
Even a well-built scene settles. Plan small, regular adjustments before anything topples.
Every two weeks, check three things: wiggle test for miniatures, fingertip press for slope firmness, and a quick trim of any leaf shading the path. Replace any washed-out gravel on paths and press edges back into place.
Quarterly, lift and reset any piece that has sunk more than the thickness of a coin. If moss edges lift, peel them back, add a teaspoon of fresh soil, and re-press with a spoon.
Takeaway: Set a repeating calendar reminder for a 10-minute “press, pin, and prune” session — it prevents rescue missions later.
Fix Common Failures Without Rebuilding

Things shift — you don’t need to start over. Stabilize with targeted patches.
For a slumped hill, rake off the top half-inch with a fork, add a spoon of dry potting mix mixed with a pinch of perlite, mist lightly, then re-press in lifts. Add a flat pebble as a hidden shelf mid-slope.
For a sliding path, scoop the top layer, lay a fresh strip of mesh, and pour dry fine gravel back, tamping with the flat end of a marker. Edge the path with two rows of pea gravel as a curb.
Action: Keep a small envelope of window screen offcuts in your terrarium kit — they are instant, invisible fixers.
Frequently Asked Questions
How do I stop moss from lifting at the edges?
Moss lifts when the soil beneath dries faster than the center. Mist the soil lightly first, then press the moss down with a spoon wrapped in plastic to avoid snagging. Add a thin collar of fine gravel around the edge to pin fibers. Keep the jar slightly covered for 48 hours to help it knit back.
Why do my figurines tip over after a week?
The soil settled under them and their bases are too smooth. Add a toothpick or skewer pin with waterproof adhesive and push it into pre-compacted soil. Create a tiny gravel pad under each figure to shed water. Re-press surrounding soil firmly with two fingers.
My path keeps disappearing after watering — what am I doing wrong?
Water is moving fines into the path. Line the path with a strip of window screen, then use dry fine aquarium gravel or poultry grit as the top layer. Water plants with a syringe at their bases and avoid spraying the path directly. Add a low curb of pea gravel to each side.
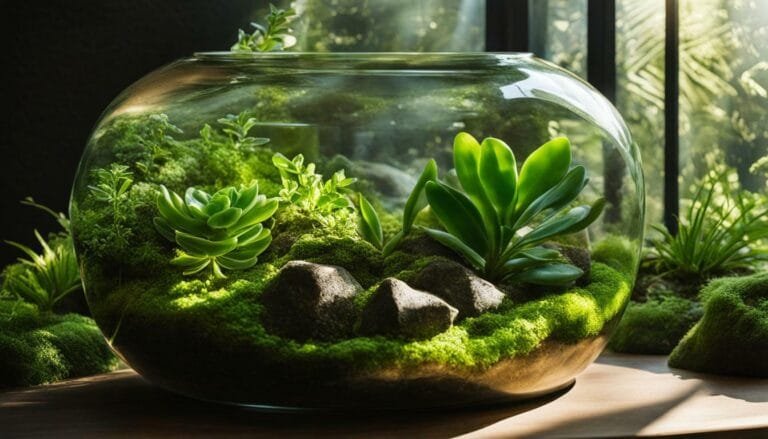
Can I use succulents in a fairy garden terrarium?
Only in an open container that stays very bright and dry. Succulents hate humid, closed jars and will rot, which destabilizes the surface. If you choose them, use a mostly mineral soil (add extra perlite and gravel), and water a tablespoon at a time every 2–3 weeks. Keep all minis on gravel pads so they don’t wick moisture from the soil.
How do I clean foggy glass without disturbing the scene?
Wipe the inside with a long cotton swab or a microfiber cloth wrapped around a chopstick. Reduce humidity by cracking the lid for an hour midday or trimming a few leaves touching the glass. If condensation returns as sheets, you overwatered — leave the lid off for several hours and don’t add water until the glass stays clear at noon.
Conclusion

You can make a fairy garden terrarium that survives curious pets, room moves, and weekly dusting by treating it like a small engineered landscape. Build interlocking layers, anchor every feature, and water with precision. Today, cut a piece of window screen, add it above your drainage gravel, and pin your figurines — that single upgrade turns a cute diorama into a stable miniature world you can actually live with.