The Secret to How to Build a Bioactive Terrarium Substrate — Layers, Microfauna and Long-Term Soil Health
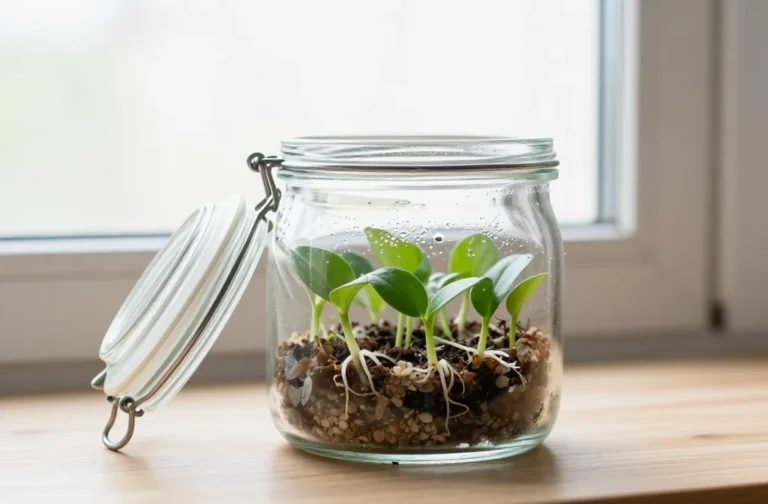
My first bioactive terrarium looked perfect for a month, then stalled — plants yellowed, fungus gnats exploded, and the soil smelled swampy. I rebuilt it with a proper substrate and microfauna, and the difference was immediate and durable. In this guide, I’ll show you the exact layers, mix ratios, and clean-up crew that keep a terrarium self-maintaining for years. You’ll finish with a repeatable setup you can build from standard garden centre supplies.
Why Bioactive Substrates Outlive Plain Potting Mix
A terrarium isn’t a pot; it’s a small ecosystem. Plain potting soil compacts, stays wet, and turns anaerobic, which suffocates roots and feeds the wrong microbes.
A bioactive substrate uses structured layers, airy ingredients, and live microfauna to circulate air, process waste, and keep nutrients moving. Once it settles, you don’t chase problems — the system handles them.
Action today: Squeeze a handful of your current terrarium soil — if it sticks like clay or smells sour, plan a rebuild with the layered approach below.
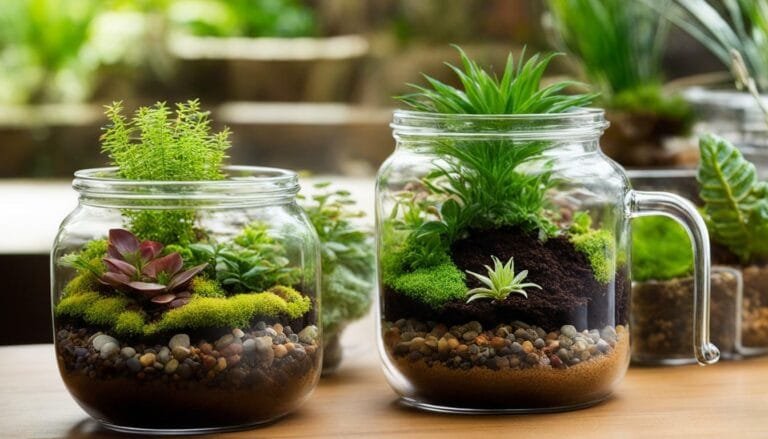
The Layer Stack That Prevents Rot and Compaction
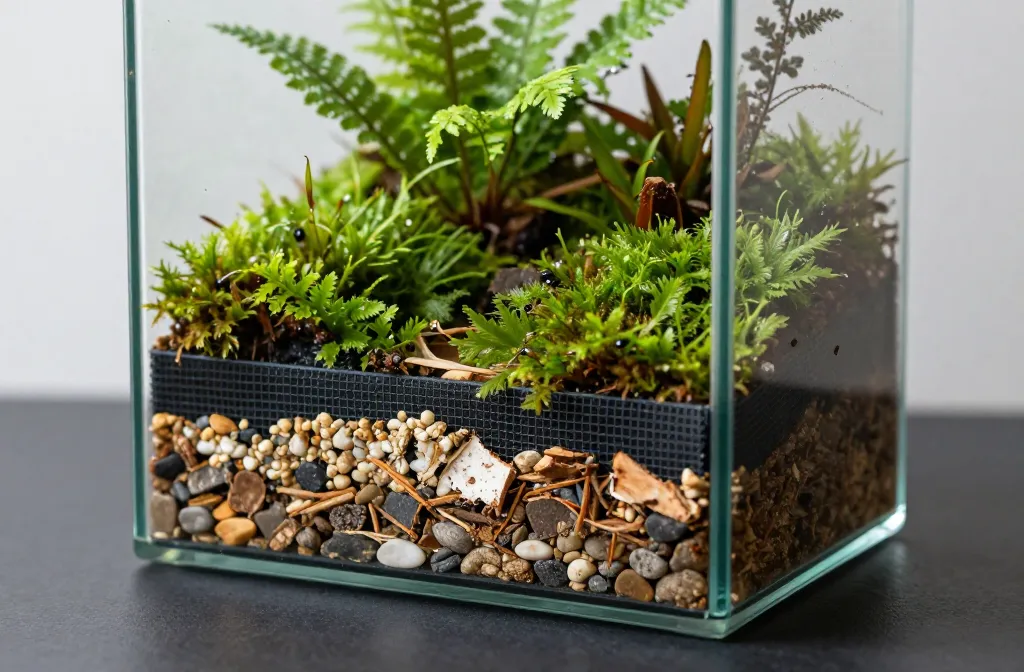
I use four layers that any garden centre can supply. The order and thickness matter because each layer does a different job.
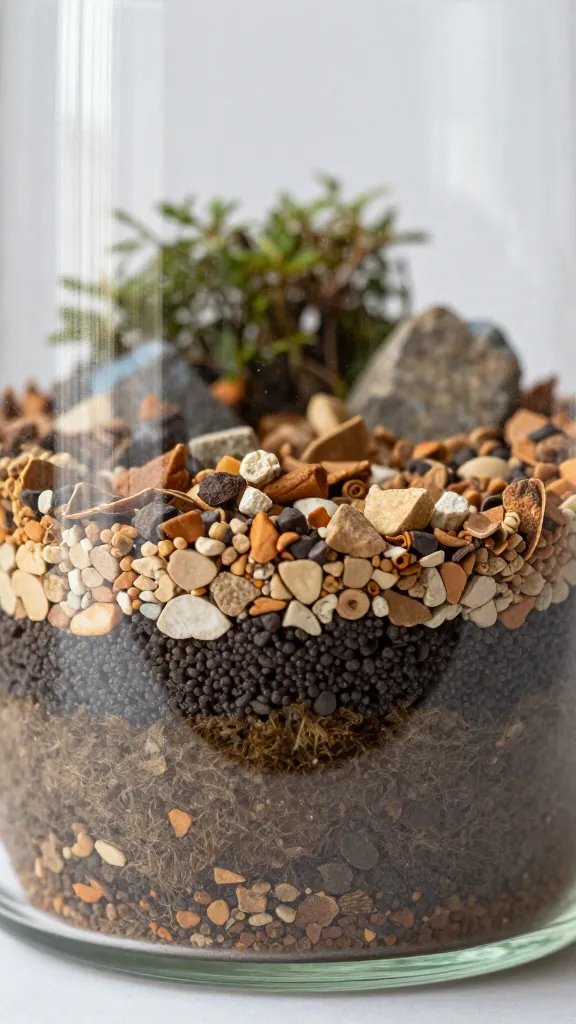
- Drainage Layer (2–4 cm): Rinse clean aquarium gravel, LECA (expanded clay), or small pebbles. This keeps saturated water away from roots.
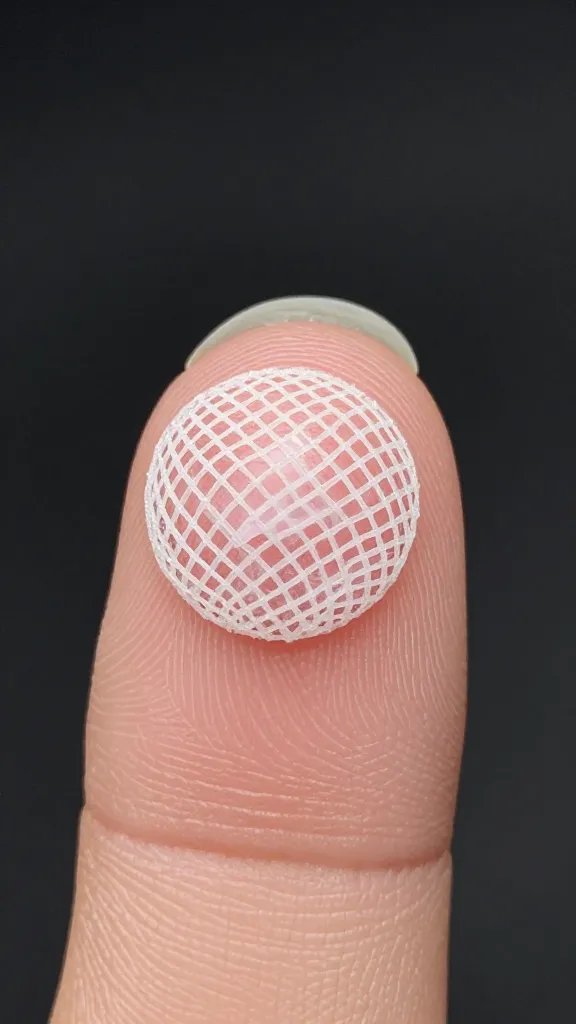
- Separator: A piece of fiberglass insect screen or a circle of landscape fabric. It stops fine soil falling into the drainage.
- Bioactive Soil Layer (6–12 cm): The living zone. See the mix below.
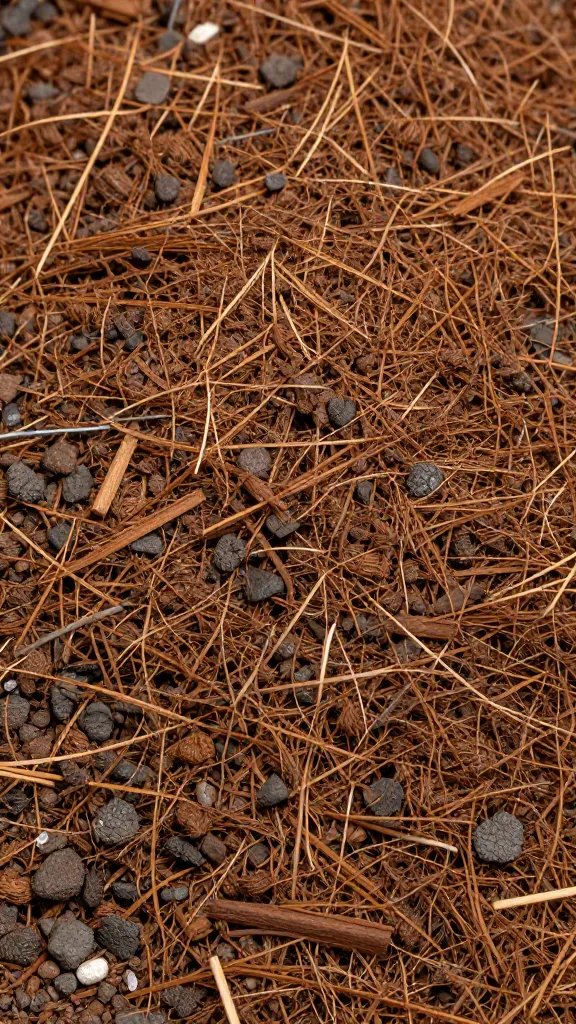
- Leaf Litter/Top Mulch (1–2 cm): Dried hardwood leaves, cork chunks, or orchid bark to feed microfauna and buffer humidity.
In tall jars, go thicker on soil for root room; in shallow dishes, prioritize drainage and keep plant choices small. Keep at least one-third of the vessel height as air space above the tallest plant for airflow.
Action today: Measure your container height and sketch the layer depths before you start — it prevents overfilling and messy re-dos.
The Soil Mix: Airy, Long-Lived, and Microbe-Friendly
I mix by volume using a scoop or mug — no special tools. Aim for structure that stays springy when moist.
- 40% High-Quality Potting Mix: Buy a peat- or coir-based mix without fertilizer spikes.
- 30% Mineral Drainage: Fine orchid bark, horticultural charcoal, or pumice. This keeps channels open.
- 20% Leaf Mold or Compost: A small bag of compost from the garden centre works. It seeds beneficial microbes.
- 10% Sand (horticultural or play sand, rinsed): Adds heft and prevents slumping.
Moisten until it clumps when squeezed and breaks with a nudge. If it pastes, add more bark or pumice; if it falls apart dry, add a bit more potting mix.
Material Substitutions That Still Work
- No pumice? Use perlite, but rinse and mix well so it doesn’t float up.
- No leaf mold? Use a small handful of worm castings from a garden centre.
- No charcoal? Add extra bark; charcoal mainly adsorbs smells and improves texture.
Action today: Mix a 1-litre test batch and do the squeeze test — adjust until it clumps and crumbles cleanly.
Seeding the Microfauna: The Clean-Up Crew That Does the Work
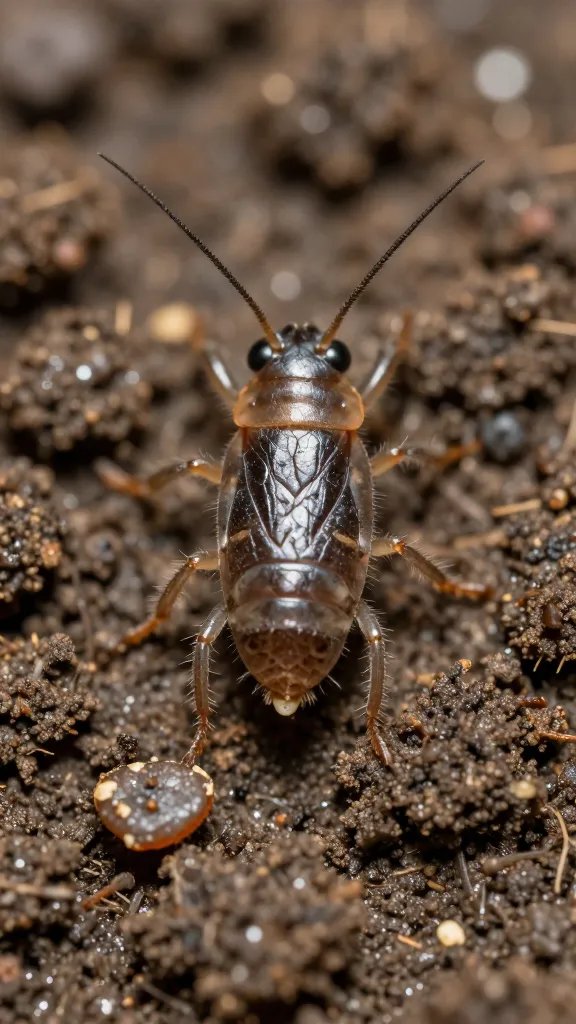
Without a clean-up crew, dead leaves and waste rot instead of cycling into nutrients. I always add a starter culture of springtails and, for larger builds, dwarf isopods.
- Springtails: Tiny white “specks” that eat mold and excess food. Tap a starter culture into a teaspoon of dechlorinated water and pour evenly over the soil.
- Dwarf Isopods: Small detritivores that shred leaf litter and tunnel. Add a dozen for a 5–10 litre terrarium; double for larger tanks.
Feed the crew sparingly: a pinch of fish food flakes or a few grains of dry rice under the leaf litter every 2–3 weeks at first. If you see leftover food after a week, halve the amount.
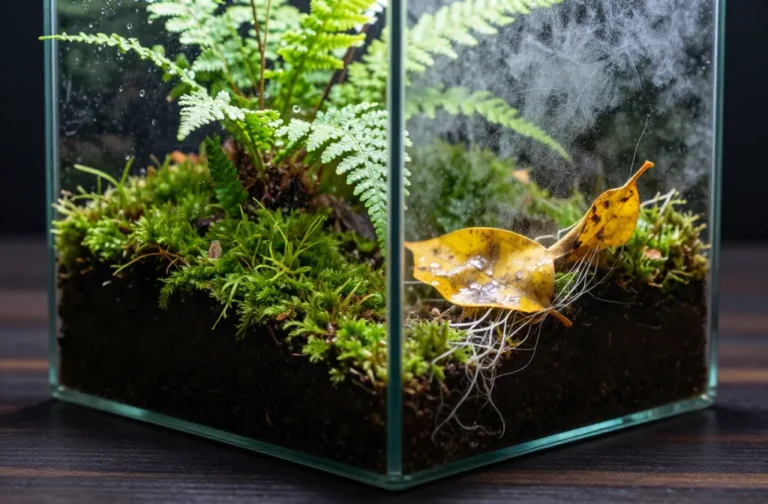
Warning Signs and Quick Fixes
- Mold fuzz on the surface: Add more springtails, increase air gap, and bury a dry leaf to feed them at the spot.
- Isopods hiding, not breeding: Add an extra handful of leaf litter and keep one corner slightly moister.
Action today: Order one springtail culture and one dwarf isopod culture with your soil ingredients — add them the same day you plant.
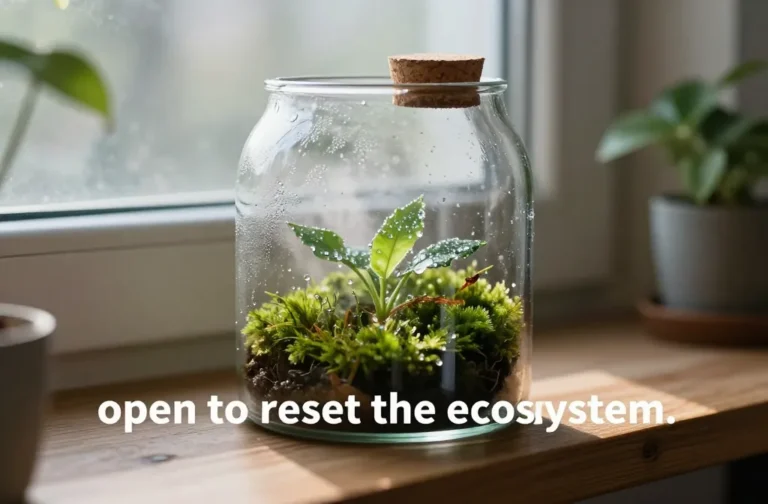
Moisture Management Without Meters
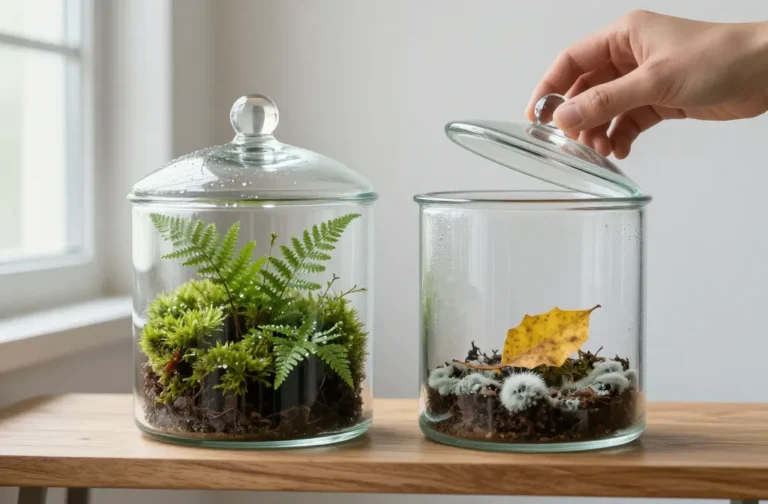
Too wet suffocates roots; too dry stalls microfauna. I use two simple checks: the glass and the soil pinch.
- Glass Check (midday): Light misting of condensation on 10–30% of the glass is ideal. If half or more is foggy and dripping, open the lid for 1–3 hours.
- Soil Pinch: Pinch the top 2 cm. It should feel cool and slightly springy, not soggy. If dusty, mist the surface and close.
Water with a spray bottle, not a pour. Add 1–2 tablespoons at a time around the edges to avoid flooding the centre. Always let excess settle before adjusting again.
Action today: Do the midday glass check and adjust the lid for an hour if you see heavy drips.
Plant Choices That Thrive in Bioactive Substrates
Pick plants that like steady moisture and close quarters. Fast growers outpace the system and cause pruning chaos.
- Groundcovers: Selaginella (spikemoss), Pilea depressa, Peperomia prostrata.
- Uprights: Pilea involucrata, Fittonia, dwarf Asparagus fern.
- Mosses: Cushion or sheet moss from a terrarium supplier; avoid roadside moss that may carry pests.
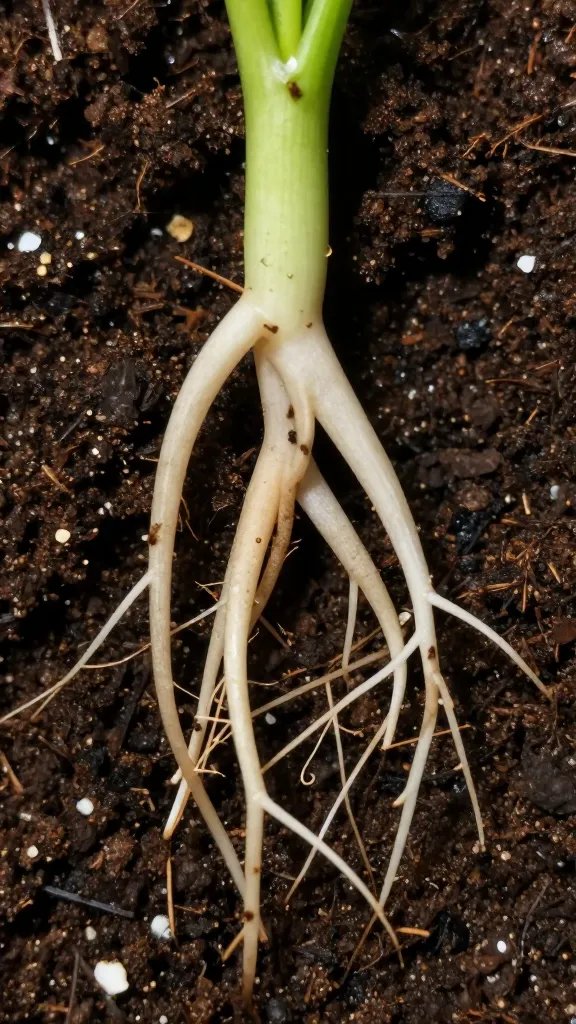
Rinse all plants under the tap to remove excess nursery soil and fertilizer. Trim bruised roots and plant with room for airflow between leaves and glass.
Action today: Choose three species: one groundcover, one upright, and one moss — variety stabilizes humidity and growth rates.
Long-Term Soil Health: Feeding, Pruning, and Reset Windows
A bioactive base runs for years if you top up the resources it uses. I refresh the surface litter and check structure on a schedule.
- Every 4–6 weeks: Add a handful of dry leaf litter or a few pieces of cork bark.
- Every 3 months: Lift a corner of mulch and sprinkle a teaspoon of worm castings, then re-cover.
- Every 12–18 months: Spot-refresh: remove a palm-sized plug of soil, replace with fresh mix, and re-seed springtails if numbers dipped.
- Pruning: Trim back to keep leaves from pressing on glass — pressed leaves rot and invite mold.
If you ever smell rotten eggs, that’s anaerobic soil. Uncover a section, wick excess water with paper towels, and vent for a day until the smell clears.
Action today: Add a thin layer of fresh leaf litter — it’s both food and a humidity buffer.
Frequently Asked Questions
Can I use regular potting soil by itself?
You can, but it compacts and stays too wet in a closed container. Mix in bark or pumice at about one-third of the volume to keep air channels open. Add a small amount of compost or worm castings to seed microbes. Finish with leaf litter to feed the clean-up crew.
Where do I buy springtails and isopods?
Most garden centres don’t stock them, but many aquarium or reptile shops do, and online sellers ship small starter cultures. Look for “temperate springtails” and “dwarf white isopods.” Avoid wild-collecting from sidewalks or parks, which can introduce pests and pesticides. Add them the same day you build to outcompete mold.
How wet should the substrate be when I close the lid?
Pre-moisten the mix so it holds together when squeezed but breaks apart with a poke. After planting, mist the sides lightly and close the lid. Check at midday the next day — you want light condensation on 10–30% of the glass. If it’s bone dry, add 1–2 tablespoons of water; if it’s streaming, air it out for 1–3 hours.
Do I need activated charcoal in the soil layer?
Charcoal helps with odours and texture, but it’s not mandatory if you use bark and maintain good drainage. If you add it, keep it to about 10–15% of the mineral portion and rinse first. Don’t rely on charcoal to fix soggy soil — fix the layer structure and watering instead. Prioritize pumice or bark for lasting aeration.
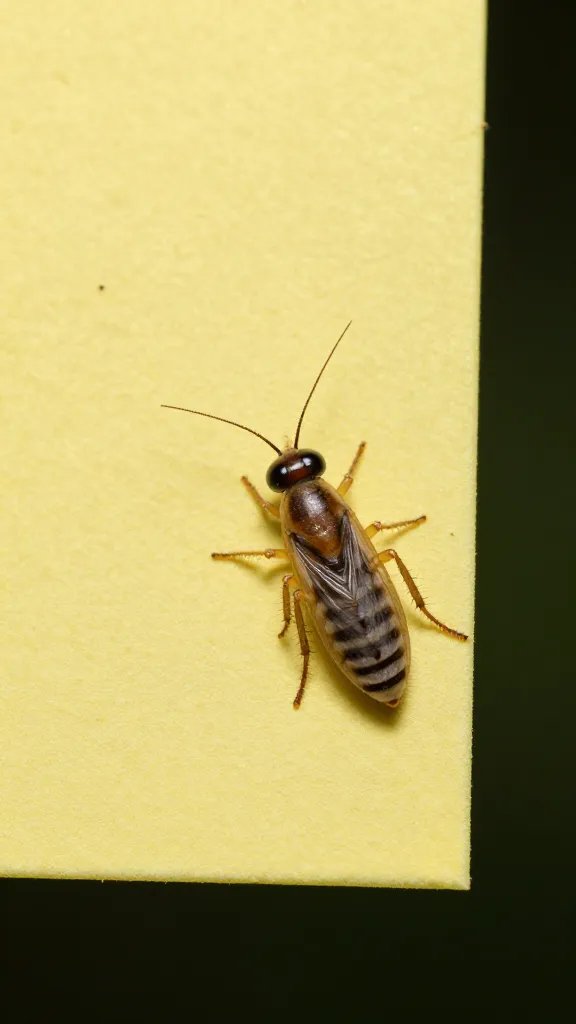
What if I see tiny flying bugs?
Those are usually fungus gnats feeding on overly wet topsoil. Let the surface dry for a day with the lid ajar, then add a thin layer of sand or fine gravel on top. Sticky traps near the terrarium catch adults, and springtails reduce the food source long-term. Avoid overfeeding and remove decaying leaves promptly.
How many isopods are too many?
If you see them swarming plant bases and leaves show nibble marks, you’re overstocked or underfed. Add more leaf litter and a small piece of cork to concentrate them away from tender growth. You can also remove a few by hand during maintenance. Aim for a steady, low-visible population rather than constant activity.
Conclusion
You don’t need lab gear to build a stable bioactive terrarium — just smart layers, a breathable soil mix, and a small crew of springtails and isopods. Start with one container this weekend, follow the layer depths and moisture checks, and you’ll see the system stabilize in a few weeks. When you’re ready, scale the same recipe to a larger vessel and watch it run with almost no intervention.