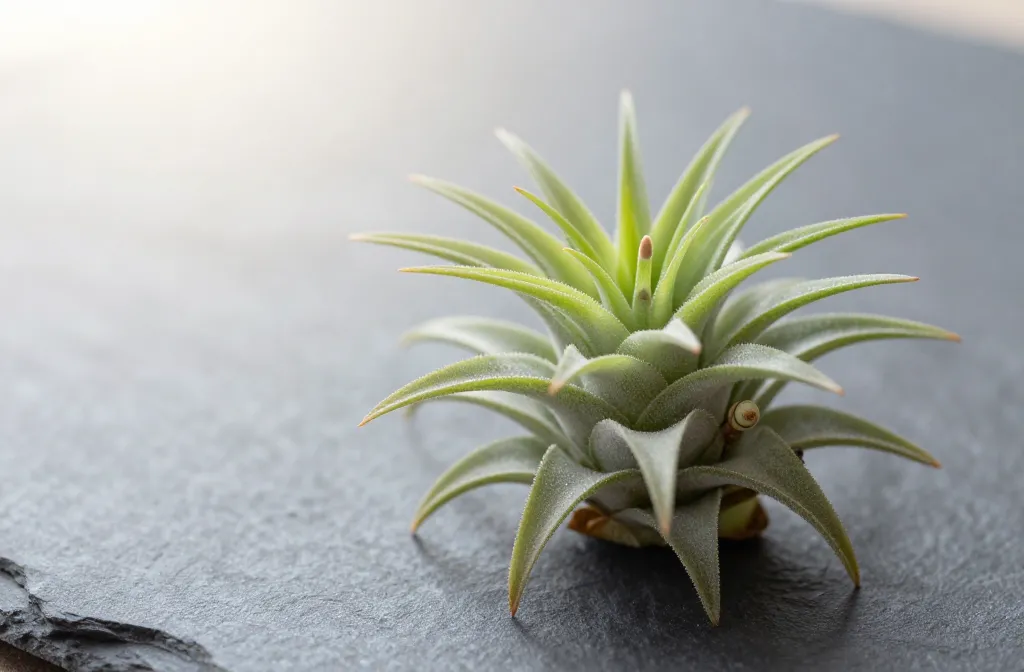
The Secret to How Tillandsia Pups Work — When to Separate Offsets and When to Leave Them Secrets Unveiled
I remember staring at my first air plant “family” wondering if those tiny side shoots were a win or a warning. A month later, the mother browned at the base, the pups stalled, and I learned the hard way what to cut, when to cut, and when to leave things alone. In this guide, I’ll show you exactly how Tillandsia pups form, how to time your separation, and how to grow either a tight clump or strong single specimens. You’ll walk away with a simple checklist you can use right after reading.
What Tillandsia Pups Actually Are and Why Timing Matters
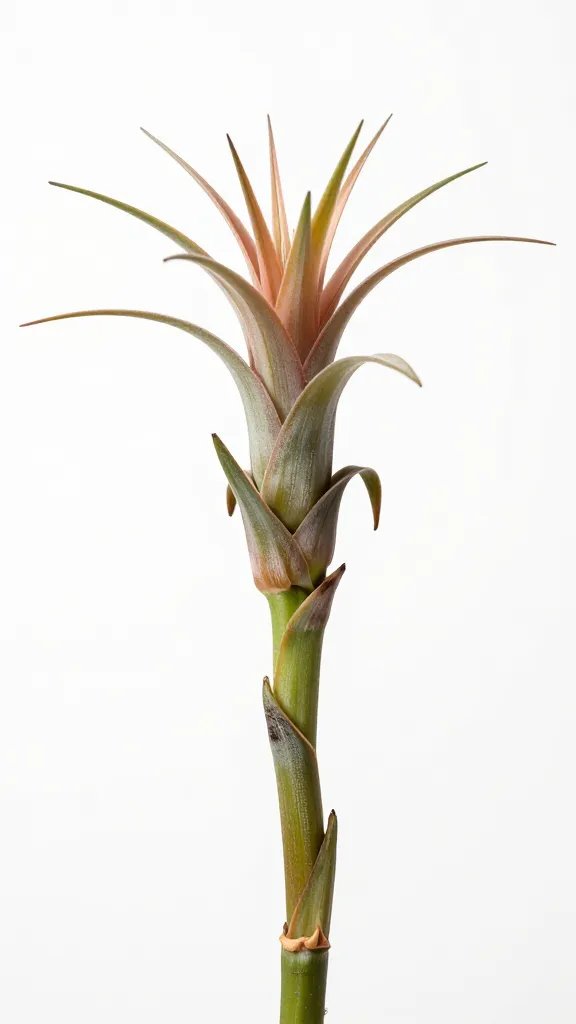
Tillandsia pups are new plants that emerge from the base of a mature “mother” after flowering. The mother has a limited after-bloom life; her main job at that point is to feed those offsets.
Pups rely on the mother’s stored energy early on. If you remove them too soon, they stall, desiccate, or deform. If you leave them forever, the clump crowds, airflow drops, and rot sneaks in from trapped moisture and dust.
Takeaway: Treat pups as seedlings on a shared battery — separate only when they’ve built their own charge.
Exactly When to Separate: The 30–50% Rule You Can See
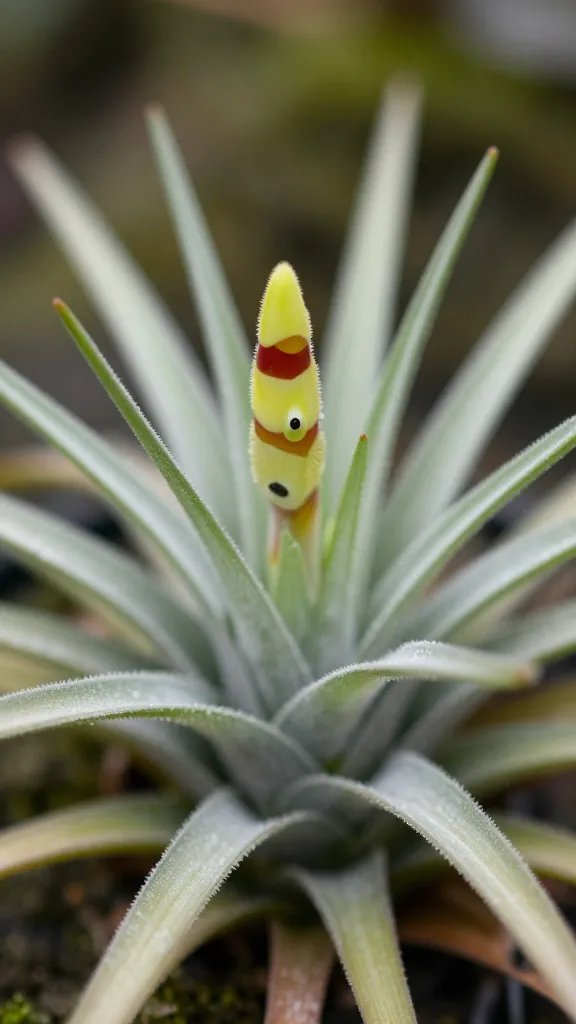
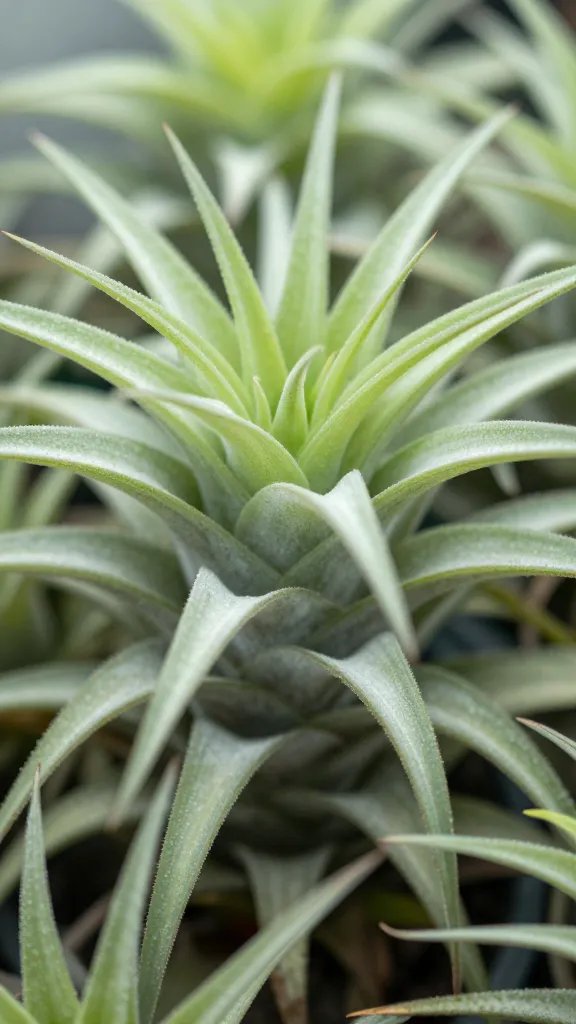
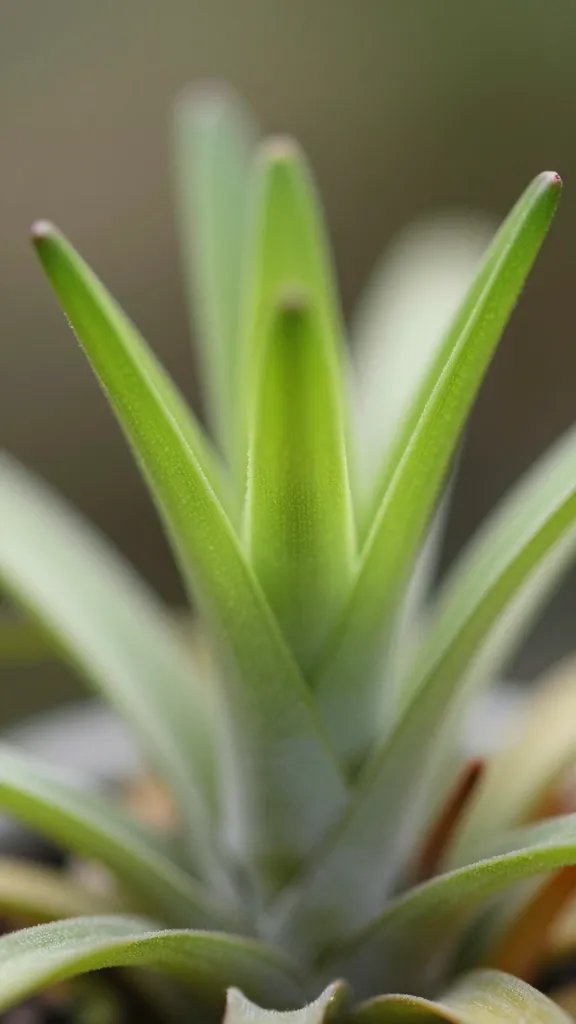
Skip guesswork and use a visual rule. Separate a pup when it reaches 30–50% of the mother’s size and shows its own mature shape (you’ll see defined leaf symmetry, not a floppy fan).
That size range means the pup has enough leaf area to collect water and light on its own. Below 30%, roots and leaves are still juvenile; above 50%, removal stresses a cramped clump and risks tearing tissue.
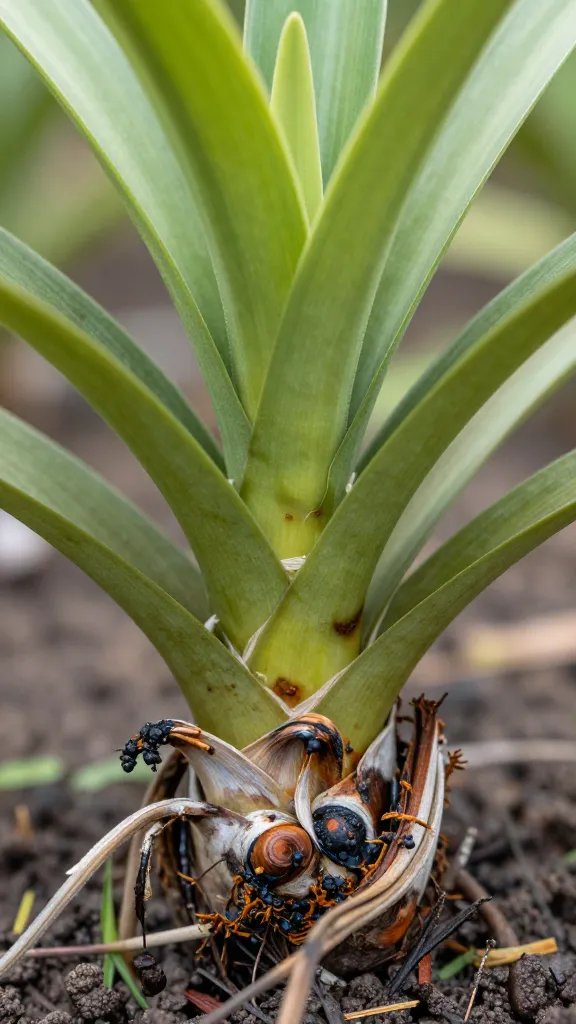
Warning Signs You’re Too Early or Too Late
- Too early: Pup is thin, soft, or translucent at the base; leaves grow in a loose fan with no central “vortex.”
- Too late: Bases jam tight; dead leaf sheaths trap moisture; you see brown spots where leaves touch — early rot.
Action today: Line up your mother and pup side by side and eyeball size — don’t separate any pup under one-third the mother’s height.
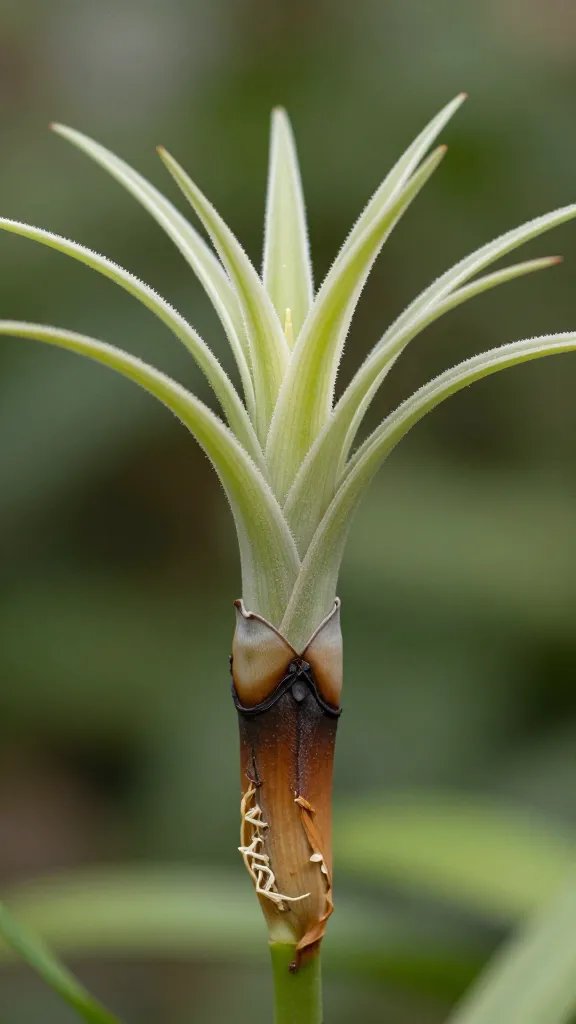
How to Separate Offsets Without Tearing the Base
You don’t need special tools — just clean hands and a small kitchen paring knife or nail scissors. The goal is to split at the natural seam where pup tissue attaches, not to carve the mother.
Step-by-Step: Safe Separation
- Hydrate first: Soak the clump for 15–20 minutes in room-temperature water. Hydrated leaves flex instead of snapping.
- Expose the seam: Peel away dry, brown leaf sheaths at the base with your fingers to see where the pup meets the mother.
- Twist, don’t yank: Hold the mother in one hand, the pup in the other. Gently twist in opposite directions. Many pups release cleanly this way.
- If needed, cut: Slide a sterilized blade (wiped with isopropyl alcohol) into the seam and make a single, small cut through the connecting tissue.
- Dry the wounds: Set both plants upside down (base up) for 4–6 hours so cuts dry before watering again.
Action today: Sterilize a blade and practice exposing the seam on one clump — stop if there’s resistance and let it size up another month.
When to Leave Pups for a Clumping Display
If you want a showy, sculptural clump, keep pups attached until the mother has produced 2–3 offsets of at least 30% size. Species like T. ionantha, T. stricta, T. bergeri clump beautifully and tolerate tight spacing.
Clumps need extra airflow. A crowded base traps water after misting or rain, which invites rot. Position clumps where air moves — near an oscillating fan’s gentle path or in an open, bright window with regular drafts.
Clump Care Checklist
- Mounting: Use wire, fishing line, or a small dab of aquarium-safe silicone on cork or driftwood. Keep glue off living tissue.
- Dry time: Ensure leaves dry completely within 3–4 hours after soaking or heavy misting.
- Grooming: Strip old brown sheaths monthly to prevent moisture pockets at the base.
Action today: Decide on your goal: single plants for rapid bloom cycles or a fuller clump for display — then commit for the next 3–6 months.
Light, Water, and Feeding That Make Pups Take Off
Give pups the same environment you’d give a mature plant, but with extra consistency. Aim for bright indirect light near a window with a few hours of soft morning sun.
Water by soaking once weekly for 10–15 minutes in water that tastes clean, not salty. In dry homes or summer heat, add a light midweek mist. Feed once a month with a bromeliad or orchid fertilizer at ¼ strength in the soak water.
Red and Silver Species Notes
- T. ionantha, T. brachycaulos: Blush red with brighter light — keep close to the window but out of harsh midday sun.
- Xeric types (thick, silver leaves like T. tectorum): More light, less water. Mist lightly; avoid long soaks.
Action today: Move pups within 2–3 feet of your brightest window and set a weekly soak reminder on your phone.
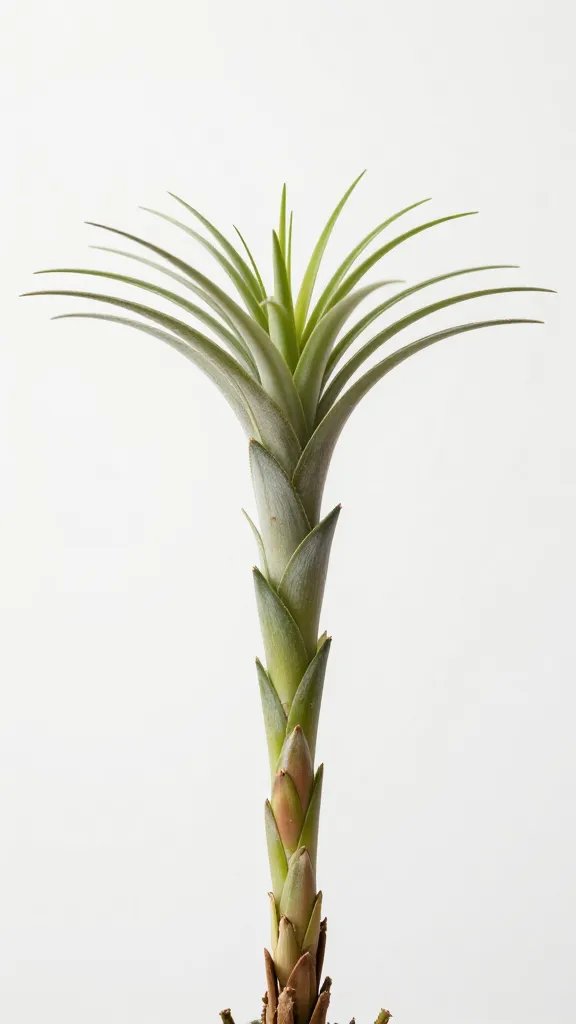
Mounting Singles vs. Managing a Growing Cluster
Singles establish fastest when mounted with the base open to air. I use a small ring of floral wire around the base or a dot of waterproof glue on dead leaf sheaths only.
Clusters benefit from a mount that breathes on all sides — cork bark beats dense wood. Rotate mounts a quarter turn each week so every side gets even light and dries evenly after watering.
Simple Mounting Materials From a Garden Centre
- Cork tile or grape wood
- Soft aluminum bonsai wire or fishing line
- Aquarium-safe silicone or gel cyanoacrylate (tiny dots only)
- Eye hooks for hanging to boost airflow
Action today: If your plant sits in a closed cup or terrarium, relocate it to an open mount to improve airflow and reduce rot risk.
Common Mistakes With Pups You Can Fix This Week
Overhandling: Constantly wiggling pups to “check” them loosens bases and invites infection. Handle during watering or separation only.
Water trapped in the crown: Water left standing at the base after evening care leads to overnight rot. Always shake plants gently after soaking and finish by placing them upside down for 5–10 minutes.
Starving the pups: Skipping fertilizer slows growth and delays blooming. A light monthly feed is enough to keep offsets moving.
Action today: After your next soak, shake, invert for 5 minutes, and place in stronger airflow — that single routine prevents most rot incidents.
Frequently Asked Questions
Will the mother plant die after making pups?
Yes, after blooming and producing pups, the mother gradually declines. She can stay attractive for months while feeding her offsets. Keep her until she dries and browns fully, then remove her from the clump by peeling away dead tissue. Don’t rush; her stored energy still benefits the pups.
Do I need roots for a separated pup to survive?
No. Tillandsias absorb water and nutrients mostly through their leaves. Roots mainly anchor the plant. Secure the pup to a mount so it doesn’t wobble, keep bright light and weekly soaks, and roots will appear in time. Stability matters more than roots on day one.
How long until a separated pup blooms?
Most common species flower in 12–24 months after reaching mature size, depending on light and feeding. Strong light near a bright window and monthly ¼-strength fertilizer speed things up. Consistent weekly soaks prevent stalls. Expect faster cycles with smaller species like T. ionantha.
Can I keep air plants in a closed terrarium while pups grow?
No. Closed containers trap humidity and stale air, which rot the base, especially in clumps. Use open glass or wire mounts with plenty of airflow. If you love the look of glass, choose a wide, open-top vessel and hang it where it dries within 3–4 hours after watering.
What’s the best way to water a clump without drowning the base?
Submerge the whole clump for 10 minutes, lift, then shake firmly to expel water from the crowns. Set it upside down on a towel for 5–10 minutes, then return it to its mount in bright, breezy light. Skip evening soaks so plants don’t stay wet overnight.
Do pups grow faster attached or separated?
Attached pups often grow steadily thanks to the mother’s reserves, but they slow if the clump gets crowded and airflow drops. Separated pups in ideal light with monthly feeding can outpace crowded ones. If speed is your goal, separate at 30–50% size and give prime real estate near your brightest window.
Conclusion

You now have a clear plan: let pups reach one-third to half the mother’s size, separate with a twist or a single clean cut, and grow them on with bright light, weekly soaks, and monthly feeding. Choose your path — a tight, sculptural clump or fast-maturing singles — and set up mounts and airflow to match. Today, pick one plant, check the 30–50% rule, and either leave it to fill out or separate it with confidence.