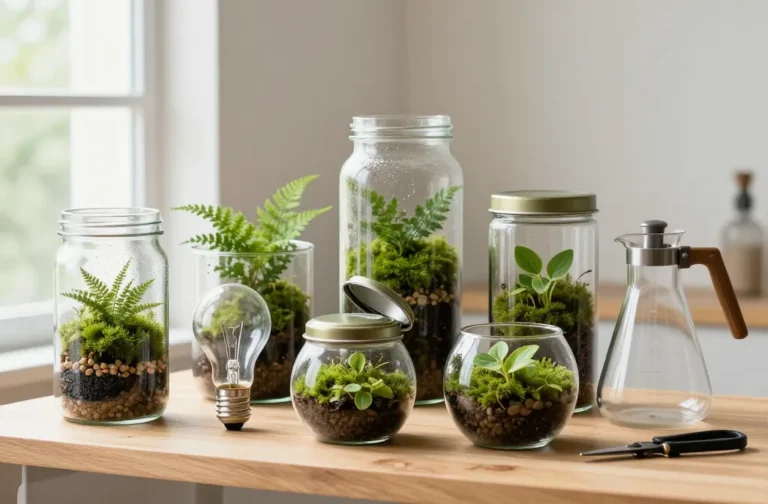
Master How to Layer a Terrarium in a Small-Necked Container — the Elongated Tool Method
I learned the hard way that a narrow-neck bottle turns simple terrarium layering into a game of tweezers and gravity. My first attempt slumped, mixed, and flooded because I treated it like a wide jar. Once I switched to the elongated tool method, my layers stayed clean, drains worked, and planting took minutes instead of hours. In this guide, I’ll show you exactly how to build stable, tidy layers in tight glass using tools you already have and a few cheap stand-ins from any garden centre.
Why Layering Matters More in a Small-Necked Container
Small necks limit access and magnify every mistake. If your base isn’t level or your drainage isn’t clean, you can’t fix it once the plants go in.
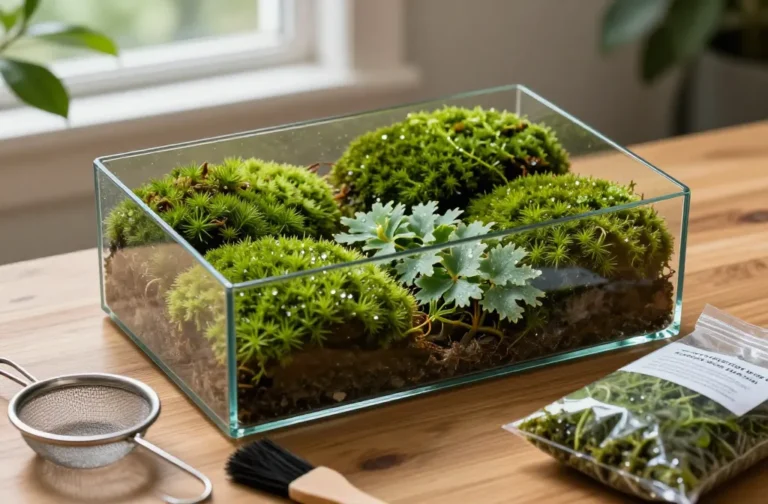
Good layers keep water moving, keep soil out of the drainage, and hold slopes so your composition doesn’t slump. You need firm compaction at the edges and clean transitions so water never pools against roots.
Action today: Pick your container and tilt it under a bright lamp; note how the neck narrows. That gap size determines the maximum width of every tool you’ll use.
Essential Materials You Can Buy Locally
You don’t need specialty terrarium kits. I stock what any garden centre carries and improvise the rest.
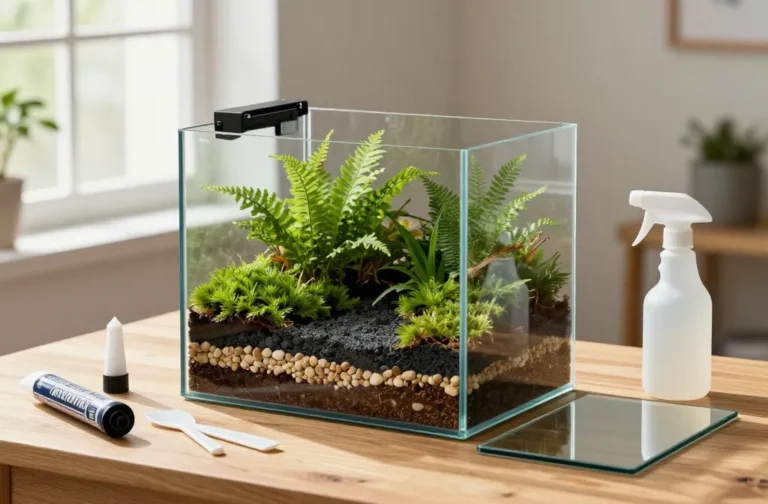
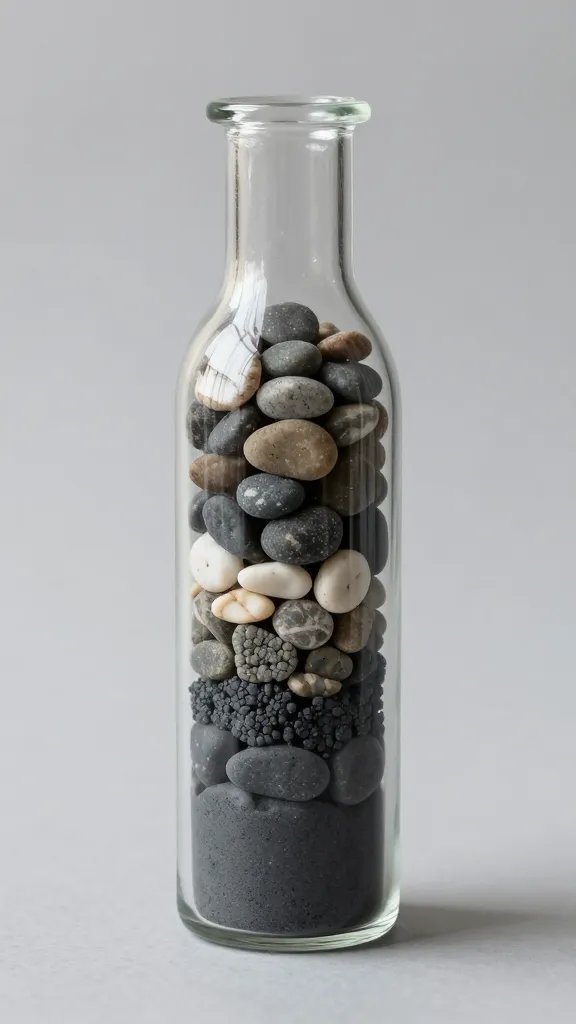
- Drainage layer: 6–12 mm washed aquarium gravel or lightweight clay pebbles (LECA).
- Barrier layer: Fibreglass insect screen or a circle of coffee filter (non-bleached).
- Substrate: Good quality potting mix cut 3:1 with fine orchid bark or perlite for air. For moss-forward builds, add a handful of rinsed sphagnum strands.
- Hardscape: Small stones or driftwood pieces that fit through the neck.
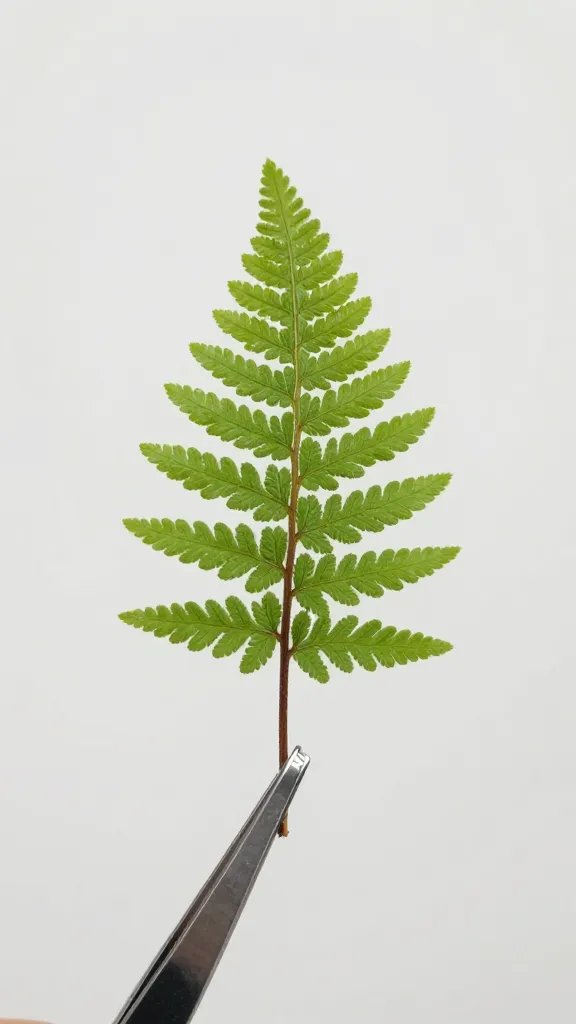
- Plants: Pilea depressa, Fittonia, Pepperomia ‘Pixie’, miniature ferns, and cushion mosses rated for high humidity.
- Topdress: Fine aquarium gravel, decorative sand, or chopped moss.
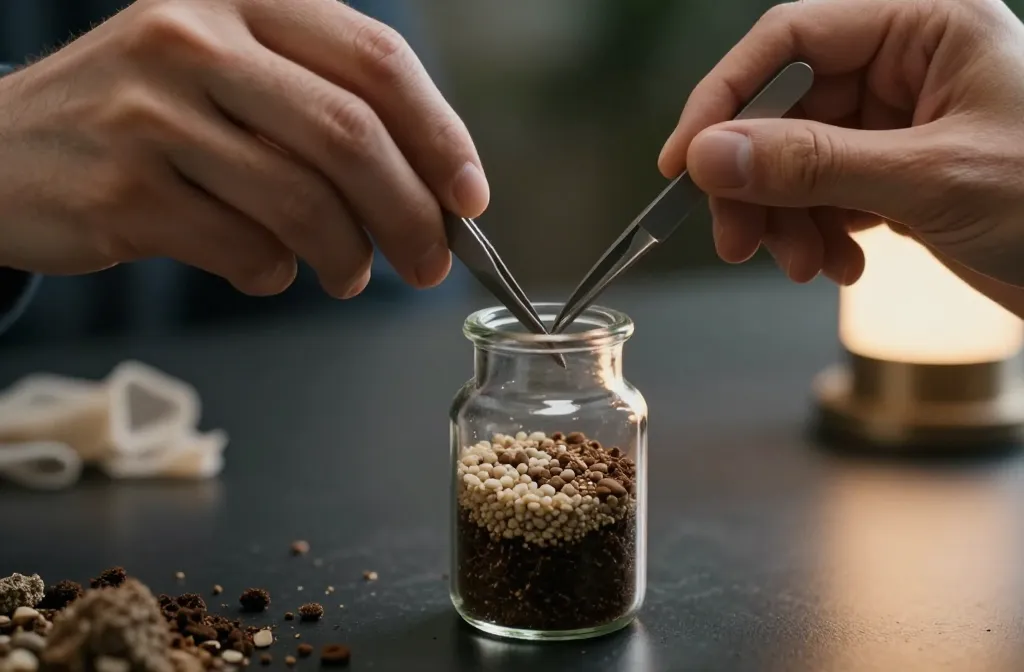
Improvised Elongated Tools
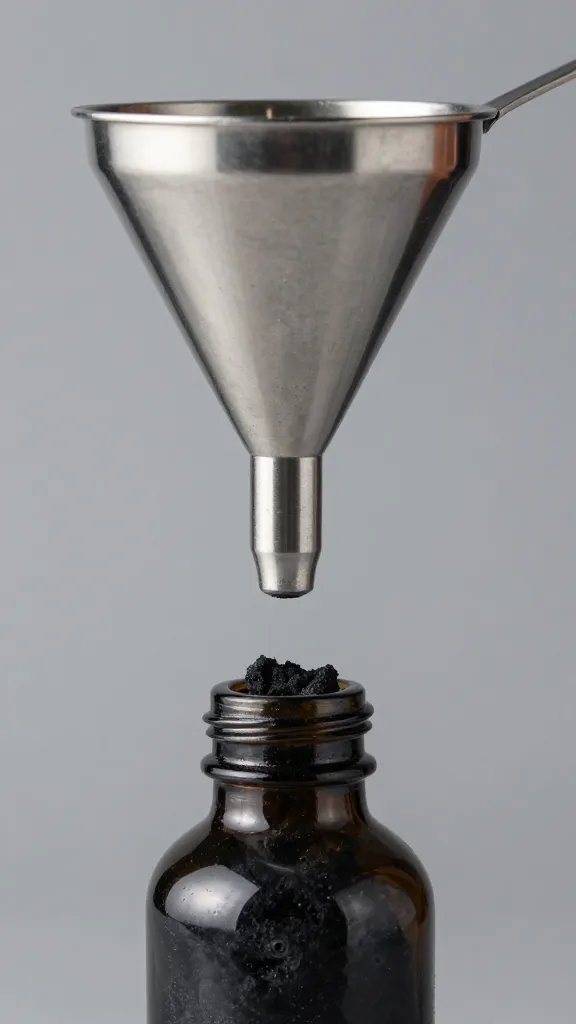
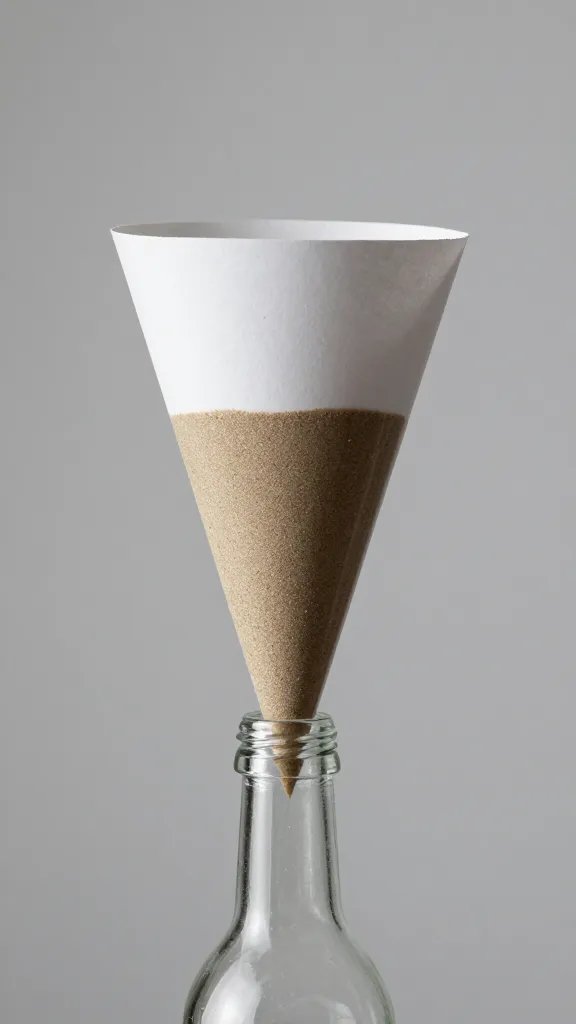
- Paper funnel: A sheet of paper taped into a long spout to place media precisely.
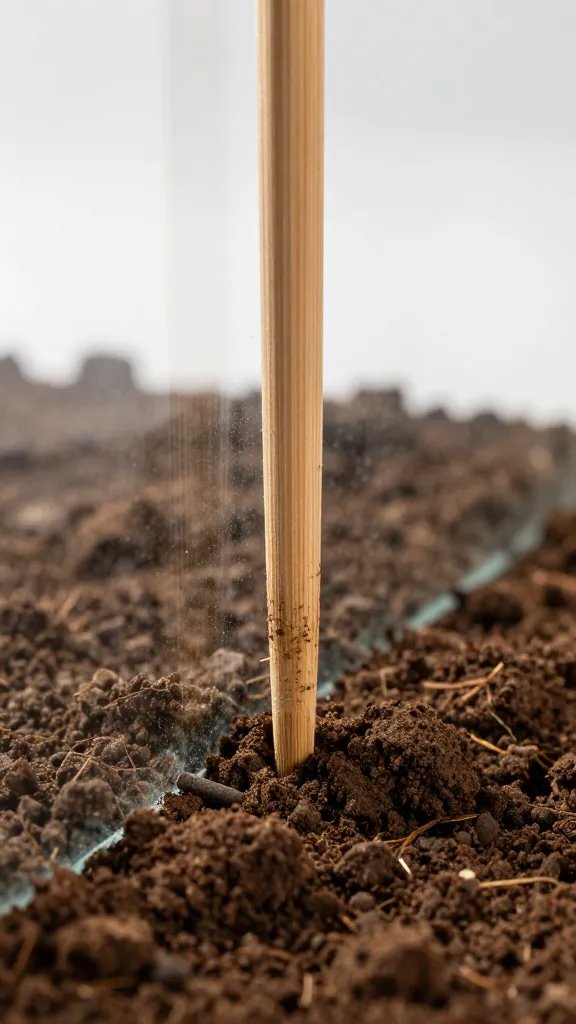
- Chopsticks/skewers: For tamping and positioning.
- Long spoon: Tape a teaspoon to a wooden spoon or ruler.
- Plant cradle: A small leaf scoop made from a plastic bottle strip taped to a skewer.
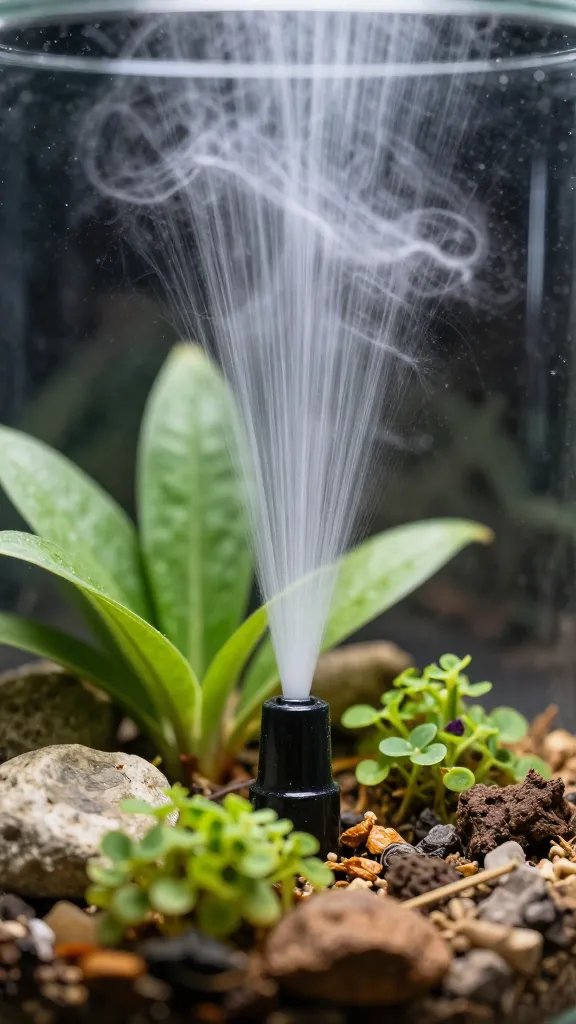
- Bulb syringe or condiment squeeze bottle: For controlled watering.
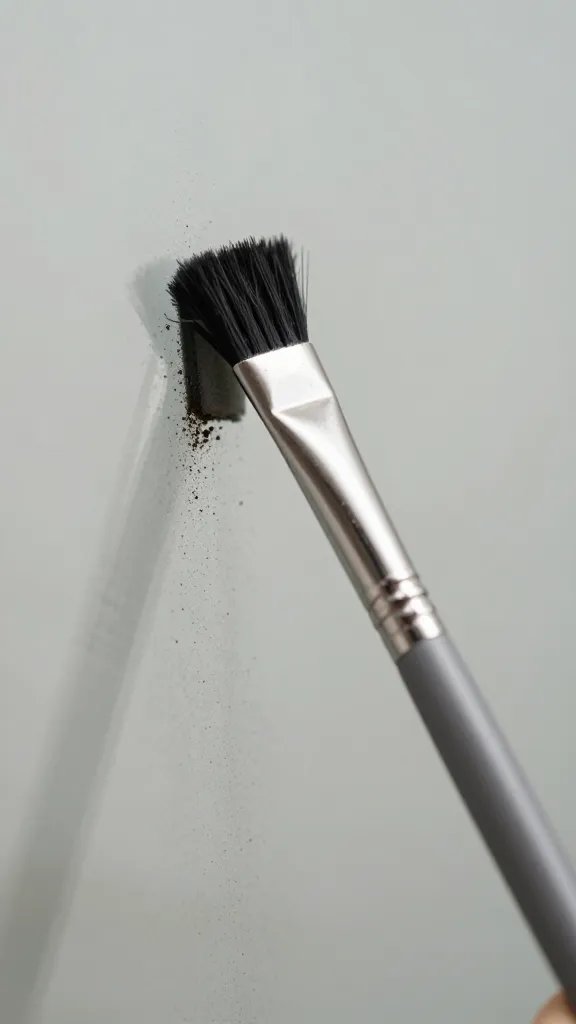
- Flexible brush: A makeup brush taped to a chopstick to clean glass and surface.
Action today: Test your neck clearance by passing your longest tool through the opening; if it sticks, trim or retape until it slides cleanly.
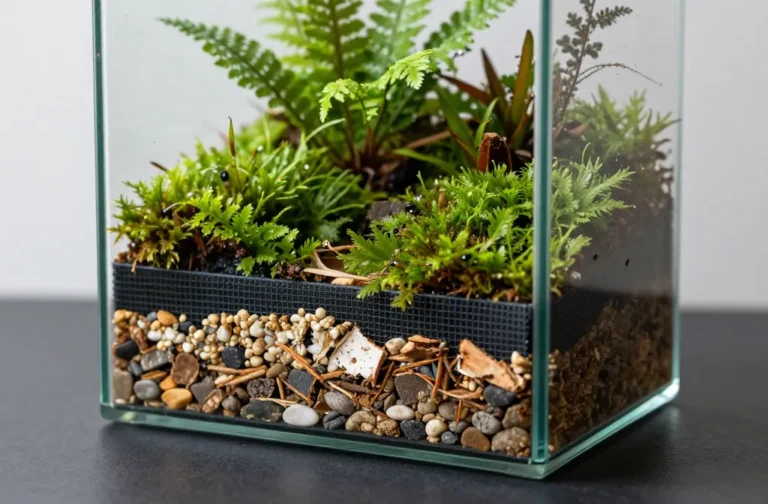
The Layer Order That Prevents Rot and Mix-Up
Getting media in is only half the job; you must keep layers distinct. The elongated tool method focuses on controlled delivery, edge compaction, and clean surfaces.
Step-by-Step Layering
- Pre-rinse drainage: Swish gravel/LECA in a bowl until water runs clear. This stops cloudy film on glass.
- Pour the base with a paper funnel: Add 1.5–2.5 cm of drainage, tilting the container so it slides to the bottom without bouncing.
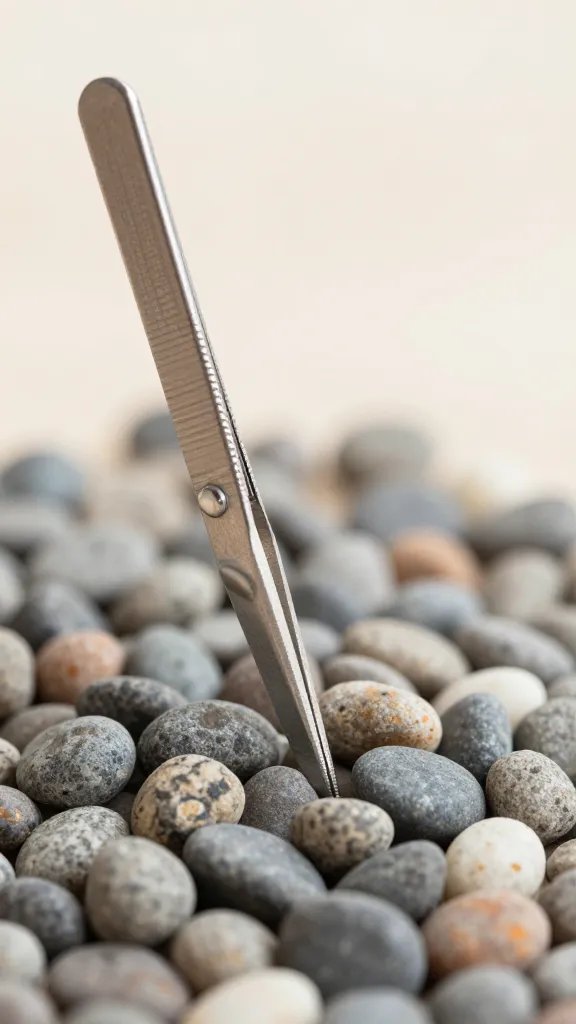
- Tamp the perimeter: Use a skewer to press drainage gently where the wall meets the base. Firm edges stop later slump.
- Add the barrier: Roll a circle of insect screen, slide it through the neck with chopsticks, and unroll flat over the drainage. If using a coffee filter, mist it lightly so it drapes without tearing.
- Layer the substrate: Through the funnel, add 4–6 cm of potting mix blend. Build any slope now—higher at the back for depth.
- Edge-compact again: Use the long spoon back or skewer to firm soil at the glass. Do not hammer the centre—keep it airy.
- Moisten to “crumbly cake”: Drip in water with the syringe until a squeezed pinch barely holds together. This locks slopes without waterlogging.
- Place hardscape: Use the spoon and chopsticks to set stones/wood, nesting them slightly into the substrate for stability.
Action today: Cut your barrier circle to just under the inner width so it lays flat; an oversized disc will buckle and leak soil.
Planting Through a Narrow Neck Without Making a Mess
Plants break when you force them. I downsize root balls and deliver them like cargo through a chute.
- Prep plants: Tease soil from roots and trim to a compact plug no wider than your neck opening. Remove damaged leaves now.
- Dig targeted holes: Use the long spoon to scoop a pocket. Don’t auger; lift soil out, don’t shove it aside.
- Use the plant cradle: Rest the root plug on the plastic-strip cradle, slide it through the neck, and tip it into the hole with chopsticks.
- Backfill and firm: Funnel a tablespoon of mix around the roots, then tamp gently with a skewer—especially at the glass line.
- Topdress: Add fine gravel or chopped moss with the funnel to lock soil and hide smudges.
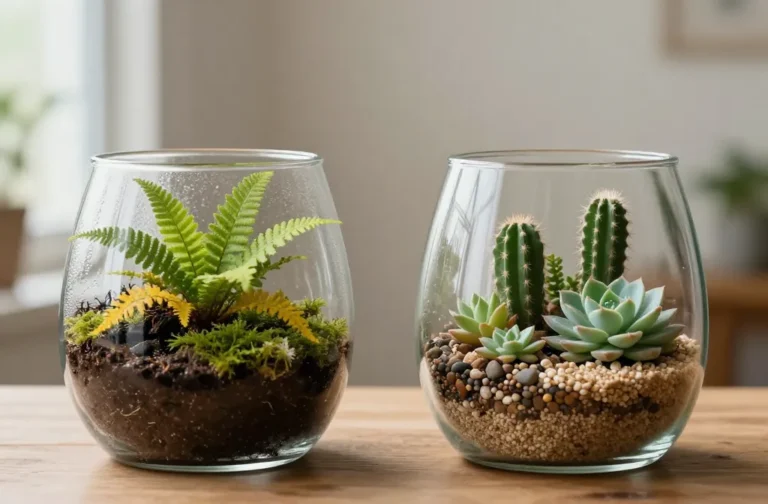
Plant Choices That Stay Small
- Mosses: Cushion or mood moss for low lift and fast coverage.
- Vining minis: Pilea depressa, Ficus pumila ‘Quercifolia’—easy to pinch back.
- Texture plants: Mini ferns (like Asplenium ‘Crispy Wave’ cuttings) and Fittonia.
Action today: Practice one “dry run” drop with a pebble using your cradle to learn the angle and stopping point before you handle a live plant.
Watering and Sealing: Setting the System Correctly Once
Overwatering ruins small-neck builds because you can’t pull soil back out to fix it. Hydrate with precision and read the glass the next day.
- Initial watering: Use the syringe to add water along the glass until the substrate is evenly dark but not glossy wet. Total volume for a 1–2 litre bottle is usually 2–4 tablespoons.
- Check the drainage: You should not see standing water above the barrier. If you do, wick it out with a paper towel strip taped to a skewer.
- Seal or cap loosely first night: Leave the lid slightly ajar for 12 hours. Close it fully once morning condensation shows a light mist on the upper third of the glass.
Warning Signs and Fixes
- Heavy condensation all day: Open for 1–2 hours and blot excess water from the base with a towel strip.
- Dry glass and droopy leaves: Add 1–2 teaspoons of water at the perimeter, never onto leaves.
- Funky smell: That’s anaerobic rot. Vent daily for 2–3 days and wick water from drainage until odor disappears.
Action today: Prepare two paper towel wicks before you water; they solve 80% of early moisture mistakes in minutes.
Keeping Layers Crisp Over Time
Small terrariums settle. You prevent slump with edge maintenance and light, not with more soil.
- Edge tamp monthly: Use a skewer to re-firm the soil where it meets glass if you see gaps.
- Trim, don’t yank: Snip growth flush with the surface; never pull vines that could uproot your slope.
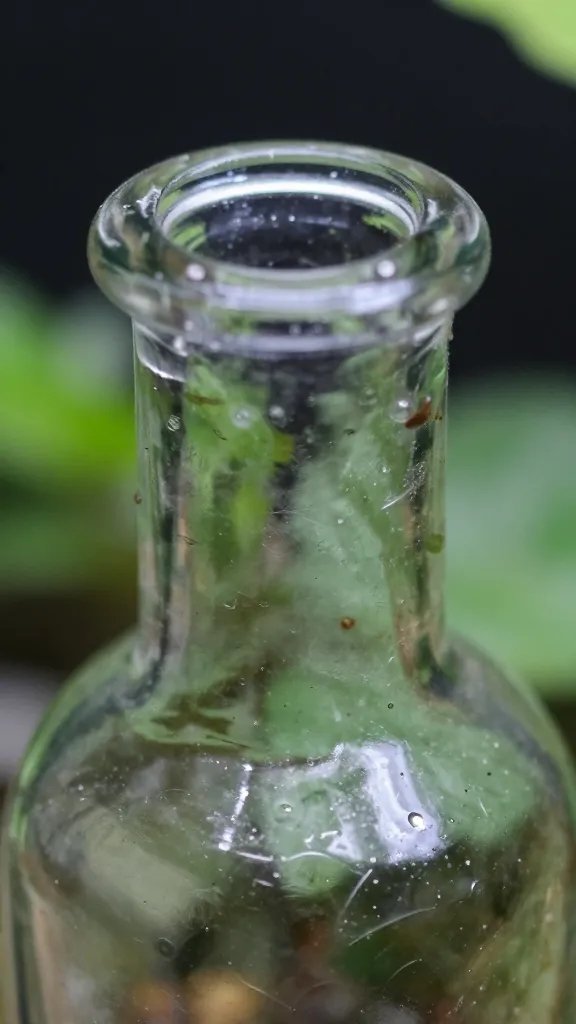
- Light placement: Keep in bright indirect light near a window. Avoid direct midday sun that heats the neck and drives condensation torrents.
- Clean glass: Brush interior smudges with the taped makeup brush. Wipe the outside with a dry cloth only.
Action today: Move the terrarium one step back from a hot window; stable temperature keeps condensation—and your layers—steady.
Troubleshooting Common Small-Neck Problems
Most failures trace back to three issues: soil in the drainage, too much water, or plant overgrowth. Fix each with minimal disturbance.
- Soil in drainage: Add a second barrier patch where the breach occurred using tweezers and a folded strip of screen.
- Waterlogged base: Insert two towel wicks to the bottom layer and leave them for 2–6 hours until the glass clears to a fine mist.
- Overgrown crown: Stagger trims over a week. Remove no more than one-third of foliage at once to avoid shock in a closed system.
Action today: Shine a flashlight through the base—if you see floating soil particles, schedule a 10-minute barrier patch session.
Frequently Asked Questions
How deep should each layer be in a small bottle terrarium?
Use 1.5–2.5 cm of drainage, a single thin barrier, and 4–6 cm of substrate. If your container is very short, prioritise at least 1.5 cm drainage and 3 cm substrate so roots have room. Maintain a gentle back-to-front slope of 1–2 cm to encourage runoff and visual depth.
Can I skip the barrier layer if I use LECA?
No. Without a barrier, fine potting mix migrates into LECA and clogs air spaces, creating a swamp. A simple circle of insect screen or a coffee filter keeps layers separate and makes future wicking easy. Install it flat and edge-to-edge to prevent soil leaks.
What’s the best way to water through a narrow neck without flooding?
Use a bulb syringe or squeeze bottle and apply water along the inner glass, not straight onto soil or plants. Add 1 teaspoon at a time and pause 30 seconds to watch for pooling. Stop when the substrate is evenly dark and you see only a thin condensation band the next morning.
My layers slumped after a week—how do I fix it?
Open the terrarium, let it air for one hour, then re-tamp the perimeter using a skewer through the neck. Add a small amount of dry mix via a paper funnel to rebuild the slope, then mist lightly to set it. Finish with a fine gravel or chopped moss topdress to lock the surface.
Which plants stay tidy in a very small-neck container?
Choose compact growers like Fittonia mini varieties, Pilea depressa, small Peperomia (e.g., ‘Pixie’), cushion mosses, and dwarf ferns. Avoid fast-climbing vines and large-leaf species that press on the glass. Buy the smallest starter pots you can find and pre-trim roots to fit the neck cleanly.
How do I clean soil off the inside glass once it’s built?
Tape a soft makeup brush or microfiber corner to a chopstick and sweep from the base up. For stubborn streaks, barely dampen the brush and avoid dripping water onto the substrate. Finish by blowing gently through the neck or using a hand air puffer to clear dust.
Conclusion
You don’t need fancy gear to master small-neck terrariums—just controlled delivery, firm edges, and measured moisture. Build your tool kit tonight with a paper funnel, a taped spoon, and a syringe, then set your first clean layers this weekend. Once you see how stable those layers stay, you’ll stop avoiding beautiful bottles and start designing with them on purpose.