How to Use a Terrarium As a Propagation Chamber — Humidity, Substrate and Germination Conditions Explained Fast Secrets
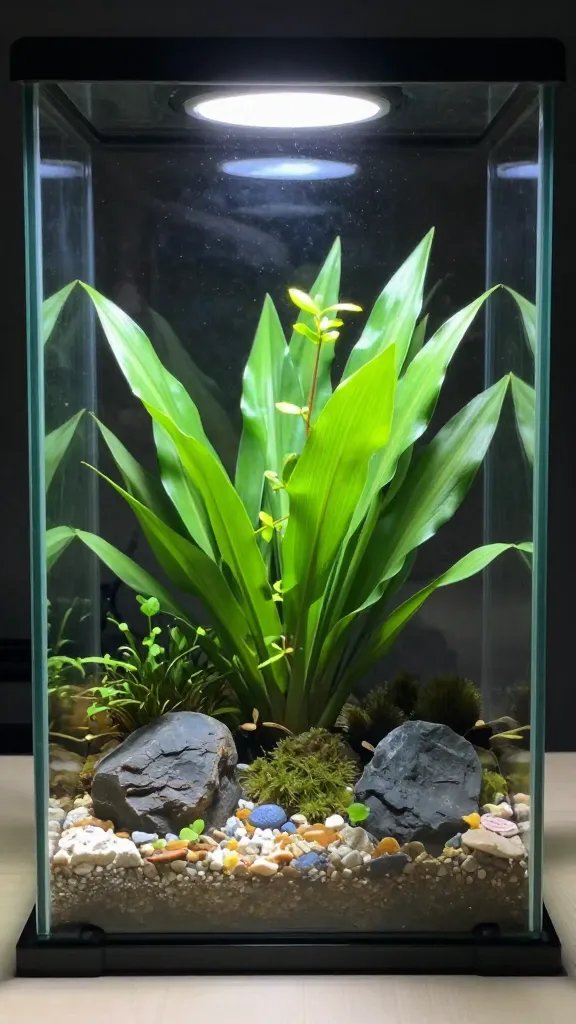
I started using a spare glass cookie jar as a “prop box” after losing cuttings to dry apartment air. Within two weeks, stubborn hoya and pothos nodes pushed roots that used to take a month on an open shelf. You can do this with a terrarium you already own and supplies from any garden centre. In this guide I’ll show you the humidity sweet spot, the right substrate, and the exact germination and rooting conditions that deliver consistent success.
Understand What Makes a Terrarium a Propagation Chamber
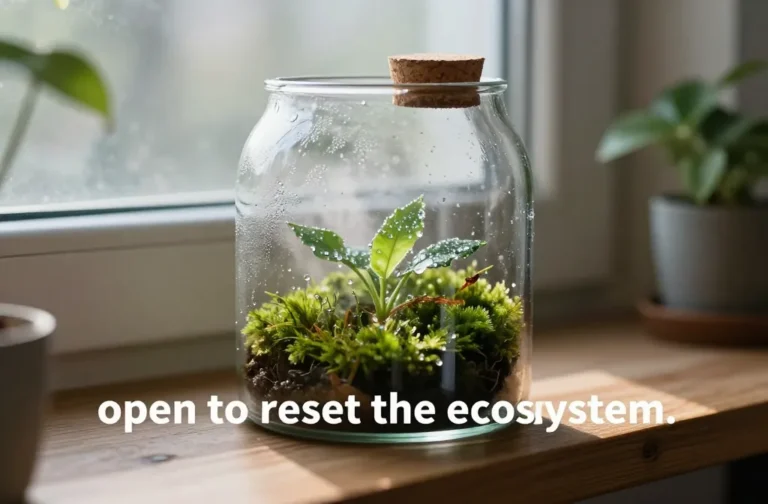
A terrarium traps moisture and warmth, which turns inconsistent cuttings into predictable successes. High ambient humidity slows leaf water loss so stems don’t shrivel while they form roots.
I treat the terrarium like a mini greenhouse: sealed or semi-sealed, bright but not hot, and clean before anything goes in. That stability is what your cuttings need most.
Action today: Rinse your terrarium with hot water and a drop of dish soap, then swish with 1:10 vinegar-water and air-dry to start clean.
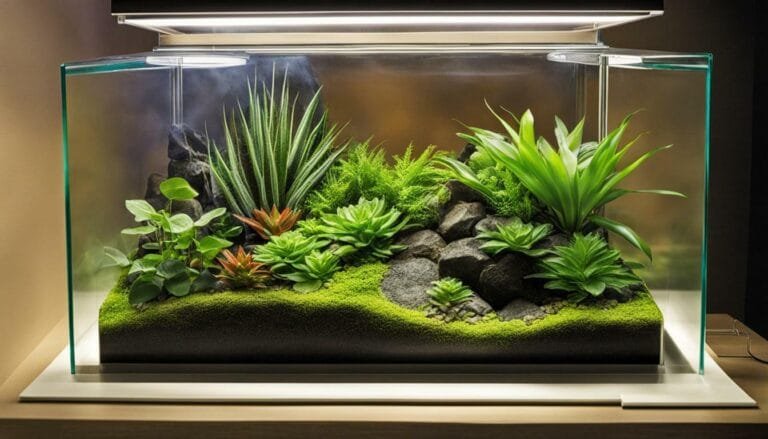
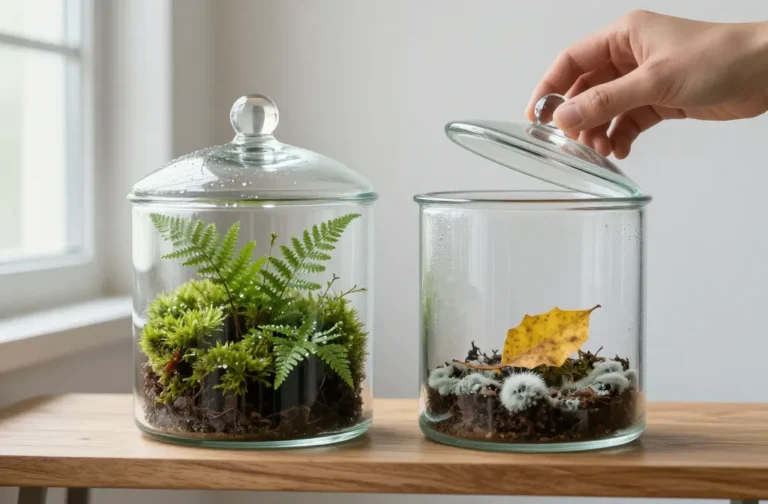
Choose the Right Container and Lid for Stable Humidity
Any clear glass or rigid plastic container works: cookie jars, storage tubs, fish tanks, or a lidded vase. You need a lid you can crack open slightly to tune humidity.
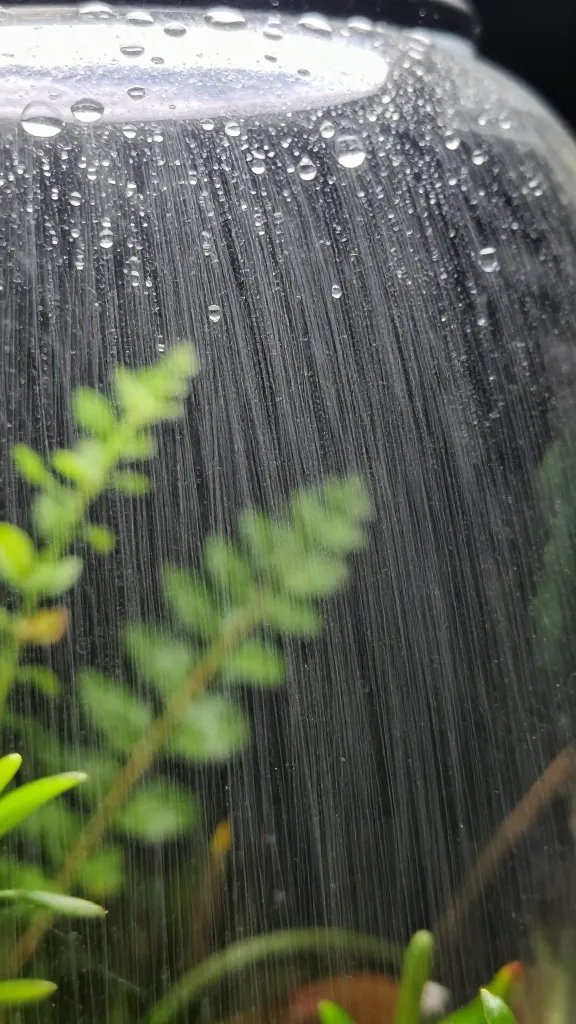
I aim for a light mist on the walls at midday, not full-on dripping. A fully sealed lid pushes humidity too high and invites fungus; a loose lid dries the substrate.
Action today: If your lid seals tight, add two pieces of drinking straw or wooden skewers at the rim to create a 1–2 mm gap for controlled airflow.
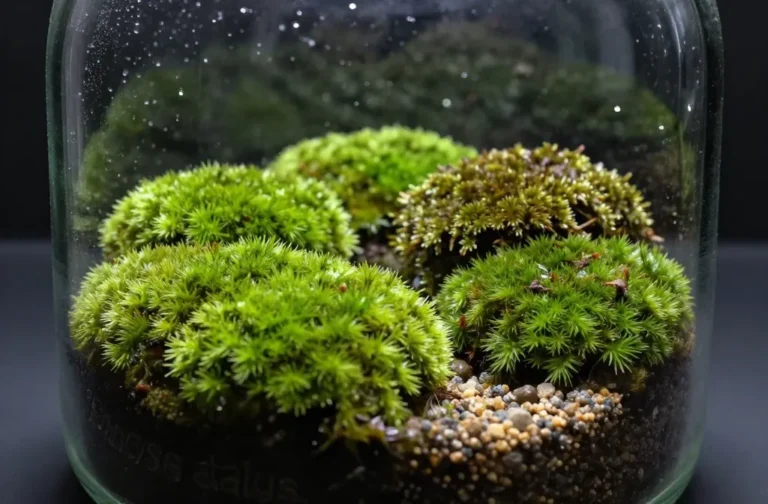
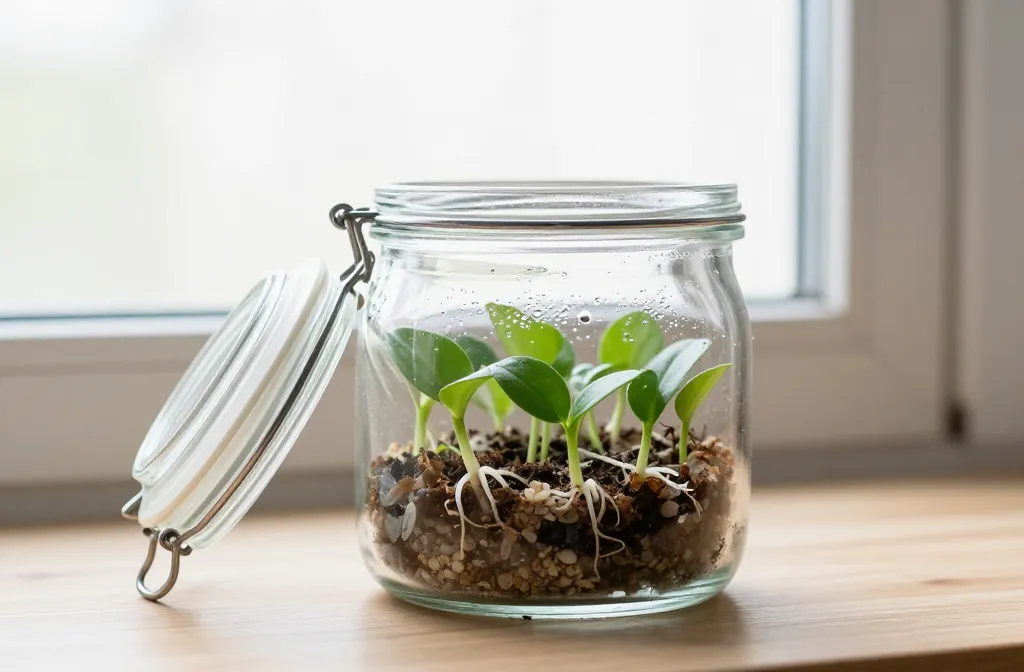
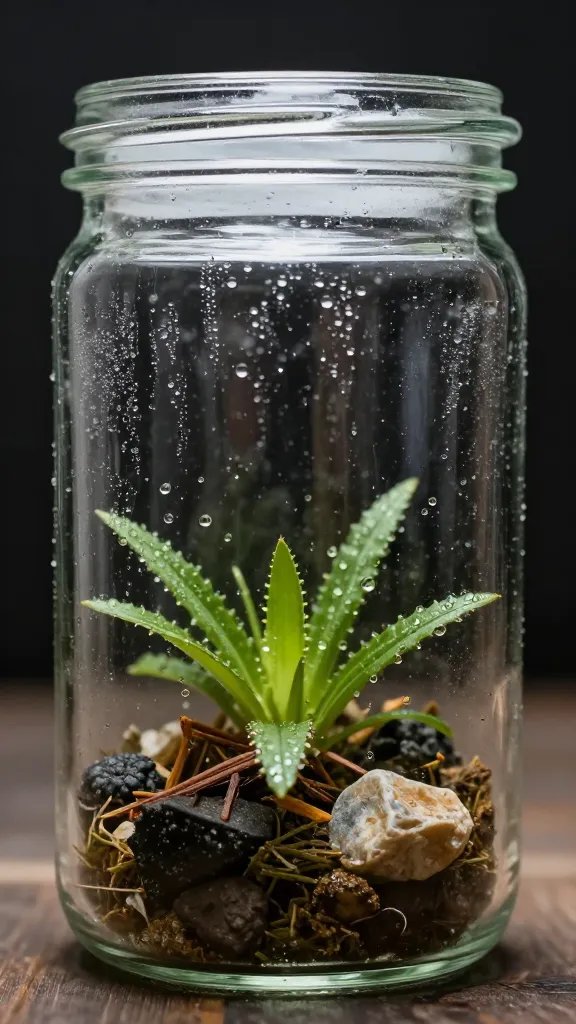
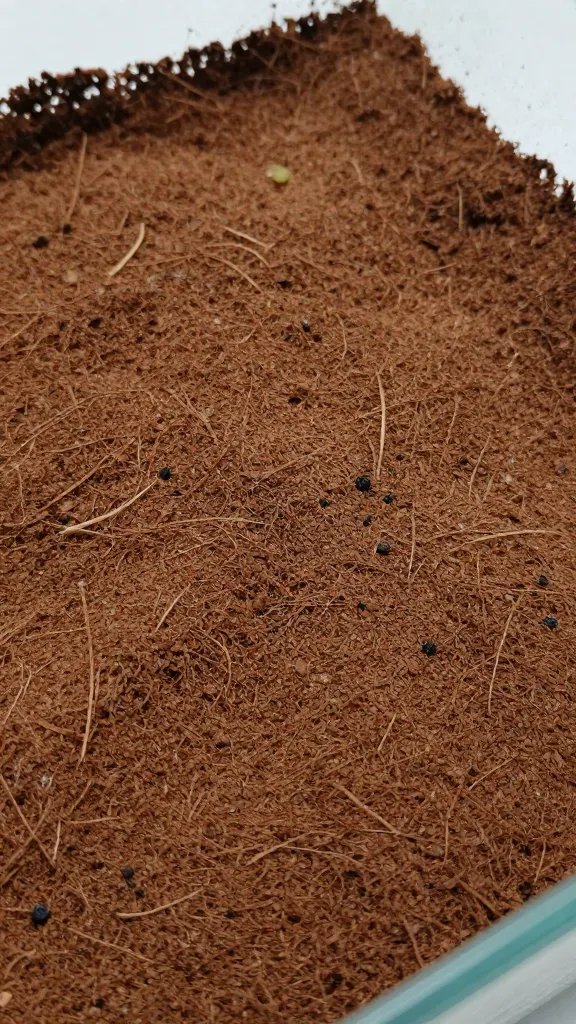
Build a Simple, Fungus-Resistant Substrate Layer
Skip dense potting soil for cuttings. I use a shallow base that drains fast and holds air: 2–3 cm of rinsed perlite or pumice, topped with a thin sheet of moistened sphagnum moss. That combo supports nodes while keeping stems out of soggy water.
Hydrate sphagnum with clean water until springy, then squeeze it like a sponge until it stops dripping. Over-wet moss suffocates nodes and causes rot.
Material Options That Work
- Perlite + Sphagnum: Best all-round for a range of tropical cuttings.
- Straight Sphagnum: Great for a small number of premium cuttings you want to monitor closely.
- Rinsed Pumice + Mesh: For semi-woody cuttings that hate “wet feet.”
Action today: Rinse perlite in a colander to remove dust, then pre-moisten moss and squeeze hard — if a drop falls when you press, it’s still too wet.
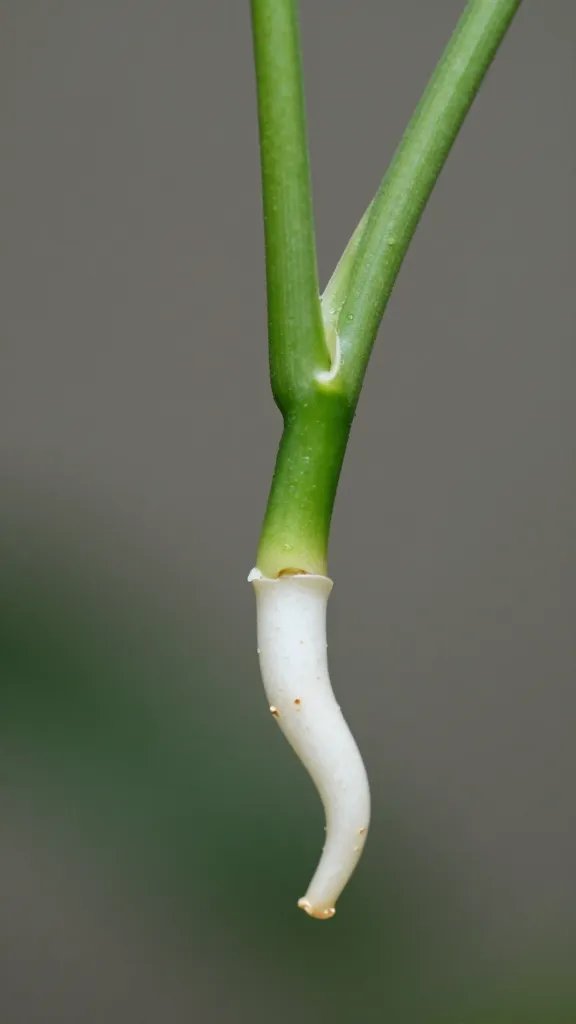
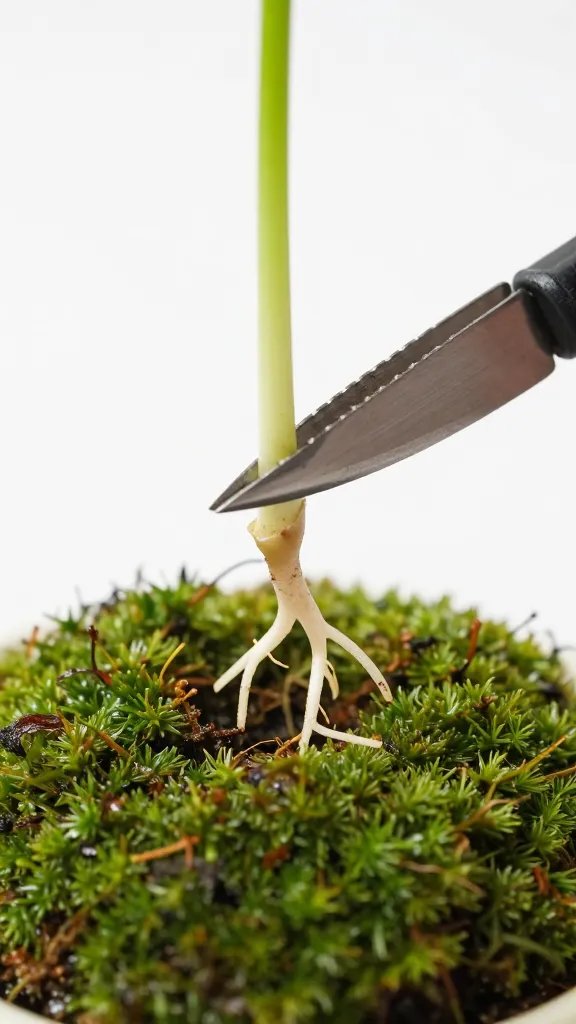
Prepare Cuttings Correctly to Prevent Rot
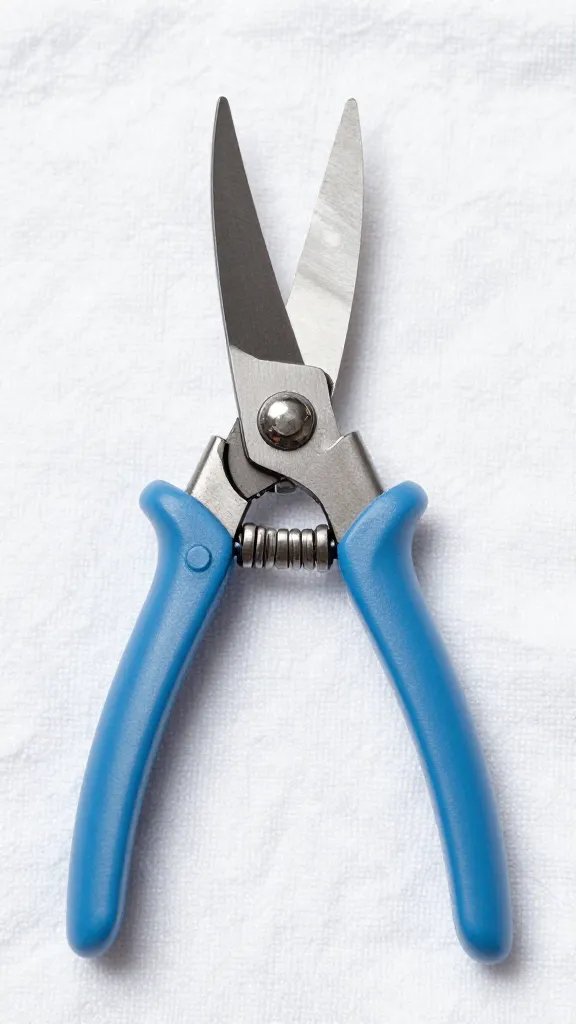
I take 1–2 node cuttings with a clean, sharp pair of scissors. I remove lower leaves, leaving one small leaf or half a leaf to reduce water loss without starving the cutting.
I dust the cut end with cinnamon (a household antifungal) or a garden-centre rooting powder if I’m working with slow-rooters like Hoya or Philodendron. I press the node onto the moss so it touches but isn’t buried deep.
Warning Signs and Fixes
- Black, mushy stem: Too wet — open the lid wider and replace the moss.
- Leaves curling or crisping: Too dry — mist the walls and reseal slightly tighter.
- White fuzzy growth: Surface mold — wipe glass, pick off fuzz, and improve airflow.
Action today: Sterilise scissors with rubbing alcohol or boiling water before your first cut; contamination is the fastest way to lose a whole batch.
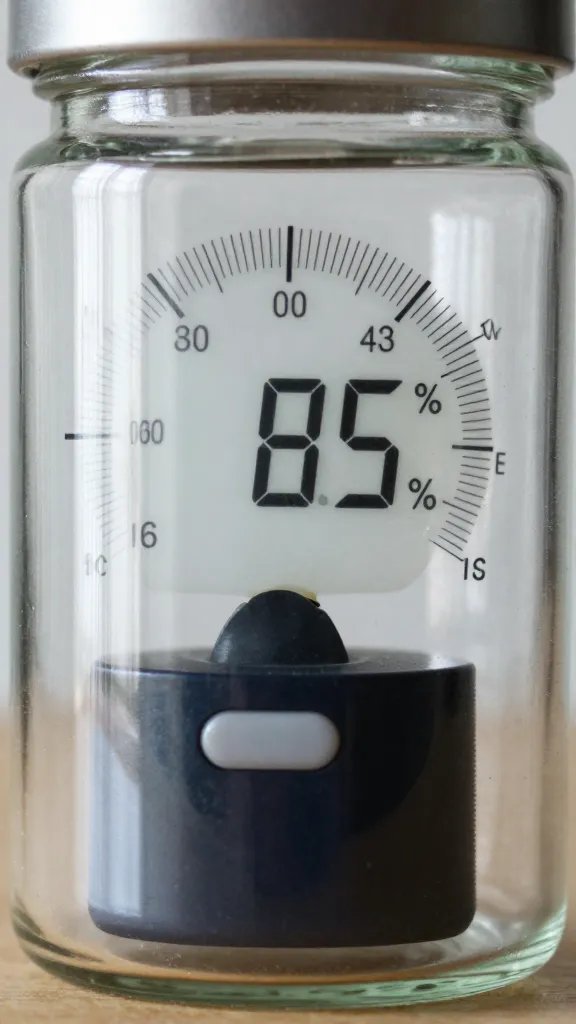
Dial In Humidity, Temperature, and Light Without Fancy Gear
I keep the chamber where I’d keep a fern: bright indirect light near a window, never in direct midday sun. Morning or late-afternoon sun for less than an hour is fine if the glass doesn’t heat up.
For temperature, most tropical cuttings root best at 20–25°C (68–77°F). If your home runs cooler, place the terrarium on top of a wooden board above a radiator shelf or on top of the fridge for gentle warmth — never on a heating mat without testing for hot spots.
For humidity, the sweet spot shows as light fogging on 25–50% of the glass by midday, clearing by evening. Constant dripping means it’s too tight; totally dry walls mean it’s ventilating too much.
Action today: Move the terrarium one step back from a sunny window if you see midday condensation running in streams; heat drives rot faster than humidity helps.
Watering and Ventilation Routine That Actually Works
I don’t “water” like a houseplant. I maintain substrate moisture. I lift a corner of moss every 3–4 days; if it feels barely cool and not springy, I mist with a spray bottle until evenly damp.
I burp the terrarium every 2–3 days for 5–10 minutes to refresh air. If I notice mold spots, I extend that to 30 minutes and fan the opening with the lid.
Step-by-Step Weekly Check
- Open the lid and inspect stems for firmness and color.
- Pinch moss — re-dampen if it no longer feels cool.
- Wipe interior glass with a clean paper towel if slime forms.
- Rotate the container a quarter turn to even out light.
Action today: Set a phone reminder for a 5-minute check every third day — small, regular adjustments prevent 90% of losses.
Know Your Timelines: Rooting and Germination Expectations
Soft cuttings like Pothos, Tradescantia, and Syngonium show roots in 7–14 days. Semi-woody types like Hoya and Monstera adansonii take 2–4 weeks. Seeds of tropical aroids and begonias need steady warmth and constant humidity and sprout in 1–3 weeks depending on freshness.
I pot up when I see 2–3 roots at least 2–3 cm long. I harden them by cracking the lid wider for 3–5 days before moving to a small pot with airy mix (good potting mix blended by hand with a few handfuls of perlite).
Action today: Check for “callus” formation at cut sites after one week; callus plus firm stems means you’re on track even if roots aren’t visible yet.
Prevent Mold and Damping-Off Before It Starts
I never crowd cuttings. Stems shouldn’t touch; air pockets break the chain of spores. I remove any fallen leaves immediately — dead tissue feeds mold.
For seeds, I sow thinly on the surface of pre-moistened sphagnum or fine seed-starting mix and mist with clean water. I avoid bottom water pooling; standing water plus warmth equals damping-off.
Simple Sanitation Upgrades
- Rinse moss with hot tap water before use.
- Soak reusable tools in 1:10 bleach-water for 10 minutes, then rinse.
- Use cinnamon lightly on seed surfaces if you’ve had mold issues.
Action today: Space cuttings at least a thumb’s width apart and remove any yellowing piece the same day you spot it.
Frequently Asked Questions
Do I need a heat mat for faster rooting?
No. Most house cuttings root reliably at typical room temperatures of 20–25°C (68–77°F). If your home runs below 18°C (64°F), add gentle warmth by placing the terrarium on top of a fridge or a bookshelf near a radiator, with a wooden board as a buffer. Avoid direct heat mats unless you can keep the substrate just warm to the touch, never hot.
How wet should the moss be inside the terrarium?
Think “wrung-out sponge.” When you squeeze a handful firmly, no water should drip, but it should feel cool and springy. If water runs when pressed, air out the container and squeeze the moss drier. If moss feels fluffy and dry, mist evenly until it regains that springy feel.
Can I root woody or succulent cuttings this way?
Yes, with tweaks. Let woody and succulent cuttings form a dry callus for 24–72 hours before placing on barely moist medium, and give more ventilation by keeping the lid slightly ajar. For succulents, aim for higher airflow and lower moisture — use pumice or perlite without moss and mist sparingly.
What if condensation completely covers the glass?
That’s too humid and too warm. Prop the lid open 2–3 mm and move the terrarium a little farther from the window to reduce heat. Wipe the glass, remove any fallen leaves, and check stems for softness; if you catch it early, rot won’t set in.
When do I move cuttings from the terrarium to soil?
Transplant when you see multiple roots 2–3 cm long. Pot into a small container with a light, airy mix (standard potting mix cut with a few handfuls of perlite) and keep humidity higher for the first week by using a clear bag or placing the pot back in the terrarium with the lid cracked. Water lightly and let the top centimetre dry before the next drink.
Is tap water okay for misting?
Yes, if your tap water tastes clean and not noticeably salty or chlorinated. If your water leaves white crusts on pots or glass, switch to filtered or let tap water sit out overnight before use. Consistent water quality keeps algae and residue down on the glass.
Conclusion

You don’t need special gear to turn a terrarium into a reliable propagation chamber — just clean tools, airy substrate, steady humidity, and bright indirect light. Set up one container today with two or three favorite cuttings, and follow the short check routine for the next two weeks. Once you see roots, repeat the process with confidence and start a steady pipeline of new plants for your home or for gifting.