How to Source Moss for Terrariums — Wild Collection Rules, Contamination Risk and Store-Bought Alternatives Secrets Exposed
I built my first moss terrarium with a handful I pulled from a shady curb strip. It looked perfect for two weeks, then tiny centipedes and a gray fuzz took over. Since then I’ve sourced moss the right way — legally, cleanly, and with far fewer surprises. In this guide I’ll show you exactly how to collect responsibly, decontaminate safely, and choose reliable store-bought options so your terrarium stays clean and thriving from day one.
What Makes “Terrarium Moss” Different From Outdoor Moss
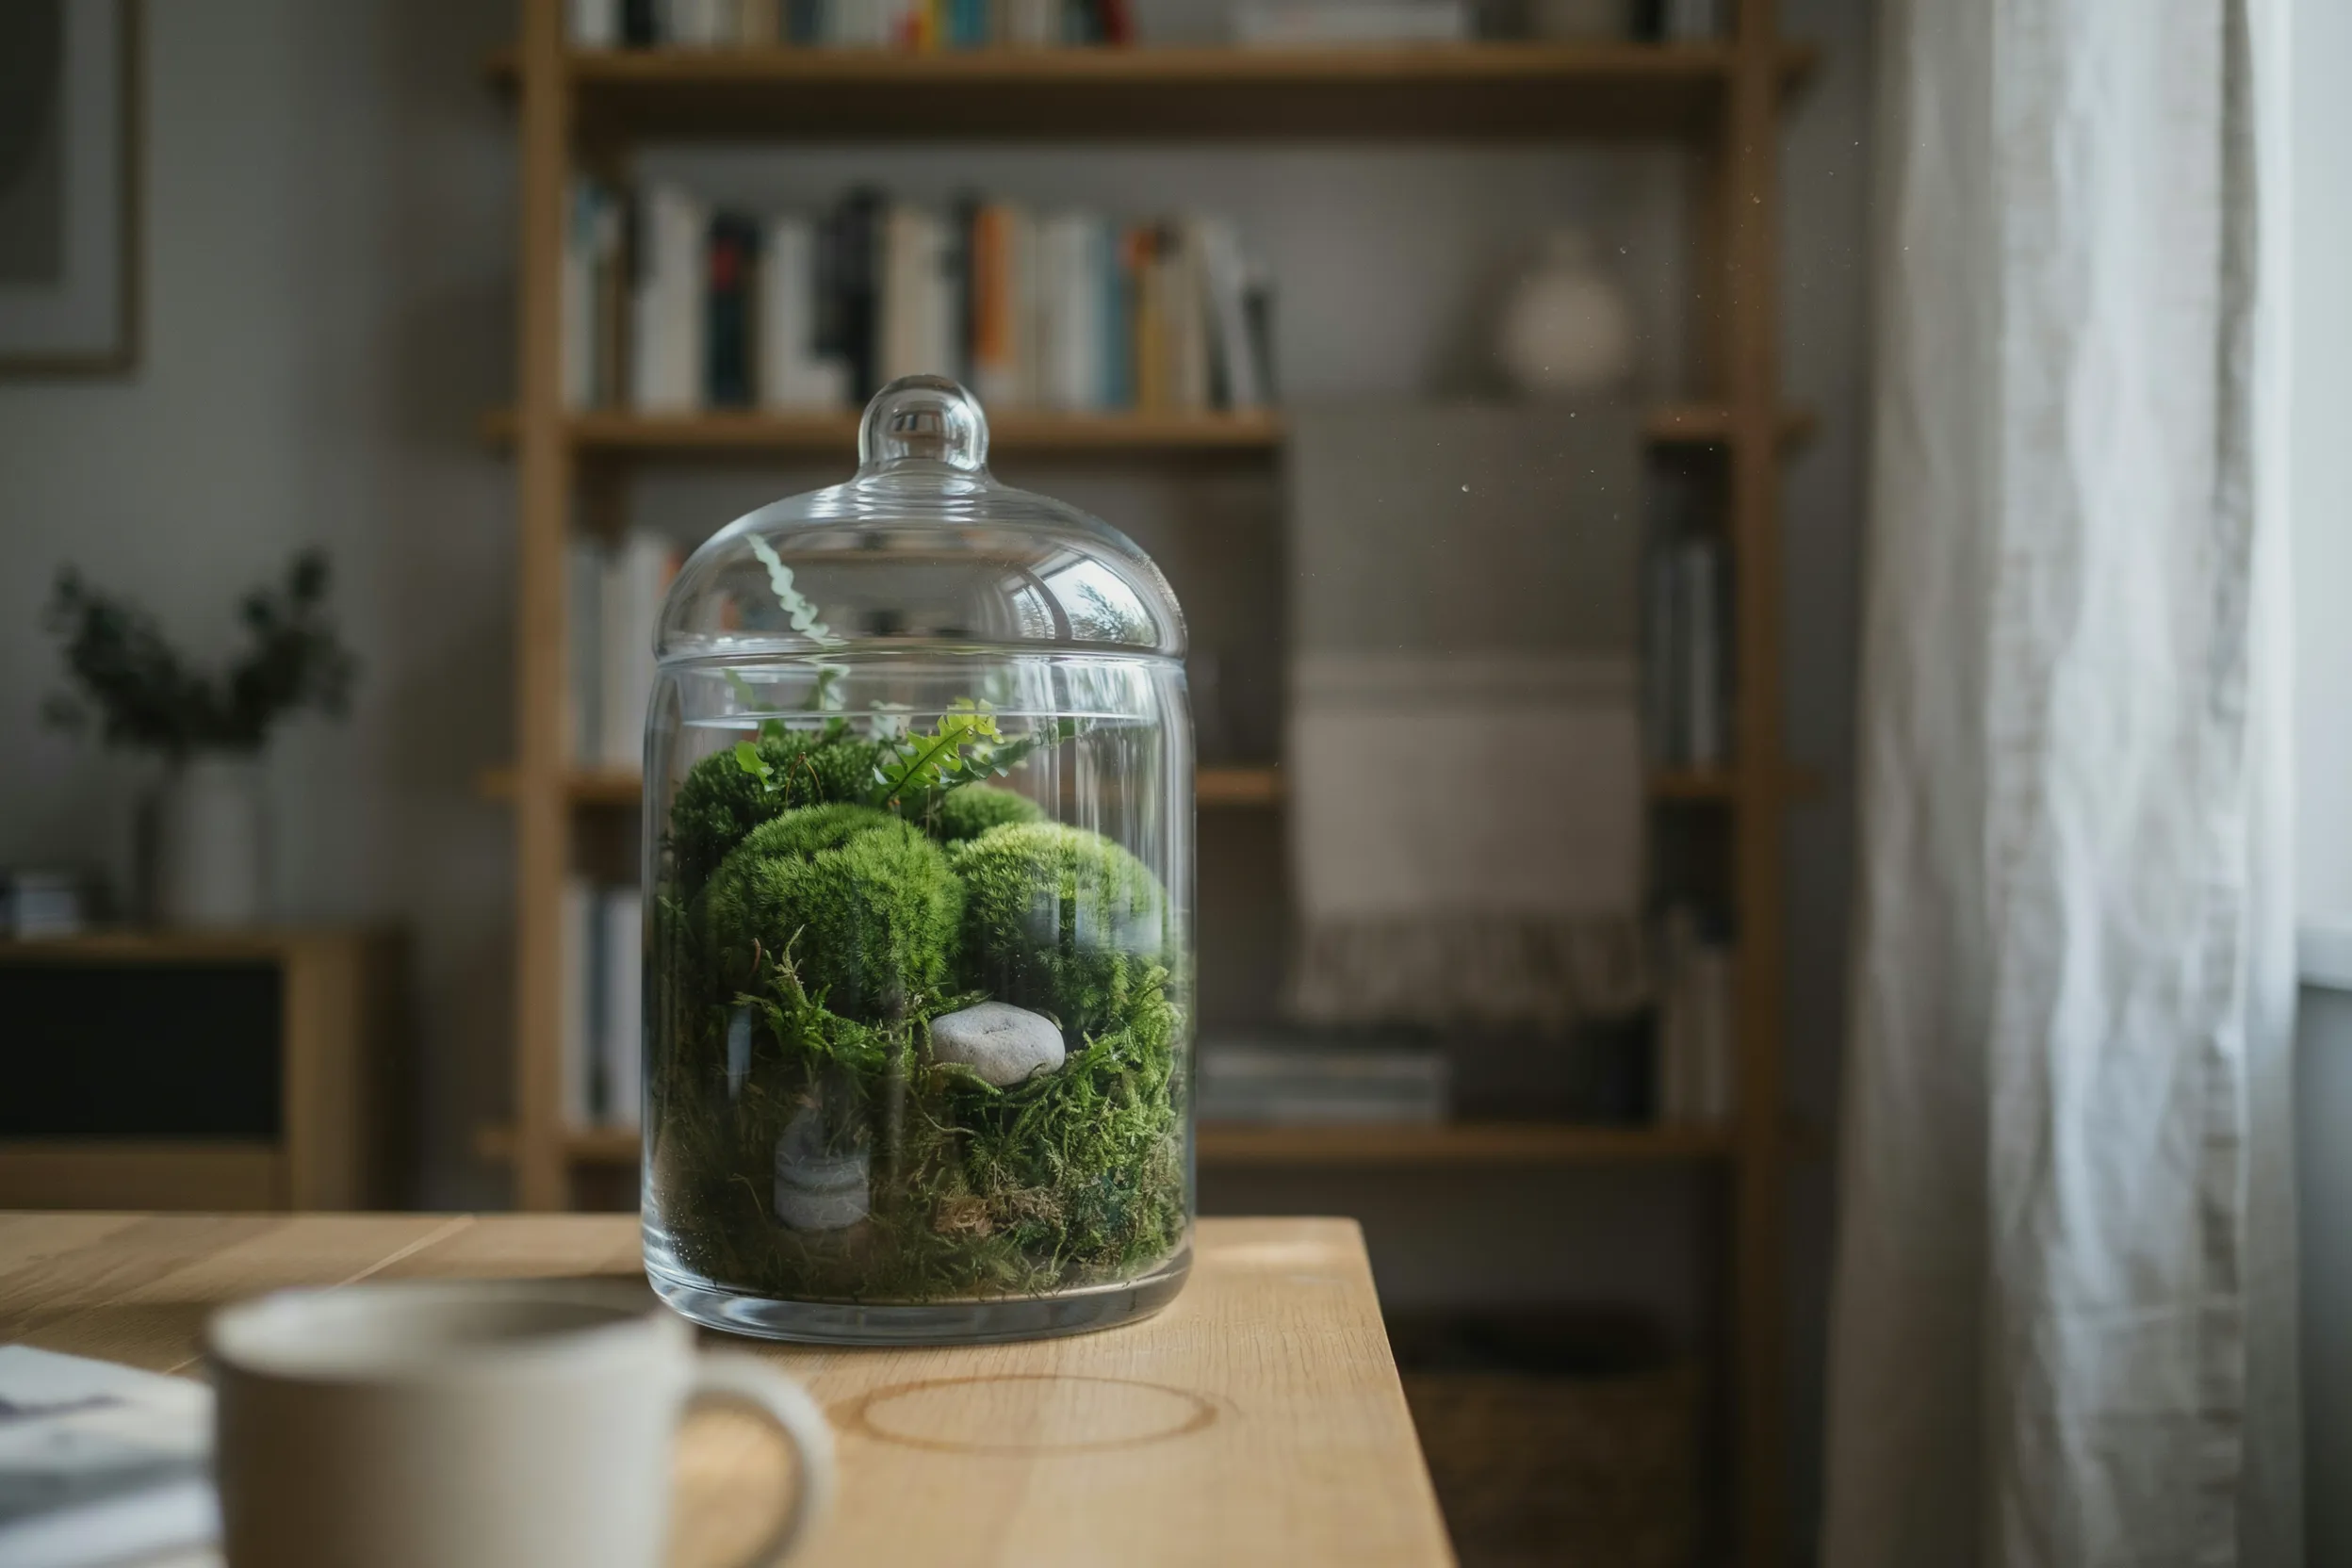
Capsule: Terrarium moss needs to tolerate still air, constant humidity, and limited airflow — conditions that make outdoor moss’s survival traits irrelevant and turn hitchhiker pests into full infestations.
Outdoor moss handles wind, rain, and full microbial competition. A glass container changes everything: still air, constant humidity, and limited airflow favor mold, algae, and pests that hitchhike on wild moss.
In a terrarium, structure matters as much as species. You want low-growing, cushiony forms like Leucobryum (pincushion moss) or creeping mats like Hypnum (sheet moss) that stay compact and tolerate bright, indirect light indoors. According to Moss and Stone Gardens, these three species — Leucobryum, Hypnum, and Thuidium (fern moss) — are the most reliable for enclosed setups because they adapt to lower light and handle the humidity swing of a lidded jar.
| Species | Growth Form | Light Need | Best Terrarium Type |
|---|---|---|---|
| Leucobryum (pincushion) | Cushion mounds, 1–3 cm tall | Low to bright indirect | Closed, high humidity |
| Hypnum (sheet moss) | Flat creeping mat | Low to moderate indirect | Both open and closed |
| Thuidium (fern moss) | Feathery, branching fronds | Moderate indirect | Closed with good ventilation |
Action today: Look at your design and pick one growth form you need — cushion or sheet — before you source anything. That single choice narrows your options and avoids impulse collecting. If you’re building your first terrarium, our beginner’s guide to your first terrarium covers container choice and layer setup.
Wild Collection Rules: Legal, Ethical, and Practical Boundaries
Capsule: Never collect from protected land, take only palm-sized plugs from pesticide-free spots, leave 70%+ intact, and always quarantine for 2–4 weeks before installing in a terrarium.
Never collect from national or state parks, nature reserves, or private property without written permission. Many regions protect bryophytes; fines are real. Check your city, county, or state website for “bryophyte collecting regulations.” The British Bryological Society’s conservation guidelines spell out why even small-scale over-harvesting damages slow-growing colonies that take years to recover.
Collect lightly and selectively. Take small plugs (no more than a palm-sized patch per location), leave at least 70% intact, and avoid stumps and logs that host sensitive species. Choose clean, pesticide-free spots away from roads, dog-walking routes, and treated lawns.
Time it right. Harvest after a dry day when moss feels springy, not waterlogged. Damp clumps pack anaerobic bacteria and break apart in transit.
Action today: Identify two legal, low-traffic collection sites (e.g., your own shaded garden bed and a friend’s yard with permission). Put them in your phone notes so you stop guessing when you need a refill.
How to Collect Moss Without Bringing Home a Zoo
Capsule: Use a butter knife to lift edges cleanly, shake off grit and insects over the collection site, and store in a ventilated container lined with dry paper towels — never sealed plastic bags.
Use simple tools: a butter knife or old credit card to lift edges, scissors to trim, and a lunchbox or shallow Tupperware lined with dry paper towels. Avoid plastic bags — they trap humidity and “cook” the moss.
Lift the moss with as little soil as possible. Slide the blade just under the green layer and keep the brown rhizoids attached for re-rooting. Shake gently to drop grit and insects before it goes in the container.
Label what you took and where. If a batch later shows pests, you’ll know which source to avoid.
Action today: Stash a small “moss kit” by your door: blunt knife, scissors, paper towels, and a flat container. Preparedness prevents rough, dirty harvests.
Decontamination That Actually Preserves Moss Health
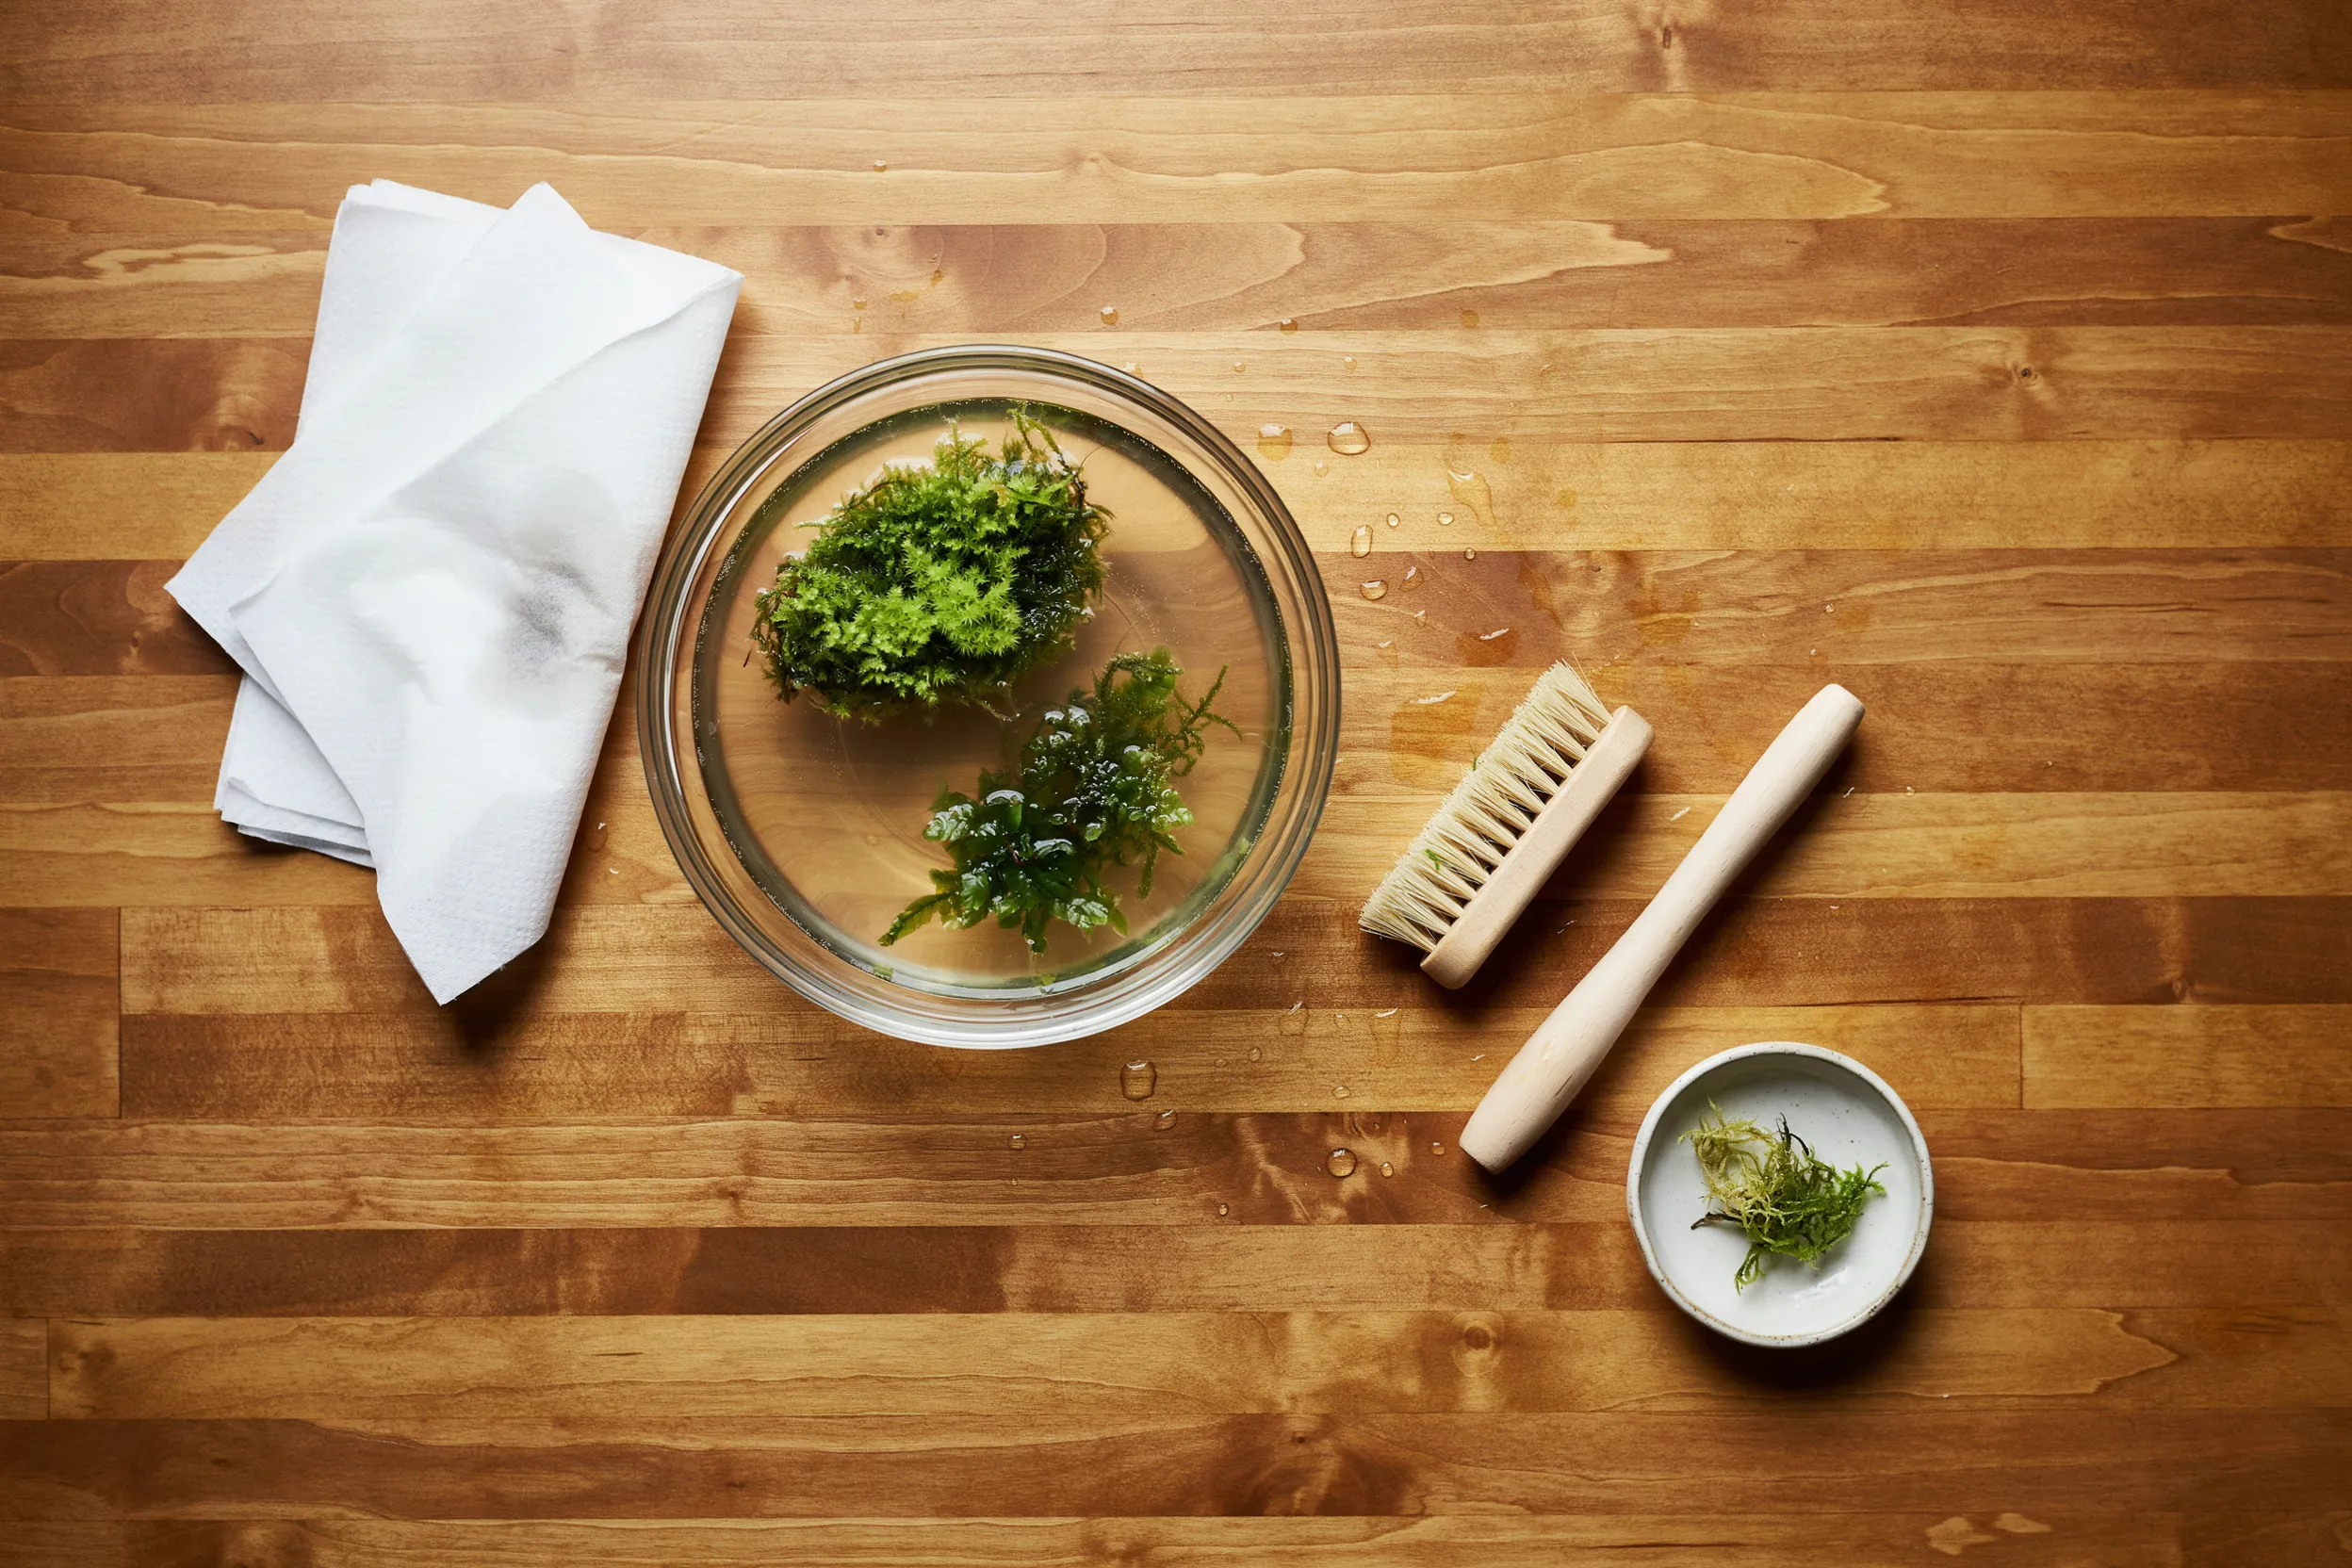
Capsule: Skip bleach and boiling water — both destroy cell walls. Use a mechanical clean (brush, rinse) followed by a 3–5 minute soak in 1 tsp 3% hydrogen peroxide per litre, then quarantine for 48–72 hours.
Skip bleach and boiling water — both damage cell walls and guarantee long-term decline. Aim for mechanical cleaning plus a mild disinfectant that moss tolerates.
Step-By-Step: Cleaning and Quarantine (48–72 Hours)
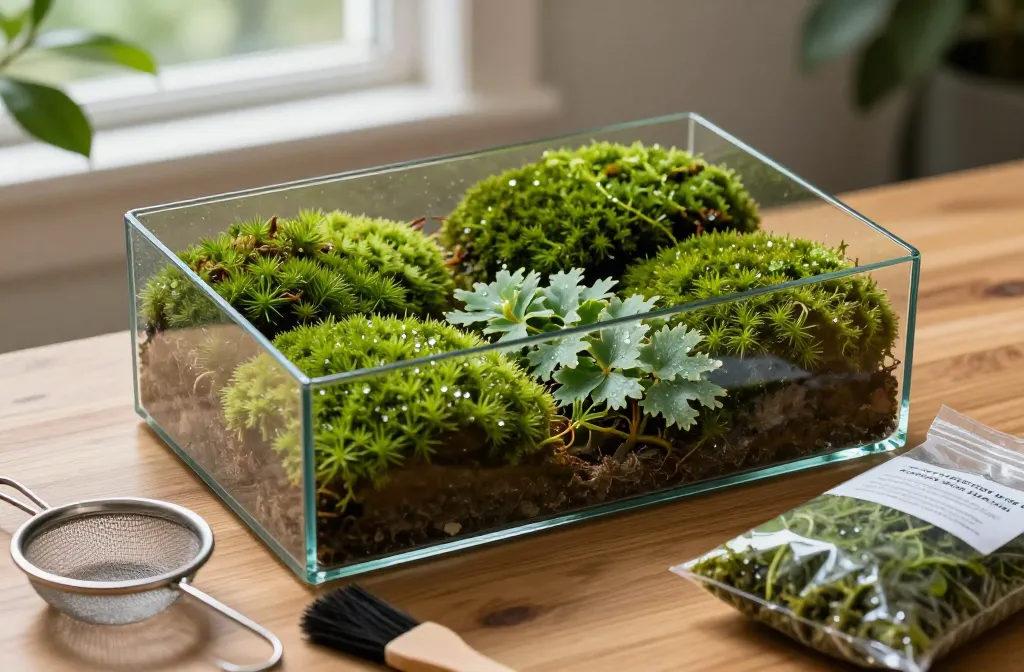
- Dry brush: Over a sink, use a soft paintbrush or clean toothbrush to dislodge soil, tiny insects, and leaf litter.
- Rinse: Swish in a bowl of cool tap water. Replace water until it stays mostly clear. This removes mites and excess spores.
- Mild soak: Prepare a 1-liter bowl with 1 teaspoon 3% hydrogen peroxide. Soak moss for 3–5 minutes, then rinse again. This knocks back algae and surface fungi without burning healthy tissue.
- Squeeze and air: Gently press between paper towels until damp, not dripping. Lay on fresh towels in bright, indirect light for 24 hours.
- Quarantine: Keep moss in a clear food container with the lid ajar for 2–3 days. Check morning and night for springtails, fungus gnat larvae (clear worms in water), or mold fuzz. Remove any suspect pieces.
Action today: Mix that peroxide soak (1 tsp per liter) and run one small batch through the full process before you commit your entire haul.
Contamination Red Flags and Fast Fixes
Capsule: Gray fuzz = ventilate and peroxide-treat. Jumping white dots = springtails from decaying debris. Green slime = algae from too much light or fertilizer. Sour smell = anaerobic bacteria — remove moss, add fresh charcoal.
Warning Signs
- Gray or white webby fuzz within 48 hours: Botrytis or saprophytic fungi thriving in stale air.
- Tiny white dots jumping on the surface: Springtails — harmless in small numbers but signal decaying debris.
- Shiny green slime: Algae bloom from nutrients or bright, wet conditions.
- Musty or sour smell: Anaerobic bacteria from waterlogged substrate.
Step-By-Step Fixes
- For fuzz: Ventilate the terrarium for 12–24 hours. Blot moisture off glass. Pinch out fuzzy tufts. Lightly mist affected area with fresh 3% hydrogen peroxide; let it fizz; blot.
- For springtails: Submerge the moss patch in cool water for 60 seconds and skim off floaters. Reduce decaying leaf bits and keep surfaces clean.
- For algae: Cut back light intensity or duration by 25%, and stop using fertilizer anywhere near the moss layer.
- For odor: Remove the moss, fluff the substrate, add a thin layer of horticultural charcoal or fresh sphagnum, and re-seat the moss only when the smell clears.
Action today: Do a smell and glass check. If more than one-third of the glass shows wet film at midday, crack the lid for two hours to reset humidity. Our terrarium layers breakdown explains how each layer contributes to moisture management.
Store-Bought Alternatives: What’s Worth Your Money
Capsule: Preserved craft moss is dead and dyed — it molds under glass. Buy live, terrarium-grown Leucobryum, Hypnum, or Thuidium from specialty growers; expect $10–30 for a starter portion that arrives pre-cleaned.
Bagged “preserved moss” at craft stores is dyed and dead. It looks good for decor but never regrows and molds faster under glass. Avoid it in living builds.
Look for live listings labeled “terrarium-grown” or “cultured” from specialty growers or reputable garden centers. Common winners: Leucobryum (cushion), Hypnum (sheet), and Thuidium (fern moss). These arrive cleaner, with fewer pests. Specialty vendors like Moss Acres and The Sphagnum Store ship live, pre-cleaned portions specifically for terrarium use.
| Source | Cost | Pest Risk | Best For |
|---|---|---|---|
| Wild collected (legal areas) | Free | High — quarantine mandatory | Experienced keepers who can ID species |
| Specialty online grower | $10–30 | Low — pre-cleaned | Beginners, guaranteed species match |
| Garden center (live section) | $8–15 | Medium — inspect carefully | Same-day sourcing if inspected well |
| Craft store “preserved” moss | $5–12 | Mold risk (dead material) | Decorative only — never living terrariums |
If you buy “live sheet moss” that feels crispy, revive it. Soak for 10 minutes in cool water, drain well, and let it rehydrate for 24 hours on paper towels before installing.
Action today: If you plan to purchase, add “live terrarium moss (Hypnum/Leucobryum)” and “horticultural charcoal” to your garden-center list so you don’t leave with preserved craft moss by mistake. Our moss terrarium step-by-step guide covers which species work in which container type.
Substrate and Water Setup That Keep Moss Clean
Capsule: Build 1 cm rinsed gravel, mesh separator, 2–3 cm potting mix blended 1:1 with sphagnum, then 0.5 cm charcoal under the moss — and always rinse substrate ingredients until runoff is clear to prevent algae-triggering nutrient spikes.
Build a simple base: 1 cm rinsed small gravel, a thin mesh or coffee filter layer, then 2–3 cm fresh potting mix blended 1:1 with rinsed long-fiber sphagnum or fine orchid bark. Top with 0.5 cm horticultural charcoal under the moss to buffer odors. The terrarium layers guide explains why each layer’s order is non-negotiable.
Use water that tastes clean and not salty. Tap water is fine if it doesn’t leave white crusts on your kettle; otherwise, use filtered water. Mist to dampen, not soak — aim for evenly moist soil that doesn’t squish under a fingertip.
Seat moss with full contact. Press it gently so rhizoids touch the surface. Poor contact equals dry pockets and faster dieback.
Action today: Rinse your substrate ingredients in a colander until runoff is mostly clear. That one step prevents the nutrient spike that fuels algae.
Light and Maintenance: Keeping Moss Compact and Clean
Capsule: Bright indirect light only — direct sun overheats glass and cooks moss in under an hour. Set a weekly 5-minute “glass and trim” routine to wipe condensation, pluck fallen leaves, and trim yellowing tips.
Place the terrarium where it gets bright, indirect light — near a window with sheer curtains or a bright room out of direct sun. Direct sun overheats glass and cooks moss in under an hour.
Wipe condensation drips weekly. Use a soft cloth on the glass and tweezers to pluck fallen leaves. Trim any yellowing tips with clean scissors to trigger fresh, dense growth.
Action today: Set a weekly 5-minute “glass and trim” reminder on your phone. Small, regular care beats emergency rescues. If you’re sourcing moss for a bioactive terrarium, add springtails after the 2-week quarantine window to manage mold organically.
Frequently Asked Questions
Can I use the bright green moss from my sidewalk cracks?
You can, but it often carries road dust, salts, and weed seeds. Rinse thoroughly and do the 3–5 minute hydrogen peroxide soak before quarantine. Expect mixed results because many sidewalk mosses prefer drier, brighter conditions than a closed terrarium. Use it in an open terrarium or test a small patch first.
How do I know if moss is still alive when it looks dry and brown?
Soak a small piece in cool water for 10 minutes and place it in bright, indirect light. Living moss greens up within 24–48 hours and feels springy. Dead moss stays dull, brittle, and sheds when handled. Only install pieces that perk up during this test.
Is store-bought “sheet moss” from the craft aisle okay for living terrariums?
No. Craft “sheet moss” is preserved or dyed and won’t regrow. It can shed color, smell musty, and trap moisture that encourages mold. Choose live, terrarium-suitable species from garden centers or specialty growers instead.
Do I need springtails and isopods to control mold?
They help in bioactive setups, but they aren’t mandatory. Good airflow management, clean substrate, and peroxide spot treatments handle most early mold. If you add springtails, introduce a small culture after quarantine and avoid overfeeding — decaying food causes the very mold you’re trying to prevent.
How wet should the moss be when I close the lid?
Think “wrung-out sponge.” If you press a fingertip into the moss and it leaves a faint print without water pooling, you’re set. After closing, check condensation at midday; if more than one-third of the glass stays fogged, vent for 1–2 hours. Dial this in during the first week.
What’s the biggest mistake people make when sourcing wild moss?
Skipping quarantine. Wild moss almost always carries pest eggs, mold spores, or pesticide residue that won’t show up for 1–2 weeks. Running the full brush-rinse-peroxide-quarantine cycle takes 3 days and prevents weeks of frustration with an infested terrarium.
Conclusion
You don’t need special gear to source great terrarium moss — just legal awareness, a gentle cleaning routine, and smart buying choices. Start small: process one batch with the rinse–peroxide–quarantine steps, then install it over a clean, charcoal-buffered substrate. Once you see clear glass, steady color, and compact growth for two weeks, scale up with confidence for your next build.