How to Build a Diy Living Wall Frame — Waterproofing, Weight and the Irrigation Line You Need Secrets
I built my first living wall on a rented apartment wall using nothing more than a drill, a level, and a stubborn streak. I learned fast that the frame isn’t the hard part — keeping water where it belongs and keeping the whole thing safely on the wall is. In this guide I’ll show you the exact materials, dimensions, and steps I now use, including waterproofing that doesn’t leak, safe weight limits, and a simple irrigation line anyone can install. You’ll finish with a wall that looks lush and doesn’t wreck your drywall.
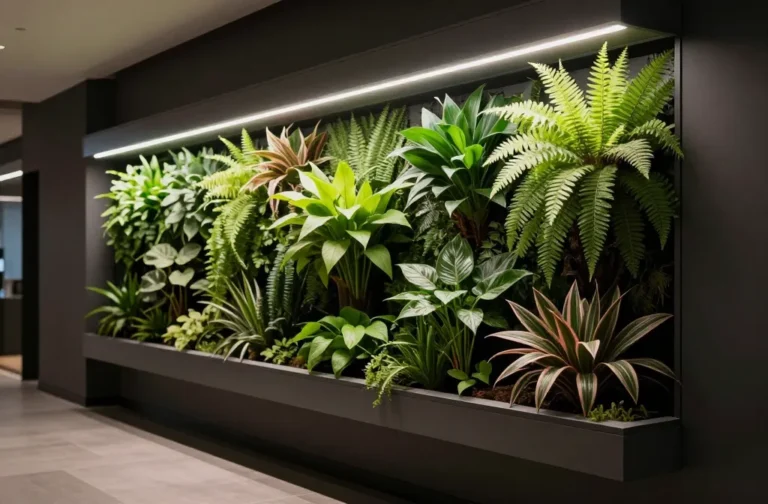
Choose A Frame That Can Handle Moisture And Weight
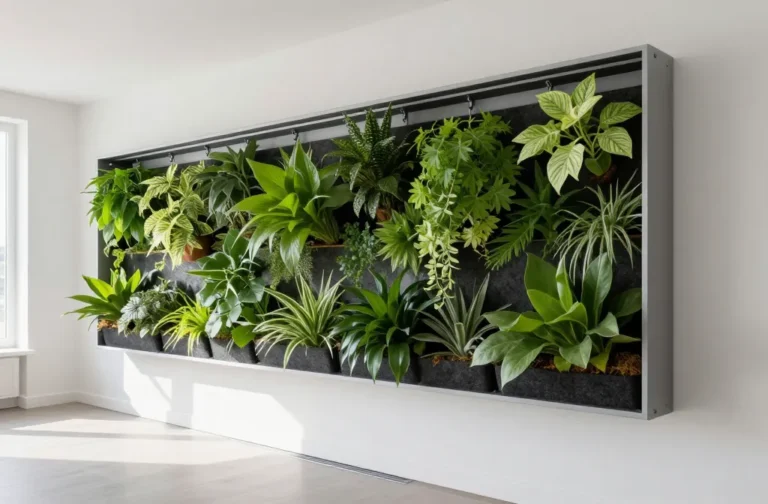
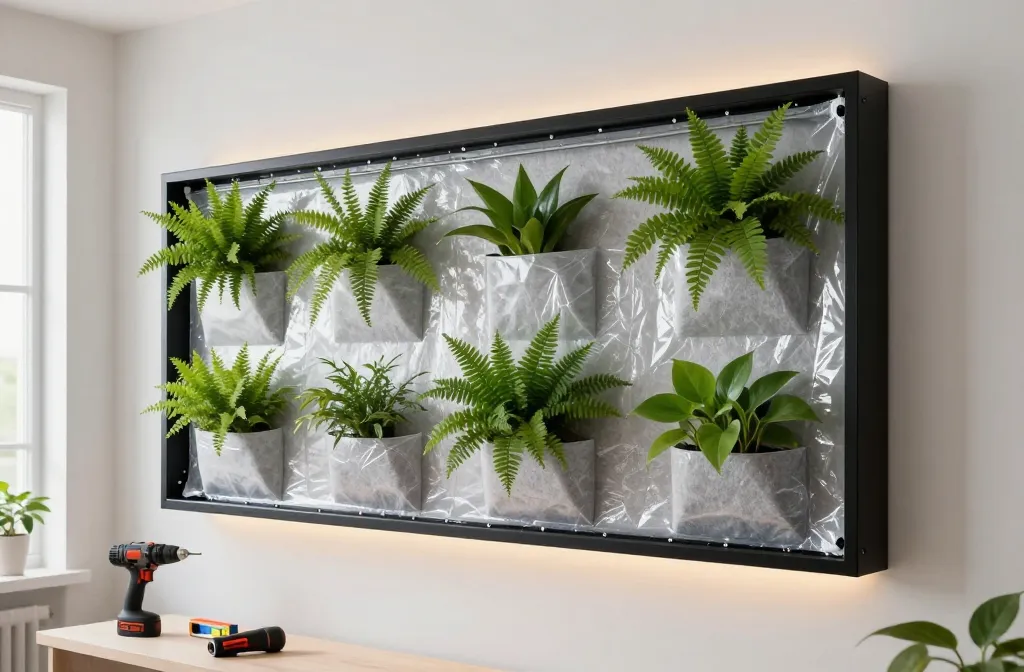
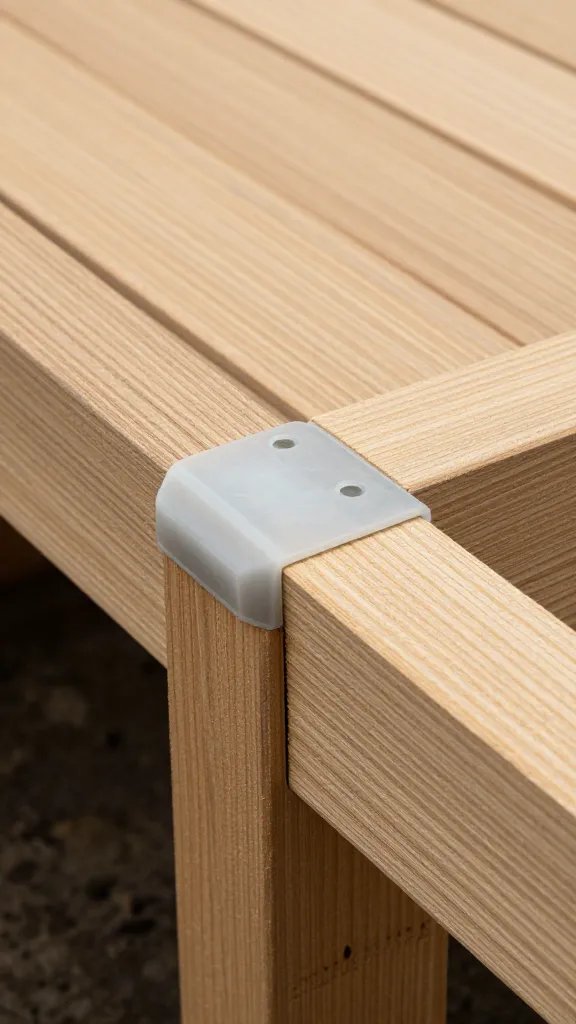
I use a shallow, rigid frame that spreads weight across studs. A simple 90 x 60 cm (36 x 24 in) rectangle works well for apartments, with an internal depth of 6-8 cm (2.5-3 in) to hold a felt pocket panel or modular planters.
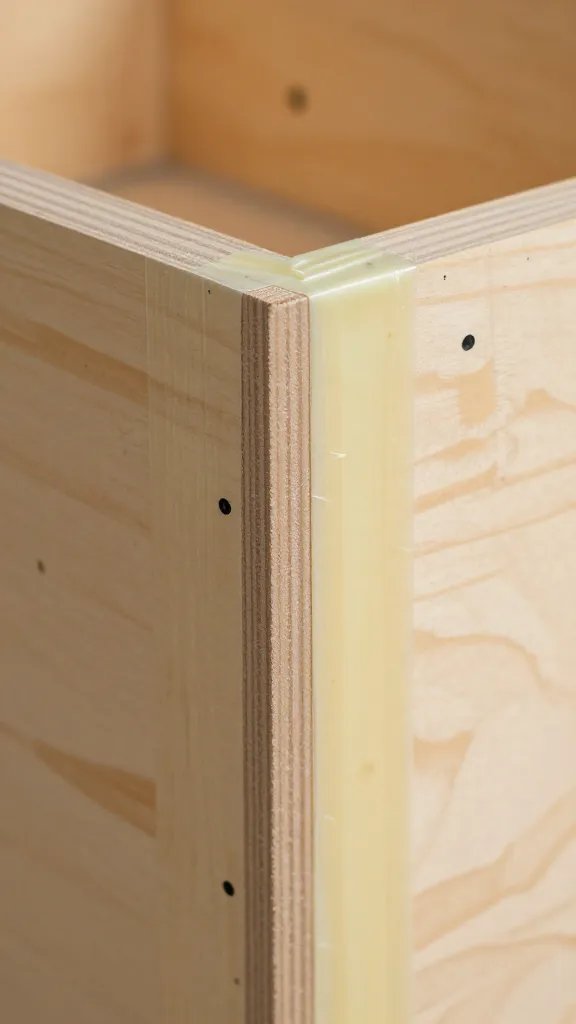
Build from exterior-grade plywood or composite deck boards. Avoid MDF — it swells with humidity. I add an internal cross-brace so the back panel never bows once plants and water go in.
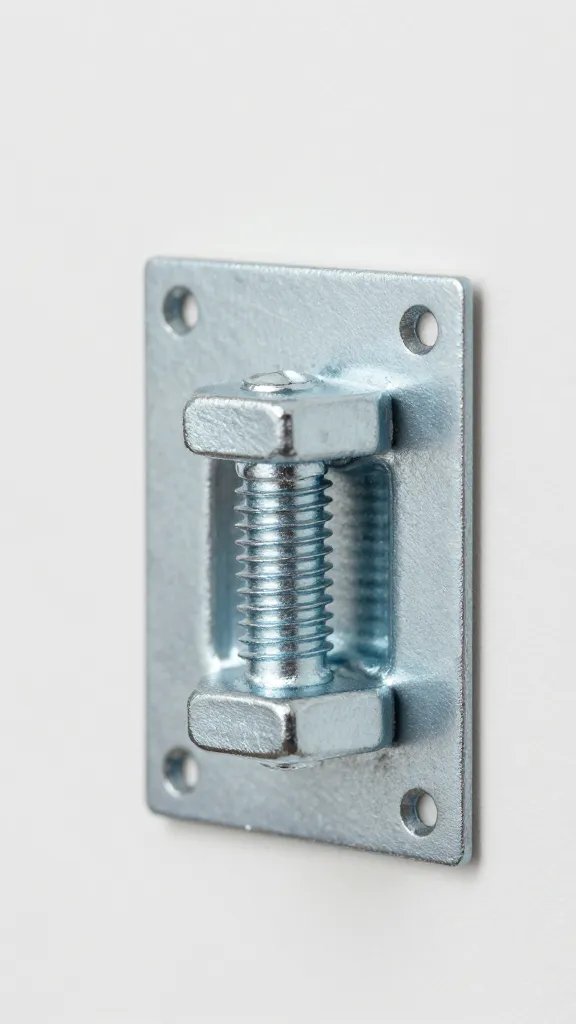
Always mount into studs with two heavy-duty French cleats rated for at least 90 kg (200 lb) combined. For brick, use masonry anchors rated for the same.
Action today: Grab a stud finder and mark two studs 30-40 cm apart where your frame will hang — that determines your safe max width.
Waterproof The Back And Sides Like A Shower Niche
Assume water will find every gap. I line the interior with a continuous waterproof layer and add a small lip to catch drips at the bottom.
Paint two thick coats of a roll-on waterproofing membrane over the interior (the same type sold for bathrooms). Bridge all corners and seams with the manufacturer’s fabric tape so the coating can flex without cracking.
Staple a single sheet of pond liner or thick PVC liner over the back and wrap it 2-3 cm up the sides. Seal edges with exterior-grade silicone. Add a 1 cm front lip (a slim strip of plastic trim) to keep splash inside the frame.
Warning Signs You Skipped Waterproofing
- Mildew smell behind the frame within two weeks.
- Bubbling paint on the wall around the frame edges.
- Rust marks under the frame from hidden drips.
Action today: Buy a 5 L bucket of roll-on waterproofing and a small roll of seam tape — this is the single most important leak safeguard.
Keep The Weight Manageable: Do The Math Before You Plant
Wet media is heavy. Plan for 10–12 kg per square meter for felt systems and 35–45 kg per square meter for modular planters filled with potting mix when fully saturated.
A 90 x 60 cm felt-pocket panel with 12 plants weighs about 10–15 kg wet. The same area with plastic pots and soil can hit 20–25 kg. Hardware must exceed that with a clear margin.
Spread load: use a full-size plywood backer (at least 12 mm/1⁄2 in) mounted to studs with 6–8 structural screws, then hang the frame to the backer via French cleats. This prevents point loads that rip drywall.
Safe Hardware Checklist
- French cleat set rated ≥ 90 kg.
- 6–8 structural screws, 6-8 cm long, into studs.
- Large fender washers to prevent wood crush.
Action today: Weigh a single planted pot after soaking and multiply by the number of pockets — confirm your cleat rating beats that total by at least 2x.
Pick A Planting System That Won’t Rot Indoors

For beginners, I recommend a felt pocket panel or small modular planters that click into a tray. Felt drains fast and resists waterlogging, while modular cells keep roots contained and easy to swap.
Use a good quality potting mix with perlite for modular cells. For felt, wrap roots in potting mix held by a piece of mesh or landscape fabric so the media doesn’t erode. Avoid pure garden soil — it compacts and suffocates roots.
Indoor-Proof Plant List
- Bright indirect light: Epipremnum (pothos), Philodendron hederaceum, Nephrolepis (Boston fern), Peperomia, Tradescantia.
- Lower light: Asplenium (bird’s nest fern), Scindapsus pictus, ZZ cuttings in modular cells, Heartleaf philodendron.
- Herb wall near a sunny kitchen window: Mint, oregano, thyme, parsley in modular cells only.
Action today: Choose one plant type per row so watering needs match — ferns together, vines together, herbs together.
Install A Simple, Reliable Irrigation Line
I run a single low-flow drip line along the top row and let gravity handle the rest. You do not need pressure-compensating emitters indoors — a basic drip kit from your garden centre works well.
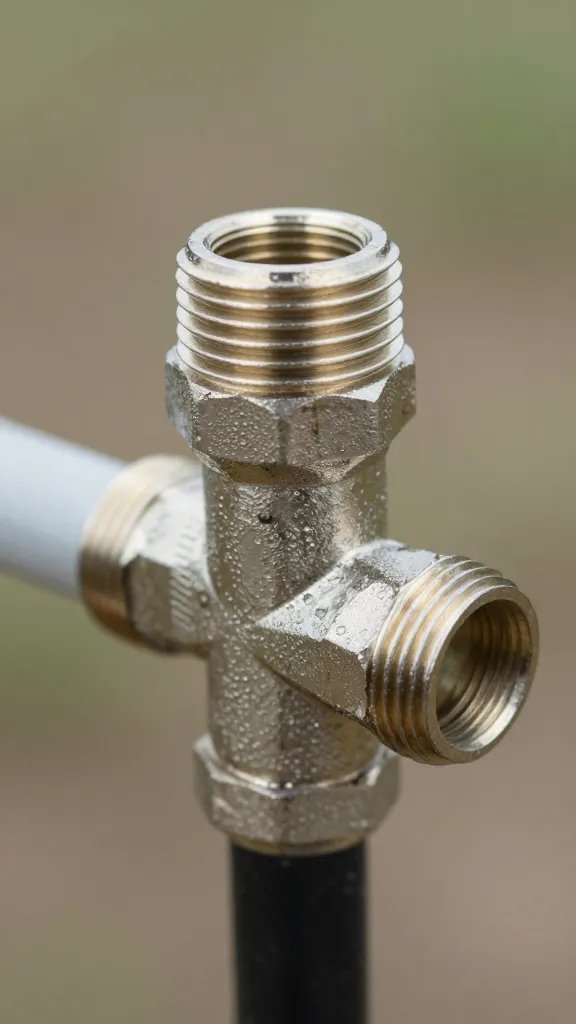
Use a 1/4 in vinyl tube from a small submersible pump sitting in a bucket or decorative reservoir on a nearby shelf. Add a simple in-line ball valve to fine-tune flow. Run the tube to the top of the frame and secure it with clips.
Punch 1–2 mm holes or install 1 L/h drippers every 10–12 cm for felt, or one dripper per modular cell. Test flow for 2–3 minutes and watch that all rows dampen without runoff.
Step-By-Step: First Irrigation Test
- Fill a 10–20 L bucket with tap water that tastes clean, not salty.
- Place a small fountain pump in the bucket and attach the 1/4 in tube.
- Run the tube to the frame’s top and secure it level.
- Open the valve halfway and switch on the pump for 2 minutes.
- Check each pocket or cell for even moisture; adjust hole spacing or add a dripper where dry.
- Unplug the pump and let the system drain fully.
Action today: Buy a fountain pump labeled for tabletop fountains (200–400 L/h) — it’s quiet, cheap, and perfect for small walls.
Control Leaks With A Drain Bar And Catch Tray

Plan for a few extra drops during watering. I screw a narrow aluminum angle (or plastic L-trim) along the bottom inside edge as a drain bar so water runs to the center and drips into a hidden tray.
Place a low-profile plant tray or boot tray under the frame, lined with a strip of capillary mat to stop splashes. If you prefer zero drips, add a short return tube at the center of the drain bar back to your reservoir bucket.
Test at full flow for 5 minutes over newspaper before mounting on the wall. If the paper stays dry, your seals and tray are right.
Action today: Cut a 60–90 cm length of L-trim and dry-fit it to the frame bottom — confirm it tilts 2–3 mm toward center for controlled drainage.
Mount Safely And Protect The Wall Surface
Before hanging, stick a sheet of peel-and-stick waterproof membrane or thin foam underlayment on the wall where the frame will sit. This prevents condensation rings and protects paint.
Hang the frame on the French cleat, confirm it’s level, then load plants starting from the bottom row. Plug in the pump only during watering. Keep a smart plug timer for hands-off 2–4 minute sessions, twice a week at first.
Action today: Set a timer on your phone for a 3-minute watering and watch for any side drips — adjust immediately while it’s easy.
Routine Care That Prevents Smells, Gnats, And Droop
Most indoor failures come from chronic overwatering and stagnant air. Keep the media just moist, not wet. Leaves should never glisten long after watering.
Give the wall bright indirect light near a window. Rotate any weak growers to the top row for better light. Feed every 6–8 weeks with half-strength liquid houseplant fertilizer in the reservoir.
Quick Fixes For Common Issues
- Musty smell: Skip two waterings, run a desk fan at low for 2 days, trim any yellowing leaves.
- Fungus gnats: Let the top layer dry, add a thin layer of horticultural sand in modular cells, and run yellow sticky traps near the frame edges.
- Uneven growth: Swap plant positions left-to-right and top-to-bottom every 4 weeks.
Action today: Put a small fan on a 1-hour daily schedule aimed past (not directly at) the wall to keep foliage dry.
Frequently Asked Questions
Can I build a living wall without a pump?
Yes. Use a watering can and pour slowly along the top row until you see the second row dampen. Water again 1–2 days later if the bottom still feels dry. Place a catch tray under the frame and always test with newspaper first to confirm no leaks.
How often should I run the irrigation line?
Start with 2–3 minutes twice a week. If leaves feel limp by day three, add one extra minute per session. If you see drips into the tray during watering, reduce by 30 seconds and wait 24 hours before the next run.
What if my wall doesn’t get much light?
Keep the wall within 1–2 meters of a bright window without direct midday sun. Choose tough low-light plants like heartleaf philodendron and bird’s nest fern. If growth still stalls, add a slim LED grow bar on a 10-hour timer mounted 20–30 cm from the foliage.
Will this damage a rental wall?
Not if you anchor into studs, use a protective membrane behind the frame, and contain water with a liner and catch tray. Keep watering short and controlled. When moving out, remove the cleat, patch the screw holes, and repaint — standard rental repairs.
How do I fertilize without causing salt buildup?
Mix liquid houseplant fertilizer at half strength into your reservoir once every 6–8 weeks. After two feedings, flush with plain water for one full watering cycle to rinse residues. If leaf tips brown, skip the next feeding and add one extra flush.
Conclusion
You now have a clear plan: a sturdy frame that spreads weight, a real waterproofing system, and a simple drip line you can control to the minute. Start small — build a 90 x 60 cm panel, prove the irrigation for a week, then scale up with confidence. If you want next steps, sketch your frame, list the exact parts from this guide, and pick one plant collection per row — by this weekend, you’ll have a living wall you trust to stay on the wall and off the floor.