How to Build a Bioactive Terrarium Substrate — Layers, Microfauna and Long-Term Soil Health That Just Works Fast
I ruined my first “self-sustaining” terrarium by packing in fancy soils and skipping the cleanup crew. Three weeks later, fungus gnats and a sour smell told me everything I needed to know. Since then, I’ve dialed in a simple, repeatable substrate that stays springy, drains well, and supports a thriving microfauna community. You’ll learn the exact layers, the right microfauna, and the simple maintenance that keeps the soil alive for years.
What “Bioactive” Really Means (And Why Your Plants Care)
A bioactive terrarium runs on living soil. Microfauna like springtails and isopods break down dead leaves and waste, turning them into nutrients your plants can actually use.
When the soil life works, you avoid stagnant pockets, chronic mold, and nutrient crashes. The result is slower, steadier growth and far fewer interventions.
Action today: Decide on your cleanup crew now — plan to add springtails at minimum, and isopods if your footprint allows.
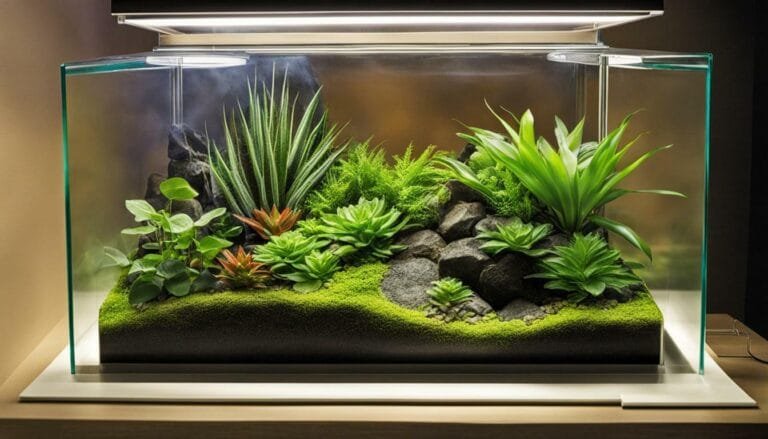
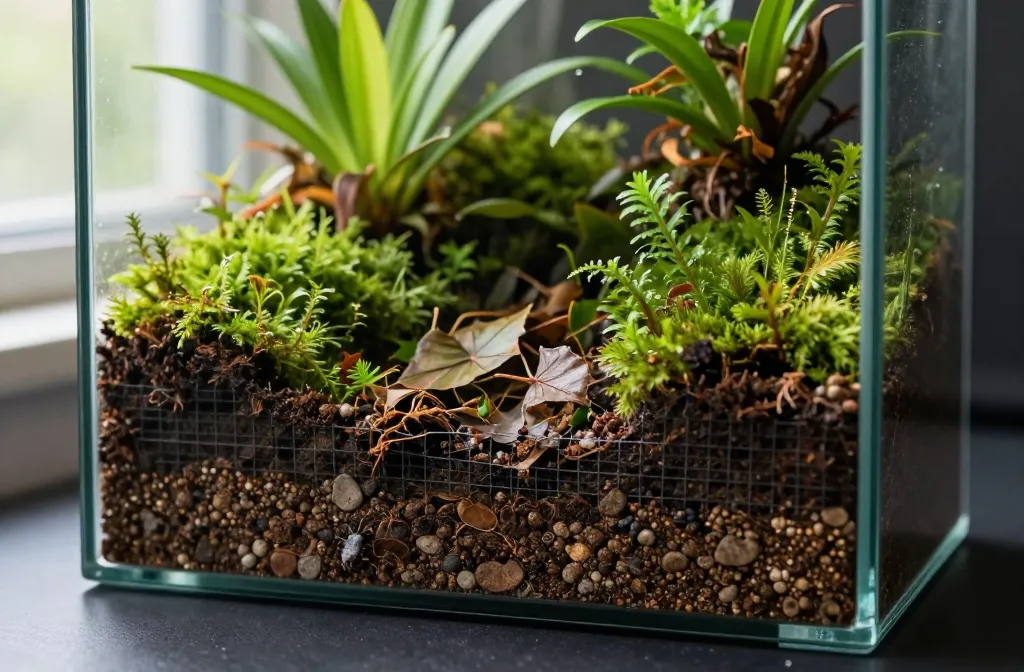
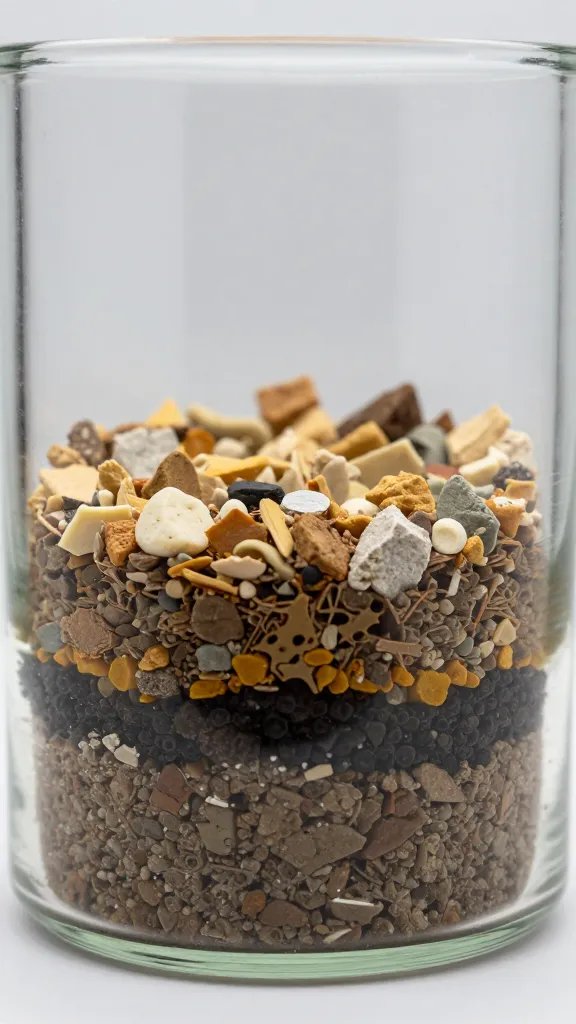
The Layered Foundation: Drainage, Barrier, and Soil That Breathes
Think of the base like a sandwich: a coarse drainage layer, a barrier that keeps soil out, and a chunky, airy soil on top. These layers prevent root rot and keep the water cycle predictable.
Materials You Can Buy Anywhere
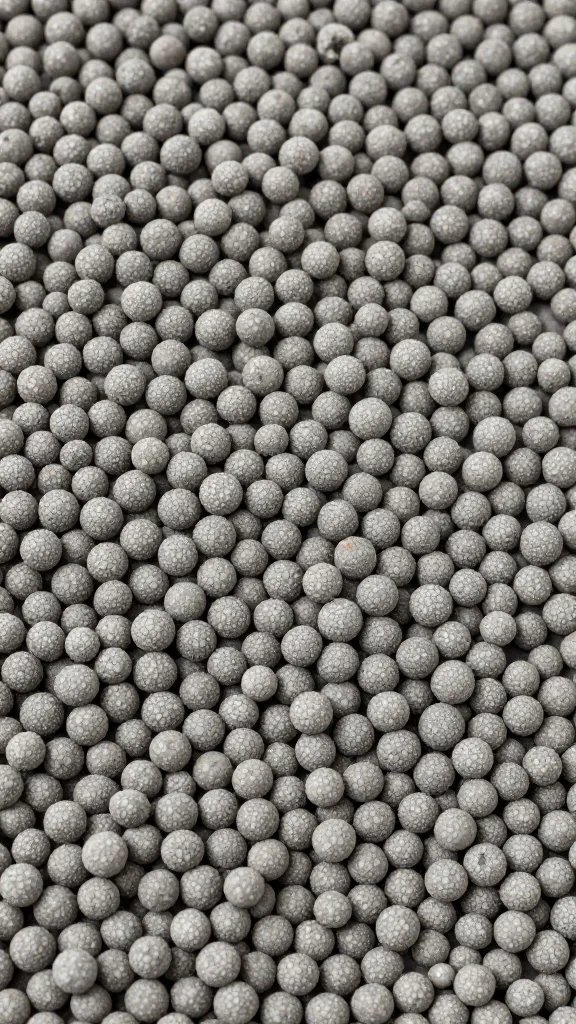
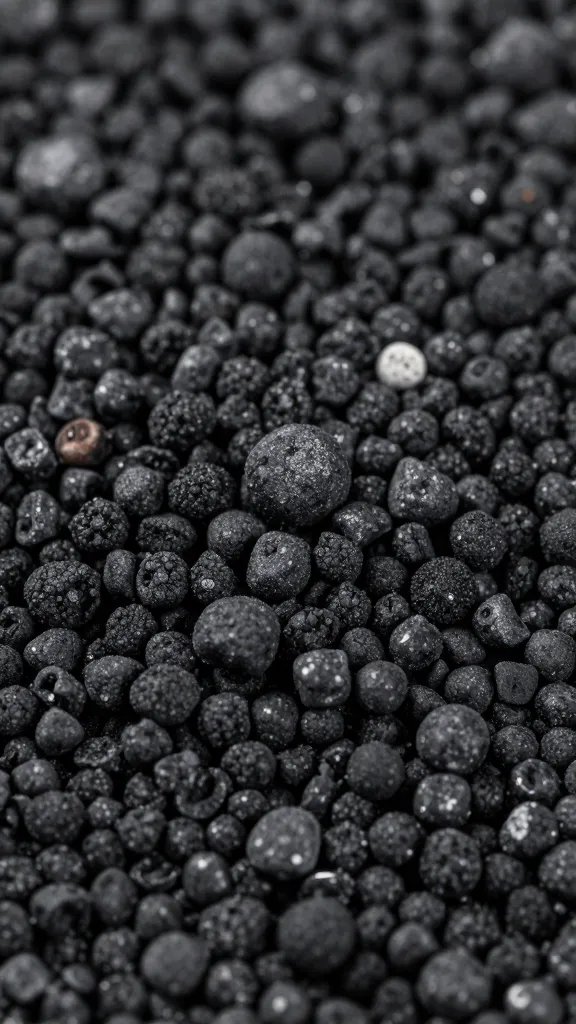
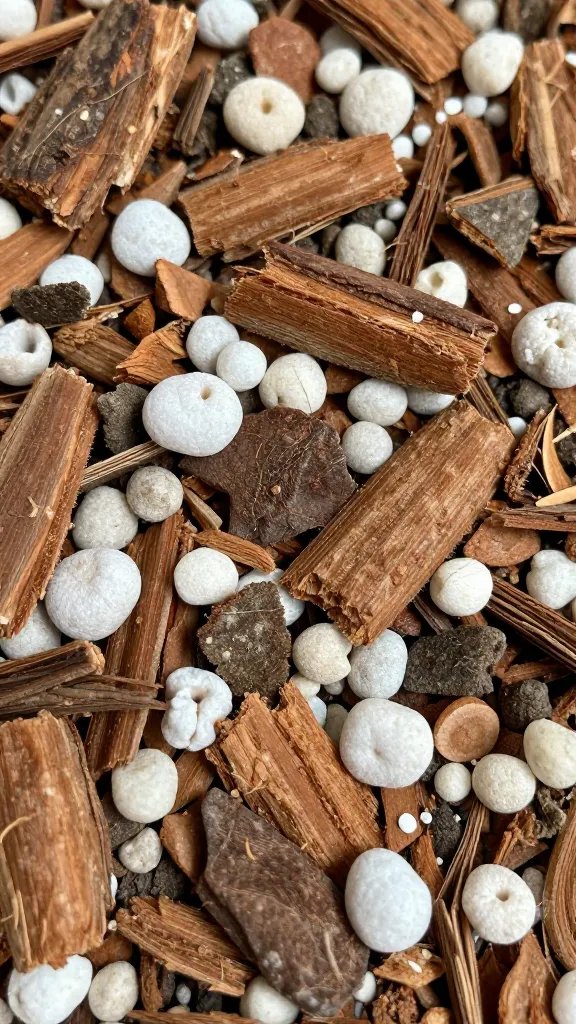
- Drainage layer: 1–2 inches of rinsed aquarium gravel, LECA (clay balls), or chunky lava rock.
- Barrier: Window screen mesh or a cut piece of landscape fabric. Coffee filters work in a pinch.
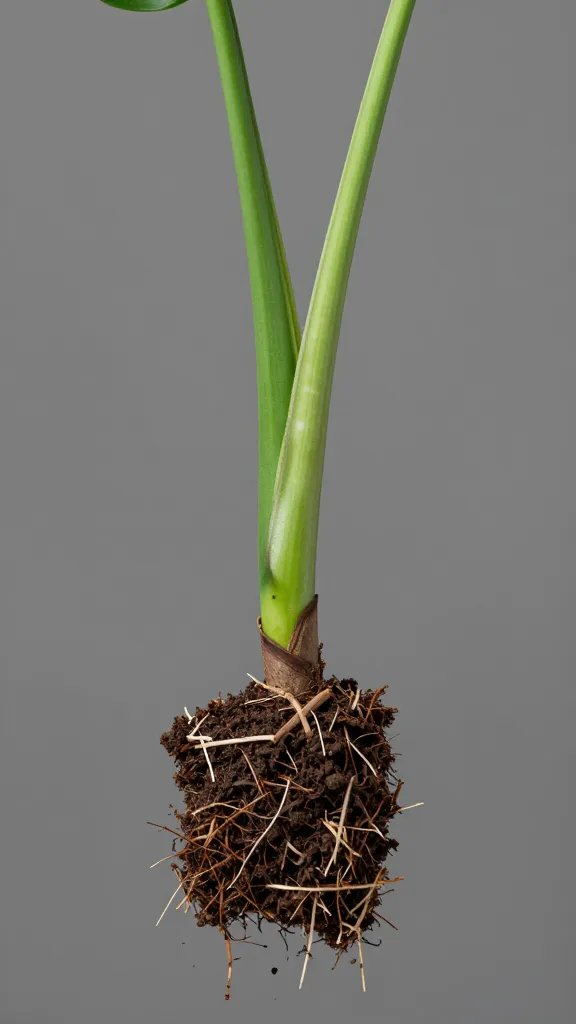
- Soil layer (8–12 cm / 3–5 inches): 2 parts good quality houseplant potting mix, 1 part orchid bark or pine bark fines, 1 part horticultural charcoal or lava rock grit, and a handful of long-fiber sphagnum teased in.
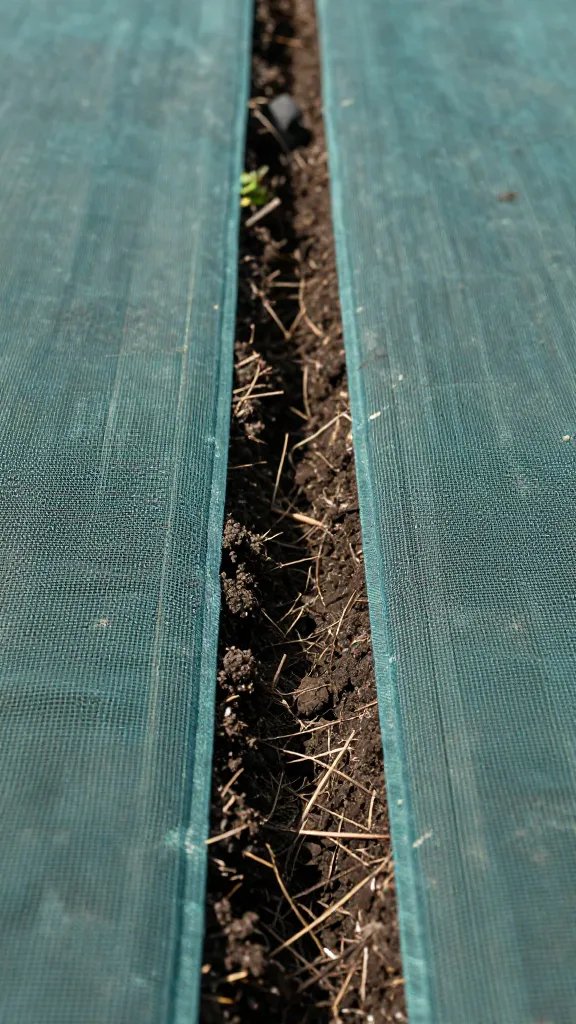
- Topdress: Leaf litter (oak or magnolia), small twigs, and a bit of sheet moss for cover.
Assembly Steps
- Rinse the gravel/LECA until runoff is clear. Add 1–2 inches to the base.
- Lay the barrier flat so it covers edge-to-edge. Trim to fit tight.
- Blend your soil by hand in a bucket. Aim for a mix that stays loose when squeezed and breaks apart easily.
- Add soil in 2–3 layers, firming lightly with your fingers. Shape gentle slopes for interest and drainage.
- Topdress with a thin layer of leaf litter and a few thumb-sized wood bits.
Action today: Pick up a bag of orchid bark and a small bag of horticultural charcoal to “open up” your usual potting mix — that single change stops most compaction issues.
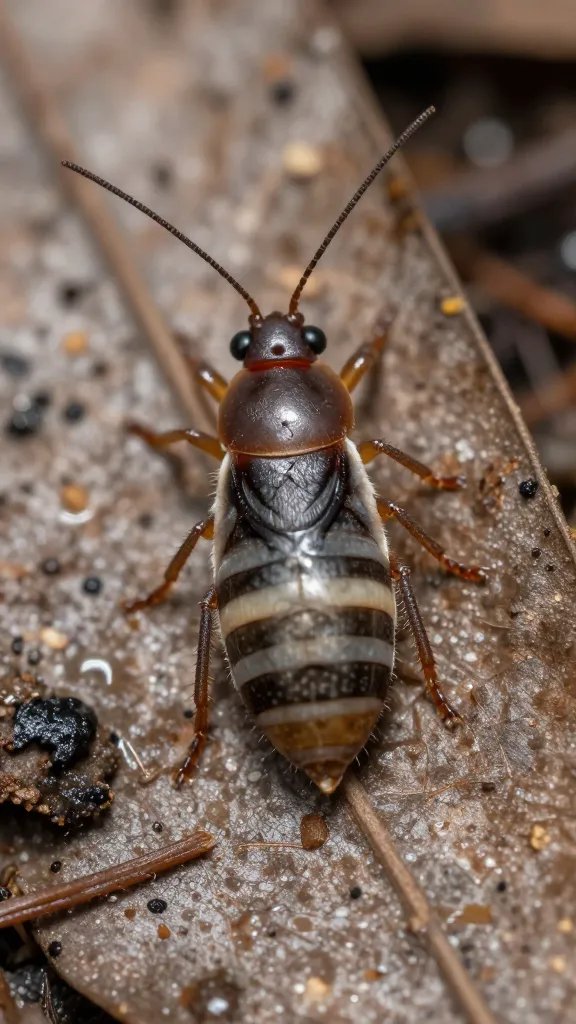
The Cleanup Crew: Springtails, Isopods, and How Many You Actually Need
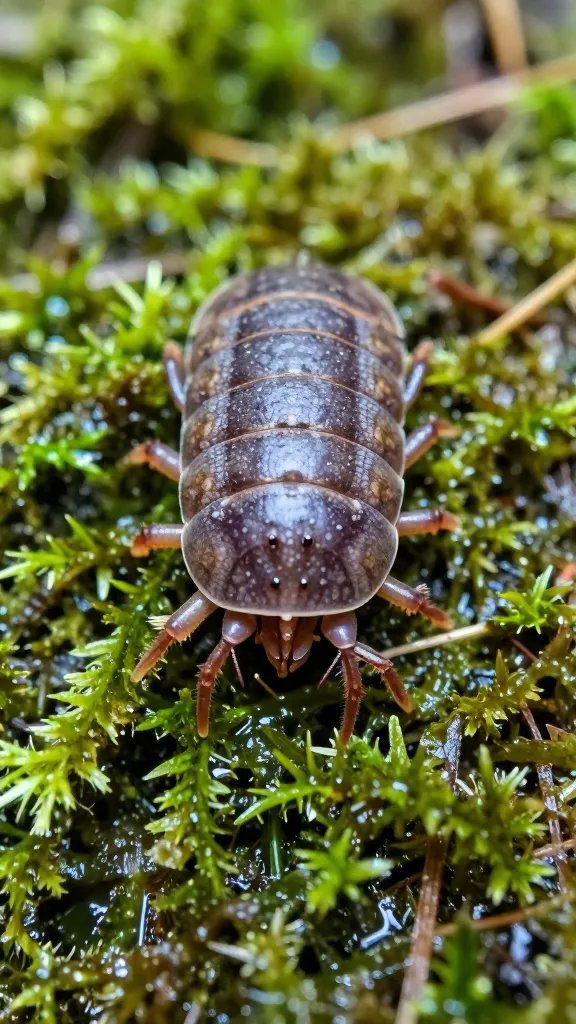
Springtails eat mold before you ever see it. Isopods chew down leaves and wood, build soil structure, and keep waste moving. Together, they close the nutrient loop.
What to Add and When
- Springtails: Add one culture per 10–15 liters of terrarium volume. Tap the charcoal carrier across the soil and leaf litter after your first light watering.
- Isopods: Only if your layout has leaf litter depth and hiding spots. Start with 10–20 small isopods in a medium jar or 30–40 in a 10–15 gallon build.
- Food: A pinch of fish food flakes or a small piece of dried leaf every two weeks until the system matures.
Warning Signs and Fixes
- Visible mold fuzz: Add more springtails and increase airflow for 24–48 hours by cracking the lid.
- Isopods wandering glass all day: Substrate too wet or not enough cover. Add leaf litter and lift the lid for an hour.
- Gnats: Soil staying soggy. Use yellow sticky tabs outside the glass and reduce moisture until the top 1 cm feels barely damp.
Action today: Order a springtail culture now — add them the same day you plant and water in.
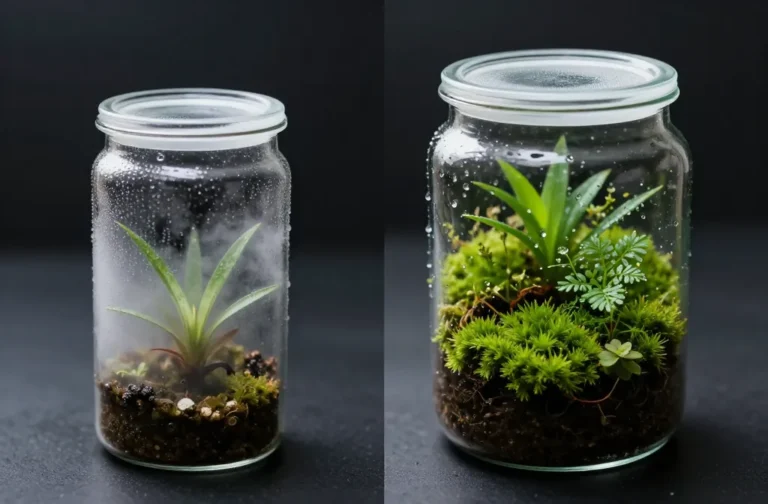
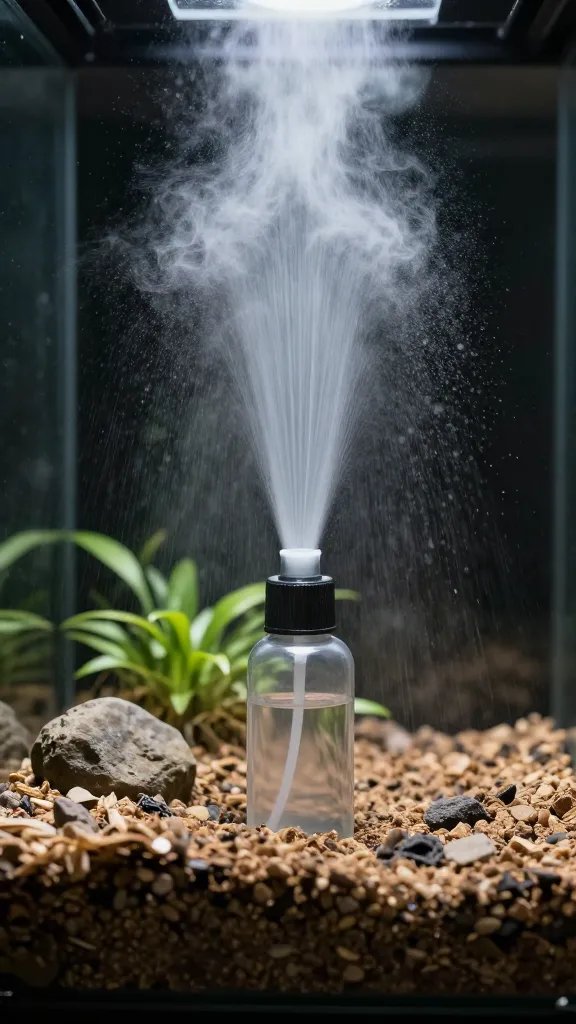
Moisture Management Without Gadgets
You don’t need meters. You need consistent texture and visual cues on the glass. The goal: evenly moist soil that never slumps into mud.
Set the Baseline Moisture
- After planting, mist until the top 2–3 cm are evenly damp. Do not pour.
- Watch condensation by midday on day two. You want a light fog on the upper third of the glass, clearing by afternoon.
- If more than half the glass is wet, crack the lid for 1–2 hours. If no condensation at all, mist lightly again.
Simple Rules That Work
- Closed terrarium: Expect to add a few sprays monthly, not weekly.
- Ventilated terrarium: Water when the top 1–2 cm are dry to the touch and leaf litter feels papery.
- Never flood: Standing water above the barrier means you overdid it — wick it out with a paper towel.
Action today: Check your glass at midday — adjust the lid for one hour to hit that “upper-third light fog” target.
Nutrients the Bioactive Way: Feeding Soil, Not Forcing Growth
In a balanced system, you feed detritivores and microbes, and they feed your plants. Skip heavy liquid fertilizers that spike growth and crash microfauna.
Low-Input Feeding Plan
- Leaf litter refresh: Add a thin handful every 4–6 weeks.
- Microfauna snack: A pea-sized pinch of fish flakes or a dot of shrimp pellet once a month, tucked under a leaf.
- Mineral balance: A scattering of crushed cuttlebone or a pinch of garden lime under litter every 3 months if you keep isopods that prefer calcium.
- Liquid feed (optional): Half-strength all-purpose houseplant fertilizer once every 8–12 weeks, sprayed lightly on foliage only, not soaking the soil.
Action today: Tuck a pea-sized pinch of fish flakes under a leaf — watch springtails swarm within a day as your living filter kicks into gear.
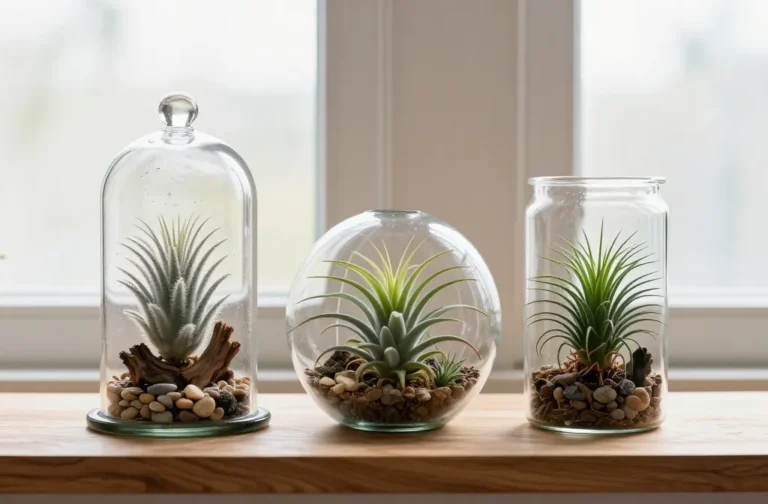
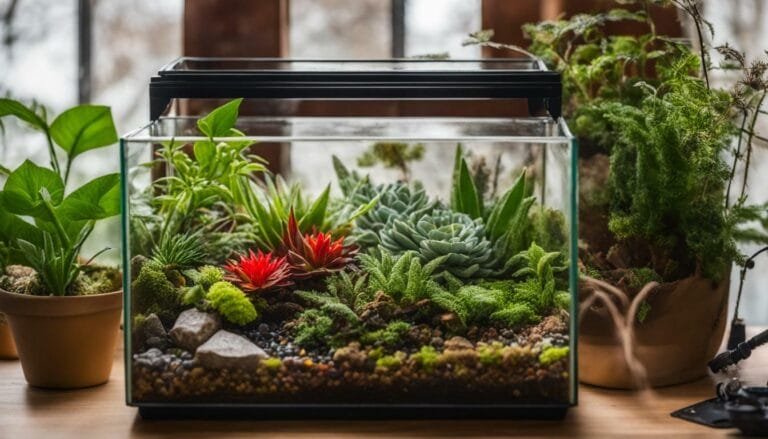
Plant Choices That Support Soil Health
Choose plants that match your humidity and won’t outgrow the space in months. Compact roots and steady leaf drop keep the soil community fed and the canopy stable.
Reliable Picks
- Tropical, high humidity: Fittonia, Peperomia, small ferns (e.g., Asplenium), Pilea depressa, Selaginella.
- Lower humidity / ventilated: Small Ficus pumila cuttings, Hoya curtisii, miniature peperomia, mosses with occasional misting.
- Avoid: Fast, thirsty plants that hit the lid in a month or drop huge leaves that smother the litter layer.
Action today: Swap one aggressive grower for a compact species like Fittonia to stabilize moisture and maintenance.
Long-Term Care: Keeping Soil Open and Alive
Healthy bioactive soil stays springy and smells like a forest after rain. If it compacts or smells sour, act fast.
Simple Maintenance Schedule
- Monthly: Top up leaf litter, check for light condensation at midday, and feed microfauna once.
- Quarterly: Lift a corner of litter and pinch the soil. If it clumps and smears, rake gently with a fork and blend in a handful of bark or charcoal crumbs.
- Annually: Spot-refresh tired zones by removing a teacup of soil and backfilling with fresh barky mix.
Red Flags and Quick Fixes
- Sour smell: Too wet and anaerobic. Vent for 24 hours, wick out excess water, and add more bark.
- Persistent surface mold: Increase springtails, improve airflow briefly, and add a drier leaf layer.
- Plant yellowing with slow growth: Add a thin layer of fresh litter and one light foliar feed at half strength.
Action today: Pinch-test your soil — if it smears, mix in a handful of bark fines right at the surface to reopen pores.
Frequently Asked Questions
Do I need a false bottom or can I skip the drainage layer?
Keep the drainage layer. It catches excess water and stops the soil from sitting in a swamp. Without it, minor overwatering turns into root rot fast. Use 1–2 inches of rinsed gravel or LECA and a mesh barrier to keep the soil out.
How do I add springtails without introducing pests?
Buy springtails from a reputable seller packaged on charcoal. Tap the charcoal gently across damp soil and litter, then leave the lid slightly ajar for 30 minutes so they settle. Avoid scooping from outdoor soil, which often brings mites and larvae you don’t want.
My terrarium has no condensation — is it too dry?
Likely yes if the glass stays bone dry at midday. Mist the surface evenly until the top centimeter feels damp and check again tomorrow. Aim for a light fog on the upper third of the glass that clears by late afternoon. Repeat small mists rather than a big pour.
Can I keep isopods in a small jar terrarium?
Use isopods only if you can provide leaf litter depth, wood hides, and consistent moisture. In jars under 2 liters, stick to springtails — isopods often roam the glass searching for food and dry out. If you do add them, start with 6–10 and increase litter monthly.
What’s the best way to fix a compacted substrate without rebuilding?
Lift the leaf litter and rake the top 2–3 cm with a fork to break the crust. Blend in a handful of orchid bark and a small sprinkle of charcoal crumbs. Add fresh litter and water lightly to settle. Within a week, microfauna will rework the channels.
How do I stop fungus gnats in a bioactive setup?
Let the top centimeter of soil dry between mists and increase airflow for short periods. Add more springtails, and place a yellow sticky tab outside the glass to catch adults. Remove any soggy moss and replace it with drier leaf litter until the cycle breaks.
Conclusion
You now have a straightforward recipe: breathable layers, a dependable cleanup crew, and small, regular feedings for the soil life. Build one terrarium this weekend using the materials above, add springtails on day one, and tune moisture by watching the midday glass. Once you see that steady, light condensation and active microfauna, you can scale the exact same method to any glass you own.