How Self-Watering Containers Actually Work — the Reservoir Mechanism and Its Limits Revealed
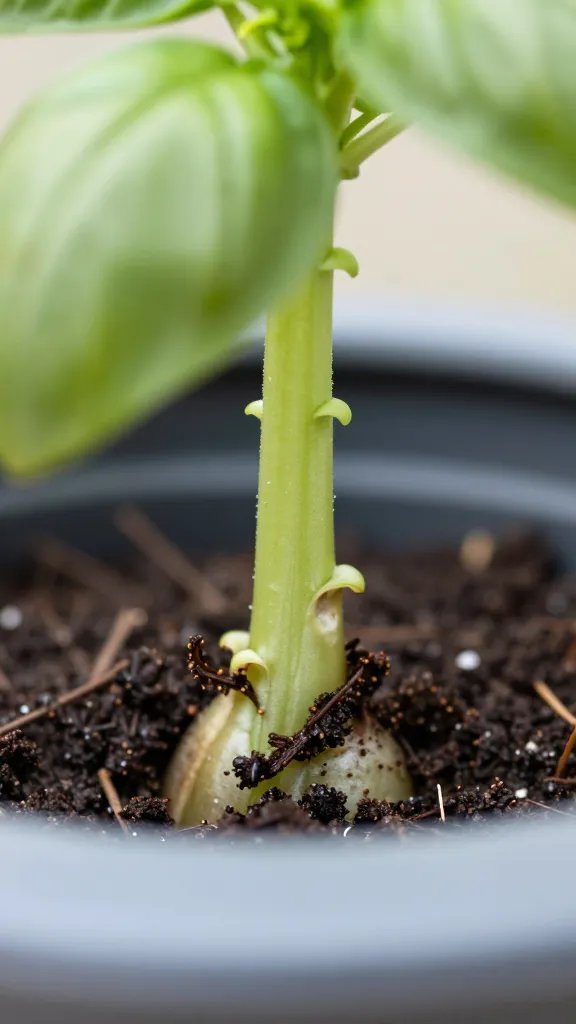
When I bought my first self-watering container, I treated it like a magic pot and walked away. Two weeks later my basil was yellow at the base and crisp at the tips. Since then, I’ve tested boxes, buckets, and store-bought planters to learn what the reservoir does well — and where it fails. In this guide, I’ll show you how the system moves water, how to set it up with everyday materials, and how to avoid the silent problems that stunt plants in these pots.
What the Reservoir and Wick Actually Do
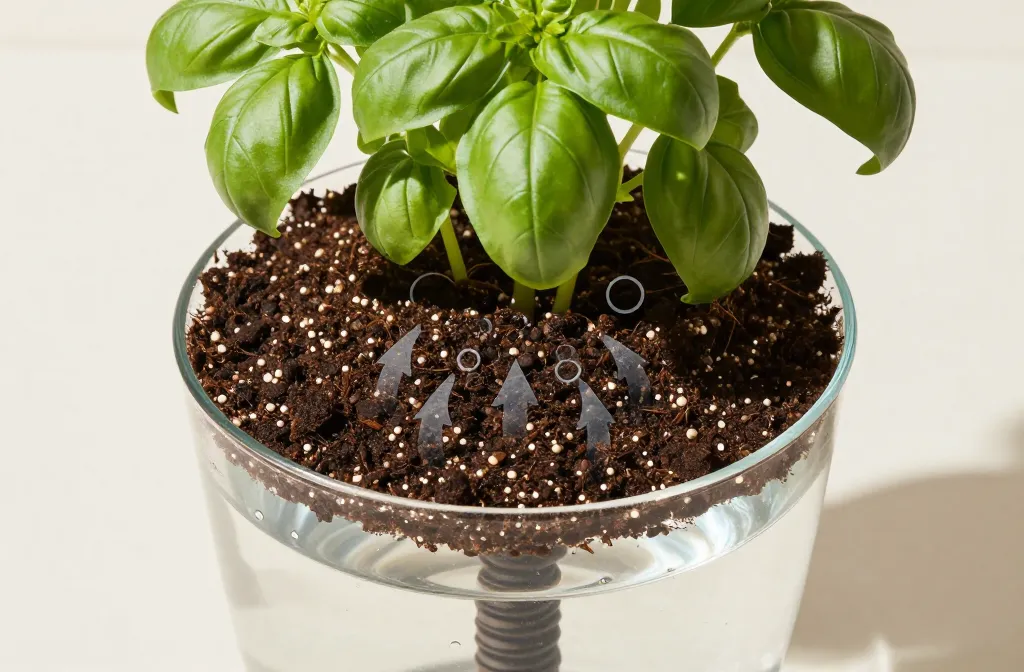
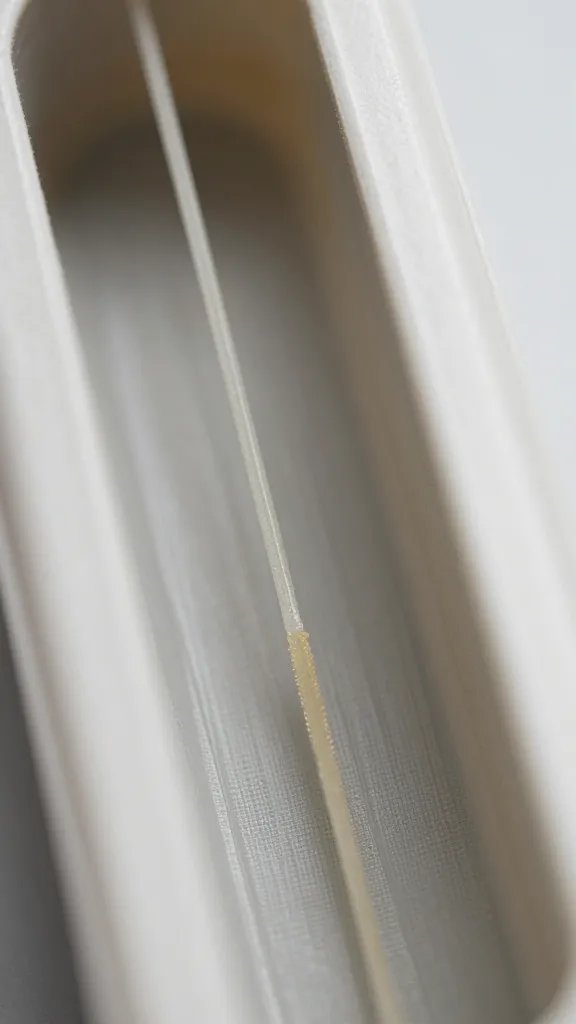
A self-watering container separates water (in a lower reservoir) from the potting mix above. A wicking zone — either a fabric wick, a soil-filled column, or the lowest layer of mix — sips water upward by capillary action.
The potting mix acts like a sponge. As the top dries, it pulls more moisture from below until the whole profile reaches a steady, moist-but-not-saturated state.
Takeaway: Treat the reservoir as a steady supply, not a bath — the wick should stay damp, while most of the root zone stays moist, never waterlogged.
Why Potting Mix Choice Makes or Breaks Wicking
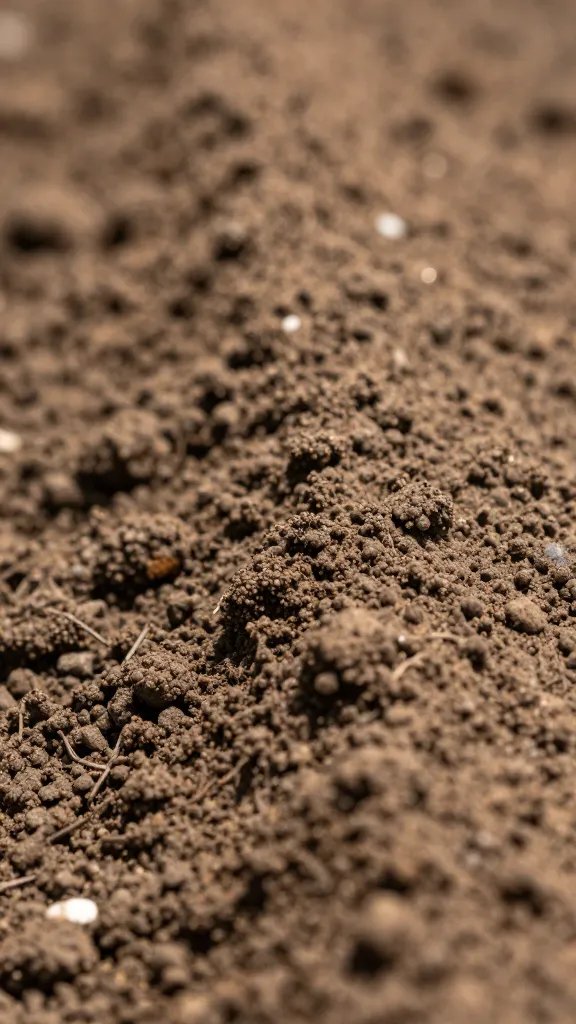
Wicking needs a fluffy, airy blend. I use a high-quality potting mix from the garden centre with added perlite already in it, not garden soil. Heavy or compacted soil blocks capillary flow and starves roots of air.
For thirsty crops like tomatoes, I blend in an extra 1-2 litres of perlite per standard 25-litre bag to keep pores open. For herbs and flowers, the bagged mix as-is usually wicks correctly.
Action: Squeeze a handful of your moistened mix — it should hold together lightly and fall apart when poked. If it forms a sticky brick, add more perlite before potting.
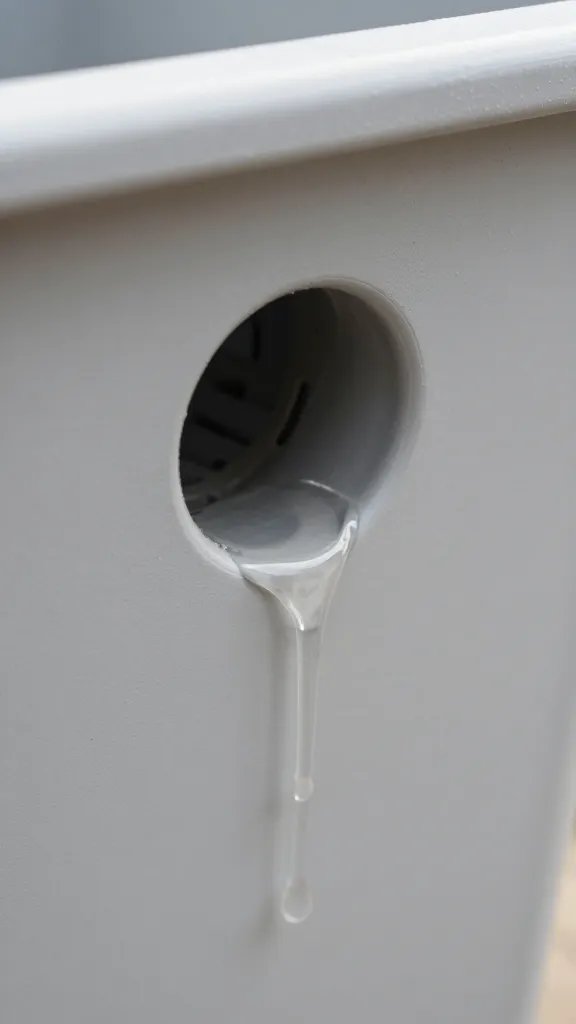
How the Overflow Port Prevents Root Rot — If You Use It Right
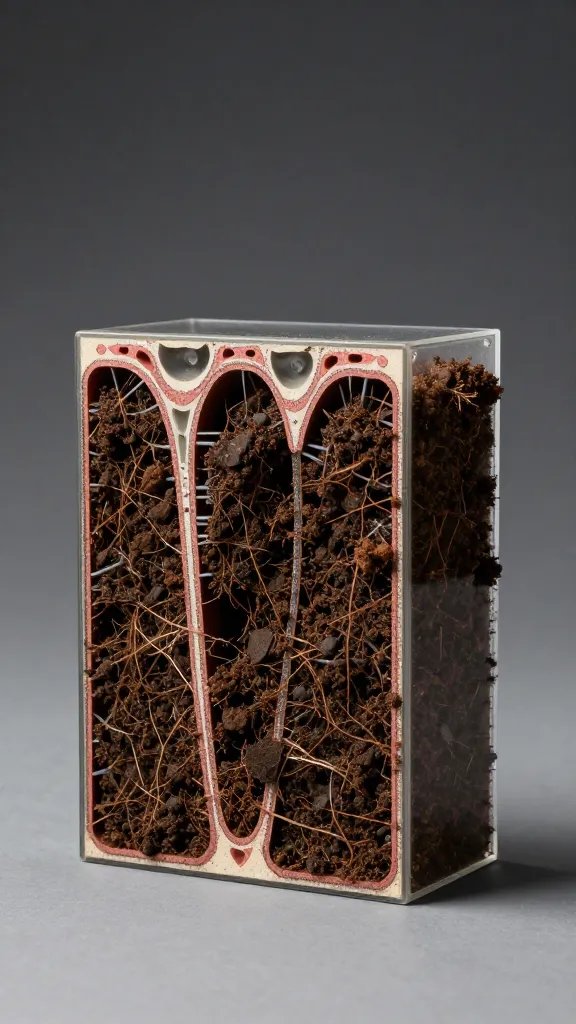
Most units include an overflow hole at the reservoir’s top. It dumps excess water so the potting chamber can’t flood. Without it, a heavy rain or overfill submerges the root zone and causes rot.
Keep the port clear. Algae, stray perlite, or a label can clog it. I test by pouring water until it spills cleanly from the side — if it doesn’t, I clear it with a drinking straw.
Action: Before each season, fill the reservoir at the fill tube until water runs from the overflow. If it doesn’t, unclog the port before planting.
Capillary Limits: When Wicking Stops Working
Capillary action only lifts water a limited height through a given mix. Most bagged potting mixes lift well through about 15–25 cm. Taller than that, the upper layer dries faster than the wick can supply.
Large tubs often fail because the root zone is too tall above the reservoir. Plants then look underwatered on top while the bottom stays wet — a classic beginner trap.
Action: Keep the distance from reservoir surface to soil surface around 20 cm or less. If your planter is taller, raise the internal false bottom or grow shorter-rooted plants.
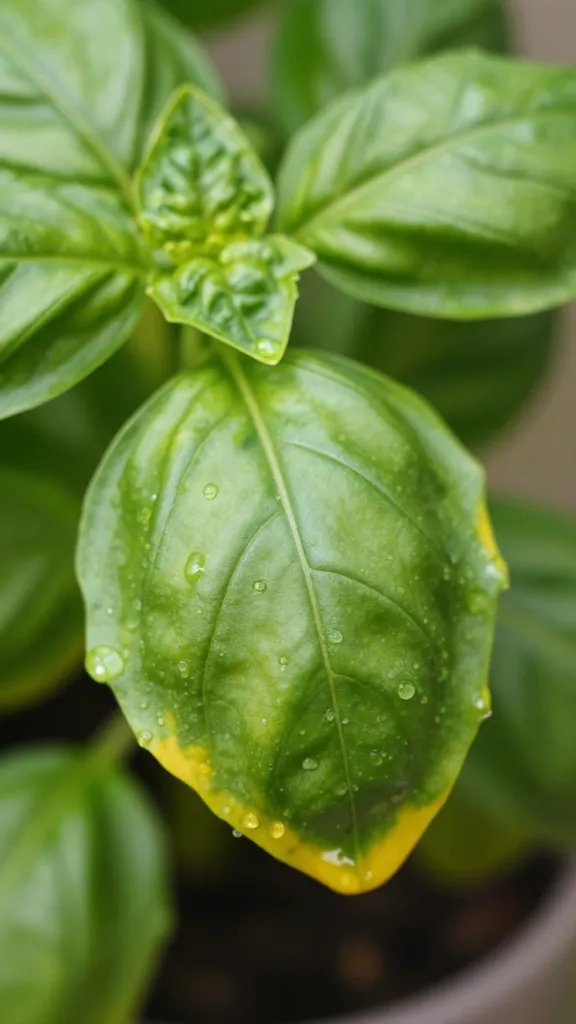
Salt and Nutrient Build-Up: The Hidden Weakness
Self-watering containers don’t flush salts often. Fertilizer residues travel upward with water and linger where evaporation happens — usually the top 2–5 cm. Left alone, this creates fertilizer burn and dull, pale leaves.
I fertilize lightly and regularly rather than dumping strong feeds. Every 4–6 weeks in the growing season, I top-water until 10–20% drains from the overflow to rinse the profile.
Action: Once a month, water from the top with plain tap water until you see steady flow from the overflow hole. This single habit prevents most salt problems.
Root Oxygen and Water Temperature: Two Overlooked Risks
Roots need air. If the wicking zone turns into a swamp, oxygen runs out and growth stalls. Compaction, clogged aeration holes, or a constantly overfilled reservoir cause this.
Warm reservoirs also stress roots. On a balcony, black plastic can heat water like a tea kettle. I shield exposed reservoirs with a light-colored wrap or place the pot where afternoon sun doesn’t strike the lower third.
Action: Press a finger 5–7 cm into the soil; it should feel cool and slightly springy, not mucky. If it’s soupy, let the reservoir run low for 2–3 days before refilling.
Plant Matchmaking: What Thrives and What Sulks

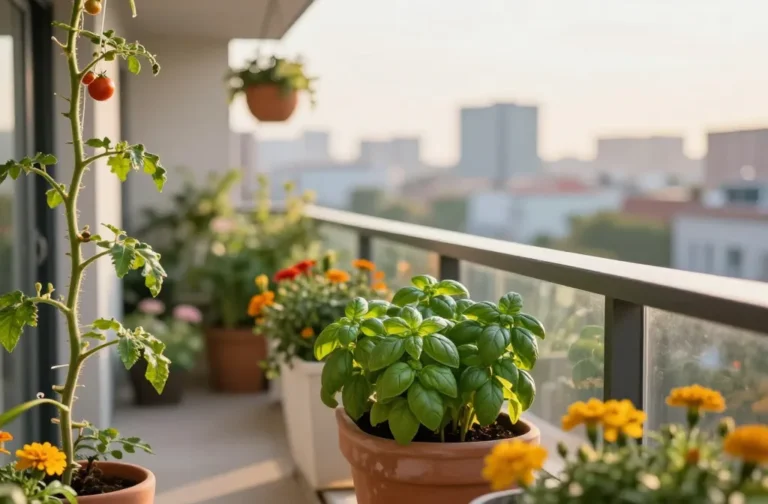
Self-watering shines with consistently thirsty plants. Tomatoes, peppers, eggplant, basil, mint, calendula, and coleus grow dense and even with a stable supply.
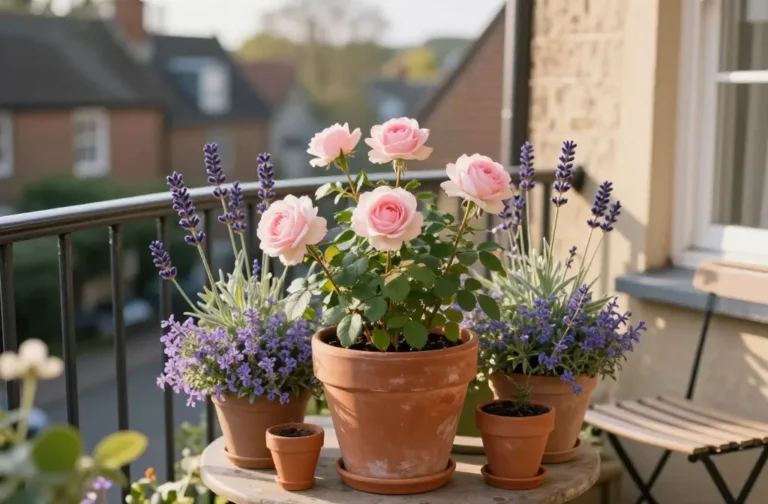
Drought-adapted or rot-prone plants dislike the constant moisture. Skip succulents, rosemary, lavender, thyme (woody types), and bulbs you intend to keep dry off-season.
Suggested Pairings
- Small planters (under 25 cm tall): lettuce, basil, chives, strawberries.
- Medium planters (up to 20 cm soil depth): peppers, dwarf tomatoes, bush beans.
- Large boxes (wide, not tall): tomatoes with cages, cucumbers on a trellis, annual flowers.
Action: Choose one thirsty “tester” plant — basil is perfect — and watch it for two weeks. If it thrives, scale up with similar water-needy crops.
Set-Up That Works: A Simple, Reliable Method
You don’t need special tools to build or tune a self-watering planter. Focus on the wicking zone, overflow, and initial moisture level.
Step-by-Step Fill and First Watering
- Assemble the planter with the false bottom, wicking basket or fabric, and fill tube in place.
- Pre-moisten potting mix in a bucket until it’s evenly damp — like a wrung-out sponge.
- Pack mix firmly (not hard) into the wick basket or column to guarantee contact with the reservoir.
- Fill the rest of the chamber with the damp mix, tapping the sides to settle gaps.
- Plant, then water once from the top until you see a trickle from the overflow. This “primes” the whole profile.
- Fill the reservoir through the tube until water exits the overflow, then stop.
Action: Prime once from the top on day one — it eliminates patchy dry pockets that block wicking.
Daily and Weekly Care That Prevents Problems

Check the float indicator or peek into the fill tube every 1–3 days in hot weather. Refill before the wick runs dry but after the surface has stayed only slightly moist.
Rotate the container weekly so sun strikes evenly. Snip lower leaves that touch the soil — constant splashing plus steady moisture invites disease.
Warning Signs and Quick Fixes
- Pale new growth and crispy tips: salts building up. Top-flush once, halve fertilizer strength.
- Wilting at midday but wet soil below: too-tall soil column. Raise the false bottom next time; for now, mulch and shade in afternoons.
- Yellowing from the bottom up and sour smell: oxygen-poor root zone. Let reservoir drop to empty for 48 hours, then resume lighter fills.
Action: Set a recurring reminder to flush from the top every 4–6 weeks during active growth.
Frequently Asked Questions
How often do I refill the reservoir?
In summer, most medium planters need refilling every 2–4 days; in spring and fall, every 4–7 days. Check the float or shine a flashlight down the fill tube. Refill when the level reaches the bottom third, not after it’s bone dry, to keep the wick engaged.
Do I still water from the top?
Yes, but rarely. Top-water on day one to prime the mix, then once every 4–6 weeks to flush salts. If you see dry gaps pulling away from the pot edges, top-water once to re-wet those channels, then go back to the reservoir.
What fertilizer works best in self-watering containers?
Use a balanced, water-soluble fertilizer at half the label strength every 2–3 weeks during active growth. Alternatively, mix a slow-release granular fertilizer into the top 5–7 cm of soil at planting, then supplement lightly midseason. Avoid strong single-dose feeds that spike salts.
Why is the surface dry while the plant still wilts?
A dry crust on top is normal and even helpful against fungus gnats. Wilting with a damp lower zone points to poor aeration or a too-tall soil profile. Loosen the top 3–5 cm gently, add a 1–2 cm mulch, and provide afternoon shade while you adjust watering and consider raising the false bottom next planting.
Can I leave a self-watering container out in heavy rain?
Yes, if the overflow works and sits above the reservoir but below the potting zone. Test the overflow before the rainy season and keep the fill tube cap on to block direct rain entry. After long storms, let the reservoir draw down for a day before refilling to restore air in the wicking zone.
Why do I get gnats in self-watering planters?
Constant moisture near the surface invites fungus gnats. Cover the soil with a 1–2 cm layer of coarse sand or small pebbles and let the top centimetre dry between refills. Sticky traps and a once-weekly top-watering with a few drops of dish soap for two weeks clears most infestations.
Conclusion
You don’t need gadgets to succeed with self-watering containers — you need the right mix, a working overflow, and a plan to flush salts. Start with one planter, prime it properly, and match it with a thirsty plant like basil or peppers. Once you see steady, even growth, scale the same setup to your tomatoes and flower boxes with confidence.