How Pot Size Affects Root Health — the Specific Damage Caused by Oversizing and Undersizing Explained
I’ve repotted hundreds of houseplants on a small apartment balcony, and I used to think “bigger pot, happier plant.” Then I watched a thriving pothos stall for six months in a pot the size of a salad bowl, while a jade sulked and dropped leaves in a cramped nursery cup. Pot size isn’t cosmetic — it dictates root health. In this guide I’ll show you exactly how oversizing and undersizing damage roots, how to spot the warning signs early, and how to choose the right pot using simple, repeatable steps.
How Oversized Pots Drown Roots And Stall Growth
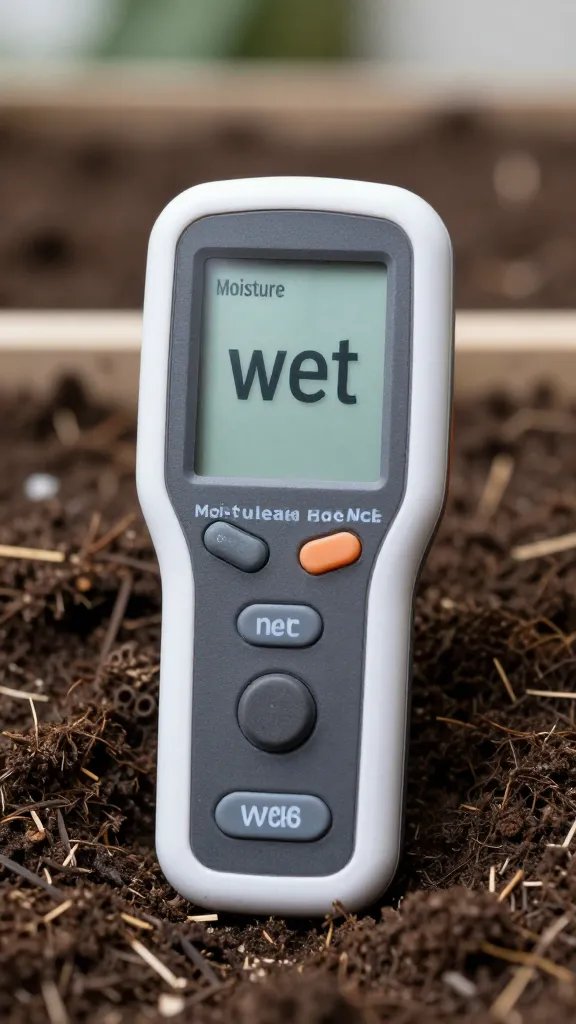
When the pot is too large, there’s too much water-holding soil relative to the plant’s root system. After watering, the mix stays wet for days longer than the plant can use. Oxygen disappears from the root zone and fine feeder roots suffocate.
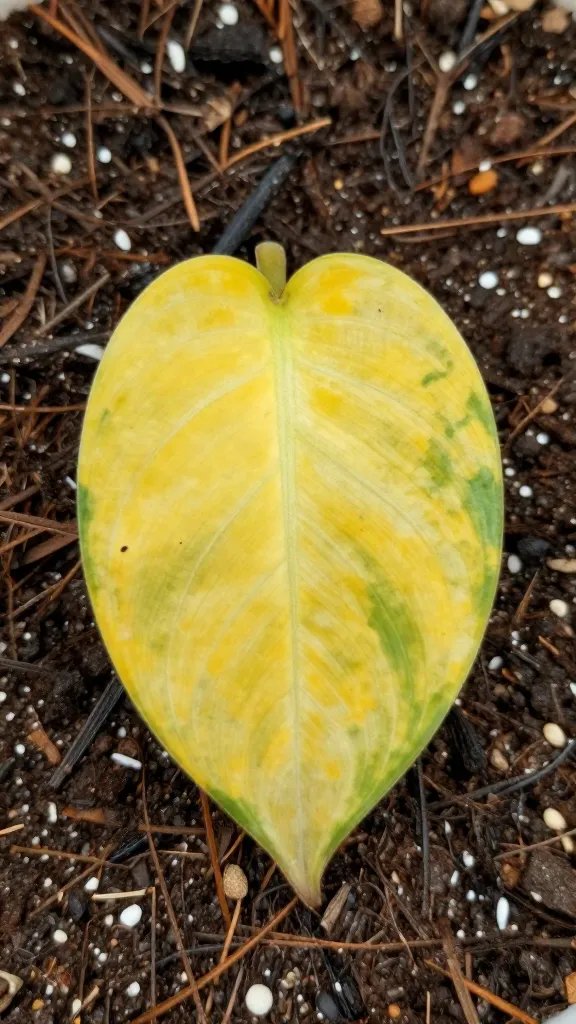
This leads to root rot, fungus gnat infestations, and a plant that “does nothing” for months. You’ll see yellowing from the bottom leaves up and potting mix that still feels cool and damp a week after watering.
Warning Signs Of An Oversized Pot
- Soil stays wet for 7+ days in a bright room.
- Lower leaves yellow first; stems feel mushy at the base.
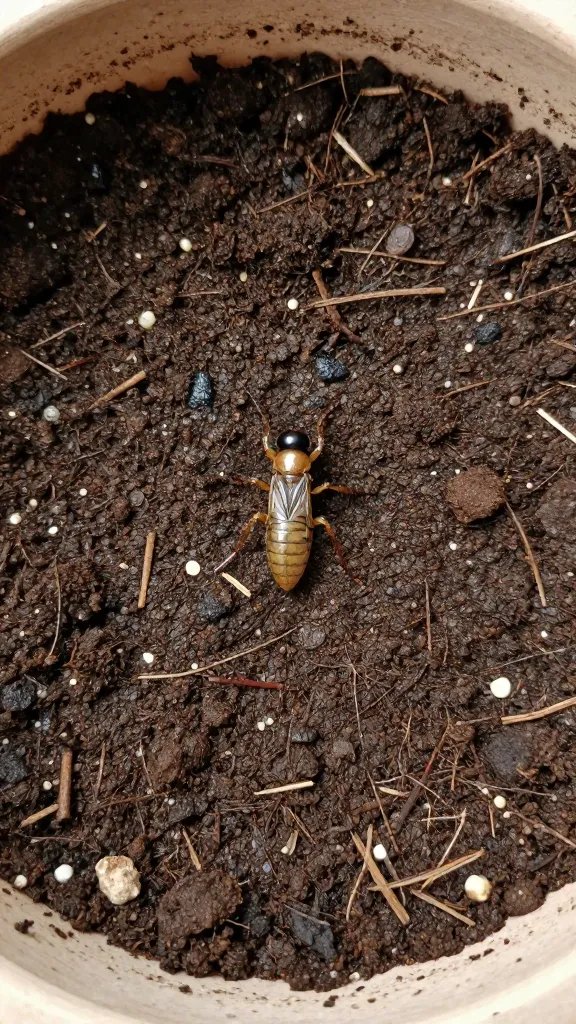
- Fungus gnats hover when you disturb the soil.
- White fuzzy growth or sour smell from the potting mix.
Takeaway: If your plant’s soil is still damp after a week, step down to a smaller pot or reduce soil volume with a nursery liner inside the decorative pot.
How Undersized Pots Strangle Roots And Starve The Plant
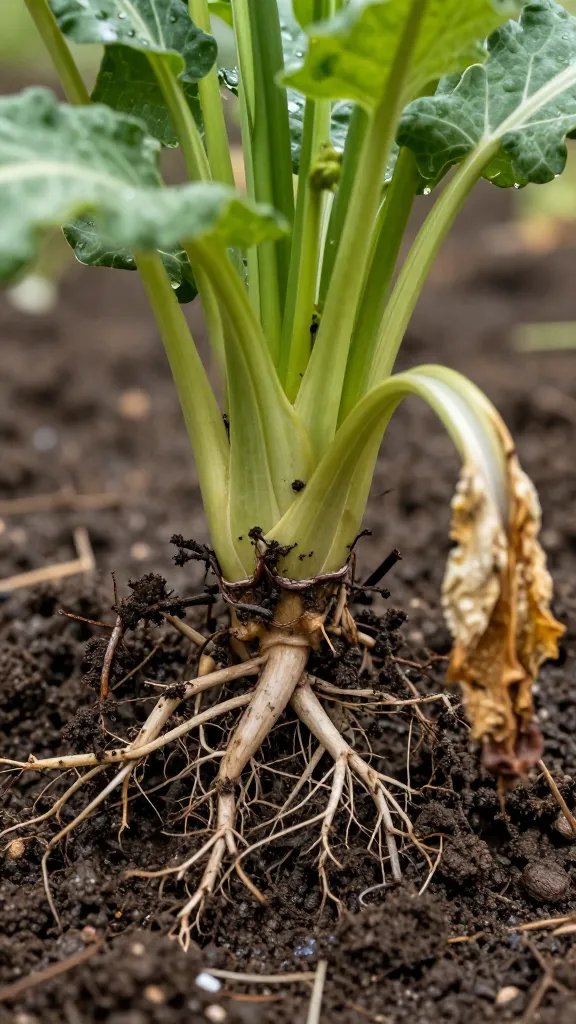
Too-small pots force roots to circle tightly, creating a dense root mass with very little soil between. Water runs straight down the sides and out the bottom, leaving the center dry. Salt from fertilizer concentrates, burning root tips.
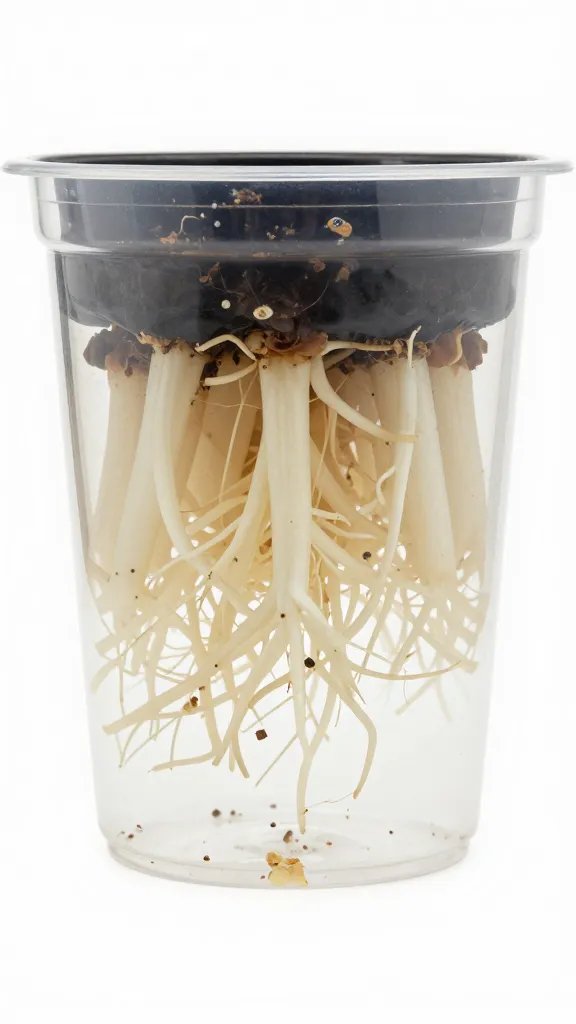
Growth becomes stunted, leaves brown at the edges, and the plant wilts quickly after each watering. You’ll often see roots poking from the drainage holes or coiling at the surface like spaghetti.
Warning Signs Of An Undersized Pot
- Water streams out immediately on watering; the soil never seems evenly moist.
- Roots visible on the surface or exiting the base.
- Crispy leaf tips and slowed new growth despite good light.
Takeaway: If you water and the plant wilts again within 24–48 hours, step up one pot size and loosen circling roots during repotting.
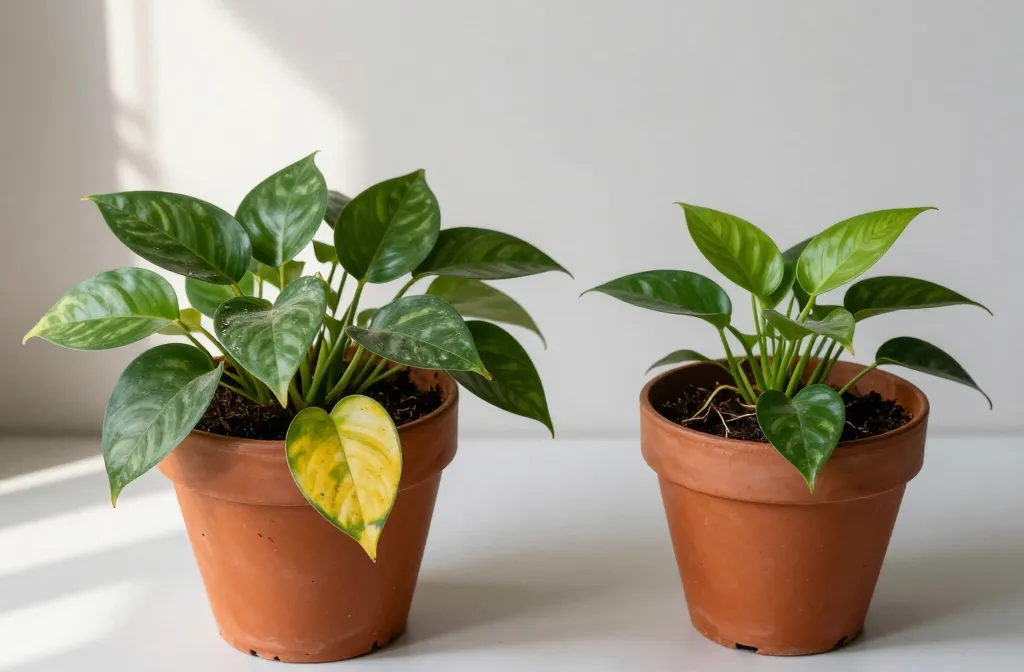
The Right-Size Rule: Step Up Only 2–5 cm (1–2 Inches)
I follow a simple rule: move up by one standard pot size at a time. For a 10 cm (4 in) pot, go to 12–14 cm (5–6 in). This adds soil without creating a cold, wet moat around the roots.
Use the same logic when stepping down from an oversized pot. A temporary smaller home lets the root ball dry out predictably and rebuild fine roots before you scale up again.
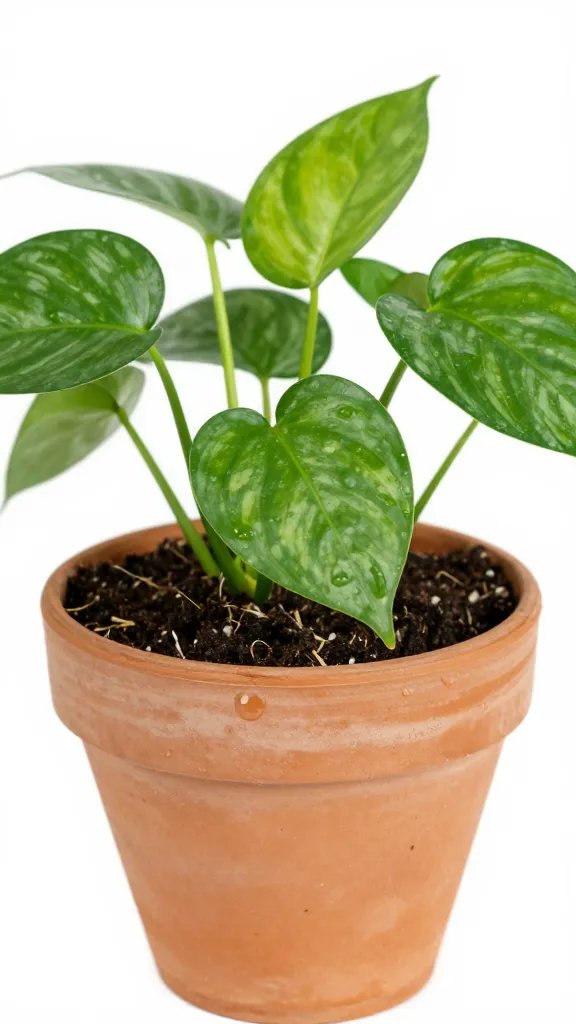
Plant-Specific Notes
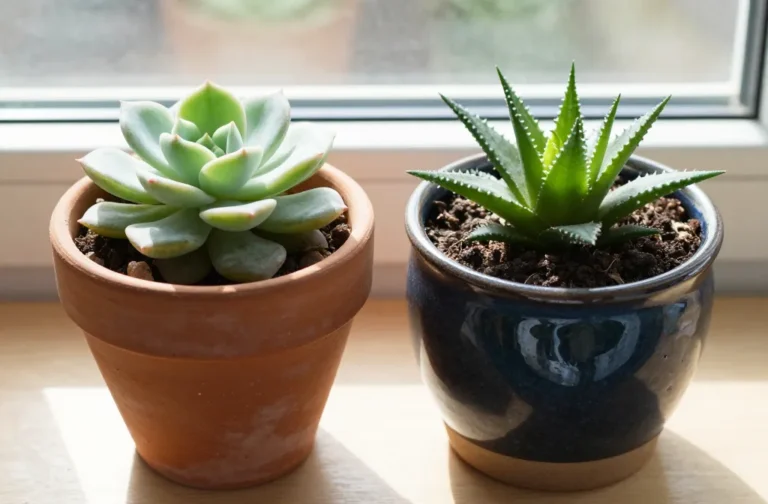
- Tropicals (Pothos, Philodendron, Peace Lily): One-size increments; prefer evenly moist but aerated soil.
- Succulents and Cacti: Pots only 1–2 cm wider than the root ball; extra room invites rot.
- Ficus and Rubber Plants: Slow growers; repot every 18–24 months, not every season.
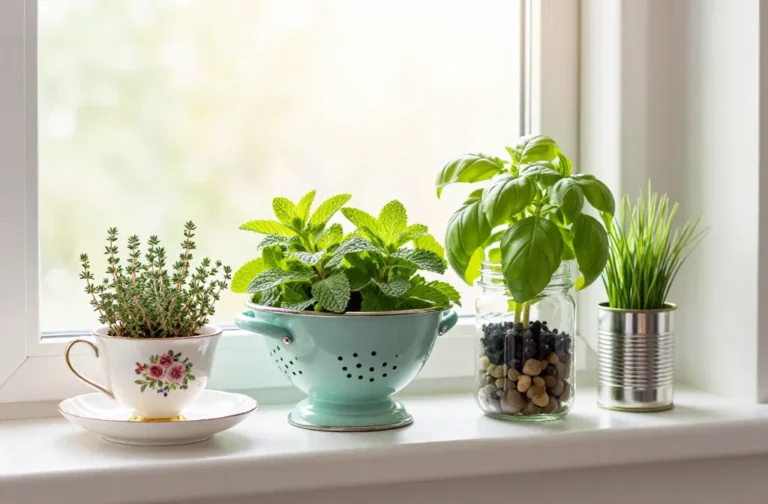
- Herbs (Basil, Mint): Shallow but wide pots; they like frequent moisture with good drainage.
Takeaway: Choose a pot that’s just 2–5 cm wider than the current root ball — no more.
Drainage, Mix, And Watering: Three Levers That Prevent Size-Related Damage
Drainage holes are non-negotiable. A cachepot without holes traps water at the bottom and exaggerates the problems of oversizing. If you love a decorative pot, slip a nursery pot with holes inside.
Use a good quality potting mix from the garden centre. For moisture-loving tropicals, use it straight. For succulents, blend 2 parts potting mix with 1 part bagged cactus mix or coarse perlite by volume.
Water thoroughly, then wait. Only water again when the top 2–3 cm (about a finger’s depth) feels dry for tropicals, and the top half of the pot is dry for succulents. This schedule keeps oxygen in the root zone regardless of pot size.
Takeaway: Put every plant in a pot with holes, use an appropriate off‑the‑shelf mix, and set a clear dry-down target before the next watering.
Fixing An Oversized Pot Without Repotting Everything
If the plant already sits in a large decorative pot, you can reduce soil volume quickly. Nest a slightly smaller nursery pot inside, or fill the bottom of the big pot with an inverted nursery pot to displace excess soil. Do not add rocks at the bottom — that creates a perched water table and keeps roots wetter.
Improve airflow and drying by moving the plant to bright indirect light near a window and running a small fan nearby for a few hours a day. Trim mushy roots if you do unpot the plant, then replant into a smaller container with fresh mix.
Step-By-Step Quick Fix
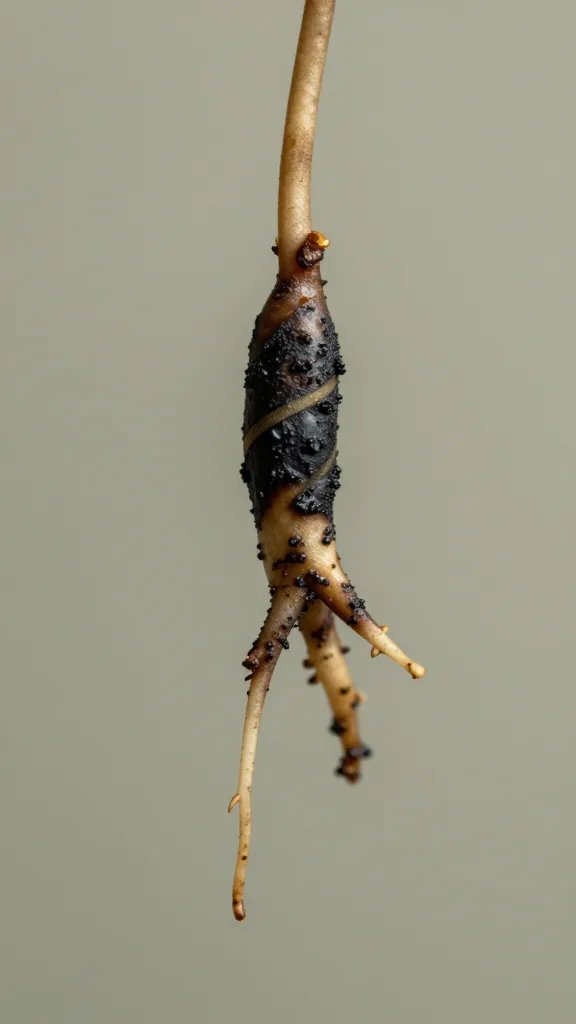
- Lift the root ball gently; inspect for brown, mushy roots.
- Prune damaged roots with clean scissors back to firm, white tissue.
- Repot into a container only 2–5 cm wider than the root ball using fresh mix.
- Water once, then let the top 3 cm dry before watering again.
Takeaway: Displace excess soil or step down a size today; don’t wait for rot to “clear up.”
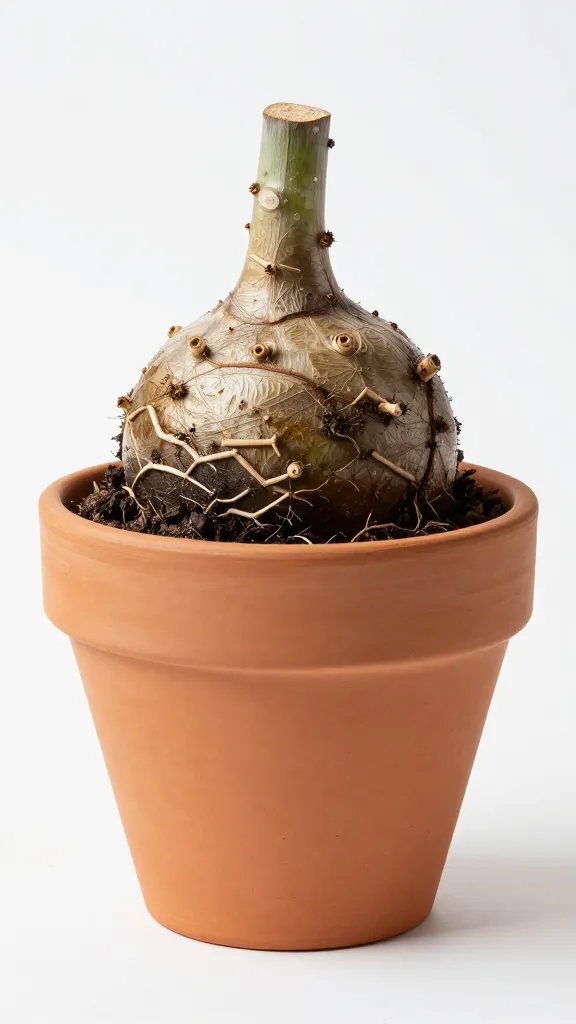
Rescuing A Root-Bound Plant Without Shock
When roots coil tightly, they keep circling in the new pot unless you intervene. I score the root ball vertically 3–4 times about 1 cm deep with scissors and fan the roots outward. This encourages new exploratory roots to grow into the fresh mix.
After repotting up one size, water slowly until moisture reaches the center. Place the plant in bright, indirect light for a week to rebuild roots before pushing growth with fertilizer.
Step-By-Step For Root-Bound Plants
- Soak the root ball in a bowl for 5–10 minutes to soften it.
- Tease out circling roots; trim any dead, woody loops.
- Pot up one size with fresh mix, keeping the crown at the same height.
- Water thoroughly; check again in 2–3 days and top up only if the top is dry.
Takeaway: Loosen and lightly score circling roots, then upsize by just one pot step.
Simple Sizing Checks You Can Do In 60 Seconds
Pick up the pot right after watering and again when you think it’s time to water. The weight difference teaches you the plant’s “normal” dry-down time. If the pot stays heavy more than a week, it’s oversized or the mix is too water-retentive.
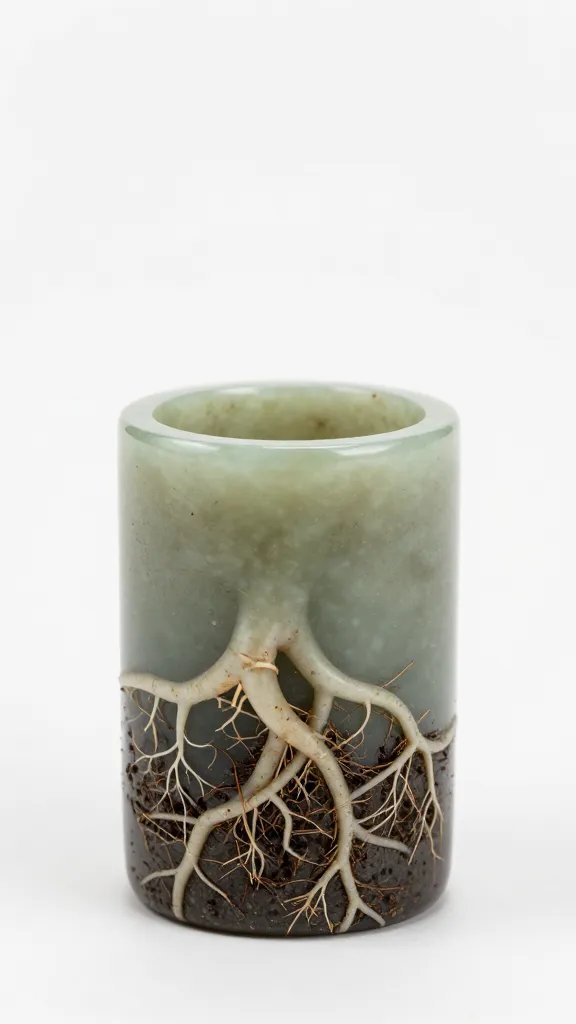
Slide the plant out and measure the root ball. If roots occupy less than half the pot’s volume, the container is too big. If roots occupy more than 80% of the volume or circle the edges, it’s too small.
Takeaway: Do a quick lift test and a root ball check this week to confirm your pot is in the right range.
Frequently Asked Questions
How do I choose a pot size for a new plant from the shop?
Keep it in the nursery pot for 2–4 weeks while you learn its watering rhythm. If water runs straight through and it wilts fast, go up one size. If the soil stays wet for a week in bright light, stay put or reduce soil volume. Only change one variable at a time: pot size first, not soil and location together.
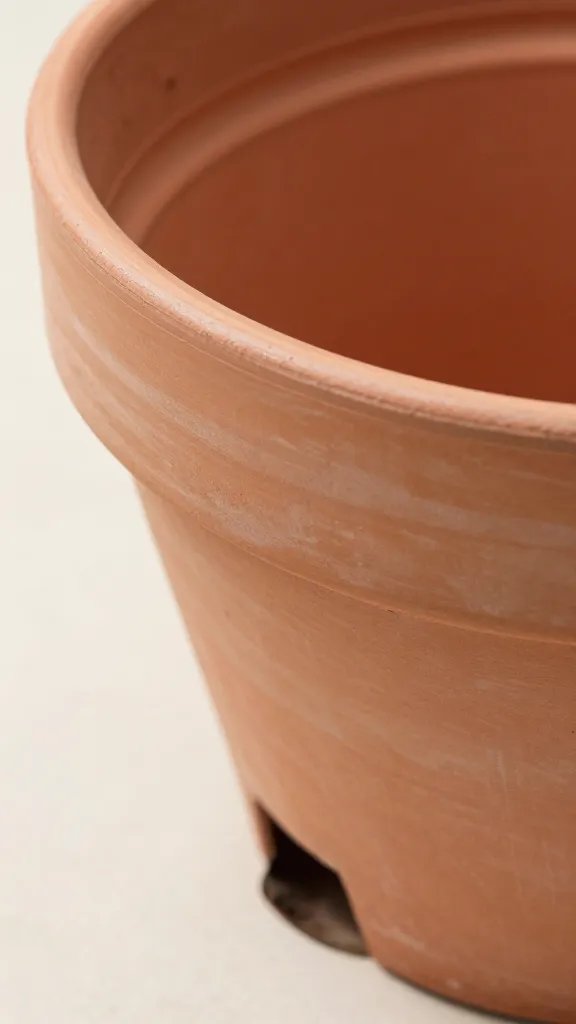
Do terracotta, plastic, and ceramic affect root health differently?
Yes. Terracotta “breathes” and dries faster, which helps offset a slightly oversized pot. Plastic holds moisture longer, which suits thirsty plants but punishes oversizing. Glazed ceramic sits between the two but depends on drainage holes. Match material to your plant’s thirst and your home’s humidity.
What if my decorative pot has no drainage hole?
Use a nursery pot with holes inside it and add ceramic feet or a coaster to keep air under the cachepot. After watering, tip the outer pot to pour out any standing water. If water regularly collects at the bottom, you’re functionally oversizing the “wet zone.” Switch to a pot with holes if problems persist.
How often should I repot to prevent root issues?
Most indoor plants do best with repotting every 18–24 months. Fast growers like pothos and philodendron may need it annually, while succulents and ficus stretch longer. If you see roots circling, water bypass, or stalled growth despite good light, that’s your cue rather than the calendar.
Can I split a root-bound plant instead of upsizing?
Yes, for clumping plants like peace lily, snake plant, and spider plant. Unpot, divide the crown into sections with at least a few healthy roots each, trim damaged roots, and pot divisions into containers that fit snugly with fresh mix. Water once, then let the top dry before watering again. This keeps overall pot size manageable in small spaces.
Why does my plant yellow after moving to a bigger pot even with drainage?
The new soil holds more water than the roots can use, pushing oxygen out and slowing nutrient uptake. Move the plant to brighter indirect light, increase airflow, and allow a deeper dry-down between waterings. If yellowing continues and the soil stays damp for a week, reduce soil volume or step down a pot size.
Conclusion
You now know how pot size shapes oxygen, moisture, and space — the three forces that decide root health. Today, pick one plant that’s been “off,” slide it out of the pot, and check how much of the container the roots actually occupy. With a one-size adjustment and a clearer watering target, you’ll see steadier growth, fewer pests, and far less guesswork every time you repot.