How Hydroponic Living Walls Work — Nutrient Solution, Pump Cycles and Why They Outlast Soil Walls Unveiled
I built my first living wall on a rental balcony with a plastic shoe organizer, a cheap pond pump, and a stubborn fern that refused to thrive in potting mix. The soil wall looked lush for two months and then slumped into patchy brown — watering was uneven and roots suffocated. When I switched to a simple hydroponic loop, growth evened out, maintenance dropped, and the wall finally stayed green through winter. In this guide, I’ll show exactly how hydroponic living walls move water and nutrients, how to set reliable pump cycles, and why they outlast soil-based builds.
Hydroponic Walls Move Food, Not Dirt
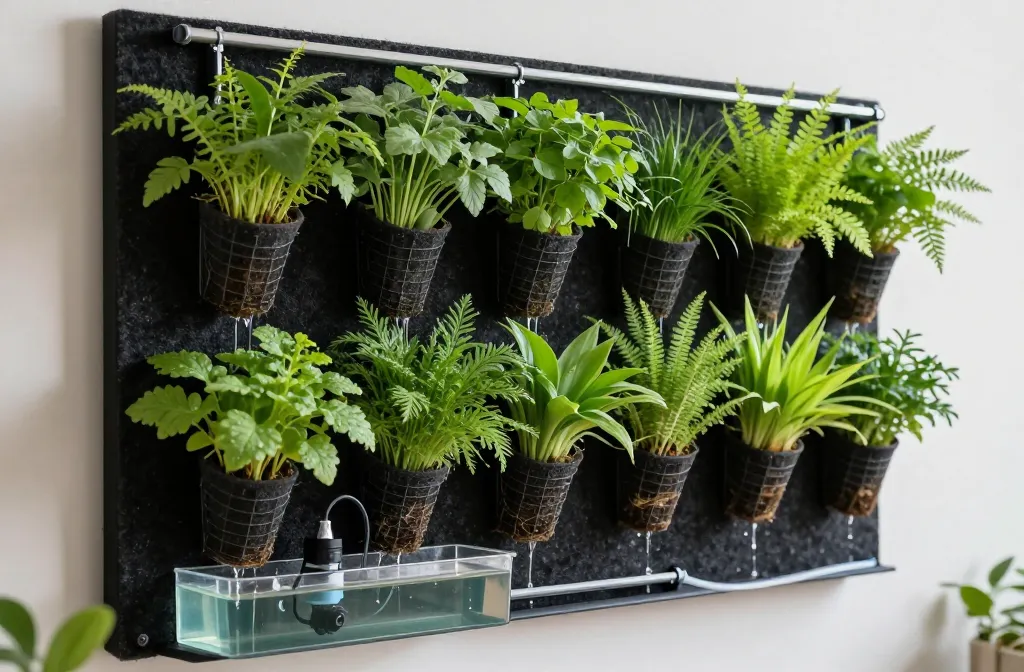
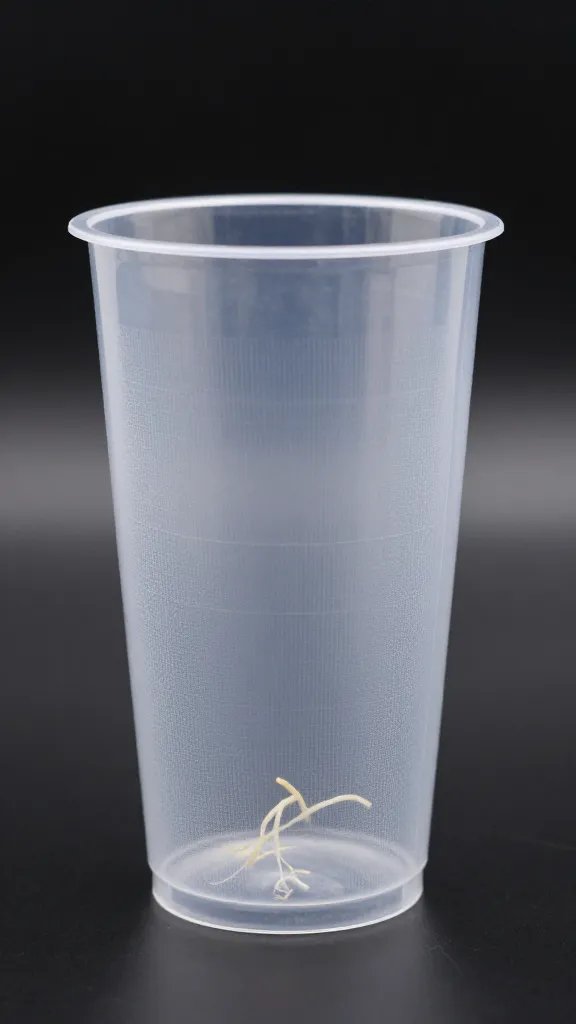
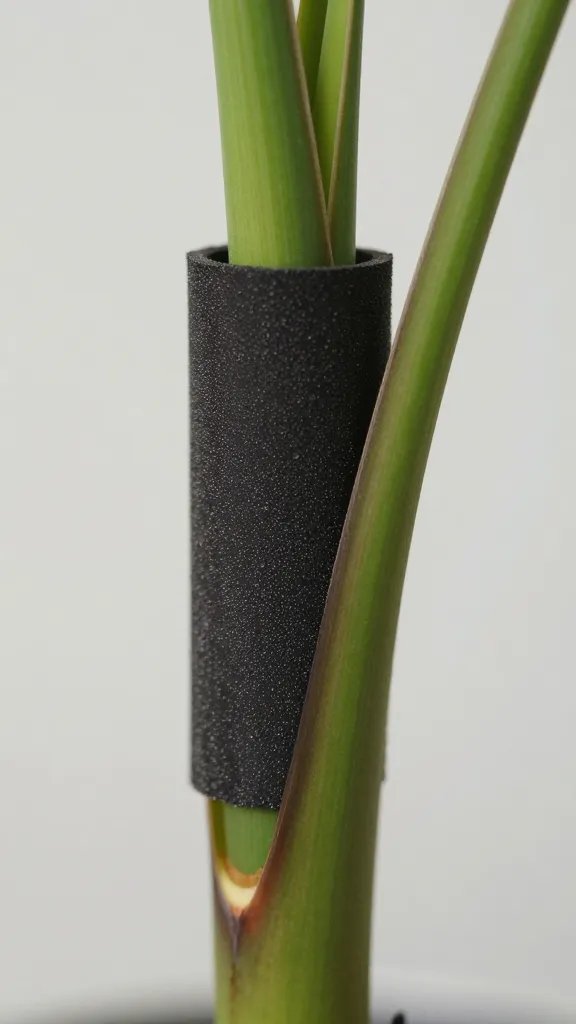
A hydroponic wall feeds plants with a diluted nutrient solution flowing over a root-supporting surface. There’s no soil; roots anchor into a felt panel, plastic cups with slits, or modular pockets with foam, while a reservoir at the bottom holds the solution. A small pump lifts the solution to the top manifold and gravity carries it back down through every pocket.
This constant or pulsed flow keeps oxygen available to roots and delivers nutrients evenly. You avoid the dead zones and waterlogging that kill soil walls.
Action today: Look at your wall plan and choose a root support you can actually source locally: felt panel kit, net cups with a plastic grid, or a modular pocket system labelled for hydroponics.
The Nutrient Solution: Simple, Dilute, And Consistent
You don’t need lab meters. Use a complete hydroponic fertilizer from a garden centre, labelled for leafy growth. Mix with clean tap water that tastes fresh, not salty or metallic. If your water leaves heavy white crusts on your kettle, buy jugs of spring water for the wall.
For most indoor foliage walls, mix at half the label’s indoor dose to start. Replace the entire reservoir every 2–3 weeks to prevent salt buildup and funky smells. Top up with plain water between changes to keep the level stable.
Warning Signs And Quick Fixes
- Yellowing between veins (new leaves): Solution too weak. Increase to three-quarters label dose at the next change.
- Crispy tips and white crust on felt: Too strong or hard water. Dilute by half and switch to spring water for two cycles.
- Fishy or sour smell: Stagnant reservoir. Empty, rinse with warm soapy water, refill with fresh mix.
Action today: Mix a small test batch: 4 litres of clean water + half the recommended fertilizer dose. Dip a clean finger; it should feel like weak tea, not slippery or syrupy.
Pump Cycles That Plants Actually Like
Roots want two things: regular moisture and plenty of oxygen. I run most small indoor walls with a pulsed cycle using a simple plug-in timer: 5 minutes ON, 25 minutes OFF during the day, and 5 minutes ON, 55 minutes OFF at night. This keeps the media moist but airy.
If your media dries fast (thin felt in a heated room), tighten the daytime cycle to 5 ON, 15–20 OFF. If your wall stays soggy, lengthen the OFF time or drill extra drain holes at the bottom of each pocket so water doesn’t pool.
Step-By-Step: Setting The Cycle
- Plug the pump into a 15-minute increment timer from the hardware store.
- Set the daytime block (e.g., 7 a.m.–9 p.m.) to repeat 5 ON, 25 OFF. You’ll use two “ON” tabs per hour.
- Set the night block to 5 ON, 55 OFF.
- Watch the lowest row at the end of an OFF period. If it looks dry to the touch, shorten the OFF period by 5–10 minutes.
Action today: Buy a mechanical or digital outlet timer and program the starting cycle: 5/25 by day, 5/55 by night.
Why Hydro Walls Outlast Soil Walls
Soil walls usually fail from three causes: uneven watering, compaction, and rot. Water runs down channels, leaving dry pockets at the top, soggy pockets below, and roots that suffocate as fine particles clog air spaces. You chase issues with heavier watering, which makes rot worse.
Hydroponic walls avoid all three. Flow distributes evenly across a smooth surface, roots sit in high-oxygen, low-sediment conditions, and you control nutrients precisely by changing the reservoir. With no soil to collapse, the wall maintains consistent moisture month after month.
Action today: If you have a soil pocket wall that keeps failing, convert the bottom to a catch tray and test a gravity-fed rinse with plain water for a week to see how even flow changes plant response.
Choosing Plants That Thrive In Hydro Flow
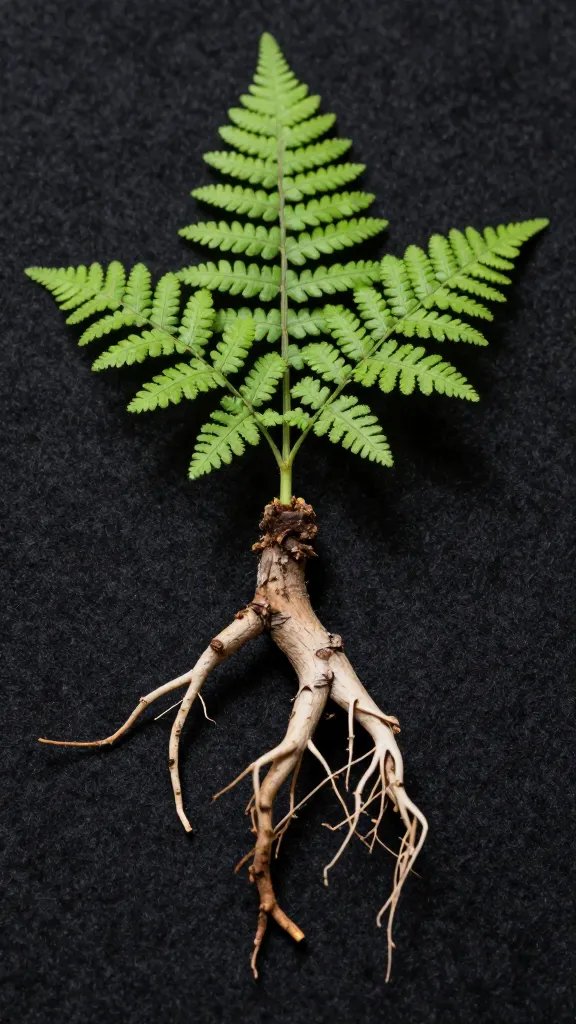
Pick plants with flexible, fibrous roots and a tolerance for constant moisture. I rely on Epipremnum aureum (pothos), Scindapsus pictus, Philodendron hederaceum, Nephrolepis exaltata (Boston fern), Spathiphyllum (peace lily, compact types), and Chlorophytum comosum (spider plant). For brighter spots, add Tradescantia and Fittonia.
Avoid plants that insist on dry feet, like succulents, cacti, and most Mediterranean herbs. They rot in a week on a wet wall.
Starter Layout That Covers Fast
- Top row: pothos and scindapsus to cascade and shade the manifold.
- Middle rows: philodendron and peace lily for bulk and flowers.
- Bottom row: ferns and fittonia that enjoy extra drips.
Action today: Buy 3–5 small pothos or philodendron as your “engine plants” — they root fast and stabilize the wall while slower species catch up.
Building The Simple Loop: Reservoir, Pump, And Manifold

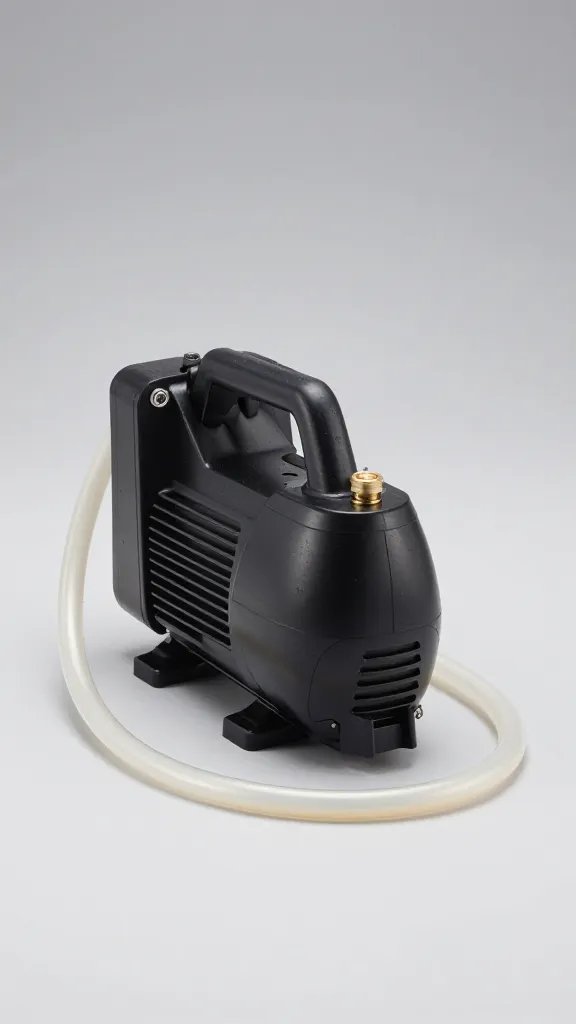
You need a lightproof reservoir (a black storage tote with a lid works), a small submersible fountain or pond pump, vinyl tubing that fits the pump outlet, and a top bar with drip holes or a short drip irrigation line from the garden centre. Keep the reservoir on the floor directly under the wall to catch return flow.
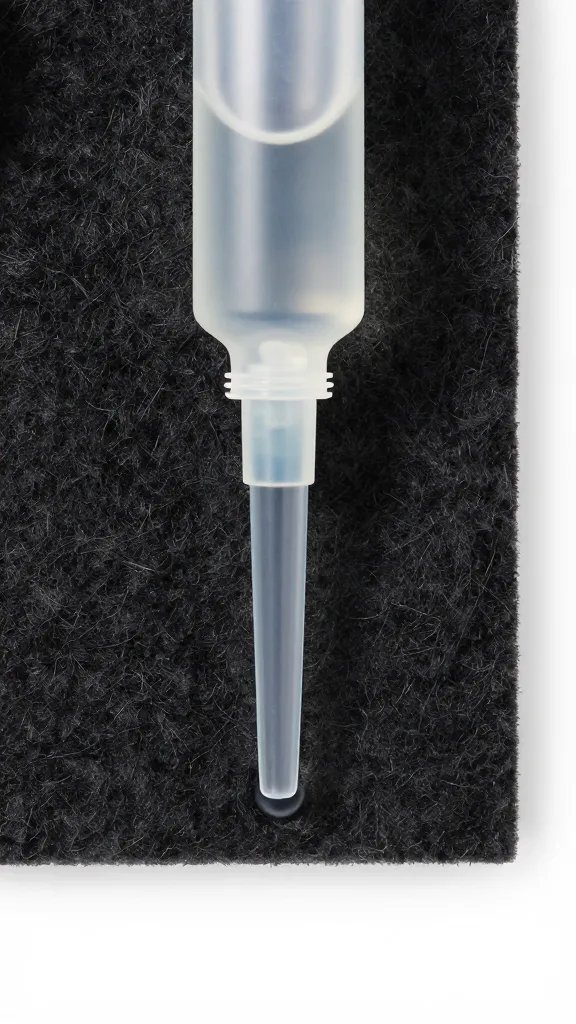
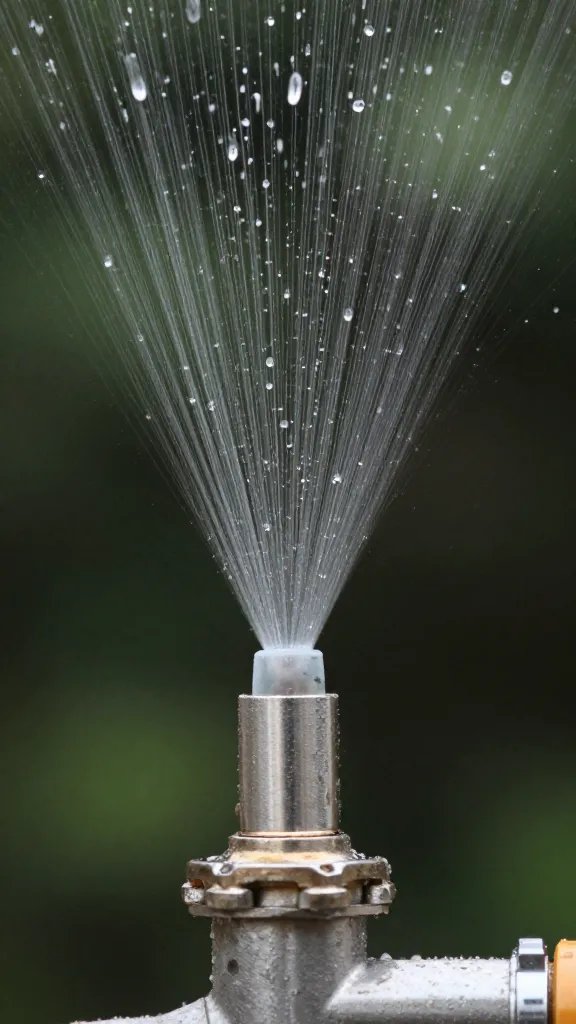
Drill a row of small holes (about toothpick width) across the top manifold 5–7 cm apart. Wrap it in a strip of felt or clip on a basic drip line with built-in drippers so the flow doesn’t shoot out. Test with water in the bath or balcony first — you want a gentle curtain, not jets.
Leak-Proofing And Noise Control
- Run the return water down the back felt or through a gutter to prevent splashes.
- Place the pump on a kitchen sponge to cut vibration hum.
- Seal any screw holes with aquarium-safe silicone and let cure 24 hours.
Action today: Dry-fit your tubing and run the pump in a bucket for 10 minutes to confirm steady flow and no kinks before mounting anything to a wall.
Care Routine That Keeps It Green All Year

Light: place the wall in bright indirect light near a window. If the wall reads as bright enough to comfortably read a book without turning on a lamp at midday, it’s good. Rotate a small clip-on LED grow light in winter if growth stalls.
Weekly: top up the reservoir to the same mark with plain water, wipe dust off leaves, and check that the lowest pockets stay damp until the end of an OFF cycle. Every 2–3 weeks: drain and refill with fresh nutrient solution. Every 3 months: pull out any dead roots, rinse the felt front with a gentle shower, and scrub salt crusts from the manifold with a toothbrush.
Action today: Put a repeating calendar reminder: “Hydro wall change-out” every 2 weeks, and keep a spare jug of premixed nutrient solution ready.
Frequently Asked Questions

Do I need pH or EC meters for a small home wall?
No. For apartment-scale walls, mixing a complete hydro fertilizer at half label strength and changing it every 2–3 weeks works. Use water that tastes clean and doesn’t leave heavy crusts in kettles. If growth looks pale after a month, step up to three-quarters strength on the next refill. Keep notes on dates and doses so you can repeat what works.
How loud is the pump and will it run safely all day?
A small fountain pump on a sponge is nearly whisper-quiet. Use a timer so it runs in short bursts, which reduces heat and extends pump life. Keep the pump fully submerged to avoid rattling and wear. Clean the intake sponge monthly to maintain quiet flow.
What happens if the power goes out?
Most plants tolerate 12–24 hours without circulation if the media stays damp. After power returns, run a longer cycle (15–20 minutes) to re-wet the wall evenly. If an outage lasts more than a day, mist the front surface once in the evening to prevent dry pockets. Avoid pouring directly into pockets, which can wash roots loose.
Can I convert my existing soil pocket wall to hydro?
Yes, if the frame and pockets handle moisture continuously. Add a waterproof liner behind the pockets, route a top manifold, and install a reservoir under the frame. Remove soil and replace with inert support like rockwool cubes or foam strips, then transition plants by rinsing roots and tucking them into the new media. Expect a 2–3 week recovery as roots adapt.
How do I stop algae on the felt and in the reservoir?
Block light. Use a black reservoir with a tight lid and cover any clear tubing with tape. Reduce surface splashing and wipe green film during your 2–3 week change-out. If algae persists, shorten the daytime ON cycle slightly and ensure the wall doesn’t get direct sun on the wet surface.
Conclusion

You don’t need specialist meters or a contractor to keep a living wall thriving. With a simple loop, a steady nutrient mix, and dependable pump cycles, hydroponic walls stay even, oxygenated, and far more resilient than soil builds. Start by programming the 5/25 timer, mix a half-strength nutrient batch, and run a bathtub test — by this weekend, you can hang the panel and watch consistent growth replace guesswork.