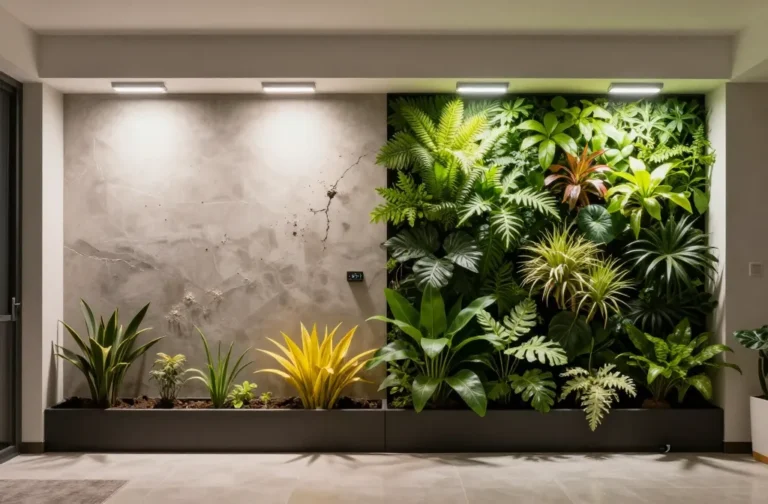
Avoid These 5 Living Wall Mistakes That Cause Total System Failure Within a Year
I built my first living wall on a rented apartment balcony with a cheap frame, a few ferns, and big hopes. By month eight, I was pulling out slimy roots and scraping algae off the felt. I’ve since installed and maintained dozens, and the failures always trace back to the same handful of avoidable errors. In this guide you’ll learn the five mistakes that kill living walls fast and the exact fixes you can do with basic tools and garden-centre supplies.
1. Starving The Roots: Underbuilt Irrigation And Irregular Watering
Most living walls fail from the top down because the upper plants stay thirsty while the bottom plants drown. A once-a-week splash with a watering can creates wild wet-dry swings that rot roots and invite pests. Within months, you see crispy leaves up high and black, smelly pockets below.
Signs To Watch For
- Top row leaves crisping or curling while bottom pockets feel soggy
- Soil pulling away from the pocket edges after drying, then refusing to re-wet
- Musty smell or visible algae on the lower felt or trough
- Plants perk up only for a day after watering, then crash
How To Fix It
- Install a simple, even feed: Use a basic drip kit from the garden centre with 4 mm micro-tubing and in-line drippers along the top row so water trickles down through each pocket.
- Water little and often: Run the drip for 5–8 minutes, 3–4 times per week. For manual setups, use a 1–2 litre pump sprayer and give each pocket a slow count of 5 every other day.
- Re-wet hydrophobic mix: If a pocket repels water, remove the plant, dunk the root ball and pocket mix in a bucket for 10 minutes, then replant.
- Catch and recirculate simply: Place a long planter tray at the base to catch runoff. Empty it after each session so the bottom row doesn’t sit in a swamp.
Action today: Set a phone reminder to water briefly every other day this week and switch to a pump sprayer or a basic drip line along the top row.
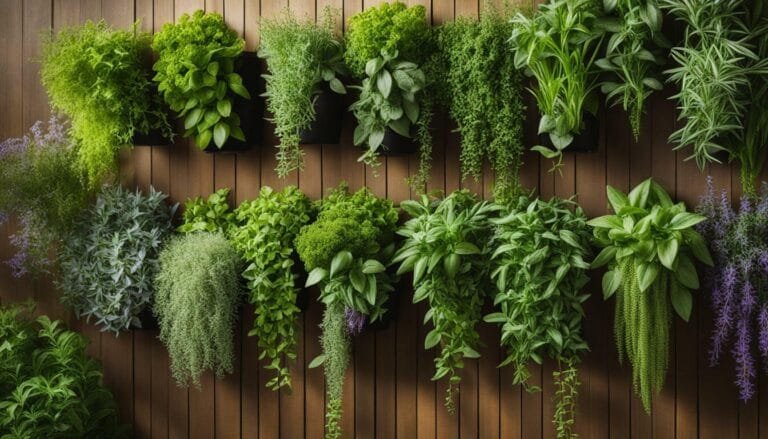
2. Wrong Plants, Wrong Light: Shade Lovers In Sun And Sun Lovers In Shade
Plant choice sinks more living walls than any gadget mistake. Shade plants burn to crisps on bright walls and sun lovers collapse in dim hallways, so half the wall dies while the rest limps along. By month twelve, you’re replacing pockets on repeat and wondering why the “system” failed.
Match Plants To Your Light
- Bright indirect light near a window (no hot midday sun): Pothos, Philodendron hederaceum, Heart fern, Spider plant, Boston fern, Peperomia.
- Direct sun 3–5 hours (south/west window or balcony): Herbs (thyme, oregano, chives), Sedum, Sempervivum, Strawberries, Trailing rosemary.
- Low light (3–5 feet from a window): ZZ plant (lower maintenance), Snake plant (compact), Cast iron plant. Use fewer, larger pockets and water sparingly.
Simple Light Check
- Stand at the wall at midday. If you squint and see sharp shadows, treat it as “sun.” If the room is bright but shadows look soft, call it “bright indirect.” If you need lights on to read, it’s “low light.”
- For low-light rooms, add a plug-in LED shop light hung 12–18 inches from the wall and run it 10–12 hours daily on a timer.
What To Use Instead
- Group by need: Keep each panel to one light category so care is uniform.
- Use tough anchors on edges and top rows: Pothos, Spider plant, and Peperomia tolerate small mistakes.
Takeaway: Replant any failing pockets this weekend with species that match the actual light at the wall, not the wishlist on the label.
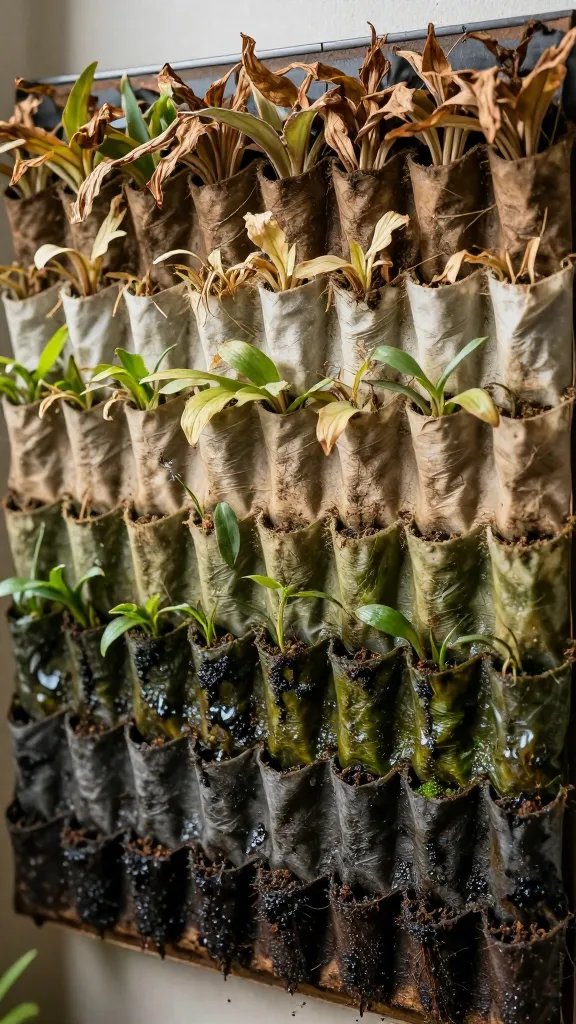
3. Heavy, Waterlogged Mix: Using Garden Soil Or Retainers That Never Dry
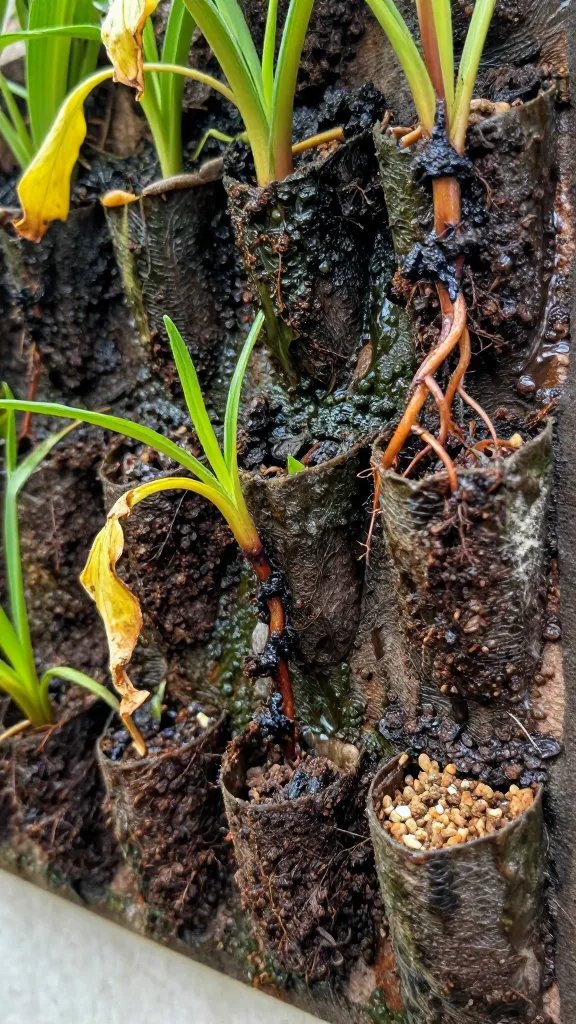
Thick garden soil and moisture crystals turn a living wall into a saturated sponge. Roots suffocate, stems rot at the base, and the felt or pots grow algae. The wall looks lush for a month, then collapses as pathogens take hold.
What Goes Wrong
- Garden soil compacts and blocks air pockets.
- Moisture crystals swell and keep the profile wet for days.
- Pure coco or peat dries to a brick and sheds water later.
Mix That Works From The Hardware Store
- Use a good quality potting mix from the garden centre labeled for houseplants.
- Lighten it by stirring in one part perlite to three parts potting mix by volume using a bucket and trowel.
- For succulents or herbs in sun, go half potting mix, half perlite or small pumice for fast drainage.
Planting Technique
- Pre-moisten the mix so it feels like a wrung-out sponge before filling pockets.
- Firm gently so plants don’t wobble, but don’t pack hard. Leave 1–2 cm from the pocket rim for clean watering.
Action today: Scoop out one failing pocket, replace the contents with potting mix lightened with perlite, and compare plant recovery over two weeks before reworking the rest.
4. No Overflow Plan: Leaks, Wall Damage, And Sudden Dry-Outs
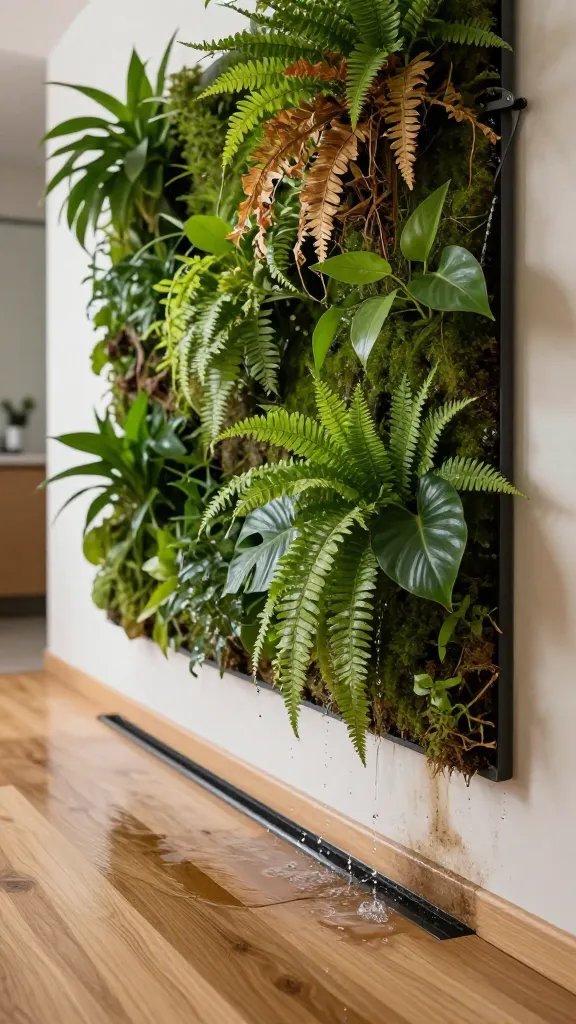
One surprise leak will make you stop watering long enough to kill the top rows. I’ve seen paint bubble, floorboards stain, and landlords fume because a wall lacked a simple liner and tray. Without overflow control, you water timidly, and the whole system dries out in cycles that wreck roots.
Signs You’re At Risk
- Drips on the floor or tide marks under the frame after watering
- Wet paint, swelling drywall, or a musty smell behind the unit
- No catch tray or the tray fills in under five minutes
Build A Simple Safety Stack
- Back liner: Mount a thin plastic sheet (corrugated plastic or a cut shower liner) behind the frame, taped and tucked so water can’t touch paint.
- Bottom tray: Use a long planter tray or low boot tray the same width as the wall. Empty after each watering.
- Squeeze test timing: Water until the first steady drips reach the tray, then stop. This ensures full profile moisture without overrun.
- Wall standoffs: Use rubber spacers or furniture pads to hold the frame 5–10 mm off the wall for airflow.
If You Already Have Damage
- Pull the unit forward and run a fan on low for 48 hours.
- Wipe the back with a cloth dipped in a mild vinegar solution to discourage mildew, then dry fully before remounting.
Takeaway: Add a catch tray and a plastic back liner before your next watering session so you can water confidently and evenly.
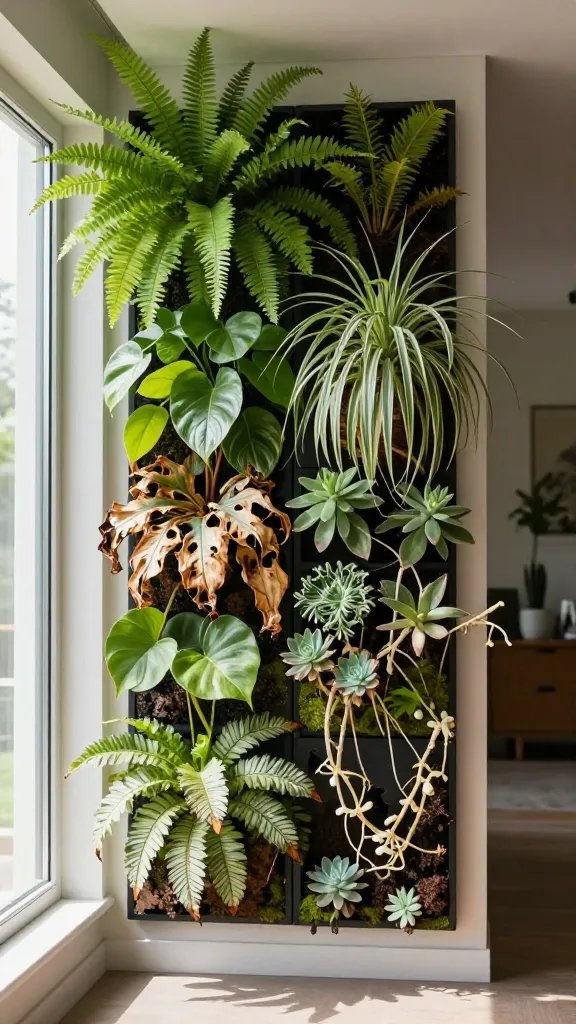
5. Skipping Routine Care: No Feeding, No Pruning, No Cleaning
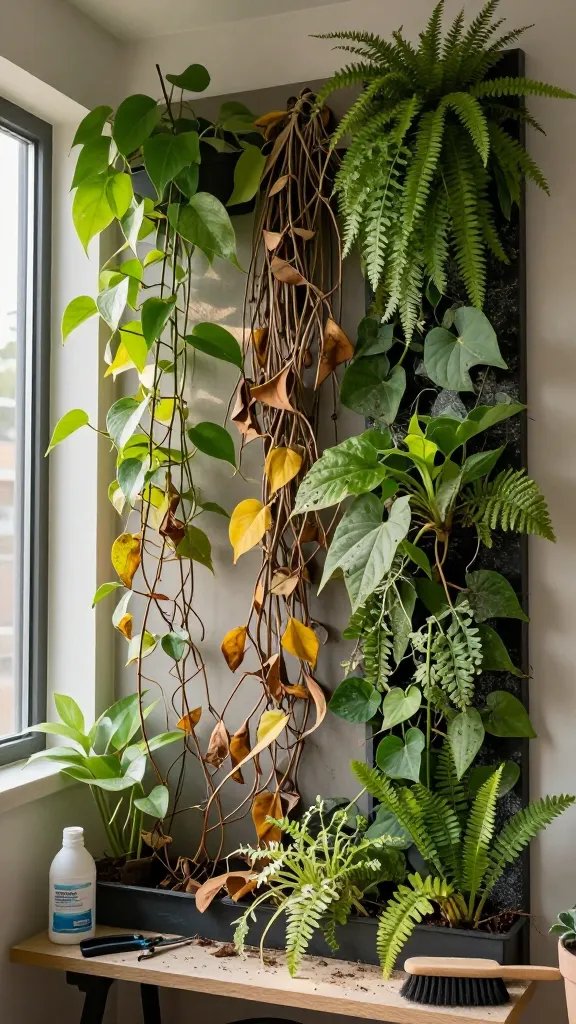
Even a well-built wall fizzles without upkeep. Nutrients run out in 8–12 weeks, tips brown, and pests move into crowded, dusty foliage. By the first anniversary, the wall looks tired, leggy, and patchy—then it fails in a heat wave because nothing has reserves.
Monthly Maintenance Made Simple
- Feeding: Use a balanced liquid houseplant fertilizer at half strength, once a month, during spring and summer. For herbs, use a product labeled for edibles at the weaker end of the label rate.
- Pruning: Pinch or cut back 1–2 nodes on fast growers every 4–6 weeks. Replant healthy cuttings into bare spots.
- Cleaning: Wipe dusty leaves with a damp microfiber cloth. Brush algae off felt or plastic pockets with an old toothbrush and a little diluted vinegar, then rinse lightly.
- Pest checks: Inspect undersides of leaves weekly. If you see sticky residue or webbing, spray with a ready-to-use insecticidal soap from the garden centre, repeating in 7 days.
Seasonal Adjustments
- Winter: Reduce watering frequency by about 30–40%. Keep foliage off cold window glass.
- Summer: Add a clip-on fan nearby for gentle airflow on hot days and consider watering one extra short session per week.
Action today: Set a repeating calendar event: first Saturday monthly—feed, prune, wipe leaves, and check for pests.
Frequently Asked Questions
How often should I water a living wall without a fancy controller?
Water briefly and consistently. Aim for 5–8 minutes with a basic drip line, 3–4 times per week, or use a 1–2 litre pump sprayer every other day, giving each pocket a slow count of 5. Stop as soon as you see the first steady drips reach the catch tray. In winter, reduce by about a third.
What’s the easiest plant mix for a first living wall indoors?
Go with tough, forgiving species that accept bright indirect light: Pothos, Philodendron hederaceum, Spider plant, Peperomia, and a Boston fern or two at the bottom. Keep the whole wall to this group so watering and light needs match. Avoid calatheas and fittonias at first—they sulk when humidity dips.
My pockets repel water after drying. How do I fix hydrophobic mix?
Remove the plant and dunk the entire root ball and pocket mix in a bucket of water for 10 minutes, then drain and replant. Going forward, water more frequently in smaller amounts so the mix never turns to a water-shedding brick. Mixing in extra perlite next repot keeps air and moisture balanced.
Do I need special fertilizer for a living wall?
No. Use a standard liquid houseplant fertilizer at half strength once a month in spring and summer. For edibles, choose a product labeled for herbs and vegetables, again at the weaker end of the label instructions. Flush with plain water once every 6–8 weeks to prevent salt buildup.
How do I prevent leaks and wall damage in a rental?
Mount the frame with rubber spacers for airflow, add a thin plastic back liner, and place a long catch tray at the base. Water until the first steady drips appear in the tray, then stop and empty it. Keep a towel under the tray during the first week to learn your wall’s runoff pattern.
Why does the bottom row keep rotting while the top looks thirsty?
Your watering isn’t even across the wall. Install a simple drip line along the top so moisture distributes from top to bottom, and lighten the mix with perlite. Stop bottom pooling with a catch tray you empty after each session, and water in shorter bursts more frequently.
Conclusion
You don’t need specialist gear to keep a living wall alive past its first birthday—you need steady watering, the right plants for your light, a light potting mix, overflow control, and a simple monthly routine. Pick one weak spot you recognized today—usually watering or plant choice—and fix it this week. Once that stabilizes, the rest of the wall becomes easy to manage.