I used to build terrariums like I potted houseplants: thick gravel at the bottom, soil on top, and hope in between. The plants looked great for two weeks, then the lower roots soured and the glass fogged nonstop. Once I understood what that bottom layer truly does inside a sealed bowl, my builds stopped failing. In this guide I’ll show you how the drainage layer actually functions, what most tutorials miss, and the exact setup that keeps roots healthy without any special gear.
The Real Job Of The Drainage Layer In A Closed System
In a terrarium, the “drainage layer” is not a mini French drain. There’s no hole for water to escape. Instead, it acts as a water reservoir and buffer that stores excess moisture away from roots and then returns it slowly by evaporation.
When you overwater at the start, the extra collects below the substrate rather than flooding root zones. As the terrarium warms during the day, that stored water evaporates, rises, and rains back down. You’ve built a small, stable weather cycle.
Action today: Tip your terrarium gently and look for a thin water line at the base. If you see standing water above the drainage material, you overfilled — wick some out with a paper towel wrapped around chopsticks.
Why Most Guides Get It Wrong
Most instructions copy houseplant logic: “gravel at the bottom improves drainage.” That’s true in pots with holes, false in sealed glass. Gravel doesn’t drain anywhere — it just changes where saturation happens.
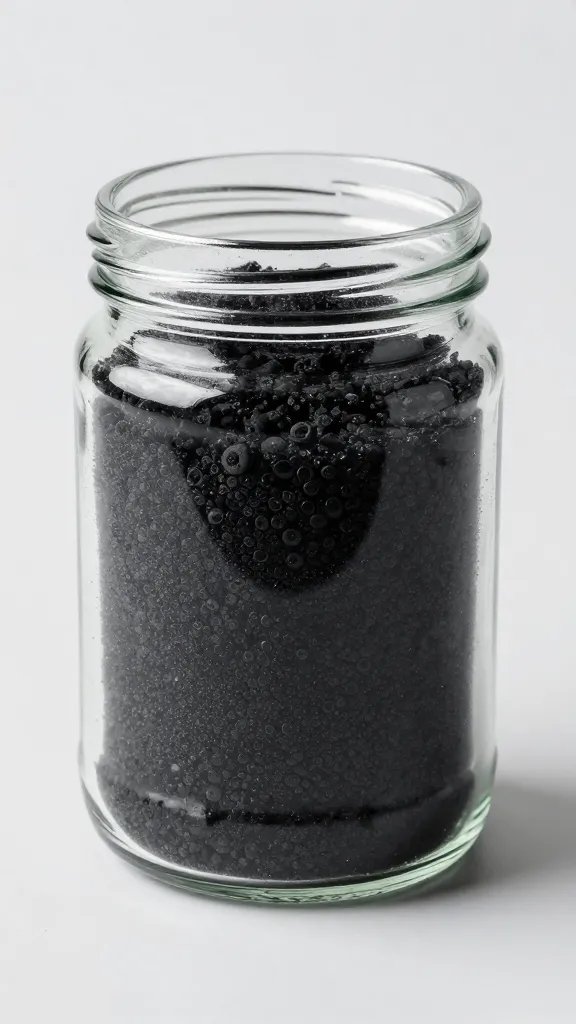
Another common error is calling charcoal the drainage layer. Charcoal is a filter, not a reservoir. It helps with odors and slight impurities but holds little water and won’t fix overwatering. Confusing these roles causes root rot and constant condensation.
Takeaway: Think “reservoir plus filter,” not “drain.” Separate those jobs and you’ll stop chronic rot and fogging.
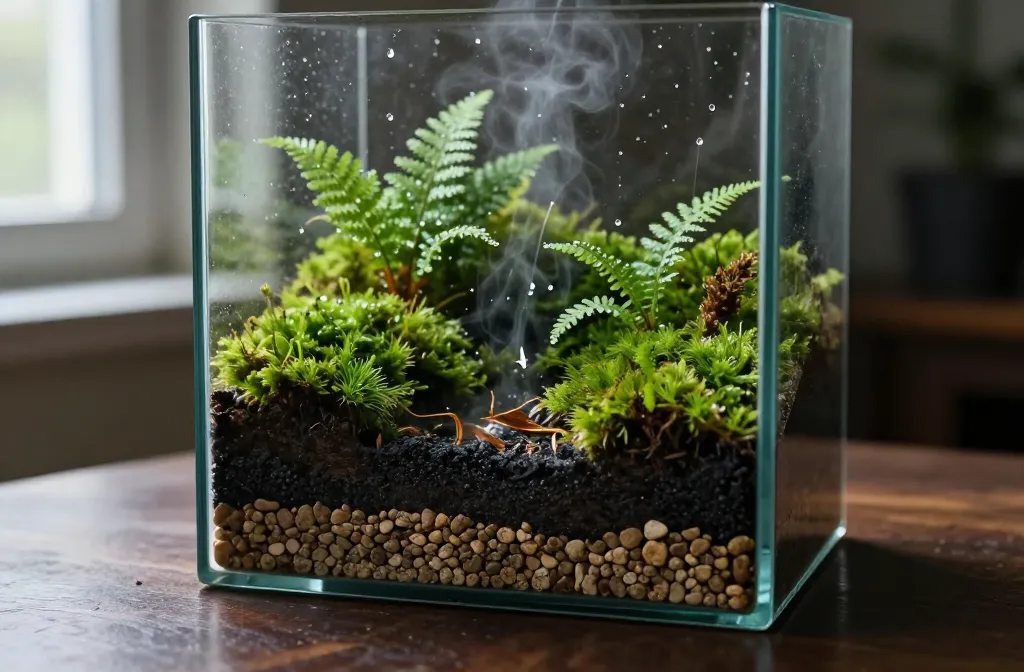
The Correct Layer Order (And Why Each Matters)
I keep this simple and repeatable with materials from any garden center or hardware store. You don’t need sieves, meters, or specialty substrates.
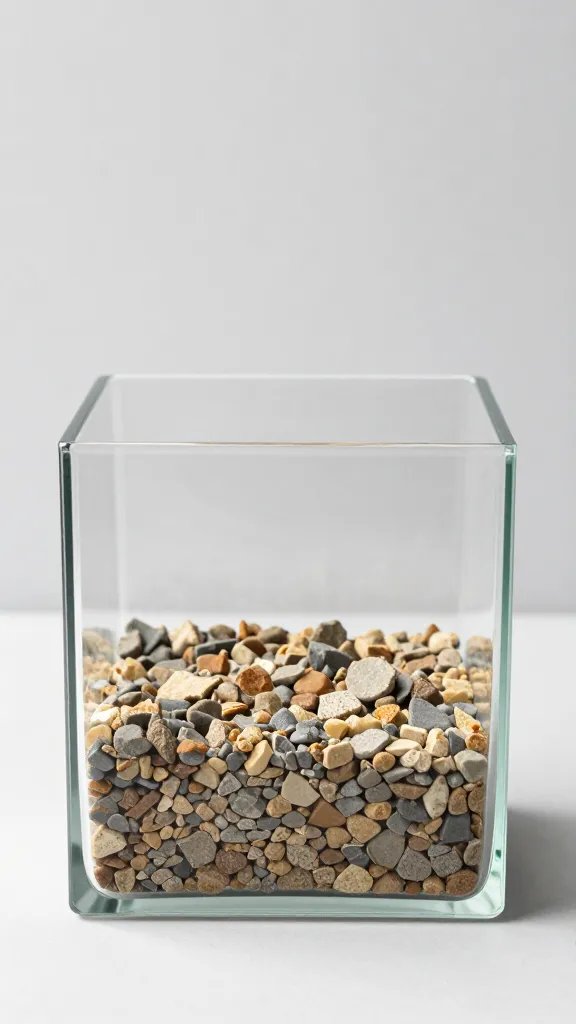
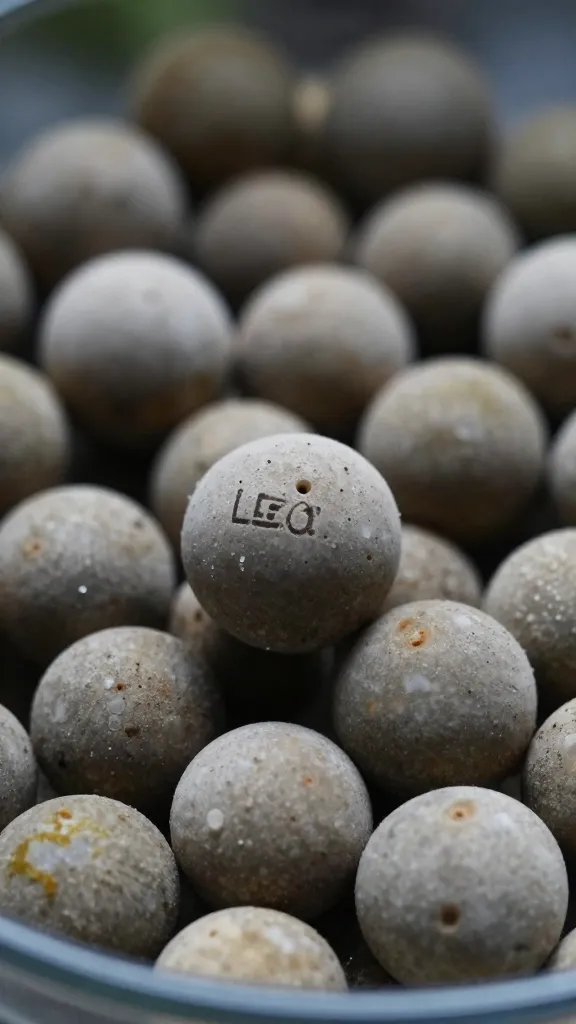
- Bottom: 2–4 cm of coarse, inert drainage media. Use aquarium gravel, washed pea gravel, or LECA (clay balls). This is your reservoir and buffer.
- Middle: 0.5–1 cm of barrier. Fiberglass window screen or a circle of weed-control fabric keeps soil from sifting down while still allowing water movement.
- Optional: 0.5 cm of horticultural charcoal. This thin layer adsorbs odors and tannins. Don’t substitute BBQ charcoal — it contains additives.
- Top: 6–10 cm of high-quality potting mix blended 2:1 with fine orchid bark or perlite for air space. Aim for a crumbly texture you’d happily squeeze and see spring back.
Depths matter. Too-shallow drainage won’t catch initial overwatering; too-deep wastes planting space. For jars under 2 liters, go closer to 2 cm of drainage; for larger vessels, 3–4 cm works best.
Action today: If you’re rebuilding, cut a circle of window screen for your barrier before you pour anything — it’s the five-minute step that keeps your layers clean for years.
How The Drainage Layer Prevents Root Rot (Mechanism, Not Myth)
Roots rot when they sit in anaerobic conditions — waterlogged, airless spaces where beneficial microbes crash and decay organisms take over. The drainage layer lowers the saturation point in the root zone by capturing excess water beneath the soil profile.
Capillary action then moves just enough water back upward to keep the lower substrate evenly moist while the upper 1–2 cm stays slightly drier. That gradient is your safety margin against rot and algae.
Warning Signs You’re Missing The Buffer
- Persistent fogging that doesn’t clear by midday.
- Soil that looks glossy-wet two days after setup.
- Mushroom-like sprouts or a sour, swampy smell.
Action today: If you smell sourness, insert a bamboo skewer to the bottom. If it comes up dripping and smelly, you need to add or deepen the drainage layer and refresh the top 2–3 cm of substrate.
Setting The Right Initial Water Level

The drainage layer only works if you start with the right moisture. I aim for “wrung-out sponge” soil at setup: when you squeeze a handful, it clumps and leaves your palm lightly damp but doesn’t drip.
After planting, add water slowly along the glass with a squeeze bottle. Stop when you see a thin glint of water collecting at the very bottom of the drainage stones — not above them. In most medium jars (2–5 liters), that’s roughly 2–6 tablespoons total, not a full cup.
Step-By-Step: First-Week Moisture Check
- Day 1: Wipe inside glass dry so you can read condensation patterns.
- Day 2–3 midday: You want light speckled condensation on the upper third of the glass, clear bottom half.
- If glass is fully fogged: Vent for 60 minutes, then wick a tablespoon of water from the bottom with a paper towel.
- If glass is bone-dry all day: Mist 1–2 tablespoons and recheck next day.
Action today: Do the midday condensation check. Adjust by venting or misting in tablespoons, not cups.
Choosing Materials That Actually Work
Use inert, hard, and clean drainage media. Aquarium gravel, LECA, or washed pea gravel won’t break down or stain. Rinse until the water runs clear to avoid cloudy tannins.
For the substrate, pick a good indoor potting mix and lighten it with perlite or fine bark. Skip pure garden soil; it compacts and encourages anaerobic pockets. Keep the charcoal thin — it’s for cleanup, not structure.
Reliable, Store-Shelf Picks
- Drainage: Bag of aquarium gravel or LECA from the pet aisle.
- Barrier: Roll of fiberglass window screen from the hardware store.
- Charcoal: Horticultural charcoal from the orchid section.
- Substrate: Indoor potting mix plus a small bag of perlite or fine orchid bark.
Action today: If you already have pea gravel from the garden, bake a tray at 100°C (212°F) for 20 minutes to sanitize before use.
Matching Plants To Your Moisture Profile
The best drainage layer can’t save plants that hate your chosen conditions. Build for what you plant.
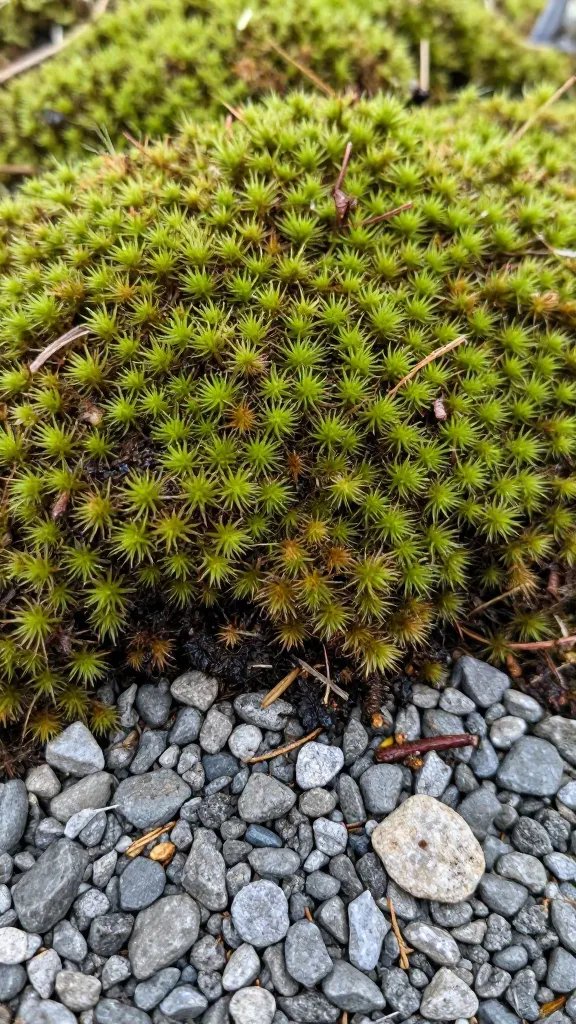
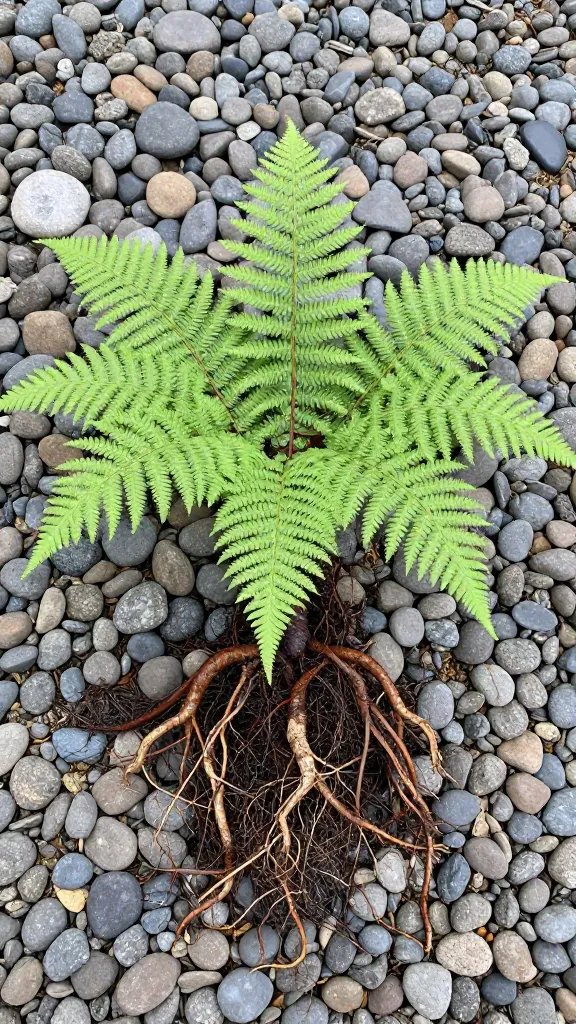
- Moist, steady terrariums: Fit ferns, mosses, Fittonia, Pilea. Use 3–4 cm drainage and a richer substrate blend.
- Drier terrariums (vented or open-top): Fit peperomias, small Hoya, miniature Sansevieria. Use 2–3 cm drainage and a chunkier, barky mix.
Match plant thirst to your reservoir depth: thirstier plants appreciate a deeper buffer; dry lovers prefer shallower with more air in the mix.
Action today: If your Fittonia is wilting every afternoon, deepen the drainage by 1 cm and add a palmful of bark to the soil at the next refresh.
Frequently Asked Questions

Do I need a drainage layer in an open terrarium?
Yes, but you can go thinner. An open terrarium loses more water to the room, so 2–3 cm of gravel or LECA is enough for most bowls. You still get a buffer against accidental overwatering and a place for fines to settle. Keep the top 1–2 cm of soil airy with perlite.
Can I use sand as the drainage layer?
No. Sand packs tightly and turns into a perched water table that sits right under your soil, which keeps roots waterlogged. Use coarse gravel or LECA with visible gaps between pieces. Save sand for decorative top-dressing in dry, open displays.
Is activated charcoal required?
It’s optional but helpful in closed builds. A thin 0.5 cm layer reduces odors and keeps the water clearer in the reservoir. If you skip it, be more careful with initial watering and remove dead leaves promptly to avoid sour smells. Never use BBQ briquettes.
How do I fix a terrarium that’s always foggy?
Persistent fog means excess moisture or poor airflow. Vent the lid for 60–90 minutes at midday for three days, wick a tablespoon or two of water from the bottom, and trim any leaves touching the glass. If that fails, rebuild with a deeper drainage layer and a lighter soil mix.
What if I see water above the gravel line?
That means your reservoir is overfilled and has invaded the soil zone. Wick water out with a paper towel on tongs until the water line drops back into the gravel. If the soil smells sour, remove the top 2–3 cm and replace with fresh mix, then monitor condensation for a week.
How often should I add water to a closed terrarium?
Rarely — usually every 4–8 weeks, and only in tablespoons. Add water when condensation stays under one-third of the glass for two days in a row. Drip it down the side to avoid disturbing roots, then reassess the next day before adding more.
Conclusion

Once you see the drainage layer as a reservoir and buffer, terrariums stop feeling mysterious and start behaving predictably. Build the layer with clean, coarse media, set moisture in tablespoons, and read the glass at midday. If you’re planning your next project, prepare your barrier circle and gravel first — then choose plants to match the moisture profile you’ve just engineered.