I installed my first living wall on a cramped apartment balcony, armed with a drill, a level, and a lot of optimism. The plants did fine, but only after I understood the “guts” behind the greenery — the frame, water path, and drain that keep everything alive. In this guide I break down that hidden infrastructure in plain language, so you can pick a system, mount it safely, and keep it thriving without specialist tools. You’ll learn exactly what each part does and how to set it up the right way the first time.
What “Modular” Really Means: Frames, Panels, and Pockets
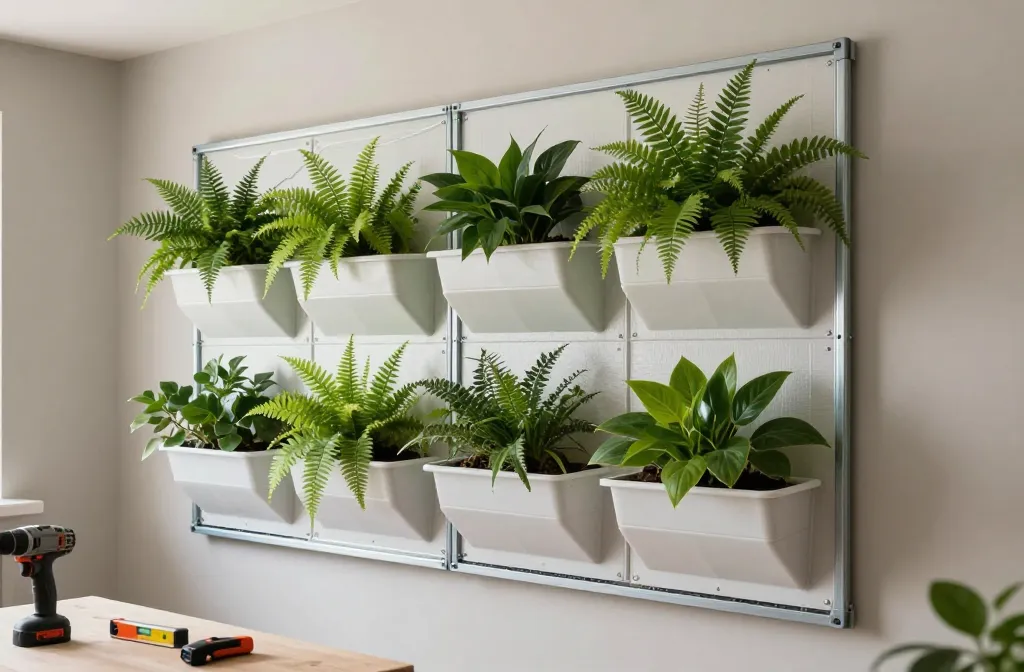
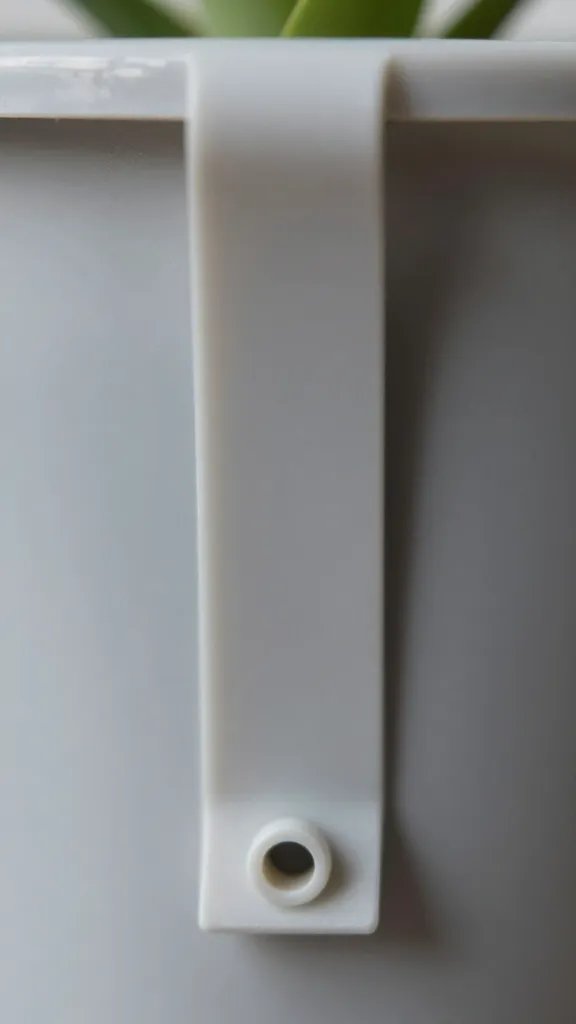
A modular living wall uses repeating units you can clip together and remove individually. You’ll usually mount a lightweight backing panel or rail to the wall studs, then hang plant pockets or trays that hold each plant in its own small container.
This matters because every plant gets its own space and you can swap a failing plant without tearing down the wall. Look for panels made of recycled plastic or powder-coated metal — both handle moisture well and wipe clean.
Action today: Take a stud finder and mark two studs on the wall where you want the lowest row — knowing where solid support exists will decide the system size you can trust.
The Moisture Path: How Water Moves Without Flooding Your Floor

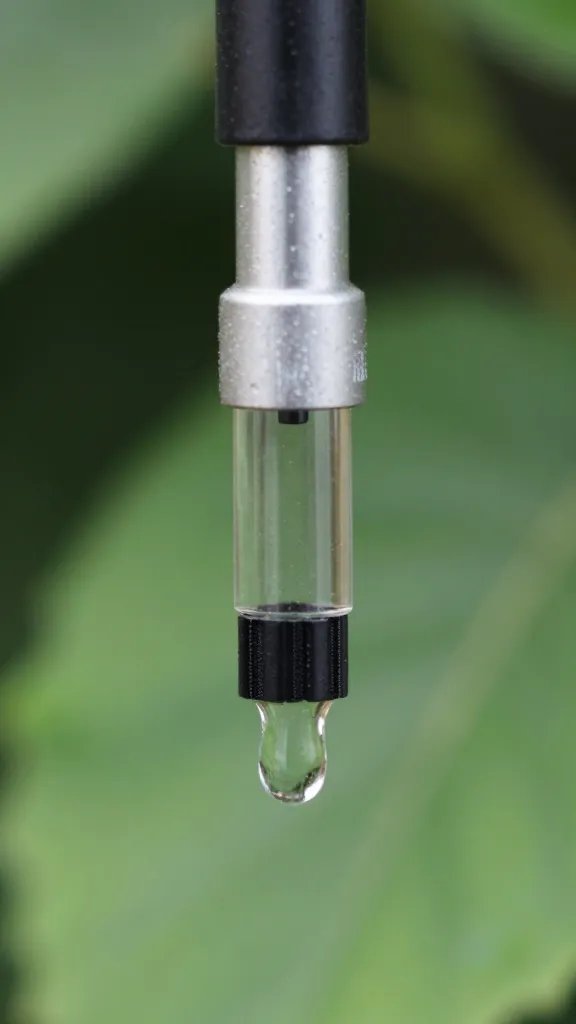
Healthy living walls move water top to bottom in a slow, controlled way. You’ll either hand-water the top row with a watering can or use a simple drip line from a basic drip kit you can buy at a garden centre.
Each pocket or tray has tiny channels or felt that spreads water sideways, then gravity carries excess down to the unit below. A small catch tray or planter saucer at the bottom collects runoff so nothing drips onto your floor.
Warning Signs Your Water Path Is Failing
- Dry top row, soggy bottom row: Flow is too fast or top pockets repel water — rough up the potting mix surface and water in two passes five minutes apart.
- Persistent drips an hour after watering: You overwatered — reduce volume next time and empty the catch tray within 30 minutes.
- Salt crust on edges: Fertilizer is building up — flush with plain water until runoff is clear.
Action today: Place a wide, rigid planter saucer under the bottom row before you mount anything else — it’s cheap insurance against mess.
Mounting That Won’t Rip Out: Weight, Anchors, and Backing
Water makes walls heavy. A 1 m² section with wet mix and plants weighs about as much as a full suitcase. I always mount the frame into wood studs or masonry using wood screws or masonry anchors from the hardware store.
For drywall-only spots, add a strip of exterior-grade plywood (at least 12 mm thick) as a spreader board, screwed into studs, then attach the panel to that. Keep systems at or below shoulder height indoors so you can water and inspect joints without a step stool.
Step-by-Step: Fast, Safe Mount
- Find and mark studs with a stud finder; confirm by driving a small pilot screw.
- Hold the panel or plywood ledger at height and use a level to mark hole positions.
- Pre-drill ledger and wall, then fasten with wood screws at least 60 mm long into studs.
- Attach the modular frame to the ledger with the hardware provided.
Action today: Weigh a filled planter pot you already own; multiply by the number of pockets you plan to install — size your anchors to that real number, not a guess.
The Growing Core: Media, Liners, and Root Management
Modular pockets use either loose potting mix or a fibrous liner. For home setups, a good quality potting mix from the garden centre beats fancy blends. It drains well and is easy to refresh.
Use nursery pots with side holes inside each pocket so roots don’t glue themselves to the panel. Slip the whole pot in and out to prune roots or replace plants without disturbing neighbors.
Practical Media Setup
- Fill pots 80–90% with potting mix; top 10–20% with fine bark or coco chips to slow surface drying.
- Add a thin coffee-filter circle over drainage holes to keep mix from sifting out while still draining.
- Don’t add pebbles at the bottom — that creates a perched water layer and soggy roots.
Action today: Pre-soak potting mix in a bucket until it’s evenly damp like a wrung-out sponge — plants establish faster and shed less mix on first watering.
Light and Air: Placing the Wall Where Plants Actually Grow

Plants want steady, bright conditions. Indoors, place the wall in bright indirect light near a window where you can comfortably read a book at midday without switching on a lamp. Avoid hot, sun-blasted glass that cooks the top row and starves the bottom.
Good air movement stops mildew. A small, quiet desk fan on low, set a few feet away, keeps leaves dry after watering. Outdoors, protect from wind tunnels that desiccate edges.
Plant Types That Behave in Walls
- Pothos, Heartleaf Philodendron, Philodendron ‘Brasil’ — forgiving, trail to cover gaps.
- Boston Fern, Bird’s Nest Fern — lush look, prefer consistent moisture.
- Spider Plant, Tradescantia — quick fillers, easy to swap when leggy.
- Herbs outdoors like thyme, oregano, chives — sun and regular trims keep them compact.
Action today: Stand where your wall will go at noon — if the light makes you squint, hang a sheer curtain; if it feels dim, plan a simple plug-in grow bulb aimed from 30–45 cm away.
Watering and Feeding: Simple Routines That Don’t Fail
Hand-water with a long-spout watering can until you see the first drops reach the catch tray. Indoors, this is usually every 5–7 days in warm months and every 10–14 days in cooler months. Water in two light passes, five minutes apart, so the top row actually absorbs moisture.
Feed lightly. Mix an all-purpose liquid fertilizer at half the label rate and use it every fourth watering during spring and summer. Use plain water the rest of the time to avoid salt buildup.
Quick Fixes When Something Looks Off
- Yellow leaves across many plants: You’re overwatering — skip one cycle and ensure the catch tray is emptied within 30 minutes.
- Crisp brown leaf edges: Underwatering or hot sun — add a midday check-in and move 30–60 cm back from direct sun.
- Algae or a musty smell: Poor airflow — run a fan on low for a week and reduce watering volume by 25%.
Action today: Set a phone reminder on watering day to empty the catch tray after 20–30 minutes — this single habit prevents root rot.
Maintenance You’ll Actually Do: Swapping, Trimming, and Cleaning
Plan on a 10-minute weekly check. Snip back runners that shade neighbors, pull yellowing leaves, and feel the top 2–3 cm of mix with your finger to judge moisture. Swap any struggler with a fresh nursery pot — nobody gets sentimental front-row seats.
Every three months, take the pockets out in batches and wipe the frame with a damp cloth. Check screws for tightness. Outdoors, rinse dust off foliage with a gentle shower setting.
Action today: Keep a small tote by the wall with pruning snips, a watering can, and a spare nursery pot — when tools live nearby, upkeep actually happens.
Frequently Asked Questions
Do I need plumbing for a modular living wall?
No. For home use, hand-watering with a long-spout watering can works well, as long as you have a bottom catch tray. If you prefer automation, use a basic drip kit connected to a plug-in timer and a bucket or indoor-safe reservoir. Keep the timer near the wall so you can adjust quickly in heat waves.
Will living walls damage my drywall?
Not if you mount correctly and manage runoff. Screw a plywood ledger into studs, then hang the system from that, and always use a catch tray that you empty within 30 minutes of watering. Wipe occasional splashes and check for any damp patches on the wall once a month.
How do I keep pests from spreading through the whole wall?
Quarantine new plants for 7 days on a separate shelf and inspect undersides of leaves. If you see pests later, pull the affected pot, treat it with a ready-to-use insecticidal soap from the garden centre, and return it after two clean inspections. Because each plant sits in its own pot, you can remove problems fast without treating the entire wall.
What if my wall gets only morning light?
Morning light is fine for many foliage plants. Choose shade-tolerant varieties like pothos, philodendron, and ferns, and place the wall within a couple of feet of the window. If growth slows or stretches, add a plug-in grow bulb aimed across the wall for 8–10 hours daily.
Can I grow edibles in a modular wall indoors?
Leafy herbs like basil, chives, parsley, and mint do well if you give them strong light and regular trimming. Keep them closest to the light source and water a bit more frequently than foliage-only walls. Skip thirsty fruiting crops indoors; they need more light and volume than pockets provide.
How do I choose the right size system for my space?
Measure the wall area and decide how many pockets you can comfortably reach without a stool. Plan for at least one stud connection every 40–60 cm horizontally. Start with a smaller panel you can maintain easily, then add modules once your routine feels effortless.
Conclusion

You don’t need a contractor to build a dependable living wall — you need a solid mount, a clean water path, the right light, and a simple weekly rhythm. Pick a modular kit you can fasten into studs, stage a catch tray, and stock a tote with your watering can and snips. Today, mark your studs and hang the ledger; once the backbone is up, the green comes together fast and stays that way.