Your plants want more legroom, and they’re not shy about it. When roots hit the wall, growth stalls, leaves sulk, and watering turns into a twice-a-day chore. The fix? Smart container transplanting that keeps momentum without shocking your green babies. Let’s size up like pros so your plants keep thriving instead of plateaus and tantrums.
1. Read The Root Room Like A Plant Whisperer
You don’t need x-ray vision to know when a plant needs a bigger pot. The plant literally tells you—through roots, water behavior, and growth patterns. Learn the signs, and you’ll time your transplant perfectly.
Clear Signs You Need To Upsize
- Roots circling the drainage holes or pushing out the bottom.
- Soil dries out in a day when it used to take three.
- Stunted growth despite good light and fertilizer.
- Leaves droop after watering because the root ball repels water.
- Top-heavy plant that tips over at the slightest breeze.
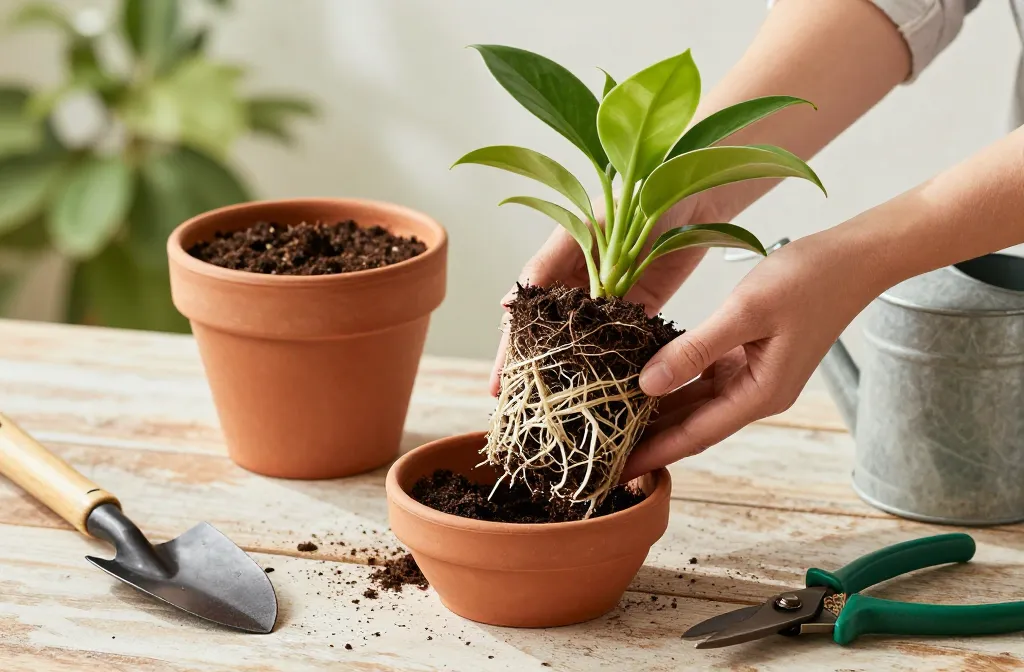
Still unsure? Gently slide the plant out of the pot. If you see dense, white roots wrapped like spaghetti with very little visible soil, it’s time. If you see loose soil with roots evenly spaced, you can chill for a bit.
When To Transplant (Timing Matters)
- Best seasons: early spring or early fall for most houseplants and veggies.
- Avoid peak bloom and heat waves—stress stacks fast.
- Annuals: transplant anytime they outgrow their pots, but water deeply afterward.
Bottom line: catch the rootbound stage early and your plants reward you with faster growth and fewer drama episodes.
2. Choose The Right Size—Goldilocks Style
Too big a pot can drown roots; too small throttles growth. The sweet spot depends on the plant’s age, root type, and how fast it grows. Let’s size up without overdoing it.
General Sizing Rules (That Actually Work)
- Small pots (up to 6 inches): move up 1–2 inches in diameter.
- Medium (6–10 inches): move up 2 inches.
- Large (10+ inches): move up 2–4 inches, depending on root density and plant vigor.
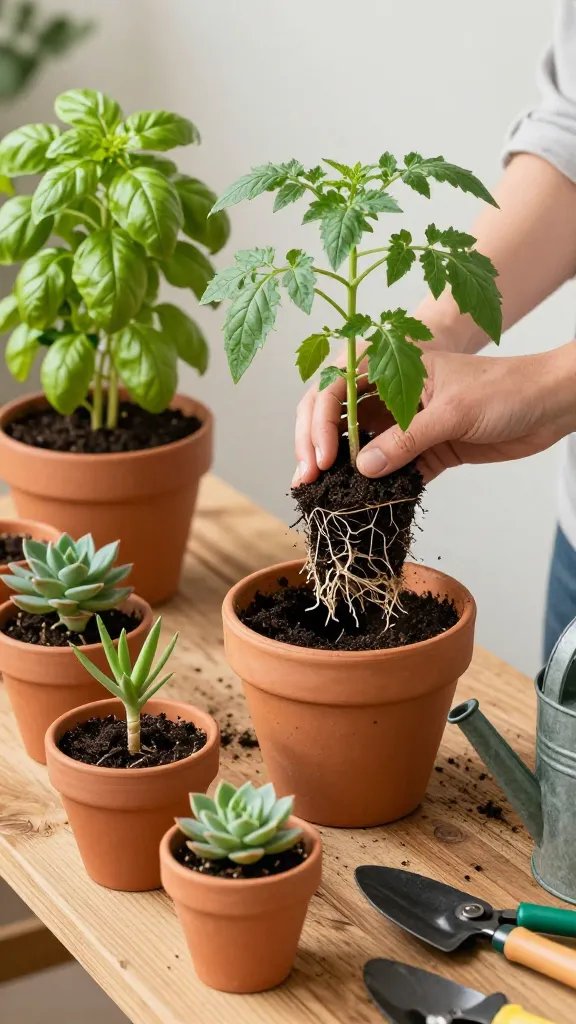
Fast growers like tomatoes, basil, and pothos can handle a bigger jump. Slower growers—succulents, snake plants, ficus—prefer smaller steps so soil doesn’t stay soggy and funky.
Match The Pot To The Plant
- Taproot lovers (carrots, lupines): need depth more than width.
- Shallow rooters (strawberries, lettuce): wide, shallow containers.
- Vining houseplants (pothos, philodendron): modest width increase; train growth up or out.
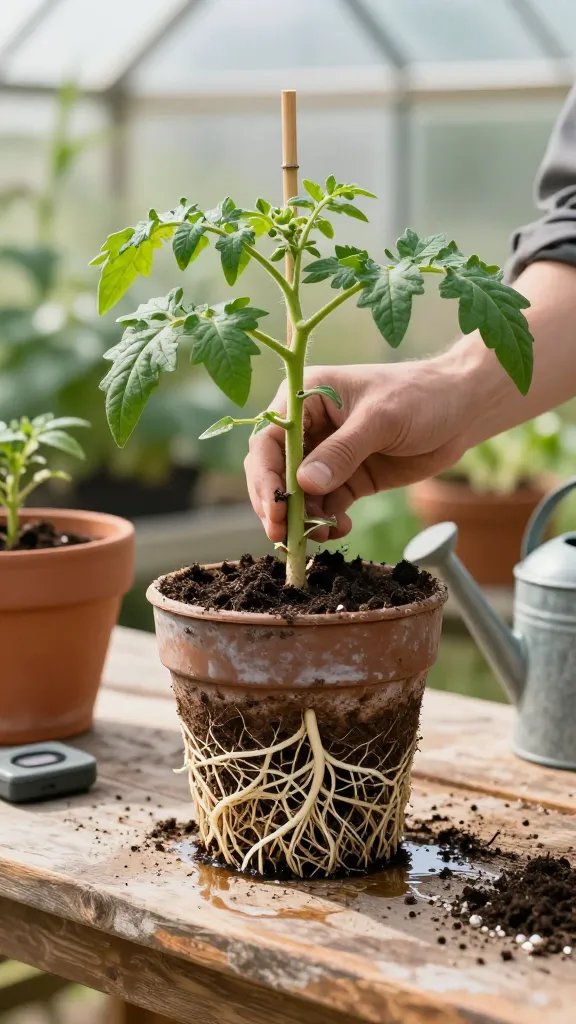
- Heavy drinkers (tomatoes, peppers): big volume, sturdy pots, strong support points.
Want fewer watering chores? Go slightly wider and deeper—but not swimming pool big. The right size keeps moisture even, roots well-aerated, and growth steady. IMO, that’s the sweet spot for low-fuss care.
3. Pick Pot Materials That Match Your Lifestyle
Pots aren’t just about aesthetics—they change how water moves, how roots breathe, and how often you haul the watering can. Choose materials and drainage that match your plant’s personality and your schedule.
Pot Materials: Pros, Cons, Vibes
- Terracotta: breathable, dries fast, great for succulents and herbs; heavier and can crack in frost.
- Glazed ceramic: holds moisture longer; stylish; heavier; watch drainage holes.
- Plastic/resin: lightweight, retains moisture, affordable; can overheat in full sun.
- Fabric grow bags: excellent aeration, prevent root circling; dry faster, need saucers or trays.
- Wood planters: rustic, good insulation; line with plastic and add drain holes to extend life.
Drainage Setup (Non-Negotiable)
- At least one drainage hole per pot; more for wide containers.
- Pot feet or spacers to lift pots off decks and patios.
- Skip gravel layers—they don’t improve drainage; use quality potting mix instead.
Match moisture-retentive pots to thirsty plants and breathable pots to drought-tolerant types. You’ll water less, and your roots will stay happier, seriously.
4. Prep The Perfect Potting Mix (And Stop Using Garden Dirt)
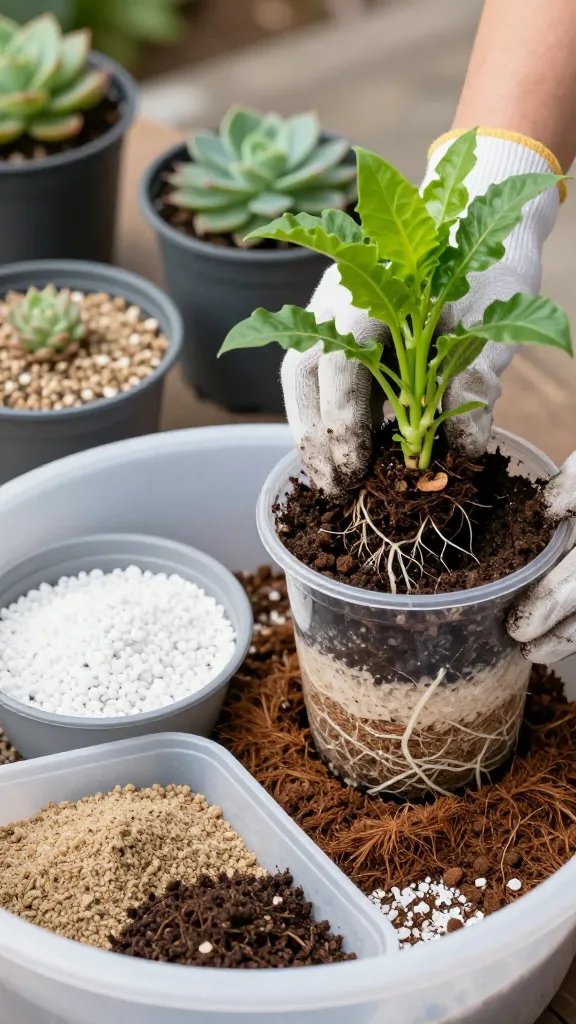
The right mix equals strong roots, steady moisture, and fewer pests. Bagged “potting soil” isn’t always ideal for every plant, so tweak it. You want drainage, nutrition, and structure that lasts.
Base Mixes That Win
- All-purpose houseplants: 2 parts high-quality potting mix, 1 part perlite or pumice, 1 part coco coir or fine bark.
- Succulents/cacti: 1 part potting mix, 1 part coarse sand, 1 part pumice/perlite.
- Veggies and herbs: 3 parts potting mix, 1 part compost, 1 part perlite; add slow-release organic fertilizer.
Add-Ins That Actually Help
- Worm castings: gentle nutrients and microbes.
- Fine orchid bark: improves airflow for aroids (monsteras, philodendrons).
- Biochar: boosts microbial life and structure; pre-charge with compost tea or fertilizer.
- Mycorrhizae: powder dusted on roots during transplant for stronger establishment.
Avoid heavy garden soil in containers—it compacts and suffocates roots. A custom mix balances water and air so roots explore quickly, which means faster growth and fewer root diseases. Trust me, this part pays off.
5. Transplant With Zero Drama: The Step-By-Step And Aftercare
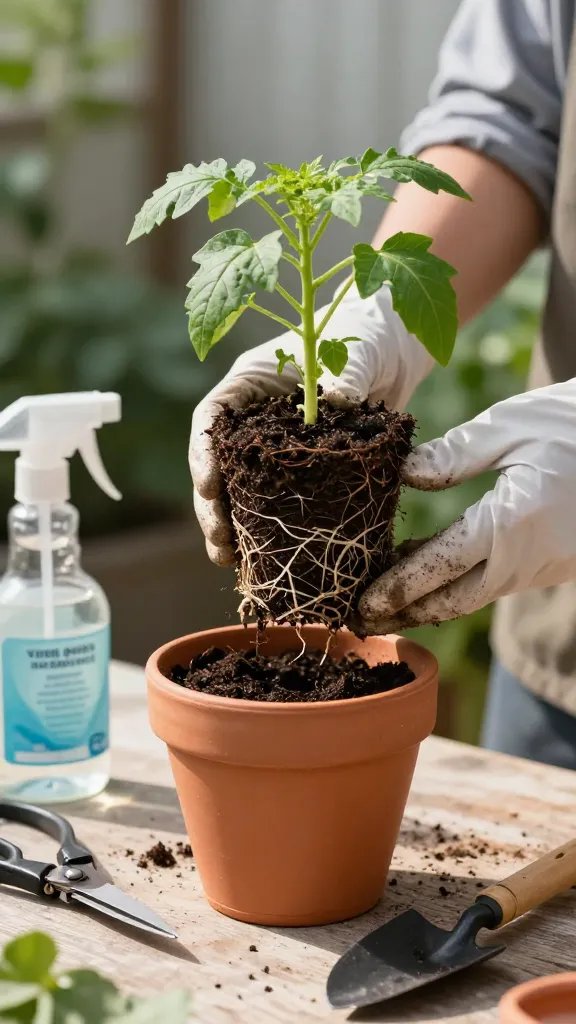
Plants hate chaos. A smooth move keeps roots intact, reduces shock, and gets growth rolling again fast. Follow this simple flow and you’ll look like you do this for a living.
Before You Start
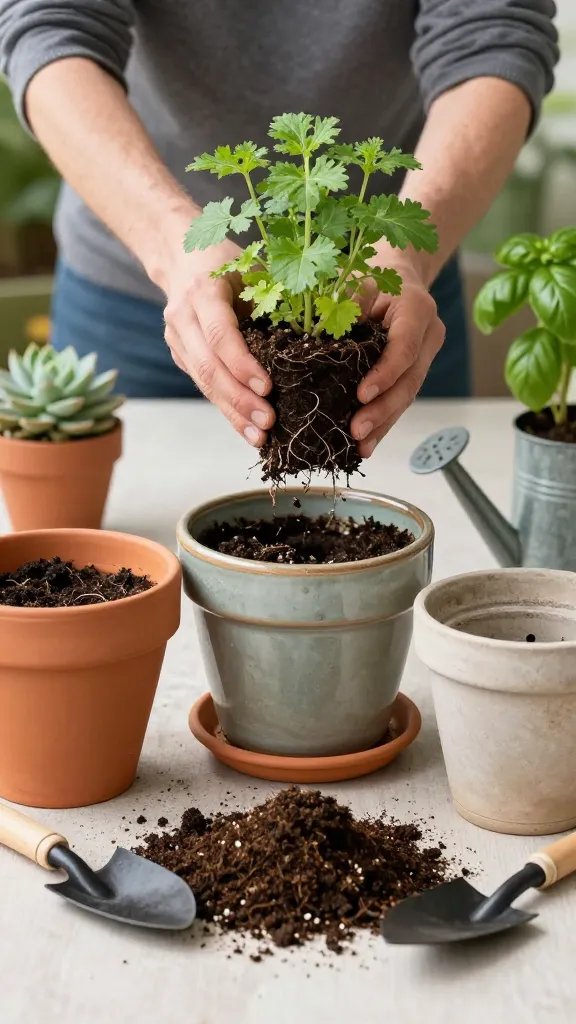
- Water the day before: moist, not soggy. Roots slide out easier and stay protected.
- Prep the new pot: add a thin base layer of mix so the root crown sits just below the rim.
- Sanitize tools: a quick wipe with alcohol keeps pests and disease from hitchhiking.
The Move
- Tip the plant sideways, support the base, and ease it out. Tap the pot if it’s stubborn.
- Loosen the root ball with your fingers. For thick circling roots, tease them out or make 2–4 shallow vertical cuts to encourage outward growth.
- Set at the right height: crown level just under the rim; avoid burying stems.
- Backfill around the sides with your mix, firming gently to remove big air pockets.
- Water thoroughly until it drains; top up soil if it settles.
Aftercare That Seals The Deal
- Shade or indirect light for 2–3 days, then move to normal spot.
- Hold fertilizer for 2–3 weeks; let roots establish first.
- Water by feel: keep evenly moist, not drenched. Adjust by plant type and pot material.
- Stake early for tall veggies or canes to prevent wobble.
Use this method for everything from tomatoes to monsteras. You’ll skip transplant shock and jump straight to healthy new growth—aka the fun part.
You’ve got this. Pick the right size, match the pot and mix, and give your plants the good kind of growth spurt. FYI, once you nail the timing and aftercare, transplanting turns from stressful to satisfying fast. Now go make those roots happy.