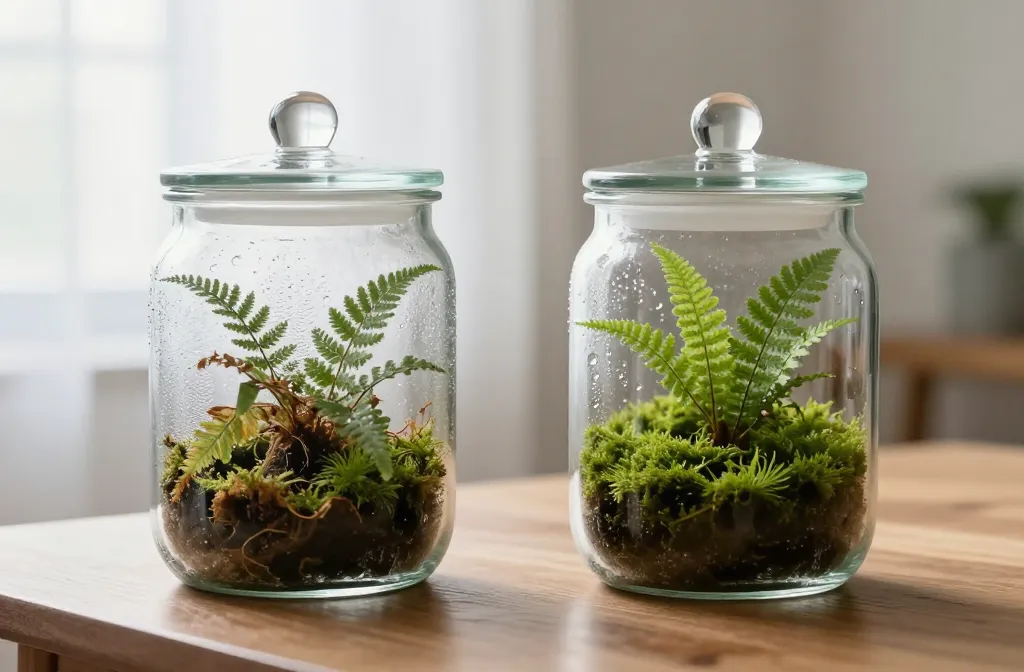
I learned the hard way that the wrong container can doom a terrarium before the first plant goes in. Friends would ask me why their moss browned or their ferns melted, and every time I’d spot the same culprit on the table: beautiful glass that traps heat, leaks air, or both. In this guide, I’ll show you exactly how the container itself dictates humidity, temperature, and airflow — the three things that make or break a terrarium. By the end, you’ll know which vessels work, which to avoid, and how to fix problems with the one you already own.
The Real Mistake: Treating Any Pretty Glass as a Terrarium
Most people grab a jar, vase, or candle holder and start planting. That’s where trouble starts. A terrarium is a moisture and climate system first, a display second.
The wrong glass turns into a greenhouse oven or a stale swamp. You need a container with the right lid seal, opening size, and wall shape so moisture cycles cleanly and temperatures stay steady.
Action today: Put your empty container in bright indirect light for one afternoon. If the glass feels hot to the touch or fogs heavily and stays foggy for hours, you need a different vessel or a better lid setup.
Lid Fit: The Difference Between A Swamp and A Desert
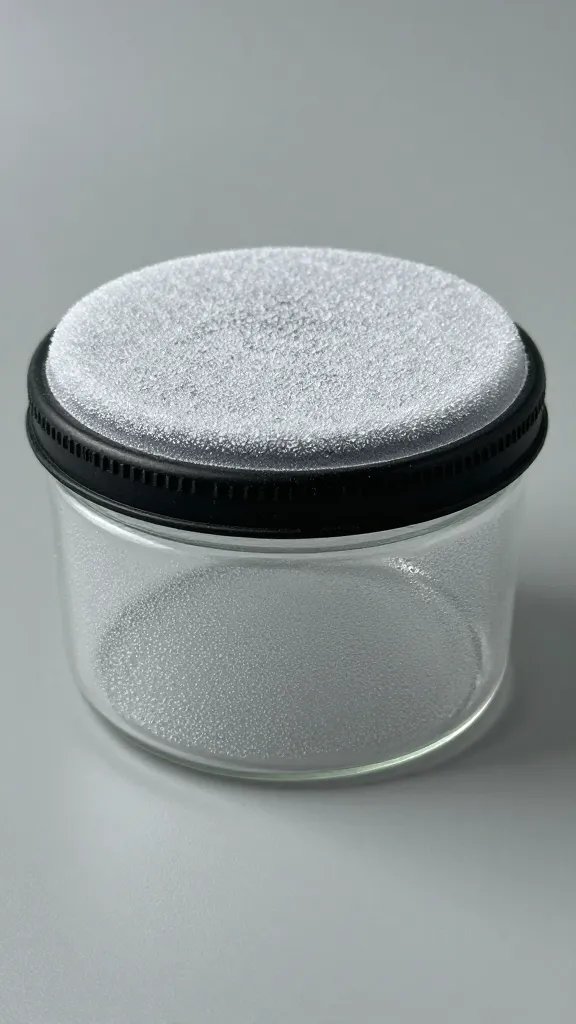
A terrarium’s lid controls humidity like a thermostat controls heat. A sealed lid traps moisture for closed terrariums (ferns, moss, fittonia). A loose lid or no lid suits dry, open terrariums (succulents, cacti).
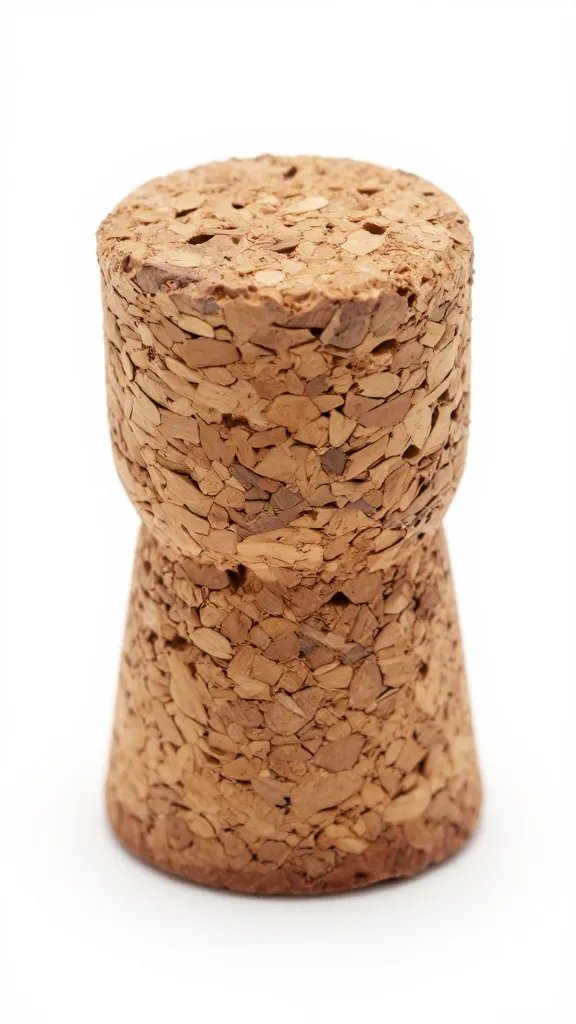
The mistake is using a cork that bleeds air for moisture-loving plants, or snapping on an airtight clip-top for succulents. You end up chasing problems with watering that the lid caused in the first place.
Quick Lid Checks and Fixes
- Too sealed for dry plants: Prop the lid with two coins on opposite sides to create a 2–3 mm gap.
- Too leaky for humid plants: Run a neat ring of clear packaging tape just under the rim to improve the seal without gluing it shut.
- No lid, but you need humidity: Use a glass dinner plate or a piece of picture-frame glass as a temporary cover.
Action today: Decide your plant type first. If you want ferns or moss, commit to a lid that seals well; if you want succulents, remove the lid entirely or introduce a small, consistent gap.
Opening Size Controls Access, Air, and Temperature
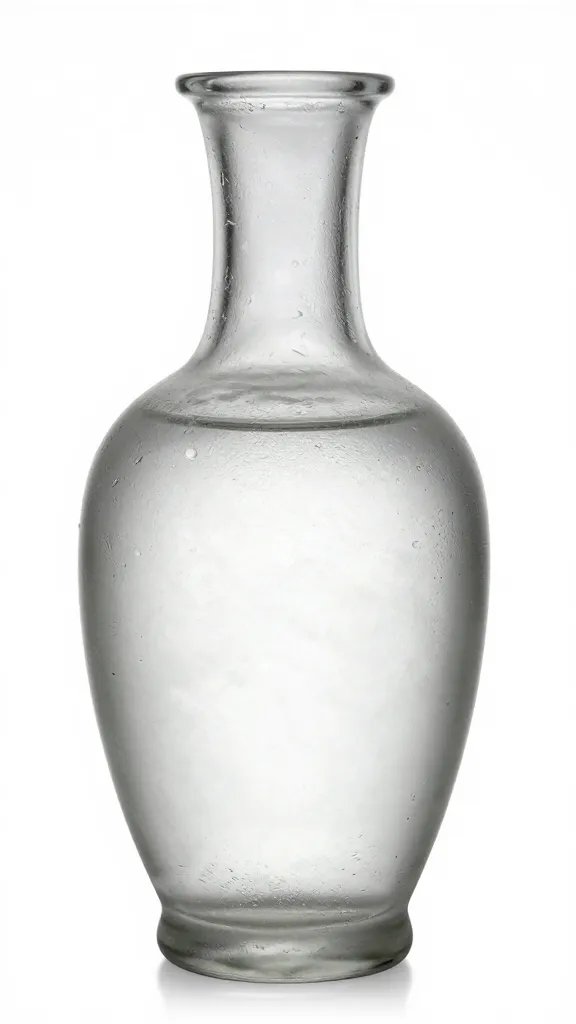
Small-neck bottles look elegant but cause planting damage and stale air. You crush moss pushing it through, can’t prune properly, and trap warm air at the top.
Use an opening at least the width of your fist for humid builds. You’ll plant without forcing, ventilate during warm spells, and remove dead material before it molds.
Warning Signs You Picked Too-Narrow a Neck
- Persistent fog near the top by mid-morning.
- Rotting stems you can’t reach with scissors.
- Condensation drips that never clear by midday.
Action today: If your opening is smaller than a teacup rim, switch to a vessel with a wider mouth before planting. If you’ve already planted, use long chopsticks and reduce moisture by airing daily for 30 minutes until condensation balances.
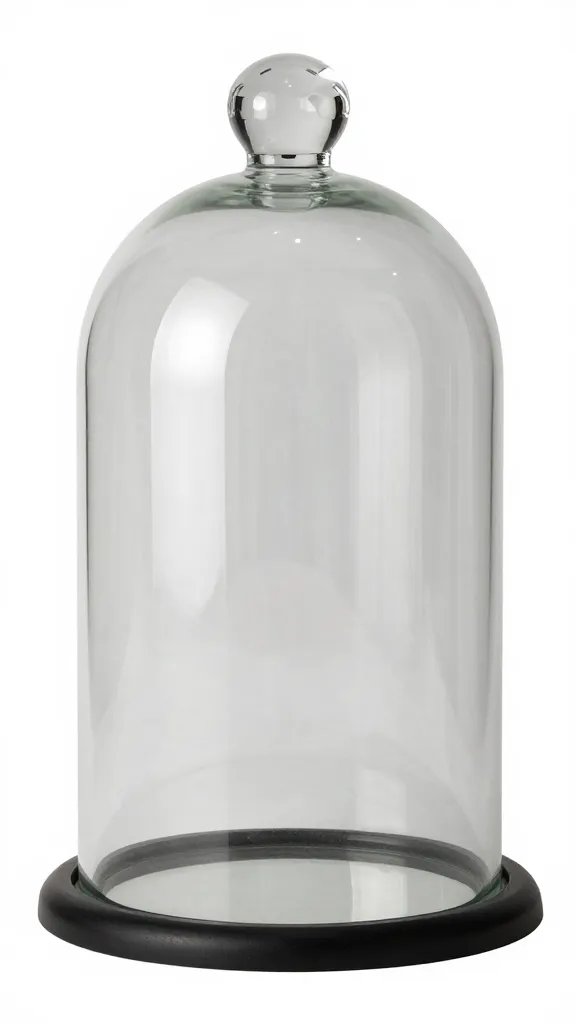
Glass Shape Dictates Water Cycle and Heat Pockets
Bulbous, tall shapes gather warm, wet air at the top and dump it down the sides as big drips that erode soil and splash leaves. Straight-sided, gently curved cylinders distribute condensation as a fine film that returns evenly to the substrate.
A narrow base with a big belly also creates cold-wet zones at the bottom where roots suffocate. Aim for straight or slightly tapered sides with a base as wide as the midsection.
Choose These Shapes, Skip Those
- Best: Cookie jars with flat lids, apothecary jars with wide openings, straight vases with glass plates as lids.
- Risky: Teardrop vases, giant brandy snifters, long-neck bottles.
Action today: Roll a marble around the inside bottom of your empty container. If it collects into a tight low point, add a thicker drainage layer or choose a flatter-bottomed vessel.
Glass Thickness and Color: Invisible Heat Traps
Thin, color-tinted glass looks stylish but swings temperature fast. Afternoon sun through thin green or blue glass overheats the air, then chills quickly at night. Plants like moss, fittonia, and ferns stall under those swings.
Clear, thicker glass buffers heat and lets you read condensation accurately. If you only have thin glass, move it farther from the window and use a looser lid to vent heat.
Simple Heat Test
- Set the empty container one meter from a bright window at 11 a.m.
- Touch the sunlit side at 1 p.m. If it’s warmer than your hand, it’s too thin or too close.
- Back it up another half meter or add a sheer curtain.
Action today: If the glass feels warm at midday, increase distance from the window by at least 0.5–1 meter and reduce lid seal by a coin’s thickness.
Right Size for Stable Humidity and Easy Maintenance
Micro-jars under 1 liter look cute but swing from soaked to dry in a day. Large vessels over 5 liters stabilize humidity, spread roots, and give you room to trim without smashing foliage.
For a first build, choose a container that holds 3–5 liters, roughly the size of a big cookie jar. You’ll water less, and your plants will forgive small mistakes.
How to Estimate Volume in the Aisle
- Fill a 1-liter water bottle mentally against the jar’s volume. If it “fits” three to five times, you’re in range.
- Or measure at home: fill with water using a kitchen jug, then pour into the sink counting liters.
Action today: If your current vessel is under 1 liter, rehome that build into a 3–5 liter jar before planting day to avoid daily micromanagement.
Match Container Type to Plant Type
Containers don’t fail — mismatches do. Closed, well-sealed jars suit plants that love constant moisture and still air. Open or loosely covered vessels suit plants that want drier roots and moving air.
Plant Lists That Actually Work
- Closed (tight lid, clear glass): Mosses, Fittonia, Pilea depressa, small Ficus pumila, Pellionia.
- Semi-closed (loose lid, coin gap): Pepperomia species, Begonia rex cuttings, Selaginella.
- Open (no lid): Haworthia, Gasteria, small Aloe, miniature Opuntia paddles in gritty mix.
Action today: Pick your plants first, then choose the container category from the list above — not the other way around.
Frequently Asked Questions

How do I know if my closed terrarium is sealed enough?
Check the glass at midday for a light mist on 25–50% of the walls. That level means the moisture cycle is working without drowning the plants. If you see heavy droplets running down all sides after day two, loosen the lid with a coin gap. If there’s zero condensation for two days, add 1–2 tablespoons of water with a spray bottle and improve the seal with tape.
Can I use a fishbowl or brandy snifter for moss?
You can, but expect heat buildup and heavy drip lines. Place it at least one meter from a bright window and keep the opening partially covered with a glass plate to stabilize humidity. Add an extra 1–2 cm drainage layer of washed gravel to handle drips. Monitor by midday: if fog persists, increase ventilation with a 2–3 mm gap.
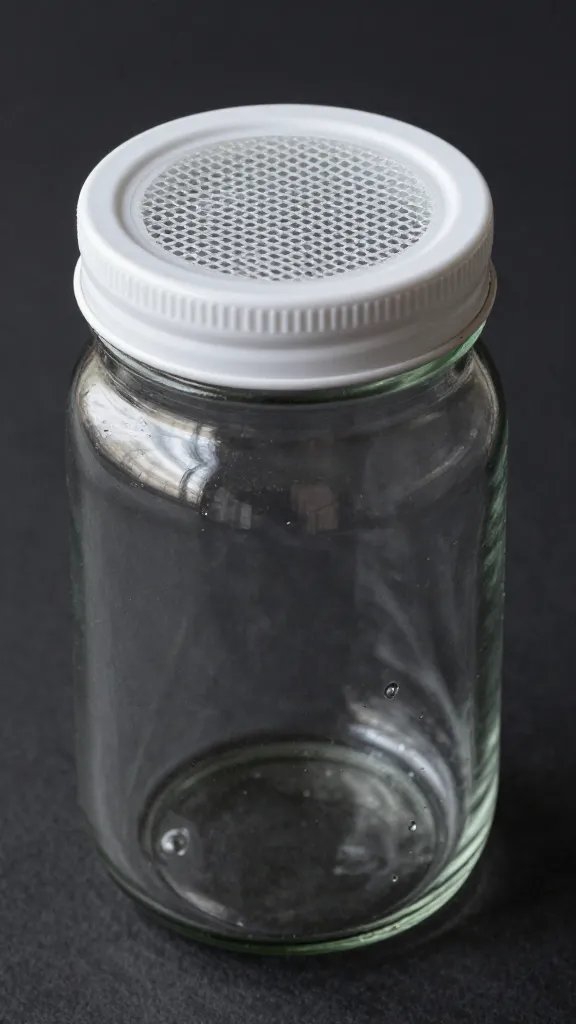
What if my container only has a cork lid?
Cork breathes, which dries closed builds too fast. Line the rim with clear tape to tighten the seal, then press the cork back in. Alternatively, cut a circle of clear plastic from packaging to sit under the cork for a better barrier. Check for a light midday mist within 48 hours to confirm the fix.
Is tinted or textured glass okay?
Tinted and textured glass distort light and make it hard to read condensation. They also warm faster in sun. Use them only for open or semi-closed builds kept farther from windows. For closed, humidity-loving setups, switch to clear glass so you can manage moisture accurately.
How big should the drainage layer be?
In closed containers, use 2–3 cm of washed gravel or LECA, then a thin barrier of mesh or coffee filter, then your substrate. In open containers for succulents, keep it to 1–2 cm and use a gritty potting mix on top. If you see standing water in the gravel for more than two days, vent longer and reduce watering to a light spritz only.
My terrarium fogs every morning and never clears. What now?
That means it’s too sealed or too warm. Move it 0.5–1 meter farther from the light source and open the lid for 30–60 minutes daily until midday fog drops to a light mist. Thin any leaf crowding near the glass so air can circulate. If it still fogs, widen the permanent gap with two coins instead of one.
Conclusion
If you choose the right container, the rest of your terrarium work becomes simple routine instead of constant rescue. Start with a clear, thicker-walled jar, a lid that matches your plant choice, and an opening you can actually work through. Your next step: pick your plant list, then select a vessel from your home that fits the category — and do the midday condensation check on day two. That one habit keeps your terrarium healthy for the long haul.