Container veggies grow fast, drink like athletes, and hit a wall when roots run out of room. That “wall” is called being root-bound—and it can tank your yields overnight. The good news? You can fix it in an afternoon and watch your plants rebound like champs. Let’s break down exactly when to intervene and how to repot without stress.
1. Spot The Red Flags Before Your Veggies Tap Out
Root-bound plants don’t send a calendar invite—they send symptoms. Catch them early and you’ll save weeks of stunted growth. Miss them and your tomatoes will sulk, peppers will stall, and herbs will bolt out of pure spite.
Tell-Tale Signs
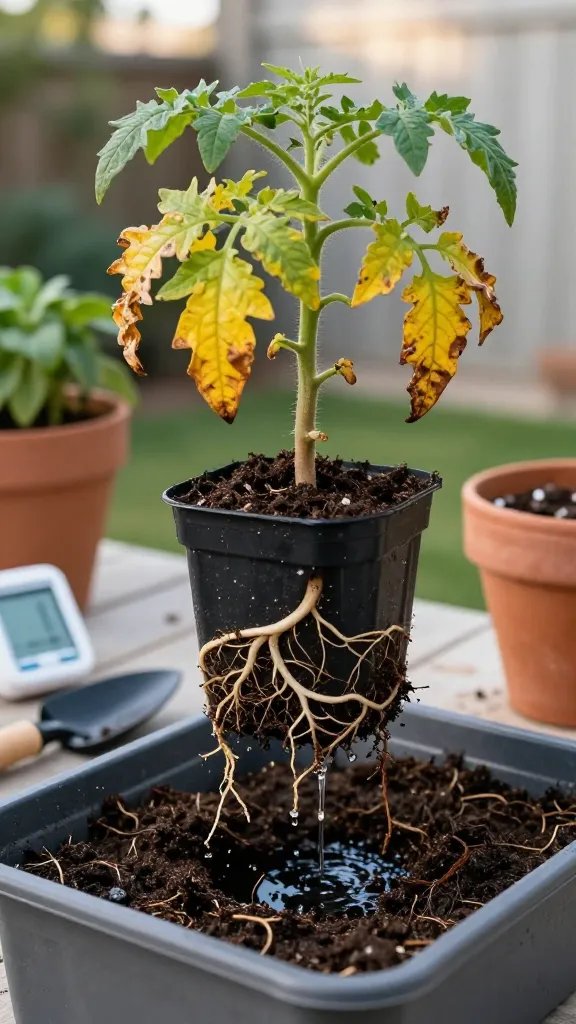
- Thirst every day (or twice daily): Soil dries out absurdly fast despite normal weather.
- Water running straight through: It pours out the drainage holes without soaking in.
- Yellowing or crispy edges: Especially on lower leaves even with proper feeding.
- Stunted growth or tiny fruit: Buds drop, fruit stays small, or sets slow.
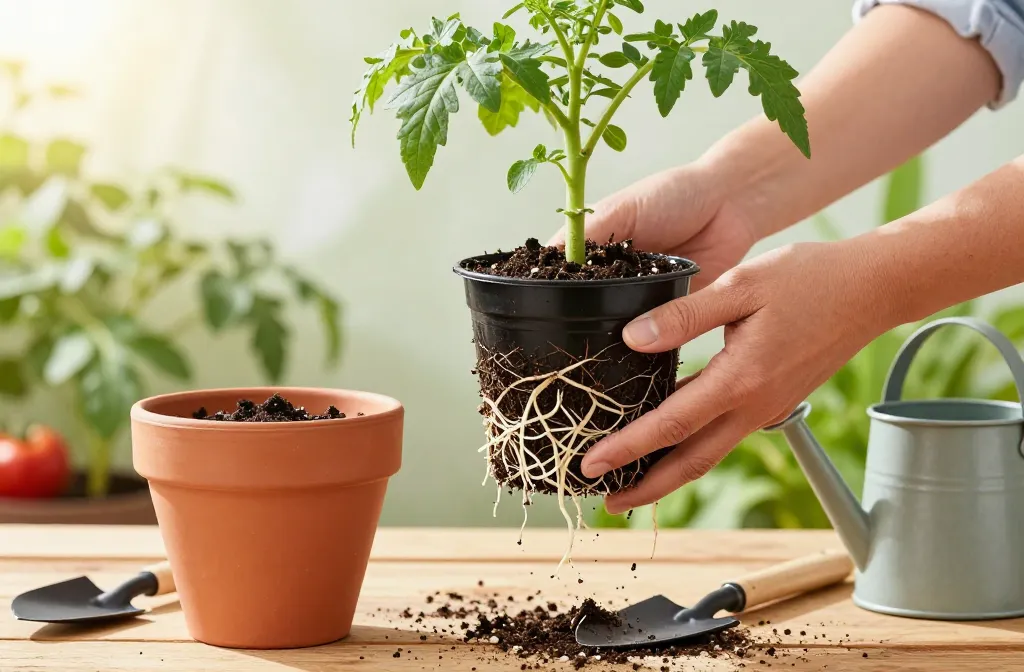
- Roots circling the pot: Lift the plant—white roots wrap around like spaghetti.
- Pot bulging or cracked: Plastic pots bow out, fabric pots feel rock-hard.
Check the root ball if two or more signs show up. A quick peek now beats a month of “why isn’t this growing?” FYI: crowded roots also make plants more pest-prone.
Use this when your watering schedule gets ridiculous or growth stalls despite sun and fertilizer.
2. Time Your Move For Minimal Drama (And Maximum Growth)

Repotting stresses plants a bit, so timing matters. Aim for moments when they bounce back fastest and avoid brutal conditions that cause shock.
Best Times To Repot
- Early morning or late afternoon: Cooler temps and softer light reduce stress.
- On an overcast day: Cloud cover is plant SPF. Love that for us.
- Early season for warm crops: Tomatoes, peppers, and eggplant when roots fill the pot but before heavy flowering.
- After a light prune: Remove a few yellow leaves to balance top growth with new root space.
Times To Avoid
- Midday scorch: Hot sun + root disturbance = drama.
- During active fruit set: Let the plant finish its current flush if possible.
- Right before a heatwave or storm: Wait 48 hours on either side.
When in doubt, repot before you fertilize heavily. Fresh soil often feeds better than another round of nutrients.
Use this when you notice roots circling but the plant hasn’t fully committed to fruiting yet.
3. Pick The Right Pot And Mix (Bigger Isn’t Always Better)
Container vegetables thrive when roots get room plus oxygen. Oversized pots can waterlog, while tiny ones strangle growth. Choose the sweet spot and set your plant up for glory.
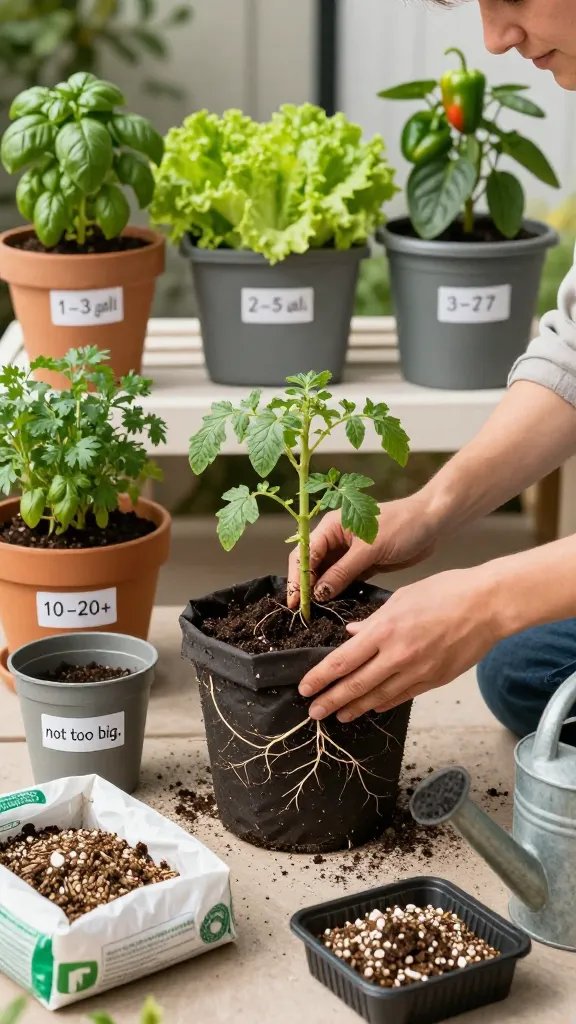
Pot Sizing Cheat Sheet
- Herbs (basil, parsley, cilantro): 1–3 gallons; basil loves 3 for steady harvests.
- Leafy greens (lettuce, spinach): 2–5 gallons; shallow but broad works great.
- Peppers: 3–7 gallons; hot peppers do fine at 3–5, bells want 5–7.
- Tomatoes (indeterminate): 10–20+ gallons; dwarfs can do 5–7.
- Cucumbers/zucchini: 10–15 gallons; give vining cukes trellis support.
Container Features That Matter
- Drainage holes: Non-negotiable. Add more if you don’t see at least 4–6.
- Material: Fabric pots = airflow and fewer soggy roots; plastic = lighter and less watering; clay = stable but dries faster.
- Color: Light-colored pots stay cooler in summer. Dark pots cook roots, especially on patios.
Soil Mix That Actually Works
- Base: High-quality potting mix (not garden soil).
- Drainage: Add perlite or pumice (10–20%) for airflow.
- Nutrition: Blend in slow-release organic fertilizer or compost (10–20%).
- Water retention: A little coco coir helps in hot climates; skip if you overwater.
Match the pot to the plant’s appetite and your watering style. IMO, fabric pots plus a light, fluffy mix keep roots happiest.
Use this when you want healthier roots, fewer watering emergencies, and steady yields.
4. Repot Like A Pro: Step-By-Step Without The Panic
Deep breath. This part looks scary, but it’s basically a spa day for roots. Move with intention, keep everything gentle, and your plant will thank you in a week.
Materials
- New pot with drainage
- Fresh potting mix (pre-moistened to “wrung-out sponge”)
- Pruners, scissors, or a clean knife
- Watering can and diluted liquid fertilizer (optional)
- Mycorrhizal inoculant (optional but awesome for roots)
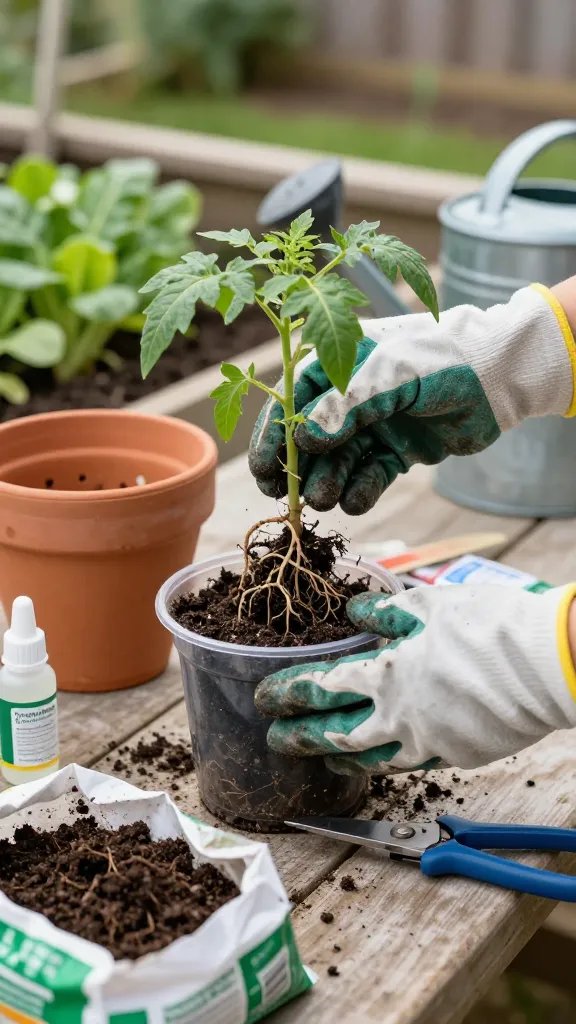
Step-By-Step
- Hydrate first: Water the plant 1–2 hours before repotting so roots are flexible.
- Loosen and lift: Squeeze the pot, tip gently, and slide the plant out. Don’t yank the stem.
- Assess the roots: If they circle heavily, tease them apart with fingers. Cut one or two shallow vertical slits along the sides if roots are a woven mat. Sounds harsh, but it jump-starts new growth.
- Prep the new pot: Add mix so the plant sits at the same soil level as before. Don’t bury the stem.
- Settle in: Place the plant, fill around the root ball, and firm gently to remove air gaps.
- Water well: Soak until water runs out the bottom. Add a mild seaweed or kelp solution for recovery, seriously.
- Shade break: Give 24–48 hours of bright shade before full sun.
Pro Tips
- Tomatoes only: You can bury stems deeper; they sprout new roots along the buried section.
- Peppers and herbs: Keep the same soil line to avoid rot.
- Stakes or cages: Install at repot time so you don’t stab roots later.
- Mulch: Add 1 inch of straw or shredded leaves to keep moisture steady.
Done right, plants perk up in a few days and resume growth with gusto. Expect new leaves and better fruit set within two weeks.
Use this when you’ve confirmed root binding and want the fastest recovery.
5. Post-Repot Care: Keep The Momentum Going
Repotting fixes the root crunch, but aftercare turns “not dying” into “absolutely thriving.” Dial in water, food, and light, and your plant will repay you in tomatoes and bragging rights.
Watering Strategy
- First week: Keep soil evenly moist, not soggy. Check the top 1–2 inches daily.
- Thereafter: Deep water less often. Aim for a slow, thorough soak.
- Lift test: Pick up the pot—light = water time; heavy = wait.
Feeding Schedule
- Week 1: Skip heavy fertilizer. Use kelp or compost tea if you like.
- Week 2+: Start balanced or crop-specific feed. Tomatoes and peppers love higher potassium once they flower.
- Slow-release vs. liquid: Use both if you want steady base nutrition plus periodic boosts.
Light, Airflow, And Pruning
- Light: Return to full sun gradually over two days.
- Airflow: Space containers so leaves don’t constantly touch. Reduces pests and mildew.
- Prune lightly: Remove damaged leaves after a few days. For tomatoes, prune suckers strategically depending on variety.
Troubleshooting After Repot
- Wilting in shade: Roots need more time. Mist foliage lightly and keep soil evenly moist.
- Yellow leaves: Normal for a few older leaves; if it spreads, add a mild feed.
- Slow rebound: Check drainage. Compacted mix? Poke a few holes with a chopstick to aerate.
Stick the landing with consistent care and you’ll see sturdier stems, deeper color, and bigger harvests. Trust me, this is where the magic happens.
Ready to give your container veggies the space they deserve? Grab a bigger pot, fluff those roots, and watch your plants go from cranky to unstoppable. You’ve got this—and your harvest basket is about to need reinforcements.