Repotting Plants for the Apartment: A Quick Guide
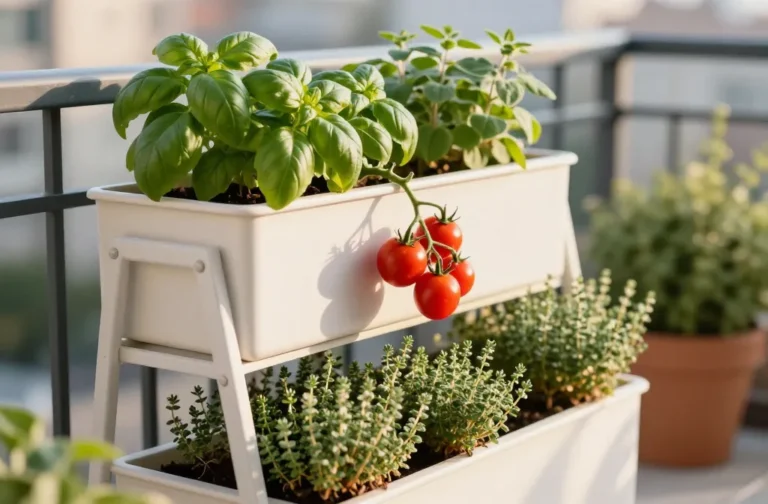
Hi there! My name is Lisa. I love having plants in my home. They make my apartment look and feel peaceful. But I learned that just any pot does not work. Plants need the right home to grow well.
Repotting means putting a plant in a new pot with new soil. It seems easy but involves a few steps. You have to choose the right pot and be gentle with the plant. There are more steps like fixing the roots, adding new soil, and watering right. But I’ll help you with it all.
In this guide, I’ll teach you how to repot plants for apartment living. It’s meant for all, whether you’re experienced or new. These tips will make your indoor plants flourish and bring life to your space. In addition to repotting, I’ll share some easy plant propagation techniques that you can use to expand your green sanctuary. By learning how to propagate your plants, you can create new life from existing ones, making it a cost-effective and rewarding endeavor. Whether it’s through cuttings, division, or layering, these methods will not only enhance your plant collection but also boost the overall health of your indoor greenery.
Key Takeaways:
- Repotting your plants is essential for their health and growth in an apartment setting.
- Choosing the right pot size is crucial, ensuring your plants have enough room to grow without overcrowding the soil.
- Carefully removing the plant from its current pot keeps the root system intact.
- Reorganizing the roots promotes healthy growth and prevents them from becoming too tightly packed.
- Adding fresh potting soil provides your plants with the necessary nutrients for thriving in their new pot.
Size Up Sensibly
Picking the right pot size is very important for your plants. It helps your plants grow well without too much crowding. The best pot size changes with different types of planters in your space.
For tabletop planters:
Choose a pot that is no more than 2 inches bigger for tabletop planters. This makes sure there is enough space for growth. It also keeps the planter stable.
For floor planters:
For floor planters, pots up to 4 inches bigger are good. This gives the roots more space to grow.
Don’t use too big planters as they can make the soil too wet. Too much water is bad for plants. It can cause root rot. A pot that’s the right size keeps the soil moist right. It helps your plants stay healthy.

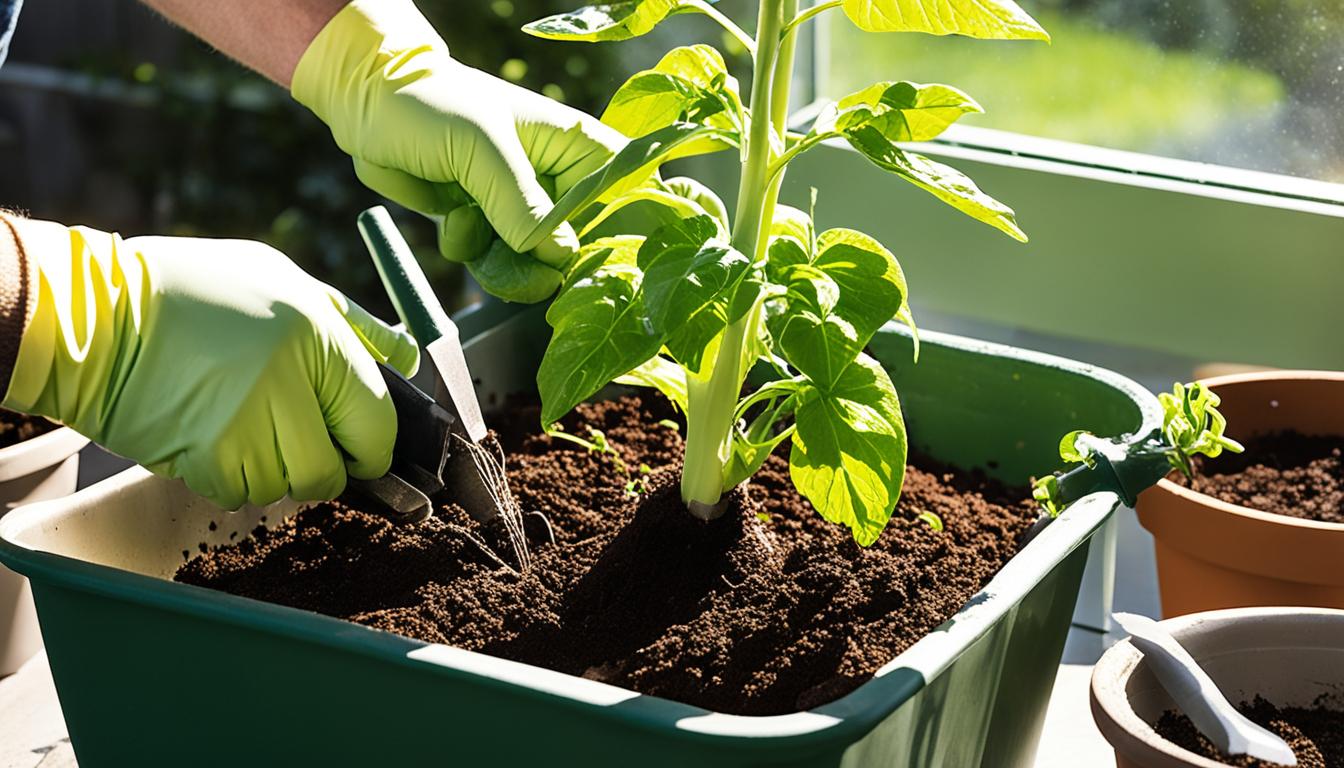
Remove Carefully
Safely removing the plant from its current pot
Removing a plant from its pot needs care. This keeps the roots safe and healthy. Here’s how to remove your plant without harm:
- Gently turn the plant sideways to loosen it from the pot.
- Tap the bottom of the pot to help the plant come out.
- If roots poke out of drainage holes, it’s time to repot.
- For tangled roots, gently fix them. Trim them if they are too long.
Take your time during removal. This protects the plant’s roots for its next home.

Reorganize The Roots
After taking the plant out of its pot, it’s vital to fix the roots. This step helps the plant grow better by getting more water and food.
Start by looking at the roots closely. If some are tangled, gently separate them. This keeps the roots healthy and lets them spread easily. Removing very long threadlike roots also helps.
Pay attention to the thick roots near the bottom of the plant. Cutting too long roots helps the plant get what it needs from the soil.

Freshen Up The Soil
Adding new potting mix for fresh nutrients
First, take out one-third or more of the old soil from around the roots. The plant has used most of the old soil’s food. So, new soil is needed.
Add new potting soil to the pot and pack it down. This gets rid of air holes. If there’s no hole for water to leave, add rocks. These rocks help with drainage. The new soil will give your plant the food it needs to grow well.
Water Thoroughly
Proper watering after repotting
After repotting, water your plant well. This settles the new soil and helps roots grow healthy. Watering well is key for your plants to do well in their new pots.
Make sure the whole root ball gets wet when you water. Keep watering until water flows from the pot’s bottom holes. This means the roots are getting enough water.
Keep an eye on the soil’s moisture after repotting. Too much water can harm the roots. Let the top soil dry a bit before watering again. Some plants like it a bit dry.
A newly potted plant doesn’t need food right away. Let it get used to its new home first. Then, you can start feeding it as you usually do.
Each plant needs different amounts of water. It’s very important to know what your plants need. This helps them grow well in their new spots.
Conclusions
Repotting your plants is very important for their health. It helps them grow well inside.
Make sure to pick a big enough pot. This gives your plant room to grow.
Be gentle when taking the plant out to save its roots.
Fixing the roots helps them spread out in the new space.
New soil offers fresh food for your plants, helping them grow.
Water well after you repot. This settles the soil around the roots.
Adding repotting to your routine makes indoor plants thrive.
By using these tips, you can keep your plants happy and make your home green.
FAQ
How do I choose the right pot size for repotting my plants?
For tabletop pots, pick one no more than 2 inches bigger. For floor planters, up to 4 inches larger is okay.
How do I safely remove the plant from its current pot?
Gently tip the plant sideways and tap the pot’s bottom. This helps the plant slide out. If roots poke through the bottom or the plant is pushed out, it’s time to repot.
How do I loosen and reorganize the plant’s root system?
Untangle the roots with your hands. Cut off any very long roots. Keep the big roots at the bottom. If roots are tight together, loosen and trim them.
What should I do to freshen up the soil for repotting?
Take out a third of the old soil from around the roots. Then, put fresh soil in the new pot. Pack it down to get rid of air pockets. If no drainage hole, add a layer of lava rocks at the bottom.
How should I water the plant after repotting?
Water it until water flows from the bottom holes. This ensures the root ball is wet. Check the soil to keep it moist but not too wet after repotting.