Your seedlings look adorable on the windowsill, but the backyard is where they become legends. The trick? A smooth, stress-free transition that doesn’t fry, freeze, or flop them. These five strategies will take your sprouts from pampered indoor babies to tough outdoor champs—without the drama. Ready to grow like a pro?
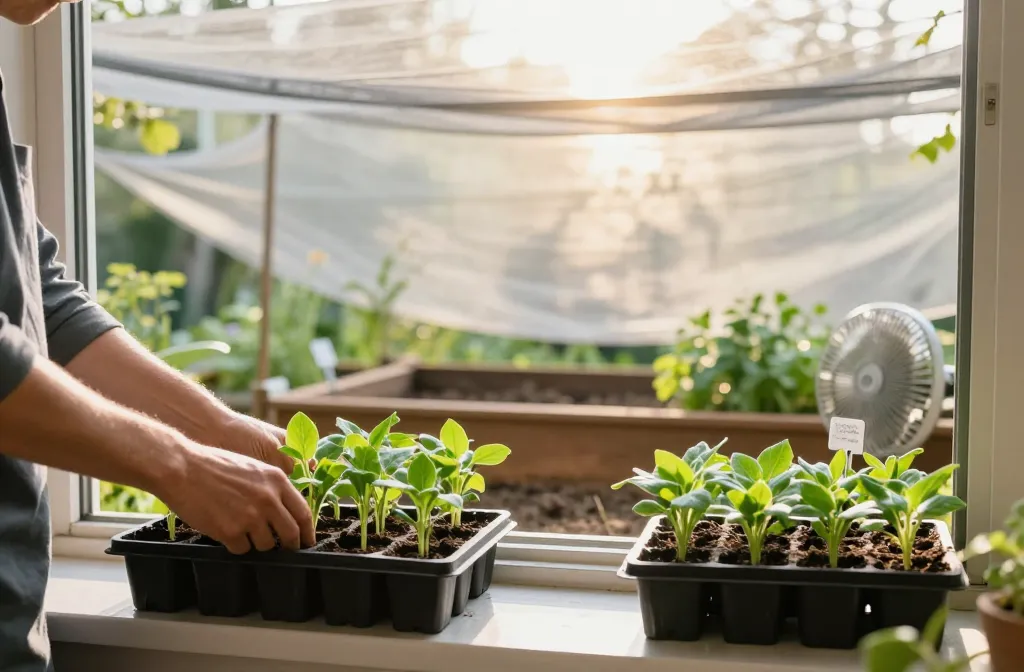
1. Start Slow: Build A Mild-To-Wild Light Routine
Sunlight outside hits way harder than your grow lights or a sunny window. If you toss seedlings straight into full sun, you’ll get crispy leaves and a broken heart. Ease them in with a staged light plan and watch them toughen up fast.
Tips
- Begin with 1–2 hours of bright shade or dappled sun on day one.
- Add 1–2 hours of direct sun each day, aiming for 6+ hours by the end of a week.
- Rotate trays daily so stems strengthen evenly and don’t lean.
- Use a lightweight shade cloth (30%) if your sun shows no mercy.
Do this right and you’ll see thicker stems, deeper green leaves, and way fewer sunburned seedlings.
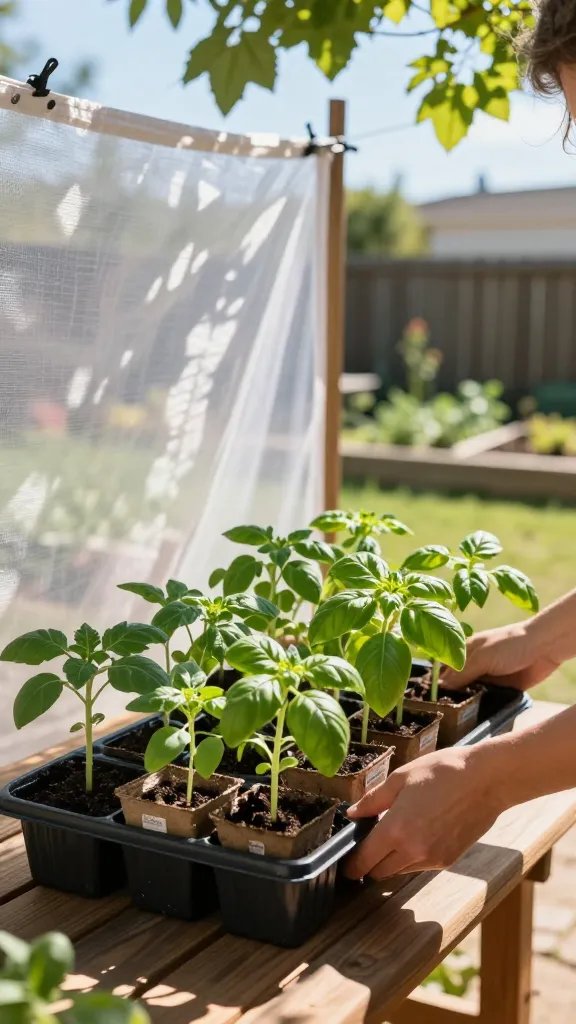
2. Toughen Them Up: Wind, Temperature, And Touch
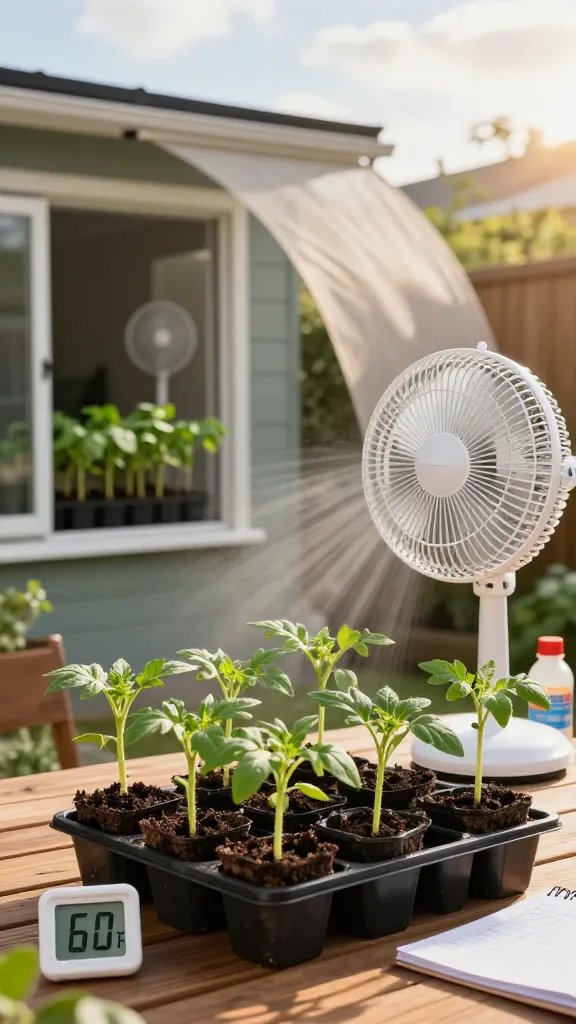
Outdoors means breeze, fluctuating temps, and a life less cushy. Your job: introduce those stresses in small, controlled doses so plants build resilience. Think of it as seedling boot camp—but with snacks and encouragement.
Key Moves
- Airflow Indoors: Run a fan on low for a few hours daily to strengthen stems.
- Outside Warm-Ups: Start with 1–2 hours outdoors in mild conditions (50–70°F), then extend time daily.
- Night Trials: Let them sleep outside only when nights stay above the safe threshold for your crop (usually 50–55°F for warmth lovers like tomatoes and peppers).
- Gentle Handling: Brush your hand over the tops once a day—yep, it helps mimic wind and prompts sturdier growth.
With steady conditioning, seedlings won’t flinch at the first gust of wind—and they’ll transplant like champs.
3. Nail The Timing: Weather Windows And Soil Readiness
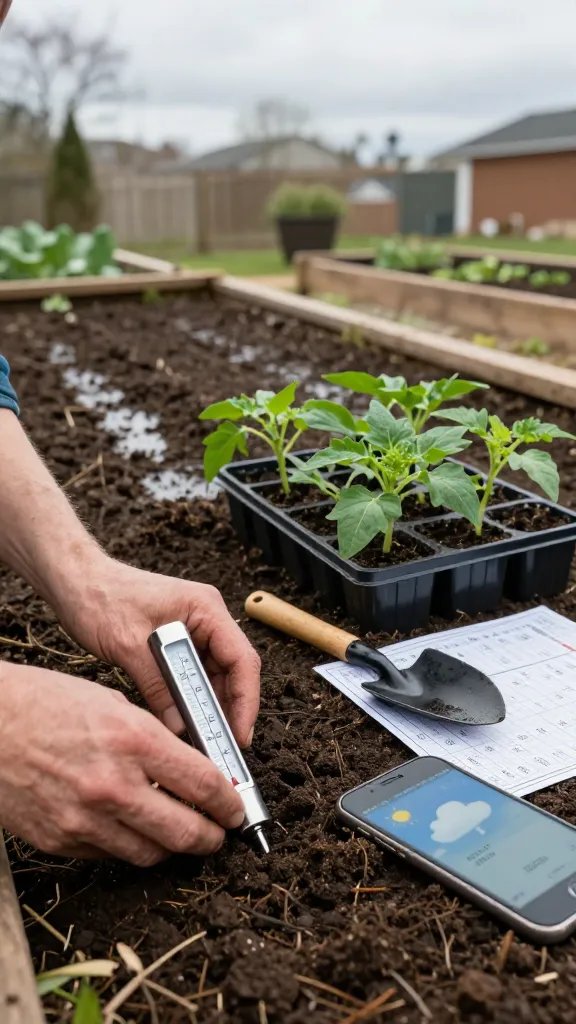
Plant calendars help, but your local weather ultimately decides the rollout. One late cold snap or soggy soil can undo weeks of careful care. So read the signals and pick your moment wisely.
What To Watch
- Frost Dates: Wait until after your last expected frost for tender crops. Cold-hardy greens can move earlier.
- Soil Temperature: Tomatoes and peppers like 60°F+ soil; beans and cukes prefer 65°F+. A cheap soil thermometer saves heartbreak.
- Cloud Cover: Overcast days are perfect moving days—soft light reduces transplant shock.
- Wind And Heat: Skip transplanting before a hot, windy forecast. Choose calm mornings.
Good timing gives your seedlings a running start and means fewer setbacks, IMO.
4. Water Like A Strategist, Not A Sprinkler
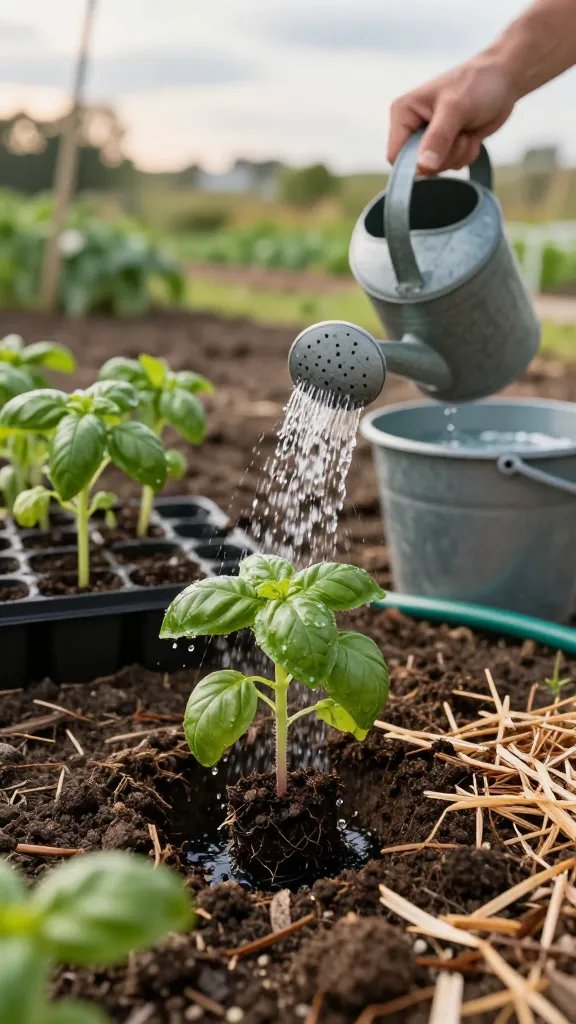
Water can make or break the transition. Too little? Wilting. Too much? Weak roots and disease. The goal is steady moisture that encourages roots to reach deep and settle in.
Pre- and Post-Move Routine
- Before Hardening Off: Keep soil evenly moist, not soggy. Let the top inch dry slightly before watering.
- Day Of Transplant: Water the seedlings well 1–2 hours before planting so cells are hydrated.
- Planting Hole Boost: Water the hole, plant, then water again to eliminate air pockets.
- Mulch: Add a 1–2 inch layer (straw, shredded leaves, or fine bark) to lock in moisture and regulate soil temps.
- First Week: Check daily. Water when the top inch is dry. Morning watering beats evening to reduce disease.
Smart watering = faster establishment and fewer droopy emergencies. Seriously, it’s the quiet power move.
5. Transplant Like A Pro: Depth, Spacing, And TLC
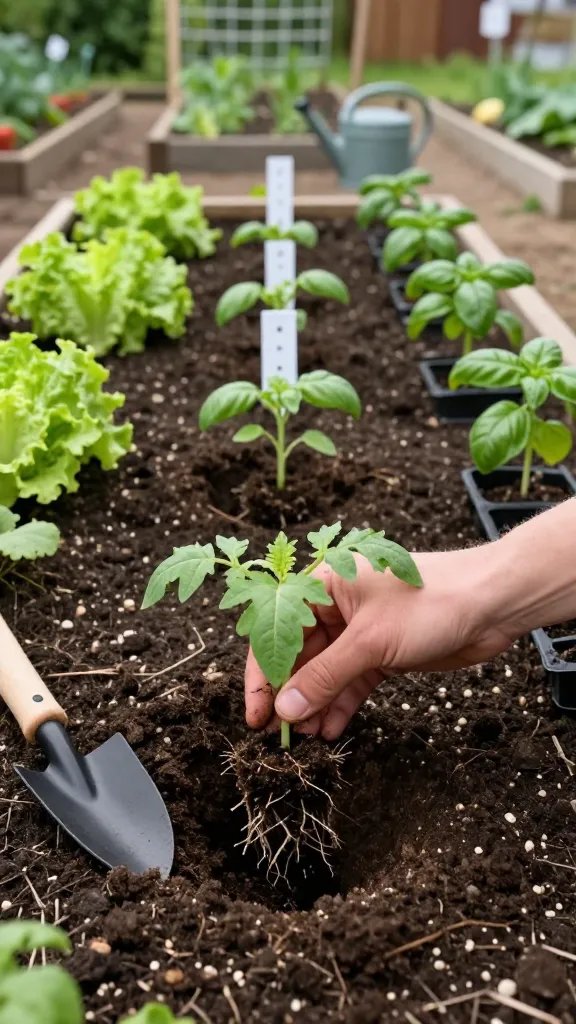
You’ve hardened off, picked the day, and nailed hydration—now the planting itself needs finesse. Proper depth, spacing, and gentle handling protect roots and set the stage for vigorous growth.
Planting Basics
- Handle By Leaves: Avoid squeezing stems—they’re the plant’s lifeline.
- Depth Matters: Plant tomatoes deeper, burying part of the stem to encourage extra roots. Most other seedlings should sit at the same depth as in the tray.
- Spacing: Don’t crowd. Follow mature spacing guidelines so plants get airflow and light.
- Root Prep: Tease out circling roots gently. For dense mats, make a few shallow vertical scores.
- Settle The Soil: Firm gently around roots—snug, not compacted.
- Shade And Shield: For the first 2–3 days, offer light shade or a temporary cloche on hot or windy afternoons.
Optional Boosts
- Starter Solution: A diluted, balanced liquid fertilizer or kelp extract helps reduce stress.
- Row Cover: Floating row cover protects from pests and moderates temperature while plants establish.
Clean technique reduces shock, invites strong root growth, and keeps your seedlings thriving from day one.
Ready to make the leap from “cute seedlings” to “wow, look at that harvest”? Follow these five moves and your plants will strut into the garden like they own the place. FYI, even one or two of these steps will level up your results—do them all and you’re basically unstoppable. Happy planting!