I lost a shelf of balcony herbs to “mysterious” wilting before I admitted the problem was my pots, not my watering can. The fix wasn’t a fancy gadget — it was understanding what’s happening inside a container after I pour water in. I’ll show you how container drainage actually works, why gravel layers backfire, and how to set up pots that keep roots aerated. By the end, you’ll water with confidence and stop the slow rot that kills most apartment plants.
What Really Happens After You Water: The Perched Water Table
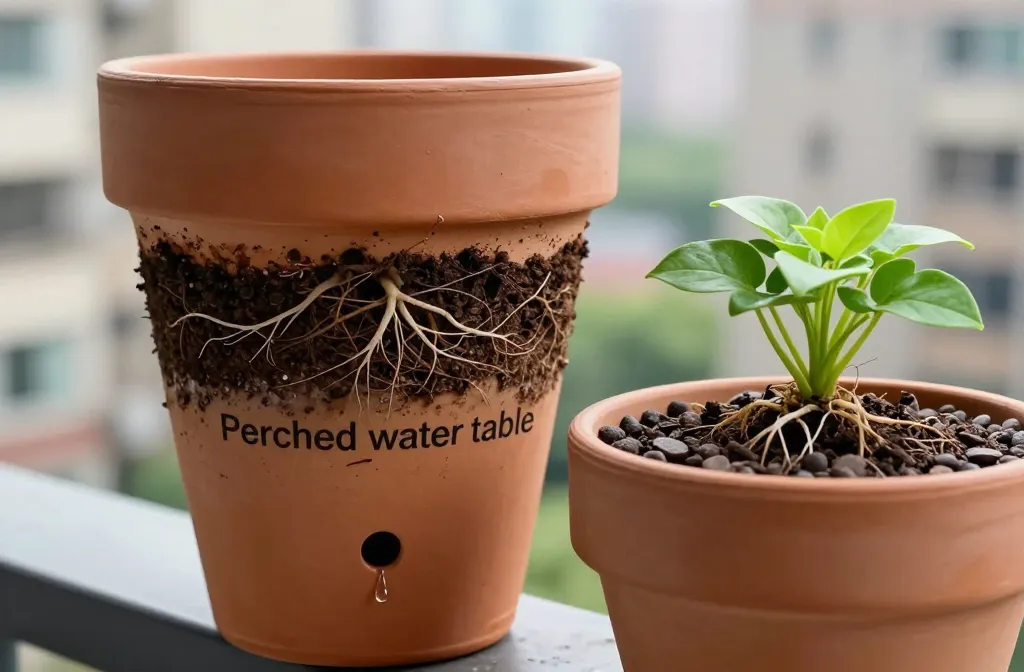
Every pot holds a layer of water at the bottom that refuses to drain, called the perched water table. It forms because potting mix holds onto water by tiny pores and surface tension, and those forces don’t care how big your drainage hole is.
Shallow pots keep that saturated layer closer to the roots, while deeper pots push it farther down. Your goal is simple: give roots room above that soggy zone and enough oxygen to breathe.
Action today: If a pot is shorter than your hand is wide, repot into a container at least 20–25 cm tall to keep the saturated layer away from most roots.
Why Gravel at the Bottom Makes Drainage Worse
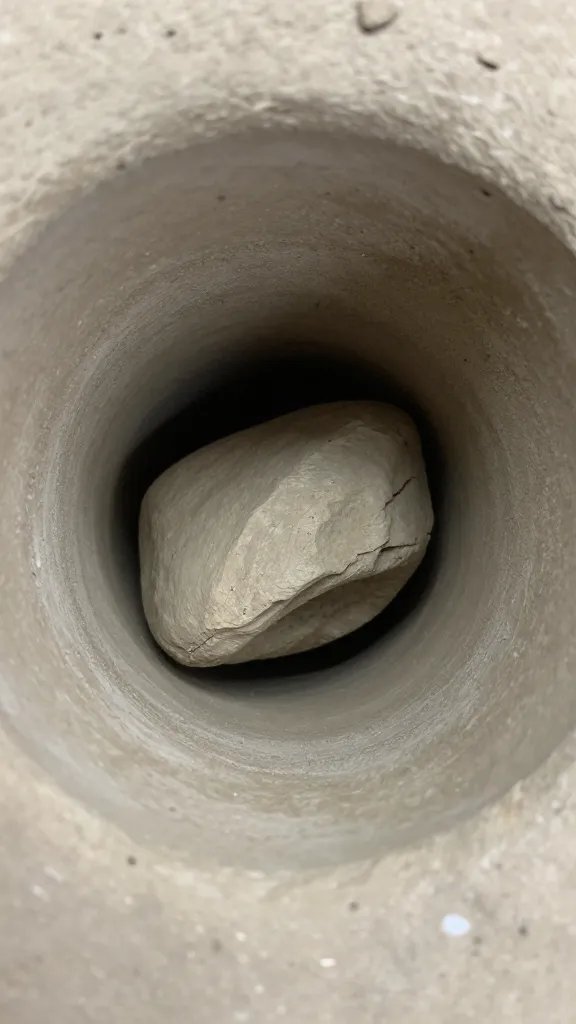
I used to add a “drainage layer.” It trapped water higher in the pot. Water does not fall freely from fine soil into coarse gravel until the soil is completely saturated — it perches at the boundary, raising the soggy zone into your root zone.
Instead of gravel, keep a uniform profile of good potting mix from top to bottom. Let the water move through consistently rather than hitting a speed bump at the base.
Action today: If you’ve got gravel under your mix, remove it at your next repot and replace it with the same potting mix you use above.
Potting Mix Matters More Than Hole Count

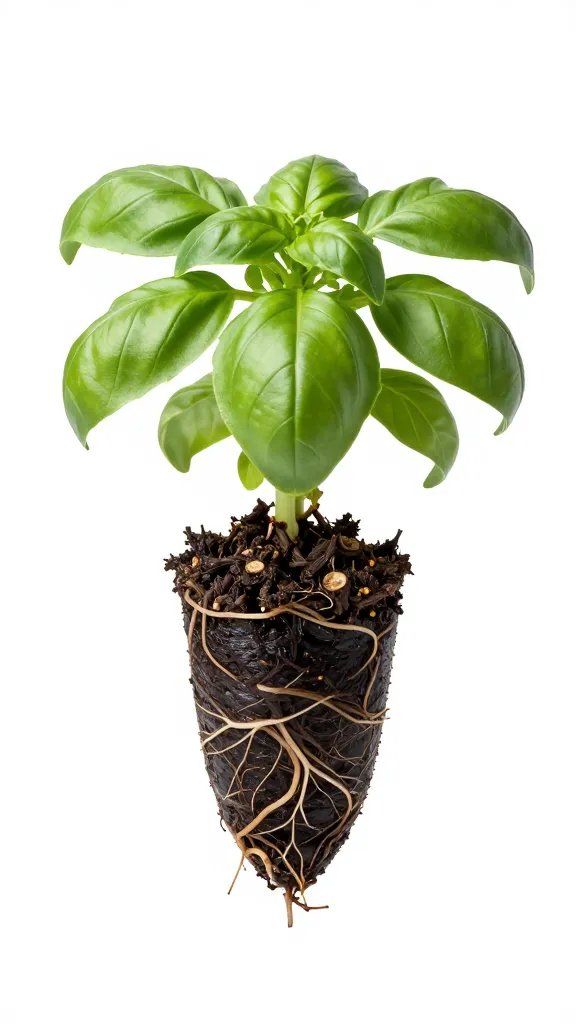
Extra holes don’t fix a dense mix. You need a blend that holds moisture but also air. A quality all-purpose potting mix from the garden centre already contains peat or coco plus perlite or bark to create pores. For thirsty edibles like tomatoes or basil, I add one part perlite to three parts potting mix to keep it lighter.
Skip topsoil and compost-only fills in containers — they compress and stay waterlogged indoors. If your mix compacts when squeezed and stays in a hard lump, it’s choking roots.
Material Recommendations
- All-purpose potting mix labeled for containers (not “garden soil”).
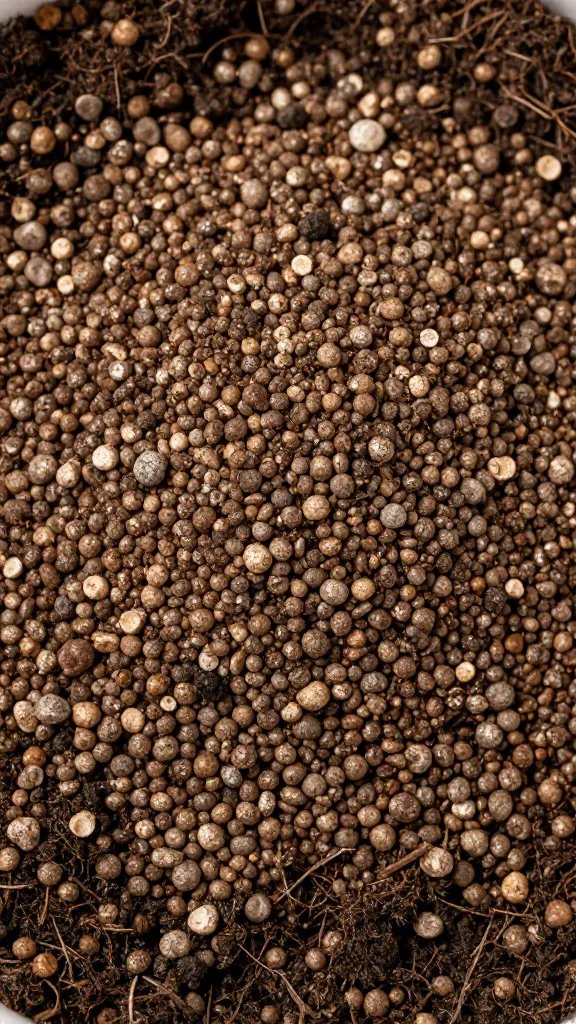
- Perlite bag (add 25–35% by volume for heavier mixes).
- Fine orchid bark or pine bark chips for big pots with shrubs (add 20%).
Action today: Test your current mix: wet a handful, squeeze, and open your hand. If it doesn’t spring apart with some crumble, lighten it with perlite before your next watering.
Drainage Holes, Saucers, and the “Soak-Then-Empty” Rule
One good-sized hole is enough if you let water leave the pot. The real killer is water sitting in the saucer, wicking back into the mix and keeping the perched water table high. Indoors, use a saucer for mess control, but manage it actively.
Water until 10–20% runs out the bottom. Let the pot drain for 10 minutes. Then empty the saucer completely. This flushes stale salts and resets oxygen without leaving roots standing in a swamp.
Warning Signs
- Wet saucer hours after watering.
- Mushroomy smell or algae on the soil surface.
- Yellowing lower leaves while the soil stays wet.
Action today: After your next watering, set a 10-minute timer and pour out the saucer — every time.
Choosing the Right Pot: Size, Shape, and Material
Deep beats wide for most plants in containers because it pushes the perched water lower. For herbs and houseplants, aim for pots 20–30 cm tall with similar width. If you need a cachepot (decorative outer pot), keep the plant in a plastic nursery pot with holes and lift it out of the cachepot to drain.
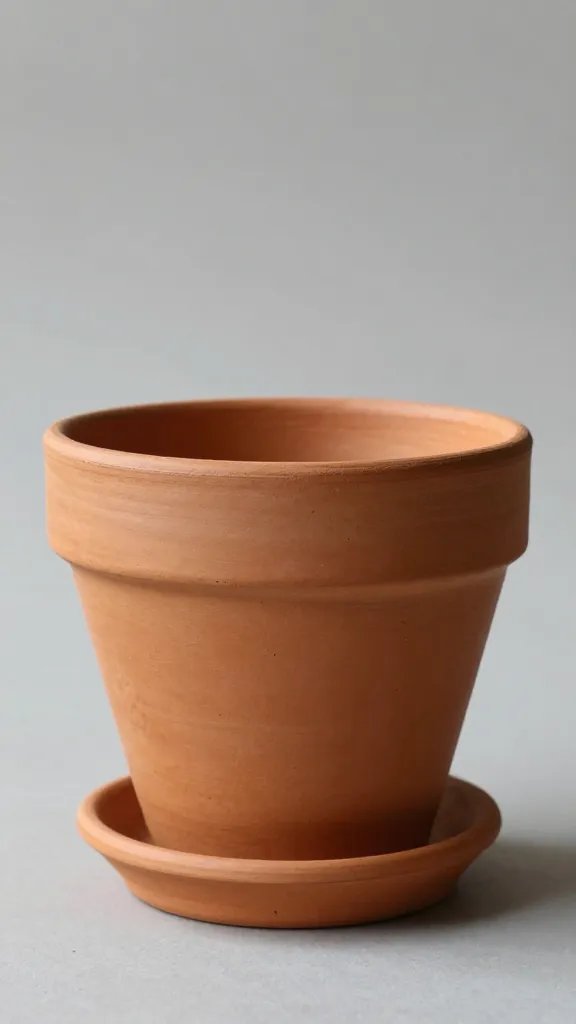
Unglazed terracotta “breathes,” helping moisture escape and giving you a larger margin for error. Glazed ceramic and plastic hold moisture longer — better for hot balconies but riskier indoors with low airflow.
Quick Picks
- Terracotta: forgiving, dries faster, great for succulents and rosemary.
- Plastic: light, holds moisture longer, good for thirsty annuals.
- Fabric grow bags: excellent airflow, need more frequent watering.
Action today: If you overwater often, switch your thirstiest plant into terracotta of the same size at the next repot.
The Right Way to Use a “Drainage Screen”
A small piece of mesh over the hole keeps mix from escaping without creating a perched barrier. Use plastic mesh, a shard of broken terracotta laid flat, or a scrap of insect screen. Avoid coffee filters or paper towels — they clog and slow drainage.
Keep the base flat and level so water can exit freely. Don’t mound mix or pack it tightly over the hole.
Action today: Cut a 5–7 cm square of plastic mesh and place it over the hole next time you repot.
Watering by Weight and Finger, Not by Calendar

Drainage only helps if you don’t refill the soggy zone too soon. Learn your pot’s “dry weight” by lifting it right after you empty the saucer, then again daily. Water when it feels noticeably lighter and the top 3–5 cm of soil feels dry to your finger.
In bright summer light near a window, many pots need water every 2–4 days. In winter or low light, wait 7–14 days. Always adjust to the plant and pot, not the week number.
Step-by-Step Watering
- Stick your finger 3–5 cm into the soil; if it feels dry to that depth, proceed.
- Water slowly in circles until water emerges from the bottom.
- Wait 10 minutes; empty the saucer.
Action today: Do the finger test 3–5 cm deep before your next planned watering. If it’s still cool and damp, wait 24 hours.
Setting Up Self-Watering Pots Without Suffocating Roots
Self-watering inserts work if you build an aeration shelf between the water reservoir and the soil. Use a unit designed for containers or a pot that came with one. Keep a visible fill tube and a small air gap so the mix wicks moisture but roots don’t sit underwater.
Use a lighter mix with extra perlite, and never top up past the max line. Flush from the top with a full watering once a month to prevent salt buildup and to re-oxygenate the root zone.
Action today: If you use a self-watering pot, check the water level window and drop it to mid-level for a week to reintroduce air to the root zone.
Frequently Asked Questions
Do I need rocks in the bottom of my pot to help drainage?
No. Rocks create a perched water table right above the rock layer, which keeps roots wetter. Use a uniform potting mix from top to bottom and a small mesh over the drain hole to retain soil. You’ll get better drainage and more oxygen where roots live.
My pot has no drainage hole. Can I still use it?
Not as a primary container. Treat it as a cachepot: keep the plant in a plastic nursery pot with holes, tuck it inside the decorative pot, and lift it out to water in the sink. Always drain fully and pour off any water that collects at the bottom.
How do I know if poor drainage is killing my plant?
Look for yellowing lower leaves, limp growth despite wet soil, a sour smell, and fungus gnats hovering over the pot. Slide the plant out and check the roots — healthy roots look white or tan and firm; rotting roots look brown and mushy. If you see rot, trim dead roots and repot into a lighter mix and a deeper, draining pot.
What’s the best potting mix for herbs and veggies on a balcony?
Use a bagged container potting mix and blend in perlite at about 25–35% by volume. For tomatoes and peppers in large pots, add a couple of handfuls of fine bark to improve structure. Feed with a slow-release granular fertilizer and water until you see runoff, then empty the saucer.
Can I improve drainage without repotting everything?
Yes. Aerate the top 5–7 cm with a chopstick to break mild compaction, then water slowly to avoid channeling. Empty saucers every time, move plants to brighter spots to speed drying, and switch the thirstiest ones into terracotta next. Plan a full repot within a month if problems persist.
Conclusion
You don’t need special tools to fix drainage — you need the right pot, a breathable mix, and a simple watering routine that respects the perched water table. Start with one plant today: lighten its mix, empty the saucer, and give it a deeper pot next repot. Once you see steadier growth and fewer yellow leaves, scale the same setup across your balcony or windowsill.