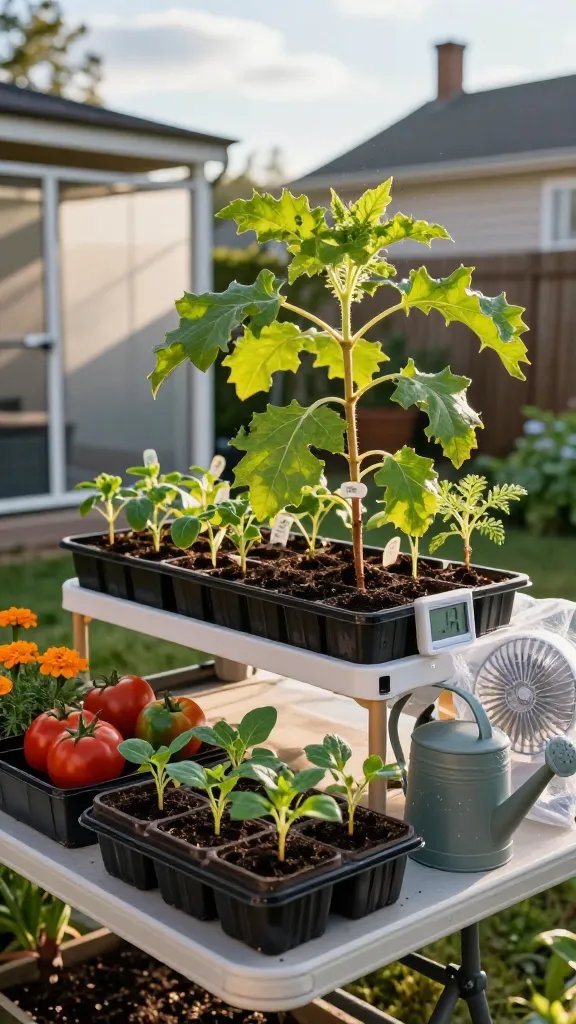
Got seedlings flexing under grow lights like tiny gym bros? Cool. Toss them straight outside and they’ll flop faster than a soufflé in a windstorm. Hardening off bridges that cushy indoor life and the chaotic outdoors. Do it right and your plants won’t just survive—they’ll crush it.
1. Know Your Timing And Your Players
Hardening off starts with knowing when your plants are ready and what they can handle. Seedlings raised indoors live in a climate-controlled bubble with buffet lighting and still air—aka zero survival skills. Get the timing wrong and you’ll stunt or sunburn them, fast.
Start the process 7–10 days before transplanting. Seedlings should have at least two sets of true leaves, stocky stems, and no obvious stress.
Key Checks Before You Begin
- Frost risk: Wait until you’re within a week of your area’s last frost date (or have covers ready).
- Weather window: Look for a calm stretch—no 30 mph winds or scorching sun.
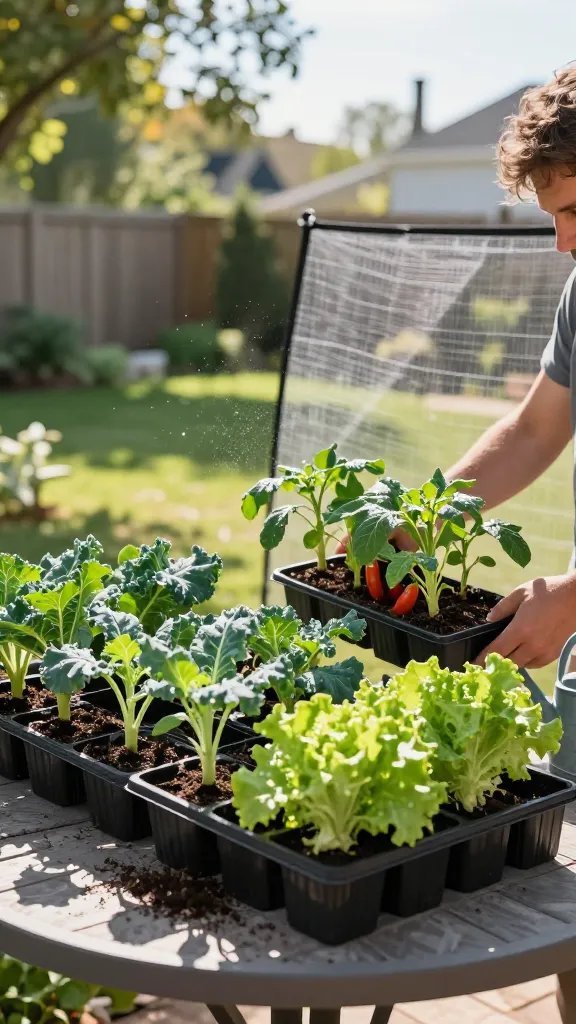
- Plant personality: Brassicas and greens tolerate cool, tomatoes and peppers want warmth.
Why this matters? You’ll set expectations for a smooth ramp-up instead of an emergency rescue mission.
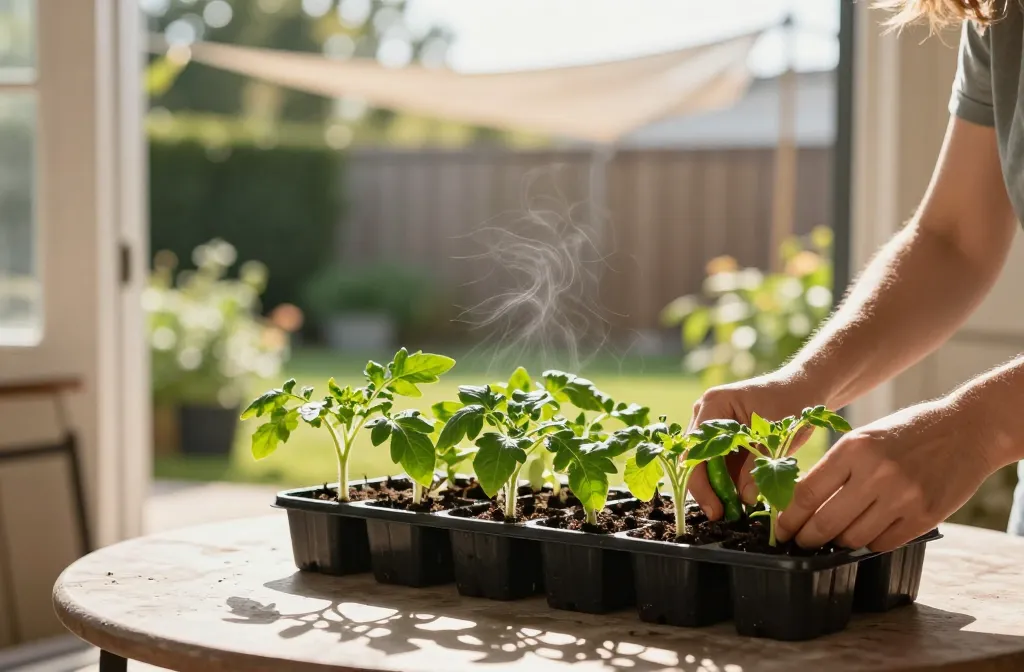
2. Start With Shade, Shelter, And Short Visits
The sun outside is way more intense than any grow light. Your seedlings need a gentle intro, like sunglasses for plants. You’ll start with short field trips in bright shade and build from there.
Day-By-Day Kickoff (First 3 Days)
- Day 1: 1–2 hours outdoors in bright shade, protected from wind. Bring them back inside or into a sheltered porch.
- Day 2: 2–3 hours, still shaded. Brief dappled sun is fine, but no direct midday rays.
- Day 3: 3–4 hours. Let them feel a little breeze, nothing wild.
Place trays on a table or bench so critters and cold ground don’t mess with them. If temps dip below 50°F for warm-season crops, keep them in for the evening.
Do this and your plants learn how to handle light and air without frying or flopping. Simple, right?
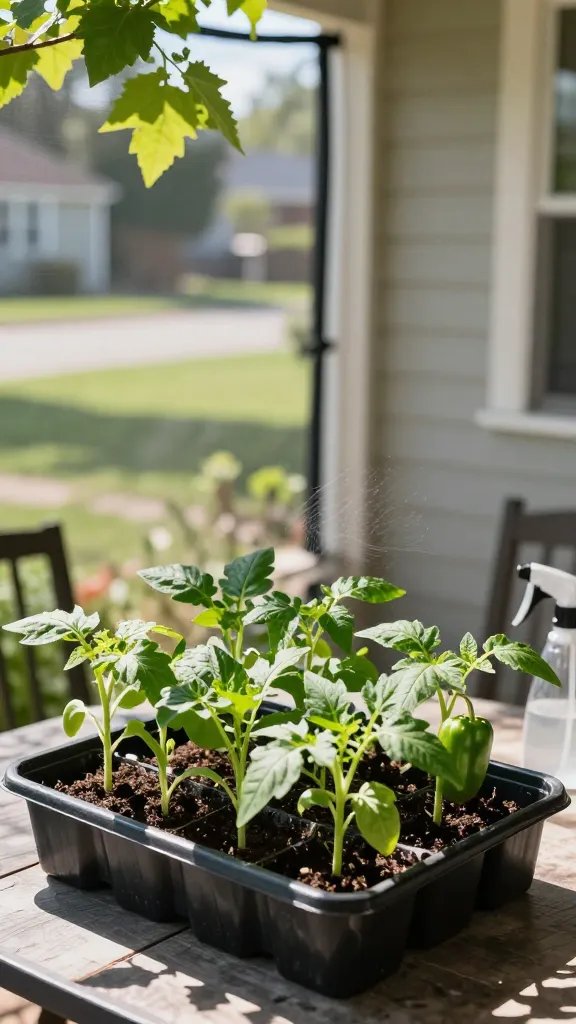
3. Add Sun, Wind, And Real-World Stress—Gradually
Now we build toughness. You’ll introduce direct sun and airflow so stems thicken and leaves toughen. Think “progressive overload,” but for leaves.
Days 4–6: Controlled Exposure
- Sun: 1 hour of direct morning sun on Day 4, 2 hours on Day 5, 3–4 hours on Day 6.
- Wind: Mild breeze is good. Use a box or windbreak if gusts pick up.
- Temperature: Keep warm-season crops above 55°F. Cool-season kids can handle 45–50°F.
Pro Tips
- Rotate trays so each side gets even light and wind.
- Water before outings so they don’t wilt. Under-watered seedlings scorch first.
- Skip midday scorch until they’ve banked several hours of morning sun.
By the end of this phase, your seedlings should look perkier, not sadder. If you see limp leaves or crispy edges, dial it back a day. FYI, that’s not failure—it’s smart.
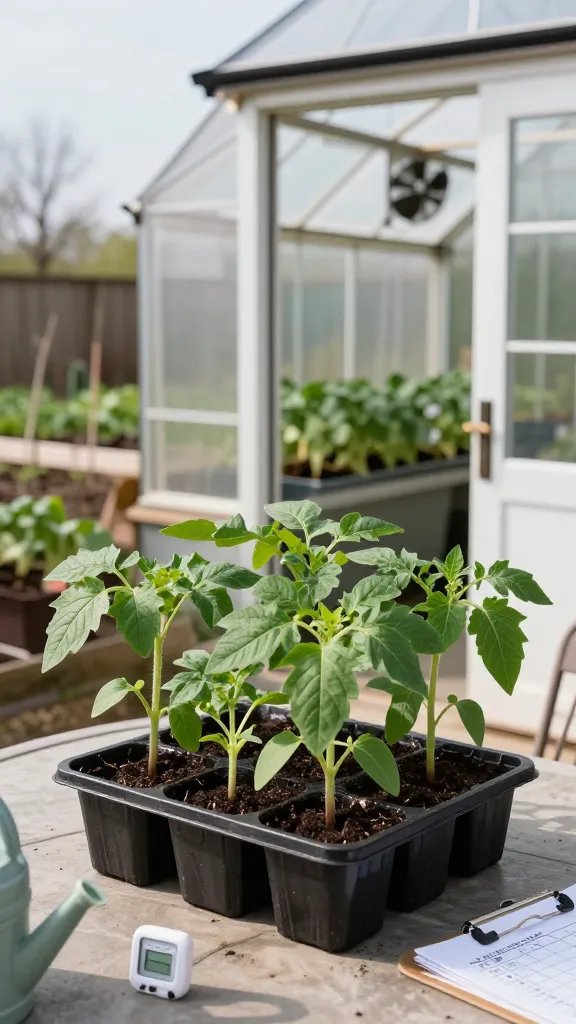
4. Extend Hours, Introduce Overnights, And Toughen For Transplant
Time to go from “day visitors” to “almost residents.” Longer outdoor hours and mild overnights train plants to handle real garden life. This is where they level up hard.
Days 7–10: The Big Build
- Day 7–8: 6–8 hours outdoors, including 3–5 hours of direct sun. Keep an eye on temps and wind.
- Day 9: Full day outside. If night temps stay safe (see below), leave them out overnight in a sheltered spot.
- Day 10: Outdoor all day and night if conditions hold. You’re basically there.
Overnight Temperature Guidelines
- Tomatoes, peppers, basil: 55°F+ overnight. Below that? Bring in or cover.
- Cabbage, kale, broccoli, lettuce: 40–45°F is fine once hardened.
- Squash, cucumbers, melons: 55–60°F+ to avoid sulking.
Final Prep Moves
- Thigmomorphogenesis (fancy word, easy trick): Brush your hand gently over tops daily or use a small fan. Stems respond by thickening.
- Fertilize lightly: One dose of diluted balanced fertilizer (half strength) mid-process boosts resilience.
- Space out trays: Improve airflow to prevent fungal drama.
After this phase, your seedlings look stout, leaves feel thicker, and they don’t flinch at clouds or breezes. That’s your green light.
5. Transplant Day: Timing, Technique, And Aftercare
Don’t blow it at the finish line. Transplant on a calm, overcast afternoon for minimal shock. If the day screams “blazing sun and wind tunnel,” wait—your future harvest will thank you.
Before You Plant
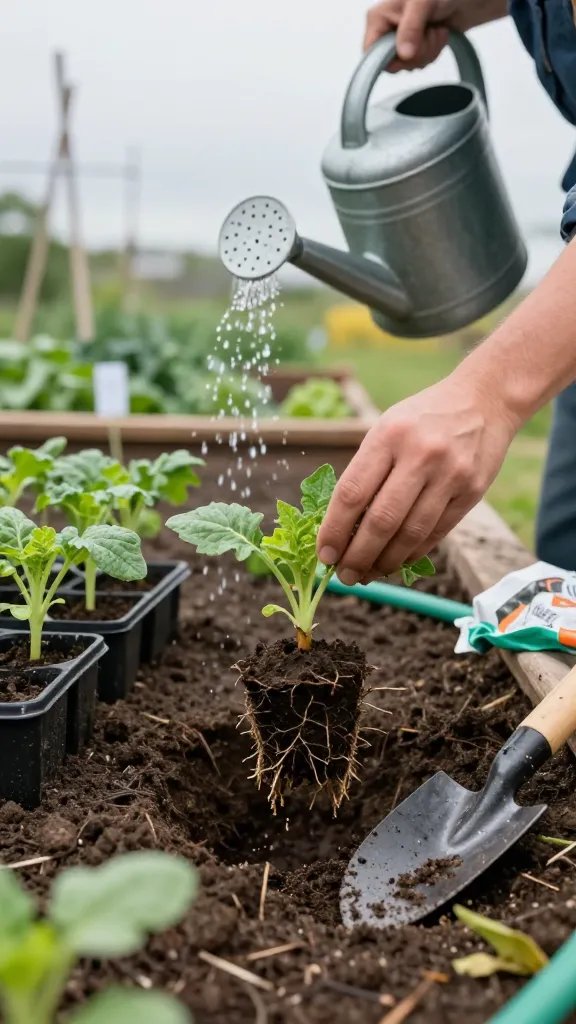
- Water deeply 1–2 hours before transplanting so root balls stay intact.
- Prep the holes: Sized to the root ball, amended with compost, not a fertilizer bomb.
- Soil moisture: Slightly moist, not soggy. Mud pies are not a vibe.
Planting Techniques
- Handle by leaves, not stems. Stems bruise; leaves recover.
- Tomatoes: Plant deep to the first set of leaves or lay sideways and trench. They root along buried stems.
- Peppers, cucurbits, brassicas: Plant at the same depth as the pot—no deeper, no shallower.
- Firm the soil gently to remove air pockets without compacting.
Immediate Aftercare
- Water in with a slow, thorough soak. Add a dash of kelp or seaweed extract to reduce shock, IMO.
- Shade cloth or row cover for the first 24–48 hours if sun is intense.
- Mulch lightly after the first watering to retain moisture and keep soil splashes off leaves.
Nail this step and your plants shift from “just moved in” to “landlords of the bed” within days. Seriously, you’ll see growth pop fast.
6. Troubleshooting: Sunburns, Wilting, And Weather Tantrums
Even with a perfect plan, the sky loves drama. When seedlings throw shade (or drop leaves), don’t panic—adjust. Most hardening issues fix with time and small tweaks.
Common Problems And Fixes
- Sunscald (white, crispy patches): Pull back to bright shade for a day or two, then reintroduce morning sun only.
- Floppy stems: More breeze, less coddling. Space pots out and add short, regular wind exposure.
- Wilting: Check moisture first. Water thoroughly, then provide afternoon shade for a day.
- Yellowing leaves: Could be hunger or stress. Give a half-strength balanced feed and ensure you’re not overwatering.
- Cold shock (purpling, stalled growth): Move back indoors at night and resume when temps stabilize.
Weather Workarounds
- Pop-up storms: Move trays into a garage or under a table with a towel windbreak.
- Heat waves: Shade cloth or a white sheet, water early morning, no afternoon sun.
- Late frost scare: Row cover plus buckets over tomatoes and peppers. Belt and suspenders.
Think of this as plant parenting with boundaries. You’re not babying—you’re coaching.
7. Water, Feeding, And Micro-Stress For Maximum Gains
Hardening off isn’t just exposure; it’s strategic care. Smart watering and micro-stress create sturdier plants without drama. It’s the difference between “alive” and “thriving.”
Watering Strategy
- Keep soil evenly moist during the process. Letting trays bone-dry increases burn risk.
- Water in the morning so leaves dry by evening and temps rise with hydration.
- Bottom-water trays to encourage downward roots and reduce fungal issues.
Feeding For Resilience
- One light feeding mid-hardening with fish/seaweed or balanced fertilizer.
- Skip high-nitrogen blasts that make soft, leggy growth right before transplant.
Micro-Stress Wins
-
li>Brush foliage daily or run a gentle fan for 30–60 minutes.
- Brief cool exposure for cool-season crops improves tolerance.
- Short sun sprints early in the process build leaf cuticles without scorch.
This combo builds thicker cuticles, stronger stems, and serious root energy. Translation: faster recovery and earlier harvests.
Ready to send those seedlings into the real world? You’ve got the playbook. Ease them out, watch them toughen up, and then plant with confidence. Your garden’s about to glow—trust me, it shows.