Your seedlings are basically teenagers: moody, delicate, and ready for more space. Move them outside too fast and they’ll freak out. Do it right and they’ll explode with growth. This guide walks you through the exact steps so your plants thrive, not sulk.
We’ll cover timing, hardening off, soil prep, the transplant moment, and smart aftercare. Short, punchy tips. Zero fluff. Ready to take your baby plants from windowsill to garden glory?
1. Nail The Timing: Read The Weather, Not Just The Calendar
Plant timing makes or breaks your season. You need warm-enough nights and soil that doesn’t feel like an ice pack. Get the timing right and your seedlings take off like they’ve had espresso.
Key Checks Before You Transplant
- Frost date: Wait until your area’s average last frost has passed. Add 1–2 weeks for heat-lovers like tomatoes and peppers.
- Night temps: Aim for consistent nights above 50°F (10°C) for most veggies; 55–60°F (13–16°C) for tomatoes, peppers, basil.
- Soil temp: Minimums matter: 45°F (7°C) for brassicas, 50°F (10°C) for greens, 60°F (16°C) for tomatoes/peppers, 65°F (18°C) for cucurbits.
- Seedling maturity: Look for 2–3 sets of true leaves (not the first baby cotyledons) and sturdy stems.
Pro Tip
Cloudy, calm days make the best moving days. Windy, blazing days? Hard pass. If you must plant then, give shade for 48 hours.
Dialing in timing sets you up for fewer freak-outs and faster root growth. Your future harvest will thank you.
2. Harden Off Like A Boss: Toughen Them Up Gradually
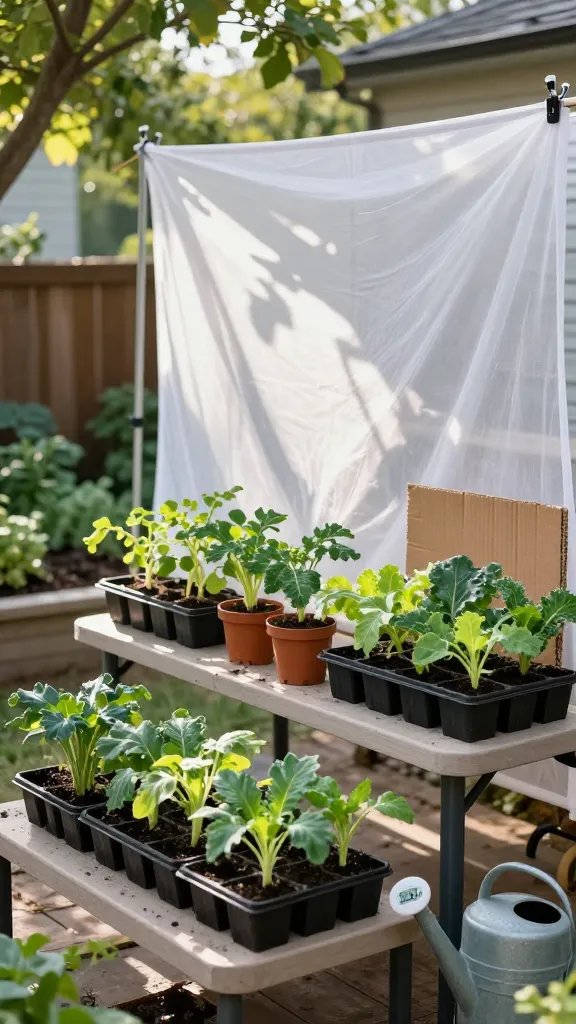
Hardening off is plant boot camp. You’re training seedlings to handle wind, UV, and cooler nights without throwing a tantrum. Skip this and you’ll meet sunscald, wilt, and afternoon drama.
7-Day Hardening Plan (Adjust As Needed)
- Day 1: 1–2 hours in bright shade, temps above 55°F (13°C), no wind.
- Day 2: 2–3 hours, introduce dappled sun, shelter from wind.
- Day 3: 3–4 hours, 1 hour of morning sun.
- Day 4: 4–5 hours, 2 hours of morning sun. Light breeze is okay.
- Day 5: 6 hours, morning to early afternoon sun. Water well.
- Day 6: 8 hours, include some midday sun if it’s under 75°F (24°C).
- Day 7: All day outside; bring in at night unless nights stay above 50°F (10°C).
Quick Tips
- Start shade-first: Morning sun is gentler. Avoid 11 a.m.–3 p.m. scorch early on.
- Watch leaves: Bleached patches mean sunburn; curl means wind or heat stress. Scale back a day.
- Water lightly: Keep soil evenly moist, not soggy. Dehydrated seedlings hate you.
- Optional tough-love: A fan indoors on low for an hour a day strengthens stems, FYI.
Do this right and your seedlings won’t flinch when you finally plant them. Less shock, faster growth, happier gardener.
3. Prep The Soil Like You Mean It: Roots First, Bragging Rights Later
Great soil turns decent seedlings into show-offs. Think loose, rich, and well-draining. If your shovel cries when you dig, your roots will too.
What Your Bed Needs
- Structure: Loamy, crumbly soil that holds moisture but drains fast.
- Food: Slow-and-steady nutrients, not a sugar rush.
- Microbes: Compost = life. Life = better roots.
How To Prep
- Loosen 8–12 inches: Use a fork to lift and fluff, don’t pulverize. Keep soil layers intact.
- Mix in compost: 1–2 inches of finished compost across the bed. Work it into the top 6 inches.
- Add a starter feed: A balanced organic fertilizer (like 4-4-4) or a transplant-specific one. Go light; roots are tender.
- Pre-water the bed: Moisten soil a few hours before planting so it’s damp, not soggy.
Spacing And Layout
- Plan airflow: Tomatoes 18–24 inches apart, peppers 14–18, brassicas 18–24, lettuces 8–12.
- Sun path: Tall plants north side, shorter south side to avoid shade battles.
- Mulch ready: Keep straw, leaves, or shredded bark handy to finish the job.
Good prep means deeper roots and fewer problems. You’ll water less and harvest more, which sounds like a win, IMO.
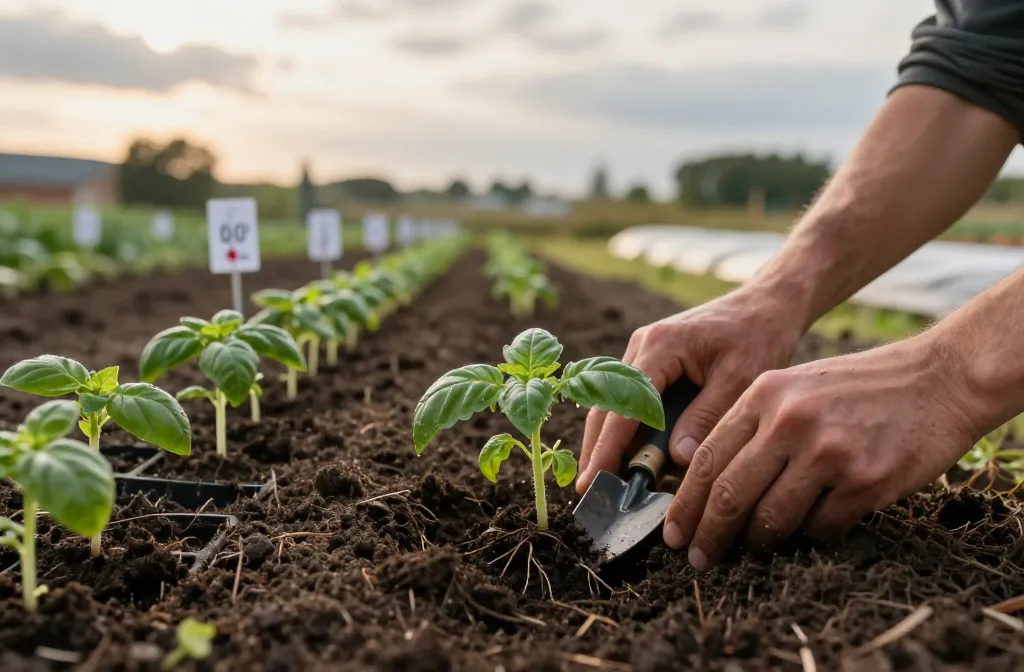
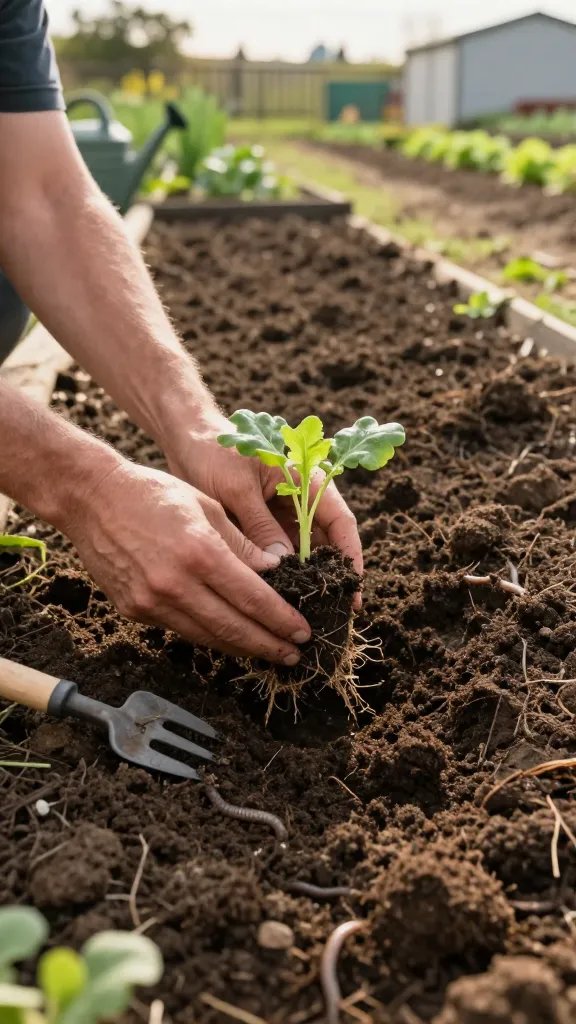
4. The Transplant Moment: Smooth, Swift, And Gentle
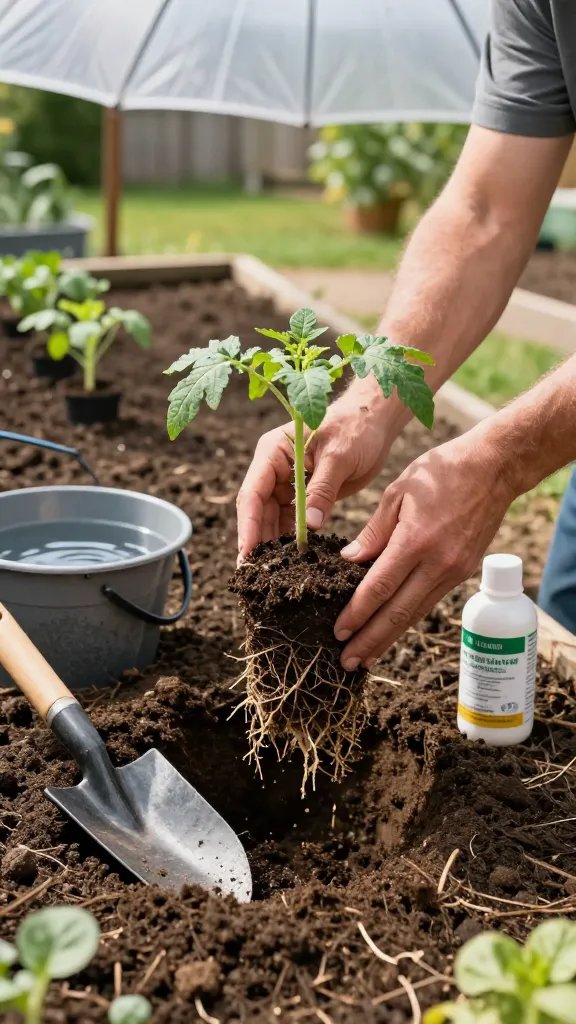
Time to move them in. This is where people either crush roots or bury stems wrong. You’ll do it clean and calm—like a plant whisperer with a trowel.
What You’ll Need
- Trowel and a small bucket of water
- Root stimulator or diluted seaweed extract (optional but awesome)
- Mulch for immediate coverage
- Shade cloth or an umbrella for hot days
Step-By-Step
- Water seedlings 1–2 hours before planting. Damp roots slide out easier.
- Dig holes slightly wider and as deep as the root ball. For tomatoes, go deeper or trench to bury part of the stem.
- Gently remove: Squeeze cell packs or tap pots. Hold by the leaves, not stems—stems snap; leaves forgive.
- Tease roots if rootbound: Loosen the bottom with your fingers. Don’t shred them; just fluff.
- Set the plant at the right height: Same depth as the pot for most plants. Tomatoes can go deeper; peppers prefer level.
- Backfill and firm with your fingertips to remove air pockets. No compacting spree.
- Water in thoroughly with a gentle shower. Add a splash of seaweed solution to reduce shock.
- Mulch immediately, keeping a 1–2 inch gap around stems to prevent rot.
Special Cases
- Leggy seedlings: Plant tomatoes deep or sideways in a shallow trench. For others, stake early.
- Fragile stems: Use soft plant ties and a small stake right away.
- Windy spots: Create a temporary windbreak with a board or cardboard for 2–3 days.
A smooth transplant sets your plants up to root fast and start growing again within days. You’ll see new growth and feel smug. You earned it.
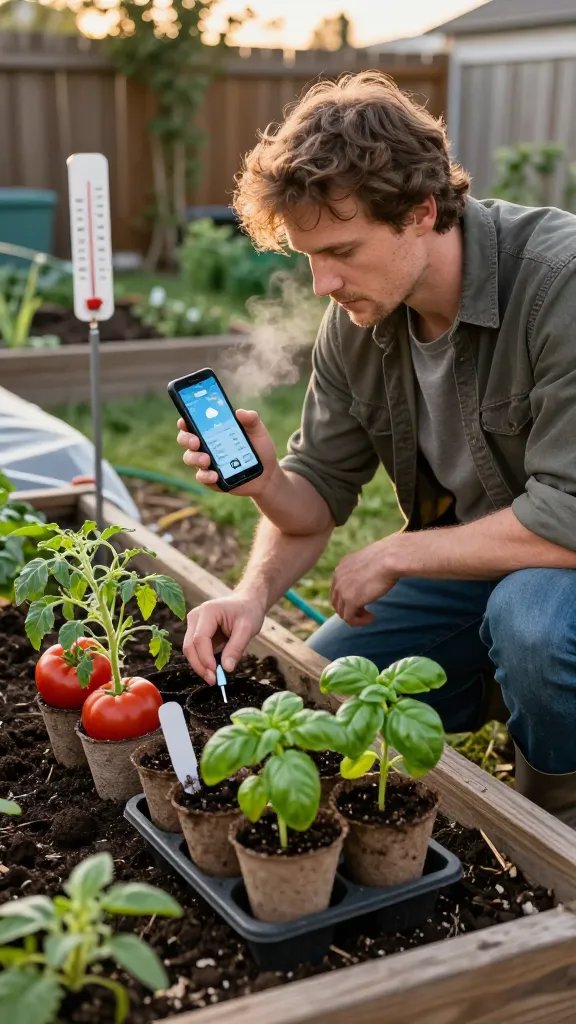
5. Aftercare That Actually Works: Water, Shade, And Watchfulness
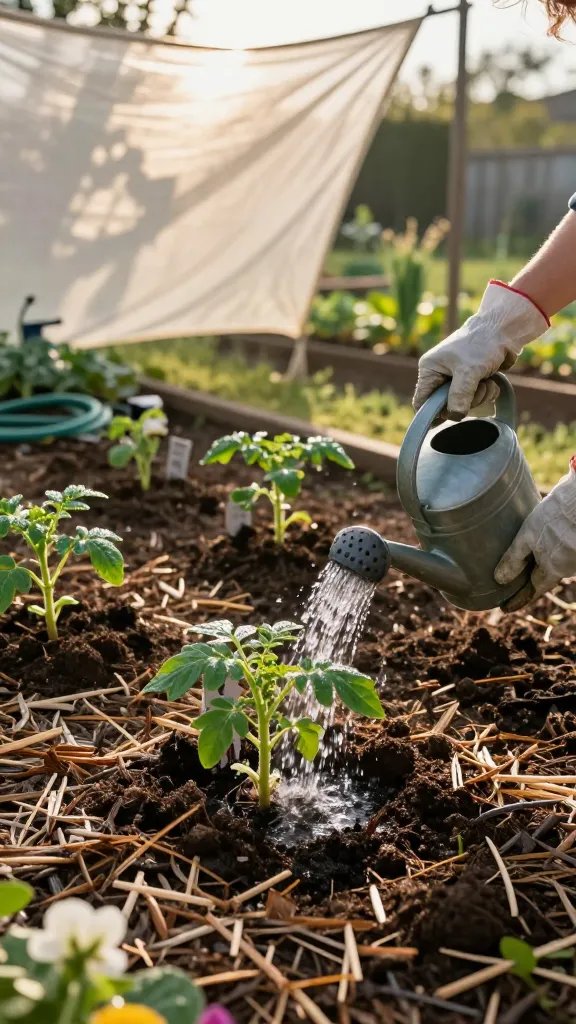
Transplanting doesn’t end when the hole’s filled. The next 10 days decide if your seedlings thrive or merely survive. Give them consistent care and they’ll take off.
Watering Game Plan
- Right after planting: Deep soak to settle soil. You want moisture 6 inches down.
- First week: Check daily. Keep evenly moist—no droughts, no swamps.
- Morning watering: Reduces disease and sun scorch. Evening watering invites mildew, so avoid it.
- Mulch: 2–3 inches to steady soil temps and reduce watering needs by half. Seriously.
Shade And Protection
- Hot sun: Give light shade (row cover, umbrella, crate) for 2–3 days after planting.
- Wind: Low temporary barrier on the windward side helps a ton.
- Cold snap: Frost cloth or old sheets overnight. Remove in the morning.
Feed And Monitor
- Wait 10–14 days before fertilizing again; let roots establish.
- Use gentle feeds: Diluted fish/seaweed or compost tea once plants resume growth.
- Scout daily: Look for droop (under/overwatering), pale new growth (nitrogen need), or bleached spots (sunburn).
- Pest watch: Slugs love fresh transplants. Use beer traps, copper tape, or iron phosphate bait.
When To Celebrate
- New leaves within a week or two
- Firm stems and no midday wilt
- Visible root anchoring when you tug gently (don’t uproot, obviously)
Good aftercare means less stress and faster growth. Your plants will reward you with vigor, and you’ll spend less time troubleshooting.
That’s your game plan. Start with smart timing, toughen them up, pamper the soil, transplant with care, then babysit just enough. Do this and your seedlings will settle in fast and grow like champs—no drama, all harvest. Now grab your trowel and go make your garden proud.