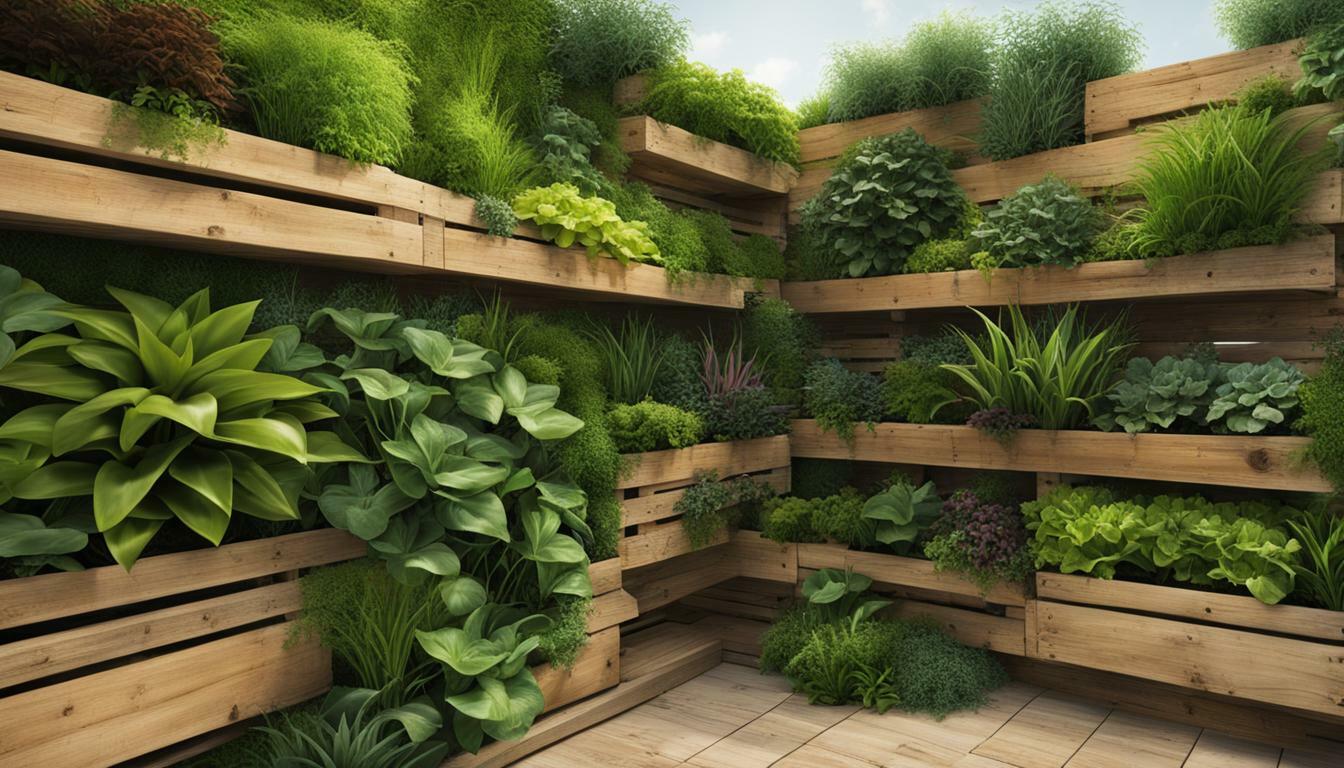
Welcome to our comprehensive guide on creating your very own DIY pallet vertical garden. In this step-by-step guide, we will show you how to transform your outdoor space creatively and sustainably using pallets.
Key Takeaways:
- DIY pallet vertical gardens are a creative and sustainable way to transform your outdoor space.
- They are cost-effective and space-saving, making them ideal for small gardens or urban areas.
- The first step is to choose the right pallet, ensuring it is safe for gardening and provides adequate support.
- Preparing the pallet involves sanding rough spots, adding support, and securing landscaping fabric.
- Filling the pallet with potting soil requires firm packing and leaving space for planting.
- When selecting plants, consider those that can tolerate dry conditions and fit through the slats.
- Proper care, including watering, fertilizing, and pruning, is essential for a thriving vertical garden.
- Get creative with different design ideas, such as color schemes and plant combinations, for your pallet vertical garden.
- Common issues, like drainage problems or pests, can be troubleshooted with practical solutions.
- Expand your vertical garden journey by incorporating additional pallets or experimenting with vertical herb gardens.
- Explore successful DIY pallet vertical gardens to inspire your own project.
Benefits of a Pallet Vertical Garden
Building a pallet vertical garden brings numerous benefits to your outdoor space. Not only does it make efficient use of limited space, but it also offers a cost-effective and environmentally friendly way to cultivate your own plants. Here are some key advantages of creating a pallet vertical garden:
Space-saving:
A pallet vertical garden allows you to maximize your gardening space, especially if you have limited or no garden area. By utilizing vertical space, you can grow a variety of plants without taking up valuable ground space. This is particularly beneficial for urban dwellers or those with small balconies or patios.
Budget-friendly:
Creating a pallet vertical garden is a cost-effective alternative to buying expensive planters or containers. Wooden pallets can often be obtained for free or at a low cost, and you can use recycled materials such as burlap bags or plastic to line the pallets. Additionally, planting your own herbs, succulents, or other plants can save you money on groceries or decorative plants.
Eco-friendly:
By repurposing wooden pallets, you are contributing to sustainable gardening practices. Recycling pallets reduces waste and keeps them out of landfills. Additionally, growing your own plants helps to reduce your carbon footprint by reducing the transportation and packaging associated with store-bought produce or plants.
With a pallet vertical garden, you can create a beautiful and functional green space, even in the smallest of areas. Whether you’re a gardening enthusiast or a beginner, this DIY project offers an opportunity to enjoy the benefits of gardening while maximizing your resources.
Choosing the Right Pallet for Your Vertical Garden
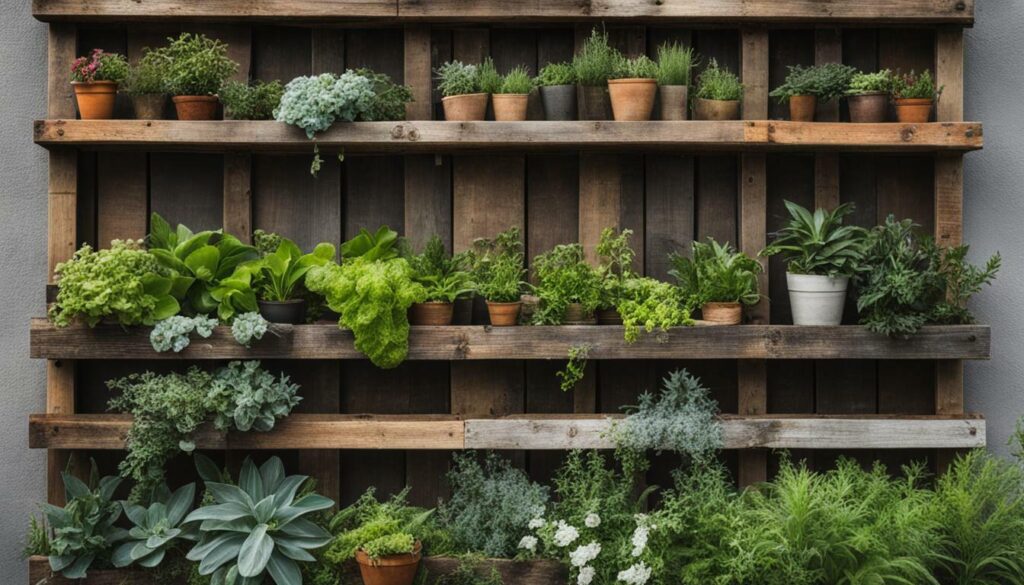
Before starting your DIY pallet vertical garden project, it’s crucial to choose the right type of pallet that meets safety standards and suits your aesthetic preferences. Pallets are available in various sizes and materials, so consider the following factors when making your selection:
- Material: Opt for pallets made from untreated wood or heat-treated (HT) pallets stamped with the ISPM-15 mark, indicating they have been treated to prevent insect infestation. Avoid pallets treated with chemicals or pesticides, as they can leach into the soil and harm your plants.
- Size: Choose a pallet size that fits your available space and desired number of plants. A standard pallet size of 25″ x 38″ is commonly used for vertical gardens, but you can also find smaller or larger options depending on your needs.
- Condition: Inspect the pallet for damage, such as broken or splintered boards. Ensure the pallet is sturdy and in good condition to support the weight of the soil and plants. Minor surface imperfections can be addressed with sanding.
If you’re unsure where to find pallets, check with local landscaping or home improvement stores, as they often have extra pallets available. You can also search online platforms like Craigslist or local listings for free or low-cost options.
Comparison Table: Types of Pallets for Vertical Gardens
| Pallet Type | Material | Treatment | Availability |
|---|---|---|---|
| Untreated Wood | Wood | N/A | Readily available |
| Heat-Treated (HT) | Wood | ISPM-15 mark | Common |
| Chemically Treated | Wood | Chemicals | Avoid |
Remember, safety should always be a priority when choosing a pallet for your vertical garden. By selecting a suitable pallet and ensuring it is in good condition, you can lay a solid foundation for your DIY project and create a thriving vertical garden.
Preparing the Pallet for Planting
To ensure your plants thrive in the pallet vertical garden, proper preparation is essential. Follow these steps to get your pallet ready for planting.
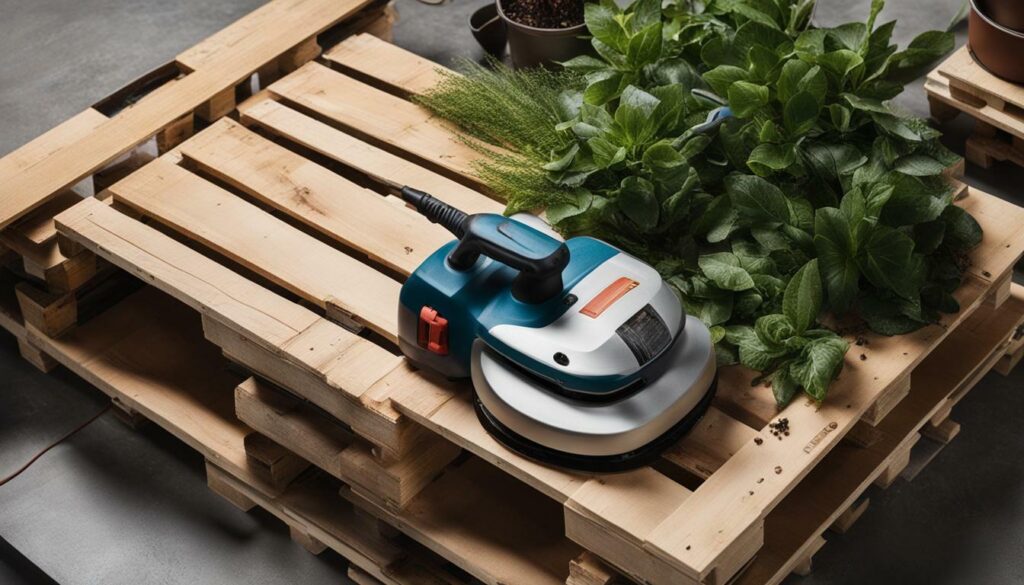
Sand down any rough spots on the pallet using sandpaper or an electric sander. This will create a smooth surface for your plants and prevent any potential damage to their roots.
If the back of your pallet lacks support or is open, find scrap wood that is approximately 3 to 4 inches wide and 1/4 inch thick. Cut the wood to match the width of your pallet and attach it to the back using two nails on each side. This additional support will ensure that your pallet remains sturdy and secure.
Double or triple the layers of landscaping fabric or plastic and begin stapling it to the pallet. Start by stapling the fabric along the back, bottom, and sides of the pallet. Be careful to fold the fabric at the corners to prevent soil from spilling out. This fabric will act as a barrier, holding the soil in place and preventing erosion.
Preparing the Pallet for Planting
| Supplies Needed: | Assembly: |
|---|---|
| – Wooden pallet (suggested size: 25″ x 38″) | 1. Sand down rough spots on the pallet. |
| – Roll of landscaping fabric or plastic | 2. Add support to the back of the pallet if needed. |
| – Sandpaper | 3. Double or triple the layers of landscaping fabric or plastic and staple it to the pallet. |
| – Staple gun and staples | 4. Ensure that the fabric is securely attached along the back, bottom, and sides of the pallet. |
| – Hammer and nails | 5. Leave enough space for planting by pouring potting soil through the slats. |
| – Potting soil | 6. Start planting, ensuring that the soil is firmly packed at each layer. |
| – Herbs, succulents, or other plants | 7. Water your vertical garden thoroughly and let it remain horizontal for a week or two to allow the plants to take root. |
After completing these steps, your pallet is ready to be transformed into a vibrant and flourishing vertical garden. Continue to the next section to learn how to fill the pallet with potting soil and select suitable plants for your DIY pallet vertical garden.
Filling the Pallet with Potting Soil
Now that your pallet is ready, it’s time to fill it with potting soil to provide a nutrient-rich foundation for your plants. Follow these steps for optimal soil placement.
- Sand down any rough spots on the pallet using sandpaper or an electric sander to create a smooth surface.
- If the back of your pallet lacks support or is open, find scrap wood that is 3 to 4 inches wide and 1/4 inch thick. Cut the wood down to the width of your pallet and attach it to the back using two nails on each side. This will provide additional support.
- Double or triple a roll of landscaping fabric or plastic and begin stapling it to the back, bottom, and sides of the pallet. Be sure to fold the fabric at the corners to prevent soil from spilling out.
- Lay the pallet flat and pour potting soil through the slats, pressing it down firmly. Leave enough room to begin planting your herbs or succulents.
- Start planting at the bottom of the pallet and work your way up, ensuring that the soil is firmly packed in each layer. Add more soil as needed to tightly pack the plants at the end.
- After planting, water your wall garden thoroughly and let it remain horizontal for 1 to 2 weeks to allow the plants to take root. Then, you can set it upright.
When watering your vertical garden, start at the top and gradually move downward, watering each section a little less. This allows the water to naturally seep through to the bottom-most plants. Alternatively, you can install a drip irrigation system and run it as needed.
| Materials Needed: | Estimated Cost: | Estimated Time: |
|---|---|---|
| Wooden pallet | $15 – $35 (depending on plants chosen) | 2.5 hours |
| Roll of landscaping fabric | – | – |
| Sandpaper | – | – |
| Staple gun and staples | – | – |
| Potting soil | Approximately 2.5 cubic feet for a 25 x 38 pallet | – |
| Herbs, succulents, or other plants | – | – |
“The finished DIY vertical pallet garden is a beautiful accent to any home’s landscape and even works as a way to add some greenery to an apartment balcony or home without a sizable yard.”
Now that your pallet is filled with potting soil, it’s time to move on to the next step: selecting and planting suitable plants for your vertical garden.
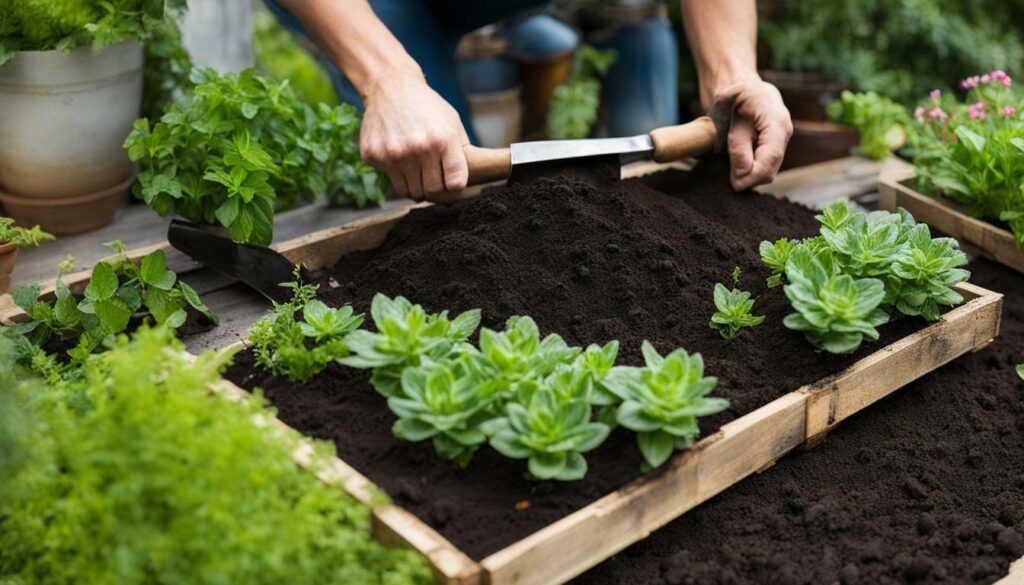
Selecting and Planting Suitable Plants
The success of your DIY pallet vertical garden relies on selecting the right plants that can thrive in a vertical environment. Follow these steps to choose and plant your greenery.
- Consider the conditions: Assess the amount of sunlight your vertical garden will receive. Different plants have varying light requirements, so choose accordingly. Additionally, evaluate the moisture levels in your vertical garden area, as some plants may prefer drier conditions while others thrive in moist soil.
- Choose compact plants: Due to the limited space in a vertical garden, opt for plants that have a compact growth habit. Herbs, succulents, and small bedding plants are great options as they don’t require as much space to grow and can thrive in narrow pockets.
- Research plant compatibility: Once you have identified your desired plants, research their compatibility with each other. Some plants may compete for nutrients or have different watering needs, so it’s important to select plants that can coexist harmoniously in the same vertical garden.
- Plan your planting arrangement: Before potting your plants, plan out the arrangement to ensure an aesthetically pleasing design. Consider color combinations, textures, and the overall visual impact you want your vertical garden to have.
Now that you have selected your plants, it’s time to start planting them in your DIY pallet vertical garden. Follow these steps:
- Prepare the pallet: Ensure that the pallet has been sanded down to remove any rough spots that could potentially damage plant roots. If the back of the pallet lacks support, add wooden scraps to provide stability.
- Add landscaping fabric: Double or triple a roll of landscaping fabric and staple it to the back, bottom, and sides of the pallet. This will prevent soil from spilling out while allowing water drainage.
- Fill with potting soil: Pour potting soil through the slats of the pallet, pressing it down firmly and leaving enough space for planting. Firmly packed soil will provide stability for the plants.
- Plant your greenery: Begin planting at the bottom of the pallet and work your way up, ensuring each layer is firmly packed with soil. Place your chosen plants into the soil, taking care to space them appropriately and accommodate their growth habits.
Remember to water your vertical garden thoroughly and allow it to remain horizontal for 1 to 2 weeks to allow the plants to establish their roots. After this period, you can set it upright and enjoy the beauty of your DIY pallet vertical garden.
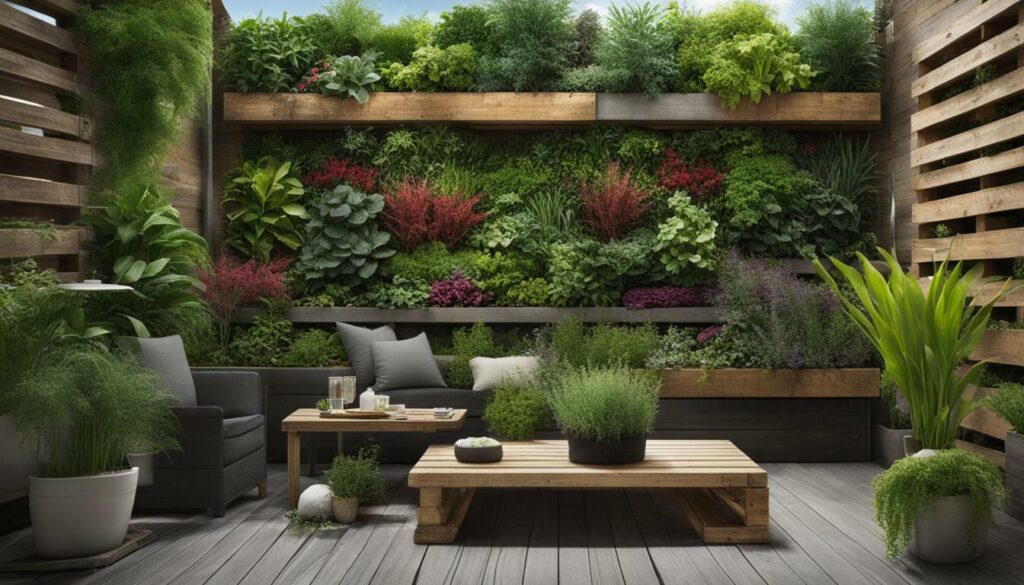
Table: Recommended Plants for a DIY Pallet Vertical Garden
| Plant | Light Requirements | Watering Needs | Growth Habit |
|---|---|---|---|
| Herbs (such as basil, thyme, parsley) | Full sun to partial shade | Regular watering | Compact, bushy growth |
| Succulents (such as jade plant, aeonium) | Bright light to full sun | Sparse watering | Rosette or trailing growth |
| Bedding plants (such as petunias, impatiens) | Full sun to partial shade | Moderate watering | Compact, upright growth |
“A vertical garden is a great way to maximize your gardening space while adding a beautiful green touch to your surroundings.”
By carefully selecting and planting suitable plants in your DIY pallet vertical garden, you can create a vibrant and thriving green oasis that complements your living space. Enjoy the process of cultivating your vertical garden and reap the rewards of a flourishing display of nature.
Caring for Your Vertical Garden
Once your pallet vertical garden is established, it’s crucial to provide proper care and maintenance to ensure its longevity. Follow these guidelines for successful garden care.
Watering
Watering is essential for the health of your vertical garden. Start by watering at the top and allow the water to trickle down to the bottom plants. This ensures that all plants receive adequate moisture. Monitor the moisture level of the soil and water accordingly, making sure not to overwater or let the soil dry out completely.
Consider installing drip irrigation to automate the watering process and ensure consistent moisture levels for your plants. This can be especially beneficial if you have a large vertical garden or if you are regularly away from home.
Fertilizing
Regular fertilizing is necessary to provide your plants with essential nutrients. Choose a balanced, slow-release fertilizer and follow the manufacturer’s instructions for application. Fertilize your vertical garden every few months or as recommended for the specific plants you have chosen.
Pruning and Maintenance
Regular pruning helps maintain the shape and health of your plants. Remove any dead or yellowing leaves, spent flowers, or overgrown branches. This not only enhances the appearance of your vertical garden but also promotes better airflow and prevents the spread of diseases.
Inspect your vertical garden regularly for pests and diseases. If you notice any signs of infestation or plant damage, take appropriate measures such as using organic pest control methods or treating with suitable fungicides.
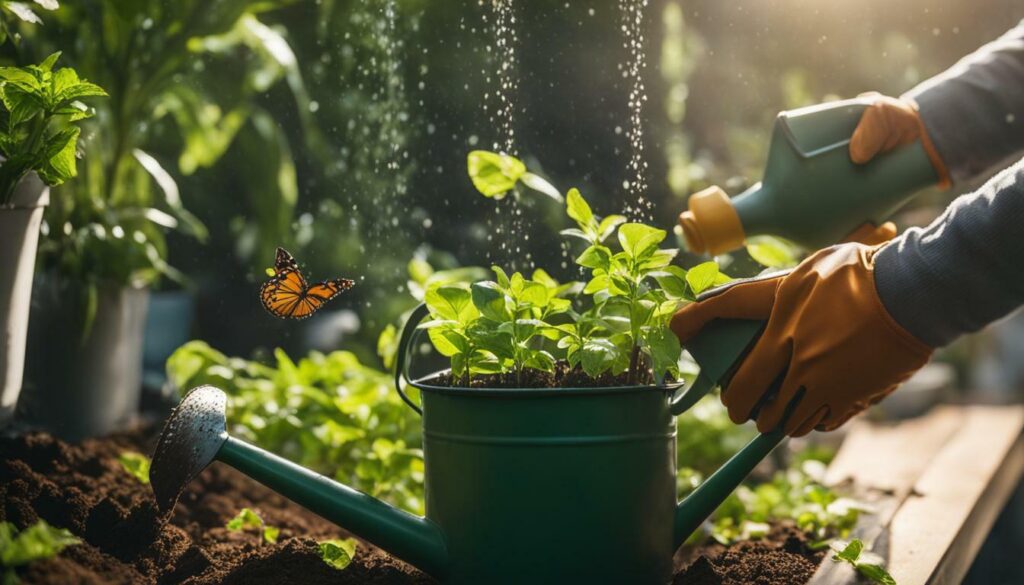
Table: Common Care Tasks for Vertical Gardens
| Task | Frequency |
|---|---|
| Watering | Regularly, as needed |
| Fertilizing | Every few months |
| Pruning | As needed |
| Pest and disease control | Regular monitoring and treatment as necessary |
Follow these care guidelines to keep your vertical garden thriving and enjoy the beauty and benefits it brings to your outdoor space.
Creative Ideas for Pallet Vertical Garden Designs
Get inspired by these innovative design ideas to make your pallet vertical garden a unique and visually stunning addition to your outdoor space. Whether you have a small balcony or a spacious backyard, there are endless possibilities to transform a simple wooden pallet into a beautiful vertical garden.
1. Colorful Palette: Paint your pallet in vibrant hues to add a pop of color to your garden. Opt for shades that complement your outdoor decor or choose a mix of contrasting colors for a bold and eye-catching display.
2. Herb Haven: Create a functional and aromatic garden by planting a variety of herbs in your vertical pallet. From basil and rosemary to mint and thyme, having fresh herbs on hand will enhance your culinary endeavors.
3. Succulent Showcase: Succulents are low-maintenance plants that thrive in vertical gardens. Arrange a collection of different succulent varieties in your pallet garden for a visually pleasing and drought-resistant display.
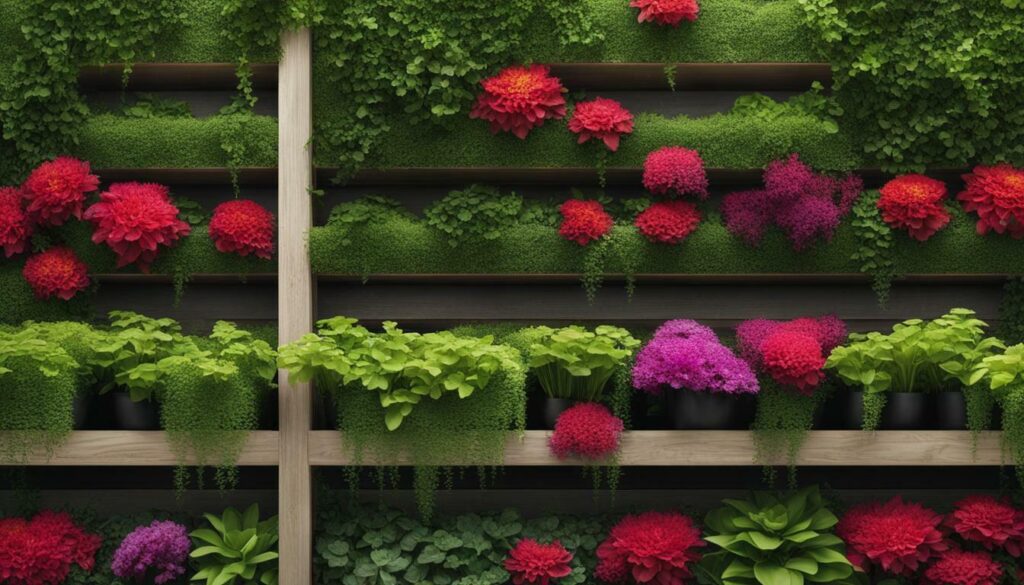
4. Floral Extravaganza: Fill your pallet with an assortment of colorful flowers to create a stunning floral focal point. Choose a mix of annuals and perennials to enjoy blooms throughout the seasons.
5. Edible Delights: Grow your own vegetables and fruits in your vertical garden for a bountiful harvest. Opt for compact varieties that are well-suited for vertical growing, such as cherry tomatoes, peppers, and strawberries.
Table: Comparing Different Design Ideas for Pallet Vertical Gardens
| Design Idea | Difficulty Level | Cost | Time Required | Suitable Plants |
|---|---|---|---|---|
| Colorful Palette | Easy | Low | 1-2 hours | Any plants |
| Herb Haven | Easy | Low | 1-2 hours | Herbs |
| Succulent Showcase | Easy | Low | 1-2 hours | Succulents |
| Floral Extravaganza | Moderate | Medium | 2-3 hours | Flowers |
| Edible Delights | Moderate | Medium | 2-3 hours | Vegetables, fruits |
“A garden is a grand teacher. It teaches patience and careful watchfulness; it teaches industry and thrift; above all, it teaches entire trust.” – Gertrude Jekyll
Experiment with different combinations of plants, colors, and arrangements to create a pallet vertical garden that reflects your personal style and taste. Let your imagination run wild and enjoy the beauty and benefits of nature right in your own backyard.
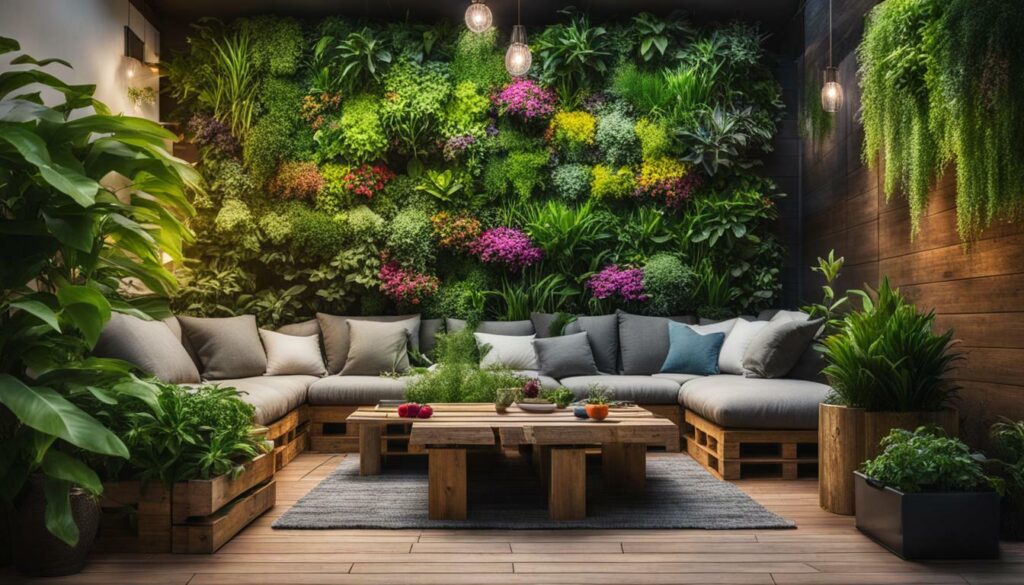
Troubleshooting Common Issues
Even the most well-crafted pallet vertical gardens may face challenges. Here’s a troubleshooting guide to help you address common issues and maintain a thriving garden.
1. Poor Drainage: If you notice that water is not draining properly from your pallet vertical garden, it could lead to root rot and other plant diseases. To improve drainage, consider drilling additional holes at the bottom of each planting pocket. This will allow excess water to escape and prevent waterlogged soil.
2. Dry or Wilting Plants: If your plants appear dry or wilted, it may be a sign of inadequate watering. Ensure that you are watering your vertical garden regularly, especially during hot and dry weather. Monitor the moisture levels in the soil and adjust your watering schedule accordingly. Consider installing a drip irrigation system to provide a consistent water supply to your plants.
3. Insect Infestation: Pallet vertical gardens are not immune to pests like aphids, mealybugs, or spider mites. If you notice signs of insect infestation, such as yellowing leaves or powdery residue on the plants, take immediate action. Use organic insecticides or homemade remedies like neem oil or soapy water to control the pests. Regularly inspect your plants and remove any diseased or infested foliage to prevent the problem from spreading.
| Issue | Cause | Solution |
|---|---|---|
| Poor Drainage | Insufficient holes for drainage | Drill additional holes at the bottom of each pocket |
| Dry or Wilting Plants | Inadequate watering | Water regularly, adjust watering schedule as needed |
| Insect Infestation | Aphids, mealybugs, spider mites | Use organic insecticides or homemade remedies |
Remember, prevention is key when it comes to maintaining a healthy pallet vertical garden. Regularly inspect your plants, provide proper care, and address any issues promptly to ensure the longevity and vibrancy of your garden.
By following this troubleshooting guide, you can overcome common issues that may arise with your pallet vertical garden and continue to enjoy a lush and thriving green space.
Expert Tip:
If you’re unsure about the health of your plants or need specialized advice, consider consulting a local gardening expert or joining online forums and communities dedicated to vertical gardening. These resources can provide valuable insights and personalized solutions to keep your garden flourishing.
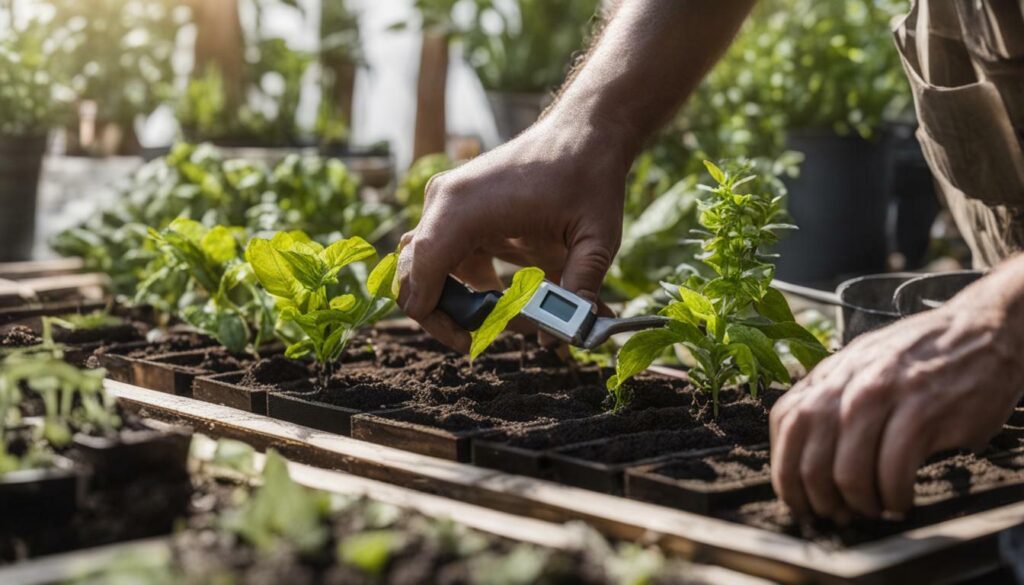
Remember, a successful pallet vertical garden is not only a beautiful addition to your outdoor space but also a source of pride and satisfaction. By troubleshooting and addressing common issues, you can ensure the long-term success of your DIY project.
Extending Your Vertical Garden Journey
Once you’ve mastered the basics of a pallet vertical garden, consider expanding your green oasis further with these creative ideas and additional projects. Whether you want to add more pallets to your existing garden or explore new ways to incorporate vertical gardening into your space, there are plenty of options to explore.
Vertical Herb Garden
A great way to enhance your pallet vertical garden is by incorporating a dedicated herb section. By selecting herbs that thrive in vertical environments, such as basil, oregano, and mint, you can create a functional and aromatic addition to your garden. Use small pots or DIY planters to house the herbs and arrange them strategically throughout your pallet garden. This not only adds visual interest but also provides easy access to fresh herbs for cooking or medicinal purposes.
Living Wall Art
If you’re looking to make a statement with your vertical garden, consider turning it into a living wall art installation. Experiment with different plant combinations, colors, and textures to create a visually striking display. Arrange the plants in a way that forms a captivating pattern or design. You can even incorporate trailing vines or colorful flowers to add dimension and depth to your living wall art. This creative approach to vertical gardening will not only beautify your outdoor space but also spark conversations among your guests.
Vertical Succulent Garden
Succulents are known for their low maintenance and water-saving qualities, making them an excellent choice for vertical gardens. Create a stunning vertical succulent garden by planting a variety of succulent species in your pallet garden. Arrange them in a way that showcases their unique shapes, colors, and textures. Since succulents thrive in well-draining soil, ensure that your pallet is properly prepared with the right growing medium. This vertical garden idea will add a modern, desert-inspired touch to your outdoor or indoor space.
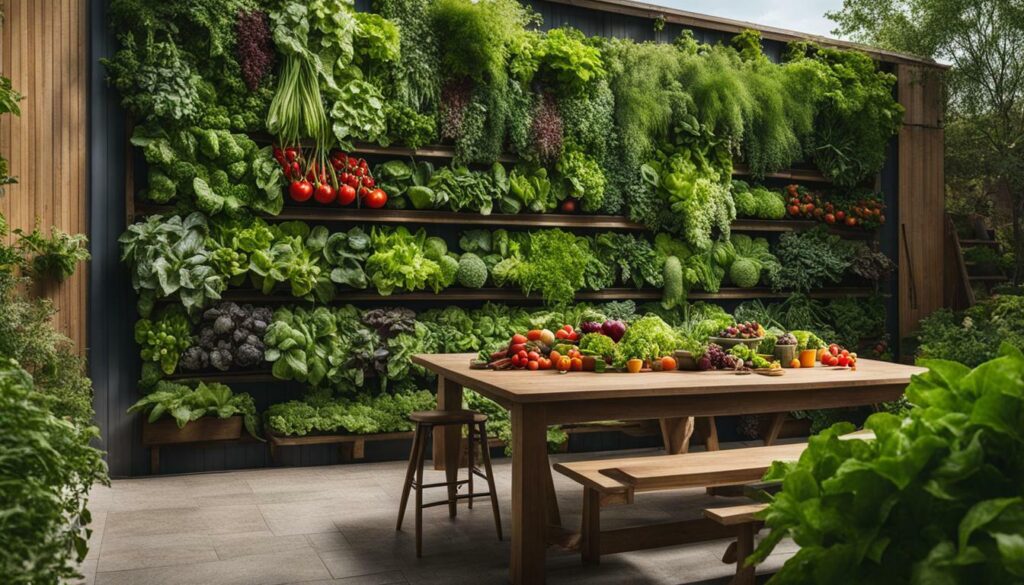
Table 1: Creative Ideas for Extending Your Vertical Garden
| Idea | Description |
|---|---|
| Vertical Flower Garden | Create a vibrant display of flowers by selecting a variety of colorful blooms and arranging them in your vertical garden. Use a mix of annuals and perennials for continuous blooming throughout the season. |
| Vertical Vegetable Garden | If you have limited space but still want to grow your own vegetables, a vertical vegetable garden is the perfect solution. Select compact varieties and use trellises or stakes to support climbing plants like tomatoes, cucumbers, and beans. |
| Vertical Garden Wall | Transform a blank wall into a lush green backdrop by installing multiple pallets vertically. Fill them with a mix of foliage plants, trailing vines, and colorful flowers to create a living wall that brings life and beauty to your outdoor space. |
With these creative ideas, you can take your pallet vertical garden to the next level and create a stunning outdoor oasis. Whether you choose to incorporate herbs, create living wall art, or focus on succulents, the possibilities are endless. Let your imagination run wild and enjoy the beauty and benefits of a flourishing vertical garden.
Showcasing Successful DIY Pallet Vertical Gardens
Get inspired by these remarkable DIY pallet vertical gardens created by gardening enthusiasts who have successfully transformed their outdoor spaces. These creative gardeners have taken advantage of the space-saving and budget-friendly benefits of vertical gardening by repurposing wooden pallets into stunning green walls. Let’s take a closer look at some of their impressive creations.
1. Herb Haven
Inspired by the idea of having fresh herbs at their fingertips, Sarah and Mark turned a simple wooden pallet into an herb garden masterpiece. They carefully selected a pallet with wide gaps between the planks to accommodate multiple herbs. They attached landscape fabric to the back of the pallet and filled each pocket with nutrient-rich potting soil. With careful planning and arrangement, they created a beautiful and functional herb haven that adds both aesthetic appeal and culinary delight to their outdoor space.
2. Succulent Sanctuary
Emily, a succulent enthusiast, decided to showcase her collection by transforming a wooden pallet into a succulent sanctuary. She sanded down the rough edges of the pallet and added supports along the back for stability. With the help of landscape fabric and a staple gun, she created pockets for her succulents to thrive. Emily carefully selected a variety of succulent species, ensuring they could tolerate the dry conditions of her vertical garden. The result is a stunning display of texture and color, creating a focal point in her outdoor space.
3. Flower Paradise
Jessica, an avid flower lover, turned a wooden pallet into a vibrant flower paradise. She chose a pallet with a sturdy back and added supports to ensure stability. Jessica stapled double layers of landscaping fabric to create deep pockets for her flower plants. With careful consideration of color and height, she selected an array of annual flowers and small seasonal plants. The result is a cascading display of blooms that adds beauty and charm to her outdoor space.
These are just a few examples of the incredible DIY pallet vertical gardens that have been successfully created by gardening enthusiasts. With a little creativity and some basic gardening knowledge, you too can transform a simple wooden pallet into a stunning vertical garden. Whether you choose to grow herbs, succulents, or flowers, the possibilities are endless. Start your own pallet vertical garden project and enjoy the beauty and satisfaction of nurturing your own green oasis.
Conclusion
In conclusion, building a DIY pallet vertical garden is a rewarding and sustainable way to transform your outdoor space. Follow our step-by-step guide to create your own green oasis and reap the benefits of a flourishing vertical garden.
By choosing a pallet vertical garden, you’ll enjoy numerous benefits. Not only does it save space, making it perfect for small gardens or balconies, but it’s also budget-friendly as pallets can often be obtained for free. Additionally, constructing a vertical garden using a pallet is an environmentally friendly option, as it repurposes materials that might otherwise go to waste.
When selecting the right pallet for your vertical garden, safety should be a top consideration. Look for a sturdy pallet with no signs of rot or damage. You may also want to consider the size and spacing of the slats to ensure they can accommodate your chosen plants and allow for proper drainage.
Preparing the pallet for planting involves sanding rough spots, adding additional support if necessary, and securing landscaping fabric to create planting pockets. By following these steps, you can ensure that the soil stays in place and your plants thrive.
Filling the pallet with potting soil requires careful packing to provide adequate support for your plants. Leave enough room for planting while ensuring the soil is firmly packed in each layer. This will create a stable growing environment for your plants.
Choosing suitable plants and planting them effectively is crucial for the success of your pallet vertical garden. Consider the amount of sunlight and water your plants require and choose plants that can thrive in these conditions. Plant them from the bottom to the top, packing the soil firmly around their root balls.
To care for your vertical garden, regular watering, fertilizing, and pruning are essential. Water the top section first and allow the water to naturally seep through the rest of the pallet. Consider installing drip irrigation for convenience and efficiency.
Get creative with your pallet vertical garden by exploring different design ideas. Arrange plants in various patterns, experiment with color schemes, and combine different types of plants for a visually stunning display.
Inevitably, you may encounter some common issues with your pallet vertical garden. By troubleshooting these issues and implementing practical solutions, you can overcome challenges such as pests, inadequate drainage, or soil nutrient deficiencies.
Extend your vertical garden journey by incorporating additional pallets, creating vertical herb gardens, or exploring other creative ideas to enhance your outdoor space. The possibilities are endless, and you can continue to grow and expand your vertical garden over time.
Check out successful DIY pallet vertical gardens from real-life examples to gain inspiration and see how others have transformed their outdoor spaces. These showcases can provide valuable insights and ideas for your own garden.
Building a DIY pallet vertical garden not only adds beauty and greenery to your surroundings but also promotes sustainability and a connection to nature. Start your own vertical garden project and enjoy the rewards of a thriving, eco-friendly oasis right at home.
Can I Use the Same Steps for Creating a Pallet Vertical Garden for Herbs as for Regular Plants?
Yes, you can absolutely use the same steps to design a pallet vertical herb garden as you would for regular plants. The key is to ensure that the pallet is properly reinforced and that the herbs have sufficient drainage and sunlight. This way, your herbs will thrive in their vertical garden.
FAQ
Q: How difficult is it to build a vertical pallet garden?
A: Building a vertical pallet garden is considered to be a moderately easy DIY project, with a difficulty level of 3 out of 10.
Q: How much does it cost to build a vertical pallet garden?
A: The estimated cost of building a vertical pallet garden ranges from $15 to $35, depending on the plants chosen.
Q: How much time does it take to build a vertical pallet garden?
A: Building a vertical pallet garden typically takes around 2.5 hours to complete.
Q: What supplies are needed to build a vertical pallet garden?
A: The supplies needed include a wooden pallet, landscaping paper, sandpaper, a staple gun and staples, a hammer and nails, potting soil, and herbs, succulents or other plants of choice.
Q: How do I assemble a vertical pallet garden?
A: The assembly process involves sanding down rough spots on the pallet, adding support to the back of the pallet if needed, stapling landscaping fabric along the back, bottom, and sides of the pallet, pouring potting soil through the slats, and planting the herbs or succulents from bottom to top.
Q: How do I care for a vertical pallet garden?
A: It is important to water the vertical garden thoroughly and allow it to remain horizontal for 1 to 2 weeks to allow the plants to take root. Afterward, it can be set upright. When watering, start from the top and water each subsequent section less, as water will naturally seep through to the bottom-most plants.
Q: Can a vertical pallet garden be used for vegetable planting?
A: While a vertical pallet garden is suitable for growing herbs, succulents, and other plants that can tolerate dry conditions, it is not ideal for growing vegetables as there is not enough soil volume for them to thrive.
Q: What are some creative design ideas for a vertical pallet garden?
A: Creative design ideas for a vertical pallet garden include experimenting with different arrangements, color schemes, and plant combinations. Examples include creating patterns with different plant colors, incorporating hanging baskets within the pallet, and arranging plants in a cascading or stair-step pattern.
Q: What are some common issues faced when maintaining a vertical pallet garden?
A: Common issues include overwatering, poor drainage, inadequate sunlight, pest infestations, and nutrient deficiencies. Solutions to these issues include adjusting watering practices, improving drainage, ensuring proper sunlight exposure, implementing pest control measures, and providing appropriate plant nutrition.
Q: How can I extend my vertical garden journey?
A: You can extend your vertical garden journey by incorporating additional pallets to create a larger garden, exploring vertical herb gardens, experimenting with different plant combinations, and incorporating other creative ideas such as incorporating a trellis for climbing plants or using the pallet as a living wall art installation.
Q: Can you provide examples of successful DIY pallet vertical gardens?
A: While not included in this article, you can find numerous examples of successful DIY pallet vertical gardens online, showcasing different designs, plant choices, and creative adaptations. These examples can serve as inspiration for your own project.
Q: What are the benefits of a pallet vertical garden?
A: Some benefits of a pallet vertical garden include maximizing limited gardening space, adding a visual appeal to your garden or outdoor space, being an affordable and budget-friendly gardening option, and repurposing materials and promoting sustainability.

