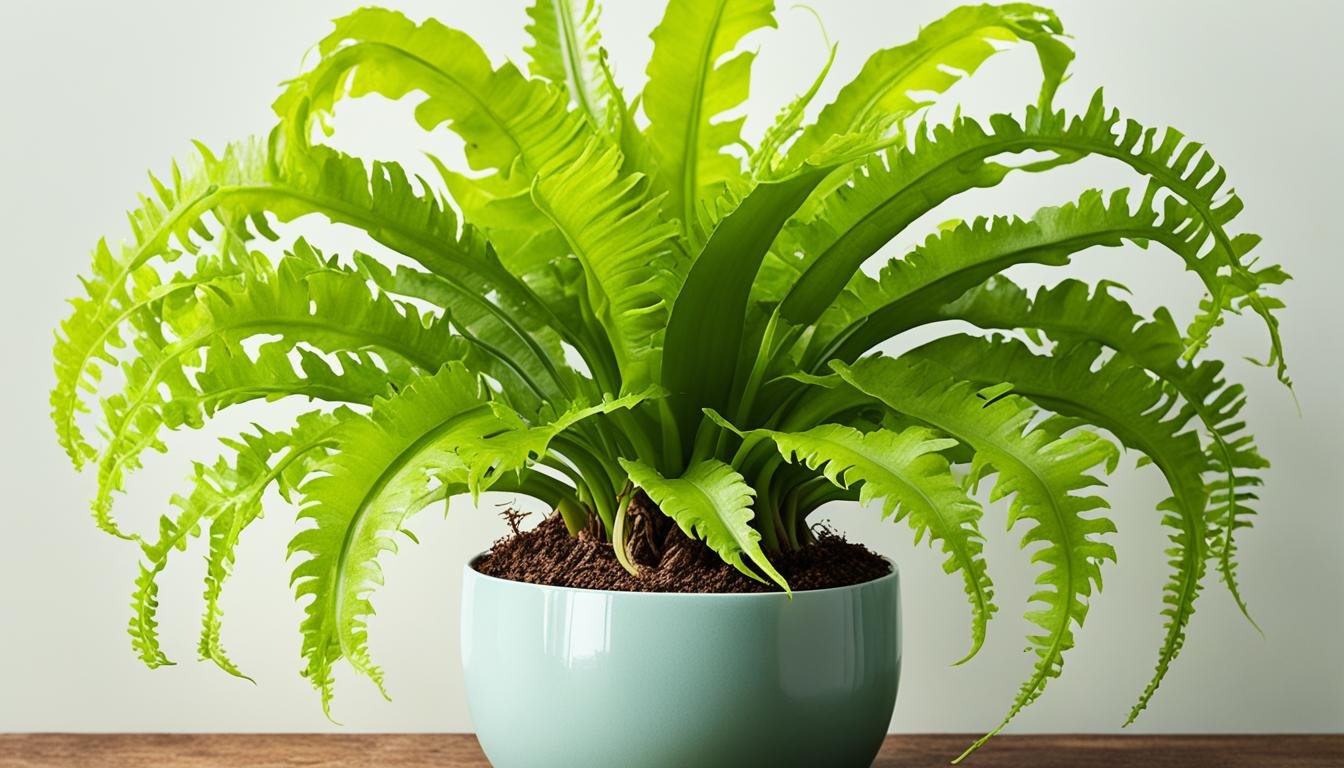
Welcome to my complete guide on the Birds Nest Fern! This beautiful fern is perfect for apartment dwellers. It brings green to your indoor space. I will tell you all about caring for and growing Birds Nest Ferns. That way, you can enjoy their beauty in your home.
Key Takeaways:
- Learn how to care for a Birds Nest Fern in your apartment
- Discover why Birds Nest Ferns are a popular choice for indoor spaces
- Understand the lighting, watering, and fertilizing requirements of Birds Nest Ferns
- Explore the different methods of propagating Birds Nest Ferns
- Find out how to prevent and treat pests and diseases in Birds Nest Ferns
Why Do We Love the Birds Nest Fern For Apartments?
Finding the right plant for an apartment is hard. The Birds Nest Fern is perfect. It looks good and grows well indoors. Many people love this fern for their homes. In addition to its aesthetic appeal, the Birds Nest Fern is low maintenance, making it an excellent choice for busy individuals. For those looking to further enhance their indoor garden, researching prayer plant care tips can also be beneficial, as the colorful foliage of the prayer plant adds a vibrant touch to any space. With the right care, both these plants can thrive and transform an apartment into a calming green oasis.
Is the Birds Nest Fern Air-Purifying?
The Birds Nest Fern cleans the air. It removes bad stuff like formaldehyde and benzene. These are in some house products. Having this fern means cleaner air at home.
Is the Birds Nest Fern Pet Friendly?
This fern is safe for pets. It’s not harmful to cats and dogs. You can keep this pretty plant without worry. But, always watch how your pets act with it.
How Big Does the Birds Nest Fern Get?
Choosing plants for small spaces is important. The Birds Nest Fern is small and perfect. It usually grows to 2 to 3 feet tall and wide. This size is great for not taking up too much room.
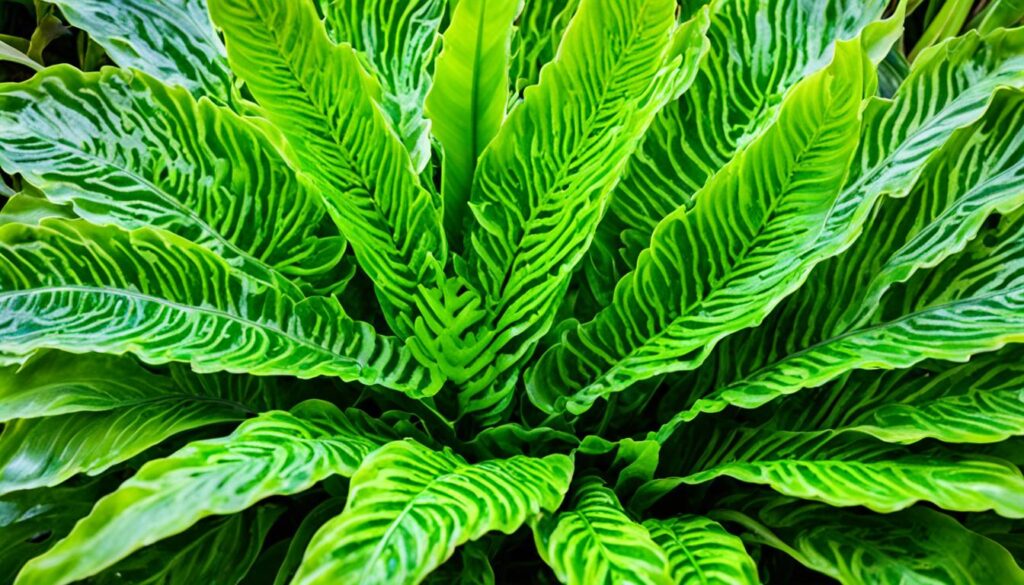
How to Grow a Birds Nest Fern – Learn to Grow this Indoor Beauty
To grow a Birds Nest Fern indoors, know its care needs. We’ll talk about the right pot and soil, light, watering, humidity, food, pruning, making more plants, and keeping pests away.
Choosing the Right Pot and Soil
Start by picking the right pot and soil for the fern. The pot should be a bit bigger than its roots and have holes to drain water. Use a mix of peat moss, perlite, and pine bark. This mix helps the fern grow well.
Providing Adequate Light
Birds Nest Ferns need medium to bright indirect light. Put the fern where it gets filtered sun or light shade. Direct sun is bad because it burns the leaves.
Watering and Humidity
Water and humidity are very important for your fern. Water when the top inch of soil is dry. The soil should stay moist, not wet. Mist the leaves to keep the air humid, or use a tray with water and stones.
Nutrition and Fertilization
Feed the fern every 2-4 weeks when it’s growing. Use half-strength liquid fertilizer. Don’t overfeed. Too much food can hurt the fern.
Pruning and Maintenance
Pruning keeps your fern healthy. Take off yellow or dead leaves to help new ones grow. Clean the leaves with a wet cloth to keep dust off.
Propagation
You can make more ferns by splitting them or using stem cuttings. Split the fern when you repot. Make sure each piece has roots. Stem cuttings grow in moist soil.
Monitoring for Pests and Diseases
Watch your fern for bugs like mealybugs, scale, and spider mites. Look at the leaves, stems, and bottoms for bugs. Deal with bugs fast using friendly bugs, isolation, or chemicals if you must.
Appearance of Birds Nest Fern
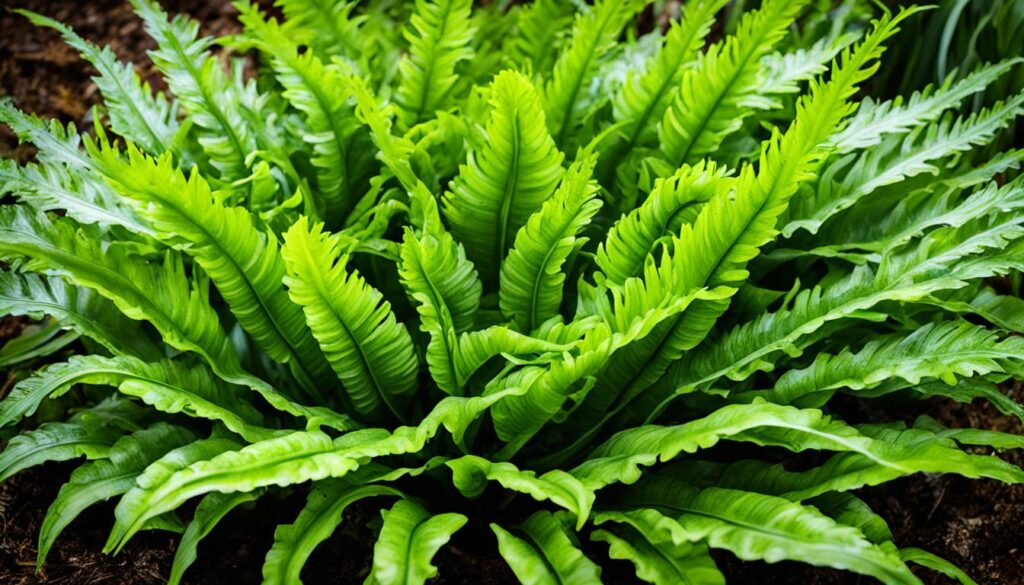
The Birds Nest Fern looks really special. It has long, upright leaves that come from the middle.
These leaves are bright green. They are shaped like a spear. Sometimes, they have soft waves.
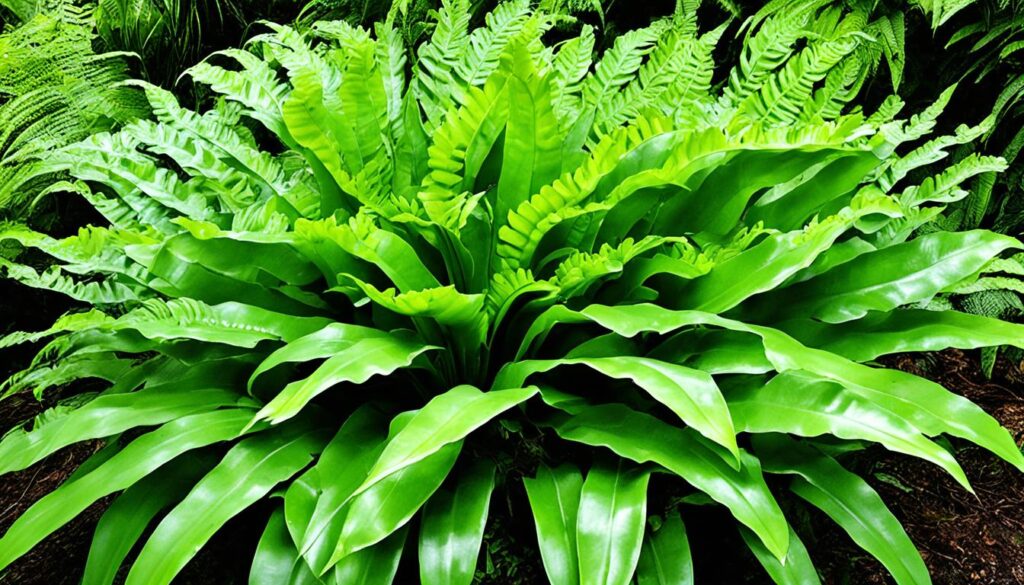
Light Requirements for Birds Nest Fern
Birds Nest Ferns love medium to bright indirect light. They like places with some sunlight or a bit of shade. These spots are perfect for them inside near windows. Windows should let in light but not direct sunlight.
Indirect light means light that bounces or spreads out. It does not shine straight on the fern. You can get this light by putting the fern near a window. Use a sheer curtain or blinds to make the sunlight softer.
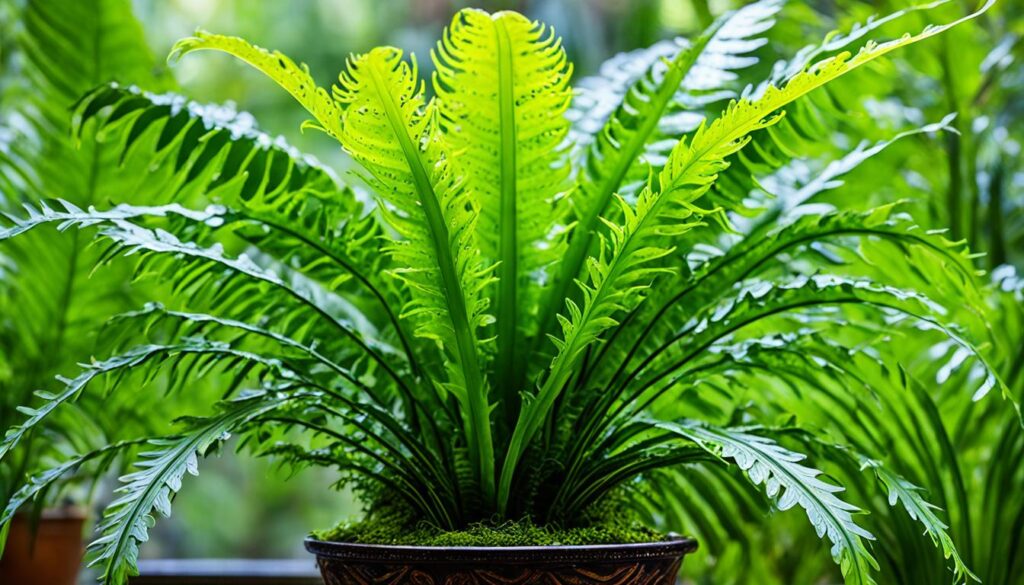
Think about your home’s light when picking a spot for your Birds Nest Fern. Windows facing north or east are best for them. They get a lot of indirect light all day.
If your fern is near a window that faces south or west, cover the window. Use sheer curtains or blinds. This protects the fern from too much sun.
Turn your Birds Nest Fern around sometimes. This makes sure every part gets light. Turning it once a week helps it grow evenly. It also stops it from bending towards the light.
Lighting Tips for Indoor Birds Nest Fern
- Place the fern near a north or east-facing window to provide bright, indirect light.
- Use sheer curtains or blinds to filter the sunlight if your fern is near a south or west-facing window.
- Rotate the fern once a week to ensure even light exposure on all sides.
Watering Requirements of the Birds Nest Fern
Watering Birds Nest Fern right is key for its health. Knowing how much to water is vital for its growth.
Signs of Overwatering vs. Underwatering
Too much or too little water harms the fern. Spotting signs helps balance water needs.
Overwatering:
- Yellowing or browning of the fronds
- Wilting or drooping leaves
- Mold or fungus growth on the soil surface
- Soggy or waterlogged soil
Underwatering:
- Dry, crispy, or brown edges on the leaves
- Wilting or drooping foliage
- Shriveled or curled fronds
- Semi-dry or dusty soil
Watch your fern closely to water it just right. Aim for moist soil, not wet.
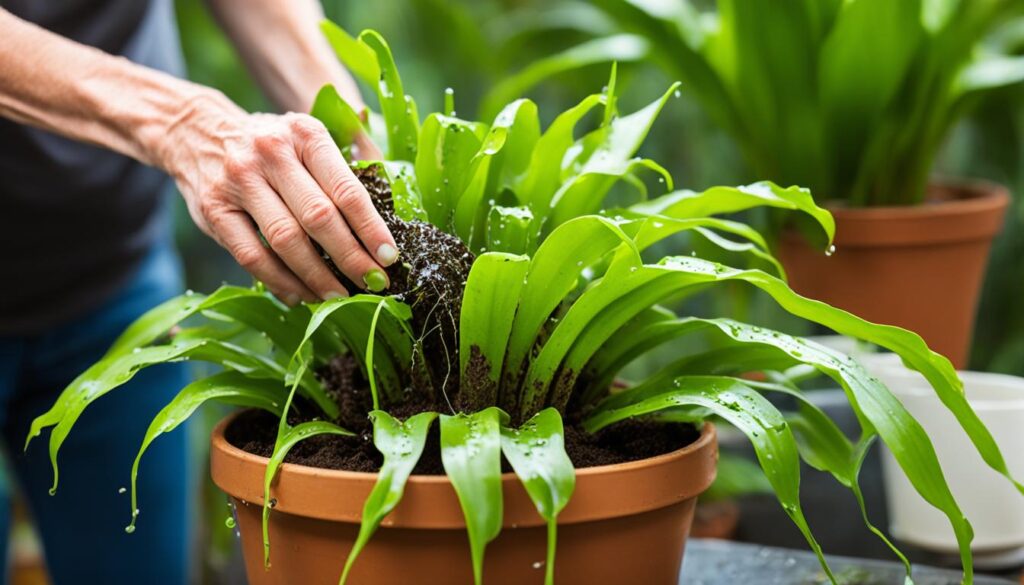
Fertilizing a Birds Nest Fern
Birds Nest Ferns need regular fertilizer. This helps them grow strong and have bright leaves. In this part, I will talk about the best fertilizer for these ferns. I will also explain how and when to use it.
Recommended Fertilizer for a Birds Nest Fern
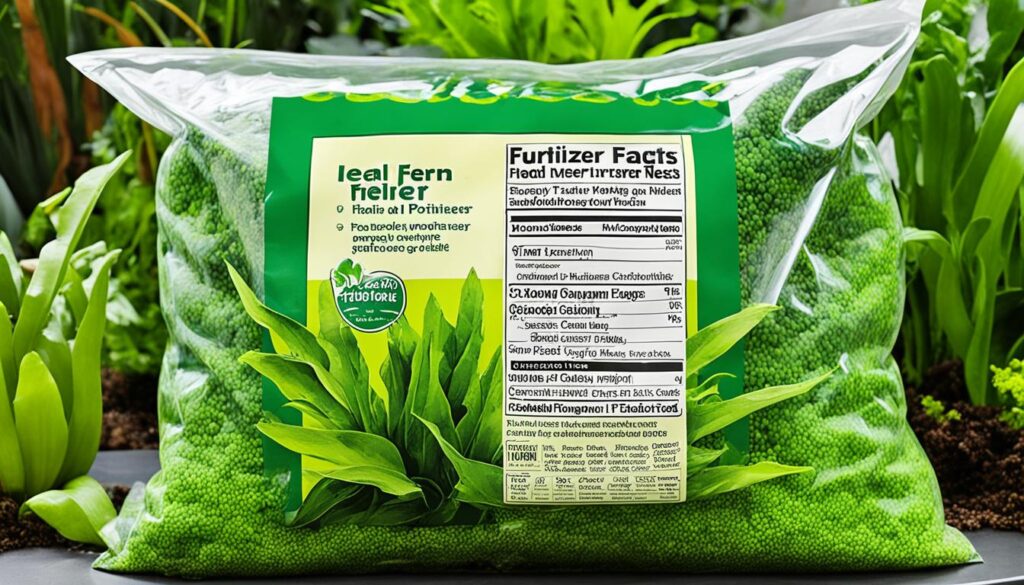
It’s important to pick the right fertilizer for a Birds Nest Fern. You should use one made for ferns or tropical plants. These fertilizers help the leaves stay green. A good choice is a 20-20-20 liquid fertilizer.
A good fertilizer to use is Miracle-Gro Indoor Plant Food. It’s made for plants inside your house. This fertilizer is easy to use and helps plants grow well. Just follow what the package says to mix it right.
Be careful with how much fertilizer you use on Birds Nest Ferns. Too much can hurt the leaves. Always use half the amount suggested and only during growing times. This keeps the plant happy without too much food.
Potting a Birds Nest Fern
Proper potting helps a Birds Nest Fern grow healthy. It’s important to pick the right pot, use the best soil, and repot when needed.
Choosing the Right Pot Size
When picking a pot, think about the fern’s size and how it grows. A too big pot can harm it, and a too small pot can stop its growth. Pick a pot that has room for roots but keeps the plant stable.
Using the Right Potting Mix for a Birds Nest Fern
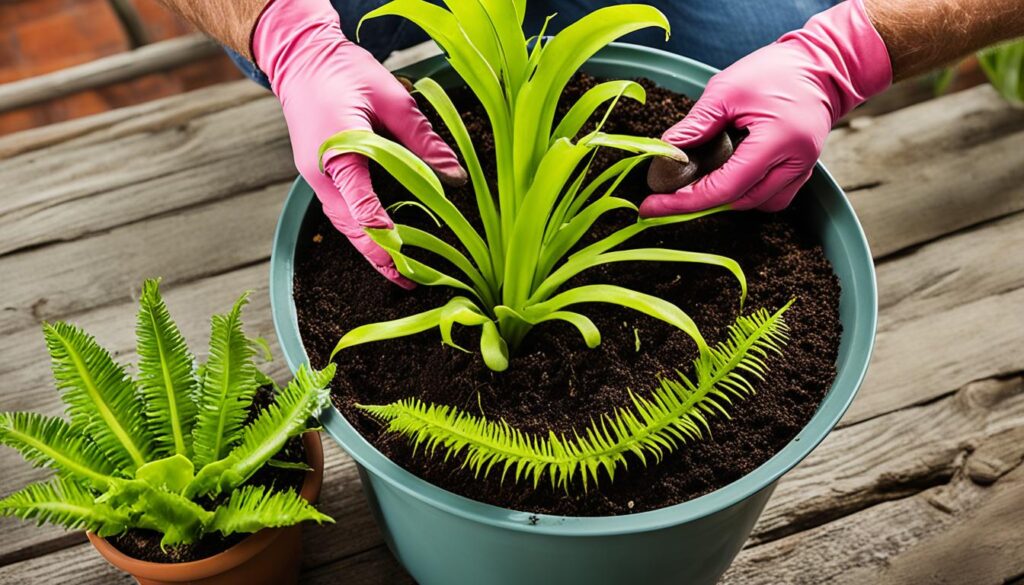
The fern likes soil that drains well but keeps some moisture. A mix of peat moss, perlite, and orchid bark is perfect. It keeps the roots healthy without too much water.
Repotting When Necessary
Sometimes the fern grows too big for its pot. You might see roots coming out or circling inside the pot. Repot it in spring to a bigger pot with new soil. Be gentle with the roots and water it well after.
To keep your Birds Nest Fern happy, pay attention to pot size, soil type, and repot times. This will help it stay healthy and grow well.
Propagating a Birds Nest Fern
Want to grow your Birds Nest Fern collection or share with others? Propagating is great for this. You can use stem cuttings or divide the fern to make new ones. Let’s look at how to do this.
Stem Cuttings Or Seeds?
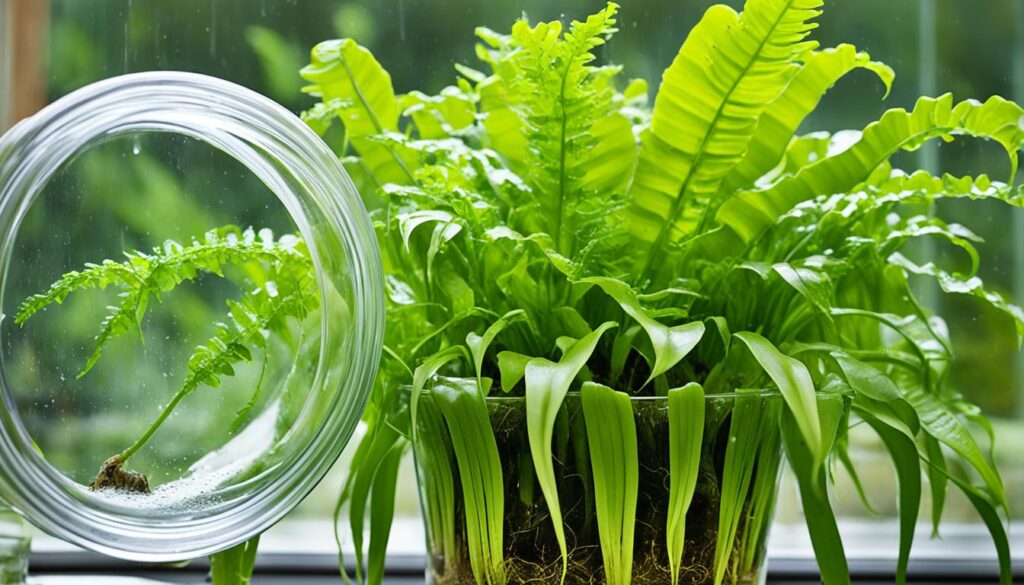
Stem cuttings are a popular way to make new ferns. Cut a piece from the parent plant. Then, let it grow roots in water or soil. This way, new ferns will be just like their parent.
But, using seeds to grow ferns is harder and takes longer. Ferns make tiny spores that can grow into plants. It can take months or years for these plants to get big.
Division Of A Birds Nest Fern
Dividing a fern makes new plants too. This is good when the fern is too big for its pot. Or when you want many new plants.
To divide it, take the fern out of its pot. Carefully break the root ball into pieces. Make sure each part has roots and leaves. Plant these in new pots with good soil. Then take care of them well.
Stem cuttings and division both work well for making new Birds Nest Ferns. It’s a great way to get more ferns and share them with friends.
| Propagation Method | Advantages | Disadvantages |
|---|---|---|
| Stem Cuttings | – Faster and more reliable – Produces genetically identical plants | – Needs a big parent plant – Waiting for roots to grow takes time |
| Division | – Makes many new plants – Can make an old fern healthy again | – Might upset some roots – You need a fern to start with |
Growth and Development of the Birds Nest Fern
It’s important to know how a Birds Nest Fern grows. This helps us take care of it the right way. As the fern gets older, it changes. It shows new growth patterns and its leaves change too.
The fern starts to grow when new leaves pop out from the center. These new leaves curl up at first. Then, they slowly open into long, green leaves. These green leaves make any room look nicer.
As the fern gets bigger, more leaves start to grow. This makes the fern look more beautiful and full. The new leaves are a sign that the fern is healthy and growing well.
But sometimes, old leaves turn yellow or brown. They might even get droopy. This is how the fern gets rid of old leaves. It helps the fern use its energy to grow new leaves.
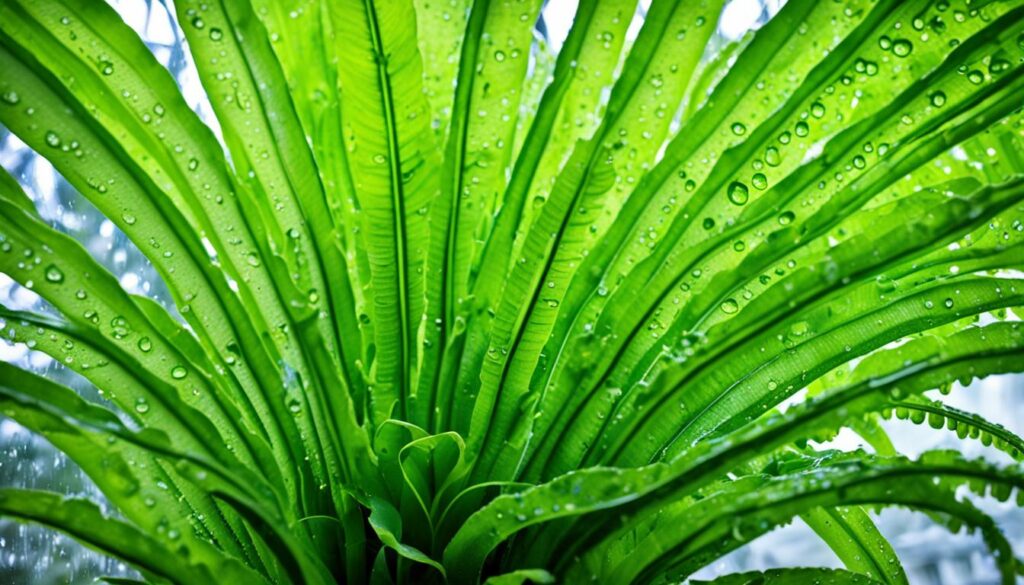
To help your fern grow well, you need to give it what it needs. This means the right light, water, and food. You also need to cut off any leaves that don’t look good.
If you know how the Birds Nest Fern grows, you can help it stay healthy. Then, you can enjoy its beauty for a long time.
Dealing with Pests and Diseases in the Birds Nest Fern
Birds Nest Ferns can get sick or have bug problems. It’s key to know about these issues and stop them early. We’ll talk about common bugs and diseases for these ferns. We’ll also share how to spot, stop, and fix these problems.
Some bugs that love to eat Birds Nest Ferns are:
- Aphids
- Mealybugs
- Scale insects
- Spider mites
These bugs hurt the fern’s leaves. This makes the fern weak. Always watch your fern. Look for yellow leaves or bugs on the fronds. This helps stop bug problems early.
Ferns can also get sick. Some common sicknesses are:
- Root rot
- Bacterial leaf spot
- Fungal infections
Stop diseases by caring for your fern right. Make sure it has enough air. Don’t water it too much. The soil should drain water well. Check your fern for spots on leaves or droopy fronds.
To keep your fern healthy, do these things:
- Look at your fern often for bugs or sick signs.
- Keep sick ferns away from healthy ones to stop the spread.
- Get rid of very sick leaves or fronds.
- Put your fern where air can move around it freely.
- Don’t water it too much. Make sure water flows out of the soil well.
- Use helpful bugs like ladybugs to eat the bad bugs.
- Use safe bug or disease sprays if you need to.
Be careful and act fast to keep your Birds Nest Fern healthy. This stops bugs and diseases.
Common Birds Nest Fern Pests
Birds Nest Ferns can get bugs just like other plants. It’s key to know about these bugs. This helps keep your fern healthy.
Here are some bugs you might find on Birds Nest Ferns:
- Mealybugs: These bugs look like small, white, fluffy spots. They group together on fern leaves or at the base. They drink the fern’s sap. This makes leaves yellow, short, and oddly shaped.
- Scale Insects: Scale insects are tiny, bumpy spots on fern leaves. They eat the fern’s sap, making it weak. Leaves turn yellow.
- Spider Mites: Spider mites are very small and make thin webs on the fern. They eat sap from the plant. This can make leaves yellow, spotted, and may cause them to fall off.
Check your Birds Nest Fern often for these bugs. If you see bugs, act fast to stop more damage.
- Isolate Infected Plants: If your fern has bugs, keep it away from other plants. This stops the bugs from spreading.
- Chemical Treatment: If natural ways don’t work, you might need chemicals. Ask a pro or a garden shop for safe fern sprays.
Keep watching your fern and fight off bugs when needed. This keeps your fern strong and healthy.
Natural Predators
Using natural predators is a good way to control pests in Birds Nest Ferns. These include ladybugs and lacewings, which eat common pests like aphids and mealybugs.
Ladybugs love to eat aphids which can hurt your fern. Adding these bugs to your fern can limit pest numbers naturally. This way, you won’t need chemicals.
Before adding these bugs, check your plants for lots of pests. Pests can spread across plants if not checked. Separate the sick plants to stop more damage. This lets the good bugs focus on the bad ones better.
Isolate Infected Plants
If your fern looks sick or has bugs, act fast. Move it away from healthy plants to stop the spread.
This keeps your other plants safe. Keep the sick plant alone until the bugs are gone and it’s healthy again.
Chemical Treatment
Sometimes you might need chemicals to fight pests. If the bugs are too bad or other ways didn’t work, chemicals can help.
Make sure to read and follow the chemical’s directions. Pick products made for indoor plants and the pests on ferns.
Use chemicals only if you must. Be safe when using them to not harm yourself, pets, or nature. Try natural ways first to keep your fern and environment happy.
Disease Prevention For Birds Nest Ferns
Keeping your Birds Nest Ferns healthy is important. Focus on disease prevention to keep them vibrant. Proper care helps avoid fungal infections and root rot.
Here are tips to prevent diseases in Birds Nest Ferns:
- Cleanliness: Keep the area clean. Remove fallen leaves and decaying stuff to stop fungus and disease.
- Avoid over-watering: Make sure the soil drains well. Too much water causes root rot and fungus. Let the top soil layer dry before watering again.
- Maintain proper humidity: These ferns need high humidity. Use a humidifier or a pebble tray with water. Don’t mist leaves directly to avoid fungus.
- Avoid overcrowding: Too many plants close together stops air flow. This can make diseases spread easier. Space out your plants for better air.
- Regular inspection: Check your ferns for signs of disease. Look for wilting leaves or unusual spots. Catching disease early can stop it from spreading.
- Proper lighting: Good light is key for healthy ferns. Without it, ferns get weak and sick. Put your ferns in bright, indirect light.
- Pruning: Cut off dead or sick leaves often. This helps air flow and stops disease.
- Use sterile tools: Always use clean tools for cutting or planting. This stops diseases from moving from one plant to another.
Follow these steps to keep your Birds Nest Ferns healthy and happy indoors.
Tips for Maintaining Birds Nest Ferns
Keeping a Birds Nest Fern healthy needs the right care. Follow these tips for its health and growth:
Wiping Leaves
Wiping the fern’s leaves regularly is important. Dust on leaves blocks light and can attract pests. Use a soft, damp cloth to clean the leaves. This will keep the fern looking good and healthy.
Outdoor Exposure
Birds Nest Ferns can enjoy some outside time. But, they need shade and filtered sunlight. Don’t put them in direct sunlight. It can hurt their leaves. Make sure they’re in a moist place outside too. Ferns like being in damp air.
Adjusting Watering Schedule
Changing how often you water your fern with the seasons is key. It needs more water in warm months. Check the soil and water when the top inch is dry. Water less when it’s cold to avoid too much water. This helps the fern stay healthy all year.
These tips will help your Birds Nest Fern stay beautiful and healthy. It will bring natural beauty to your home.
Tips for Successful Overwintering of Birds Nest Fern
Overwintering your Birds Nest Fern is key in cold places. You need to protect it in winter to keep it healthy. Here are easy ways to do this:
- Adjusting Temperature: These ferns like it warm, between 60-75°F (15-24°C). Keep them away from cold drafts and heat sources. Find a spot with steady warmth, but not too close to windows or heaters.
- Humidity: They love moist air. If heating your home makes the air dry, try a humidifier. Or, put the fern on a tray with water and pebbles to add moisture.
- Watering: In winter, water less often. The soil should be damp but not wet. Too much water can harm the fern. Check the soil before you water to be sure.
- Light: These ferns need light but not direct sun. During winter, they can handle less light. A good spot is near a window that faces north.
- Protection: In very cold places, keep your fern extra safe in winter. You might cover it or move it somewhere warmer. A greenhouse or inside your house can work well.
Growing Birds Nest Fern from Seed
Growing Birds Nest Ferns from seed is a fun choice for brave gardeners. It’s rewarding and lets you see the fern grow from seed to full plant. I will tell you how to grow Birds Nest Ferns from seed. This covers finding good seeds and caring for young plants.
First, get high-quality Birds Nest Fern seeds. You can buy them online or at a local nursery. Make sure to buy from trusted suppliers. This makes it more likely that the seeds will grow well.
Now, get your seeds ready to plant. Soak the seeds in warm water for a whole day. This softens the seed coat and helps them start growing.
Next, mix peat moss, perlite, and vermiculite to make a good soil. Fill a seed tray or small pots with this mix. Then, make the soil a bit wet.
Put each soaked seed gently into the soil. They should be about half an inch deep. Make sure there’s enough space between the seeds. This way, they won’t be too close to each other.
After planting, keep the seeds in a warm and moist place. The temperature should be about 70-75°F (21-24°C). They also need soft light. Cover them with a plastic dome or put them in a bag. This makes a small greenhouse. It helps keep the moisture in and helps the seeds grow.
Water the soil just enough to keep it moist. Use a spray bottle for watering. Don’t give too much water. Too much water can cause fungi to grow.
In 4-8 weeks, you will see little green plants coming out of the soil. This means your Birds Nest Ferns are starting to grow. Keep taking good care of them. Give them the right light, water, and moist air as they get bigger.
As the plants get bigger, they can have more light. Start with light that is not too bright. Then, move them to a place with more light. This gets them ready for their future home.
Remember, growing these ferns from seed takes time and care. It might take months for the plants to be big enough for the garden. But with the right steps and care, you can grow your own Birds Nest Ferns from seed. It’s very rewarding to see them grow from the very start.
Varieties of Birds Nest Fern
Birds Nest Ferns are famous for their different looks. Each type shows its own special traits. If you love ferns, you’ll enjoy learning about some popular kinds. These plants will surely catch the eye of anyone who loves indoor plants.
The Asplenium nidus ‘Crispy Wave’ is very special. It has fronds that curl in a pretty, wavy way. This type has strong, green leaves that make any room look better. Another special kind is the Asplenium nidus ‘Victoria’. It has fronds that bend out nicely, giving a beautiful look.
If you need something smaller, try the Asplenium nidus ‘Miniature’. It’s perfect for tiny spaces or desks. This small variety is very pretty. It lets you enjoy the beauty of a fern without needing much room.
Then, there’s the Asplenium nidus ‘Lemon Button’. It makes the fern family more colorful. Its bright fronds look like little green lemons. They brighten up any space. This kind has leaves that look different than other ferns, making it stand out.
FAQ
Q: Why do people love the Birds Nest Fern for their apartments?
A: People love the Birds Nest Fern because it makes spaces beautiful. It cleans the air too. It’s safe for pets and fits in small spots.
Q: Is the Birds Nest Fern air-purifying?
A: Yes, the Birds Nest Fern cleans the air. It’s great for indoors.
Q: Is the Birds Nest Fern pet-friendly?
A: Yes, it’s safe for pets. Animals and ferns can be friends.
Q: How big does the Birds Nest Fern get?
A: It stays small. Perfect for tiny homes.
Q: How do I choose the right pot and soil for my Birds Nest Fern?
A: Pick a pot that drains well. Use soil that’s good for ferns.
Q: What kind of light does the Birds Nest Fern require?
A: It loves light but not direct sun. Medium to bright indirect light is best.
Q: How often should I water my Birds Nest Fern?
A: Keep the soil moist. Water when the top feels dry. Avoid soggy soil.
Q: How often should I fertilize my Birds Nest Fern?
A: Feed it with fern fertilizer regularly. Follow the package for how often.
Q: How do I choose the right pot size for my Birds Nest Fern?
A: Get a pot a bit bigger than its roots. Too big can harm it.
Q: How do I propagate a Birds Nest Fern?
A: Use stem cuttings or split the plant. The guide talks about it more.
Q: How do I monitor and prevent pests and diseases in my Birds Nest Fern?
A: Check your fern often. Keep it healthy to stop bugs and sickness. Use natural methods if needed.
Q: What are some common pests that can affect Birds Nest Ferns?
A: Watch out for mealybugs, scale insects, and spider mites. Act fast if you see them.
Q: Is there a natural way to control pests in Birds Nest Ferns?
A: Yes, use good bugs to fight bad ones. Keep sick plants away. Sometimes, use safe sprays.
Q: How can I prevent diseases in my Birds Nest Fern?
A: Good air, right water, and proper humidity keep diseases away. Careful watering helps too.
Q: What maintenance tips should I follow for my Birds Nest Fern?
A: Clean leaves and control water as seasons change. This keeps your fern happy.
Q: How do I overwinter my Birds Nest Fern?
A: Keep it warm and moist in winter. We share how to do it right.
Q: Can I grow Birds Nest Ferns from seeds?
A: Growing from seeds is possible but rare. We explain how in details.
Q: Are there different varieties of Birds Nest Fern?
A: Many types exist, each special. We show their unique looks.
